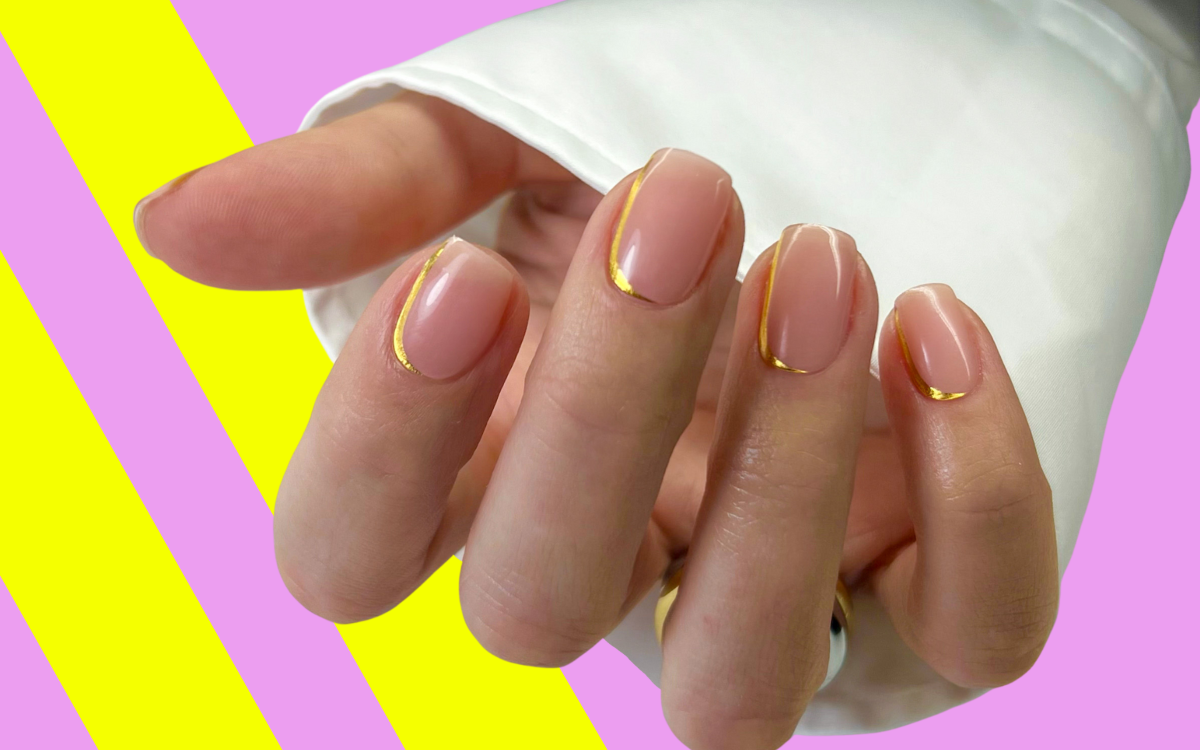
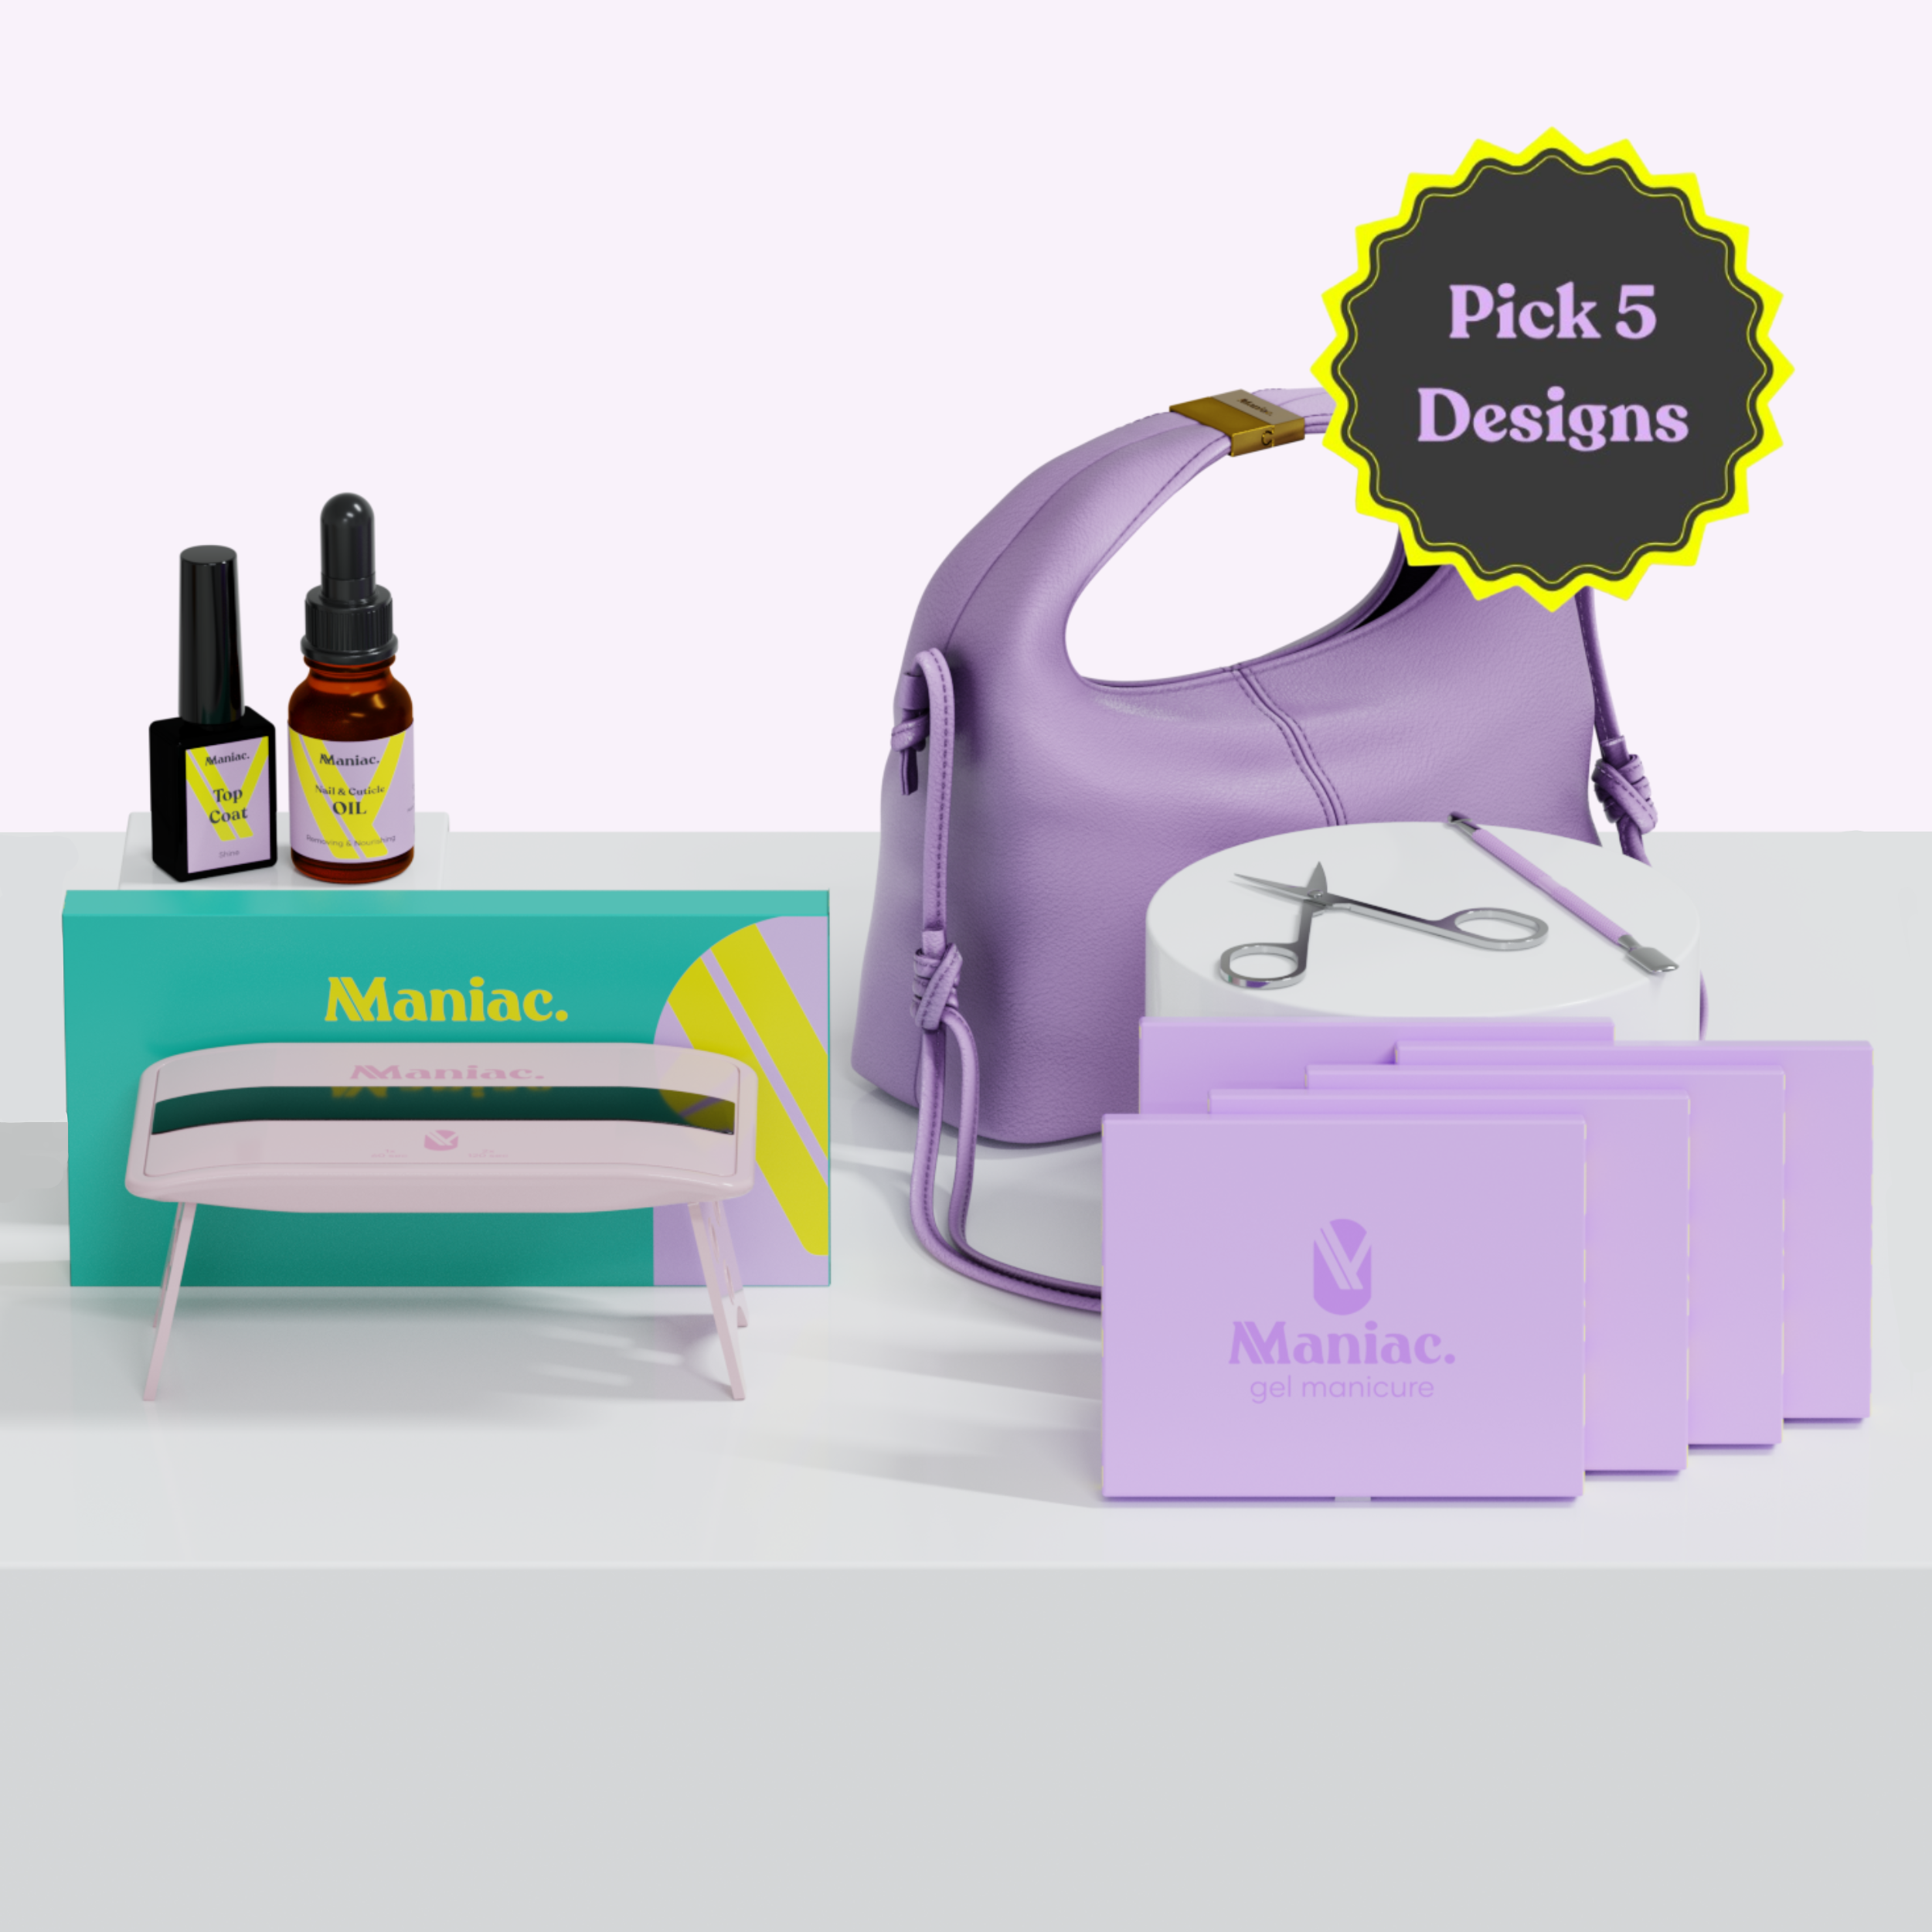
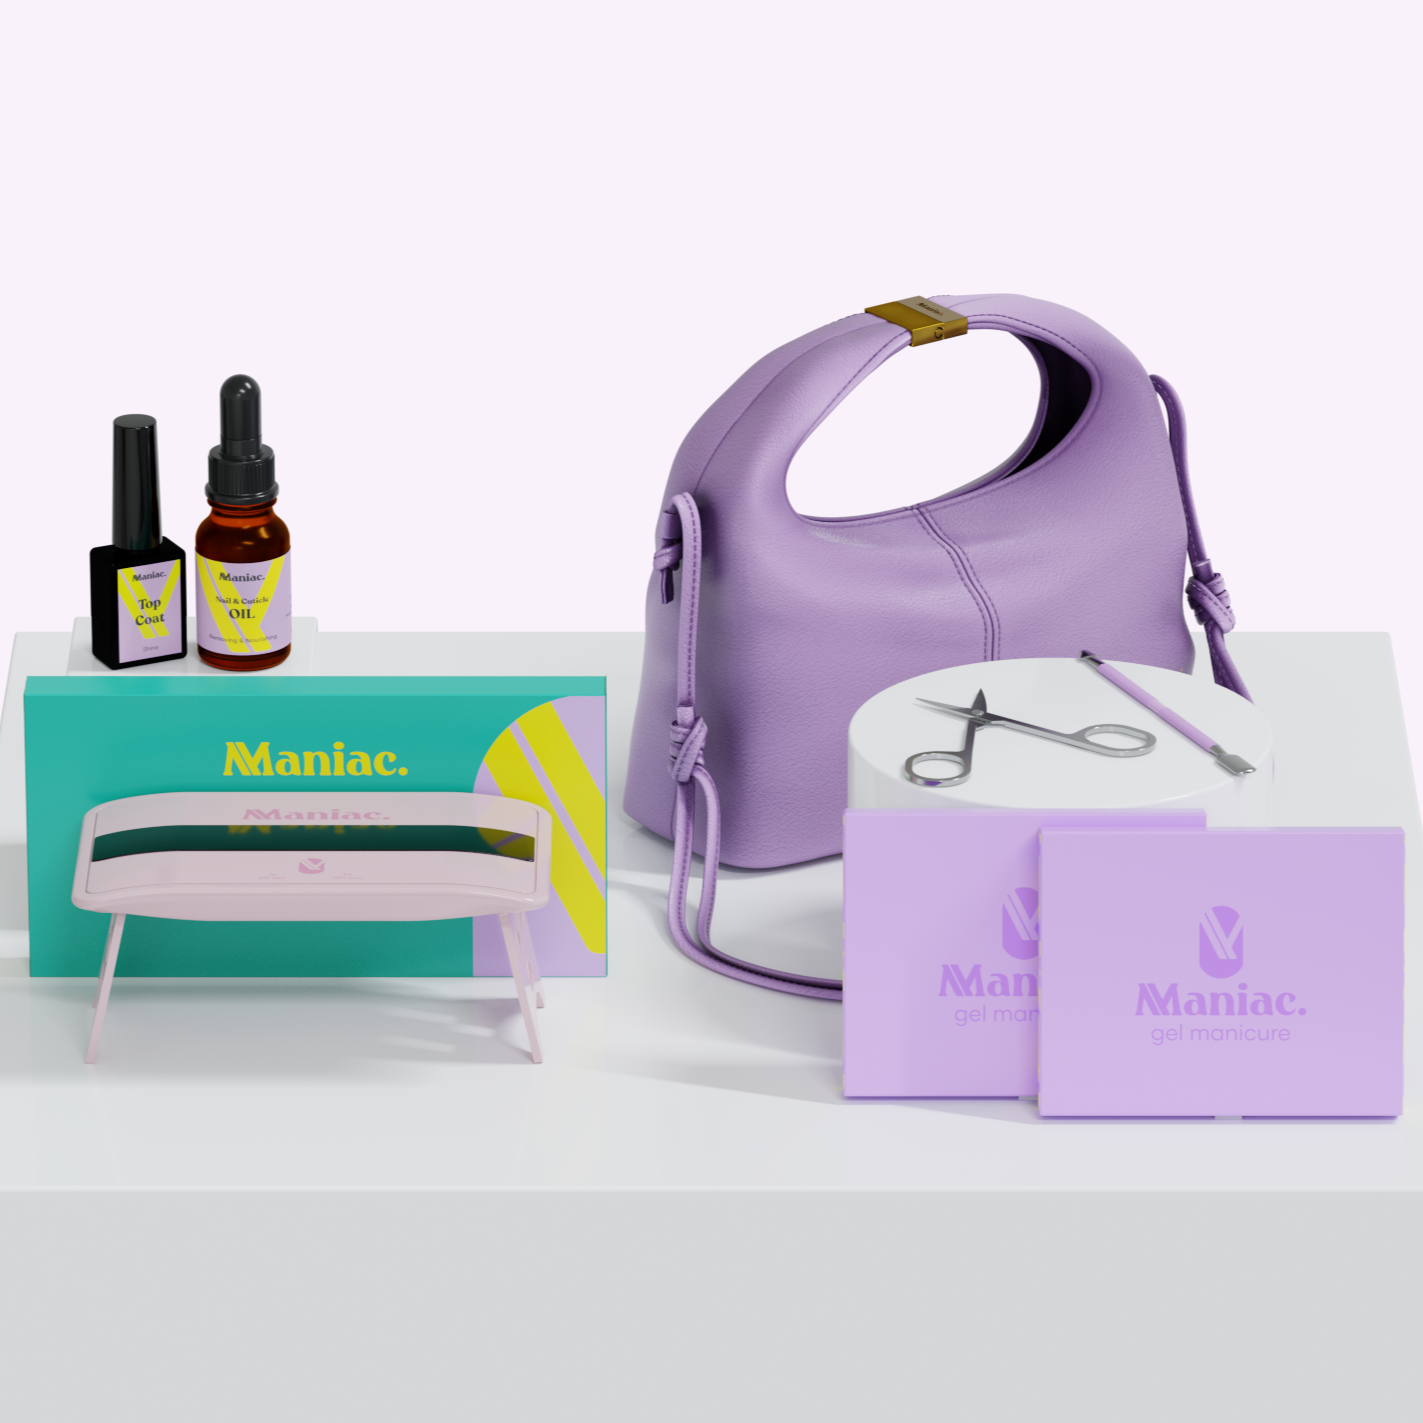
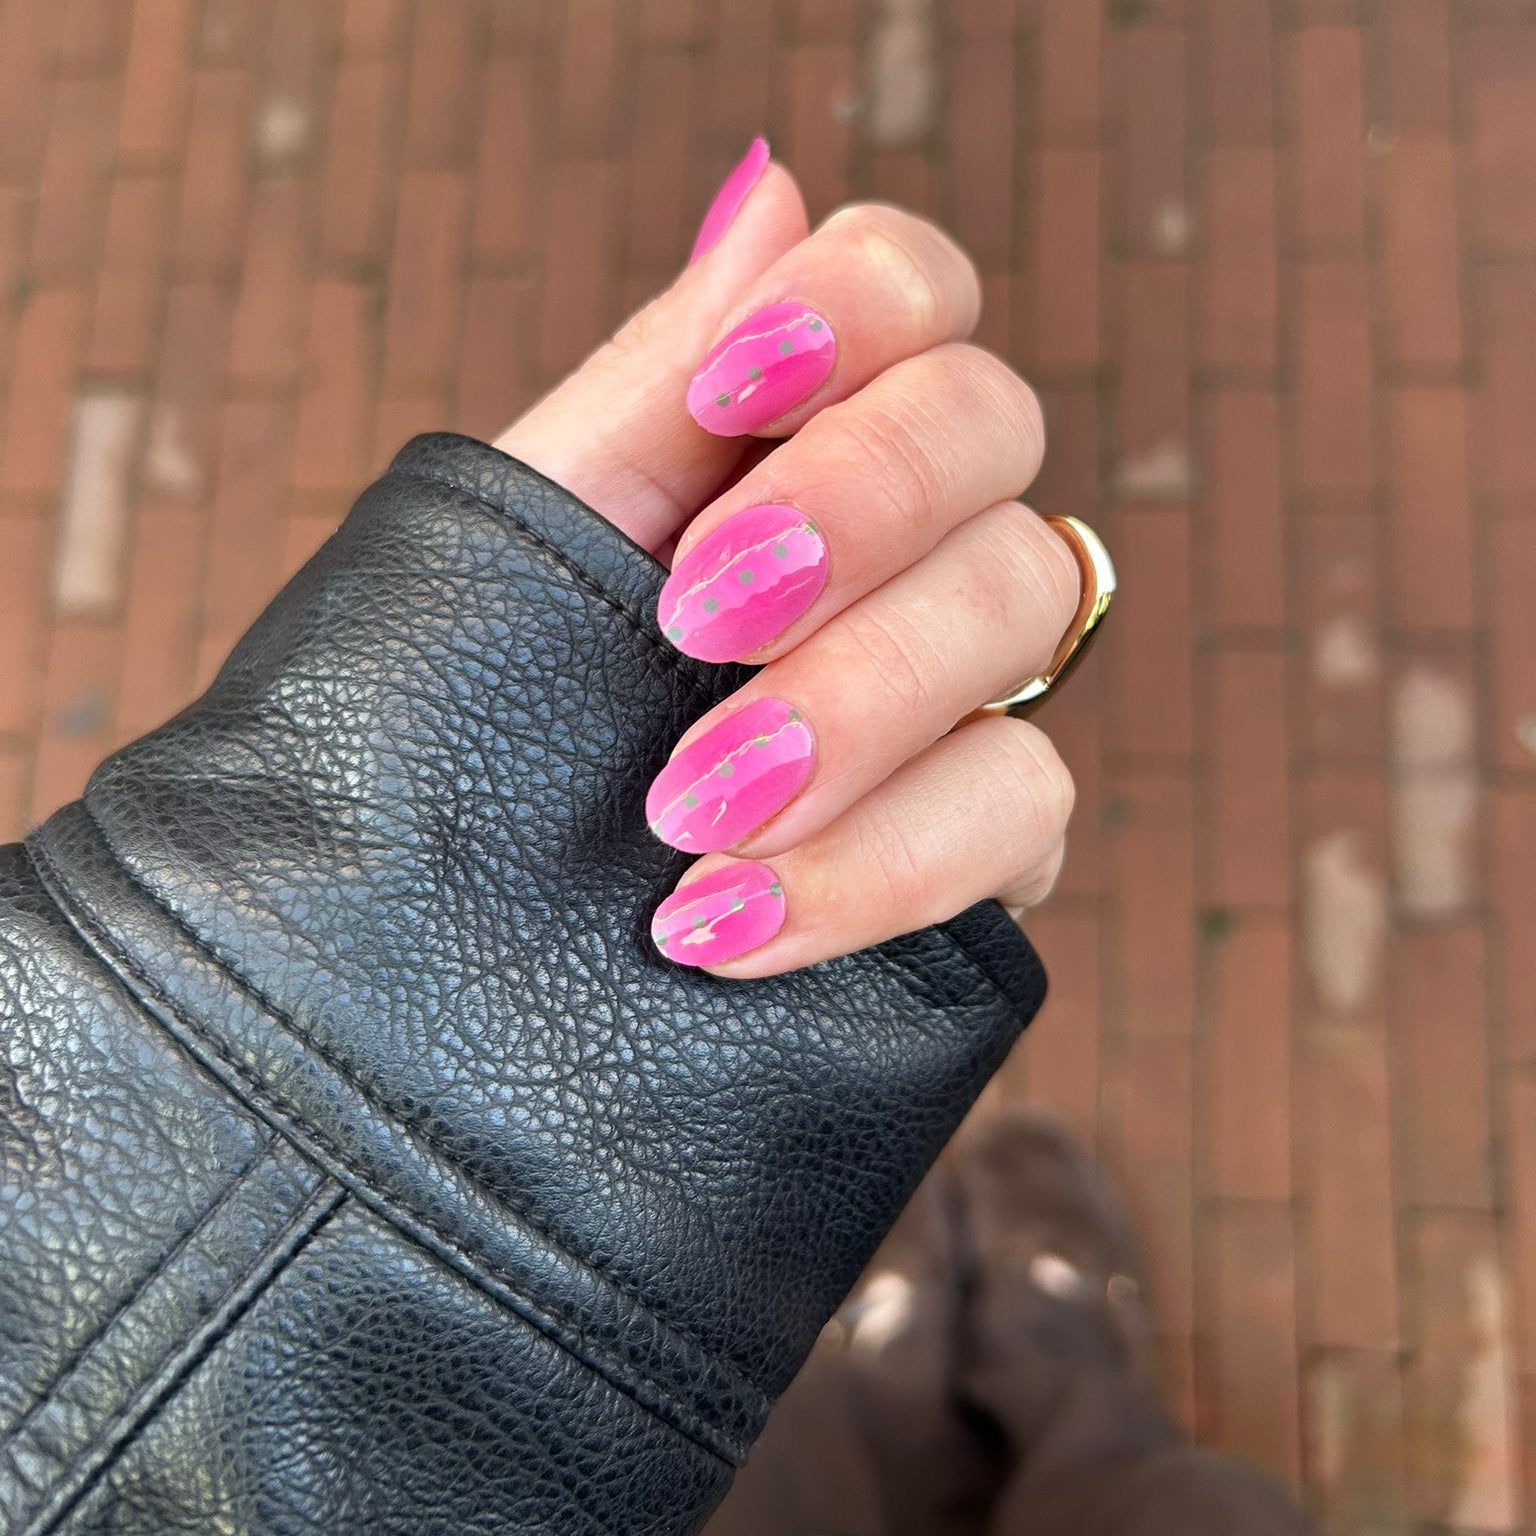
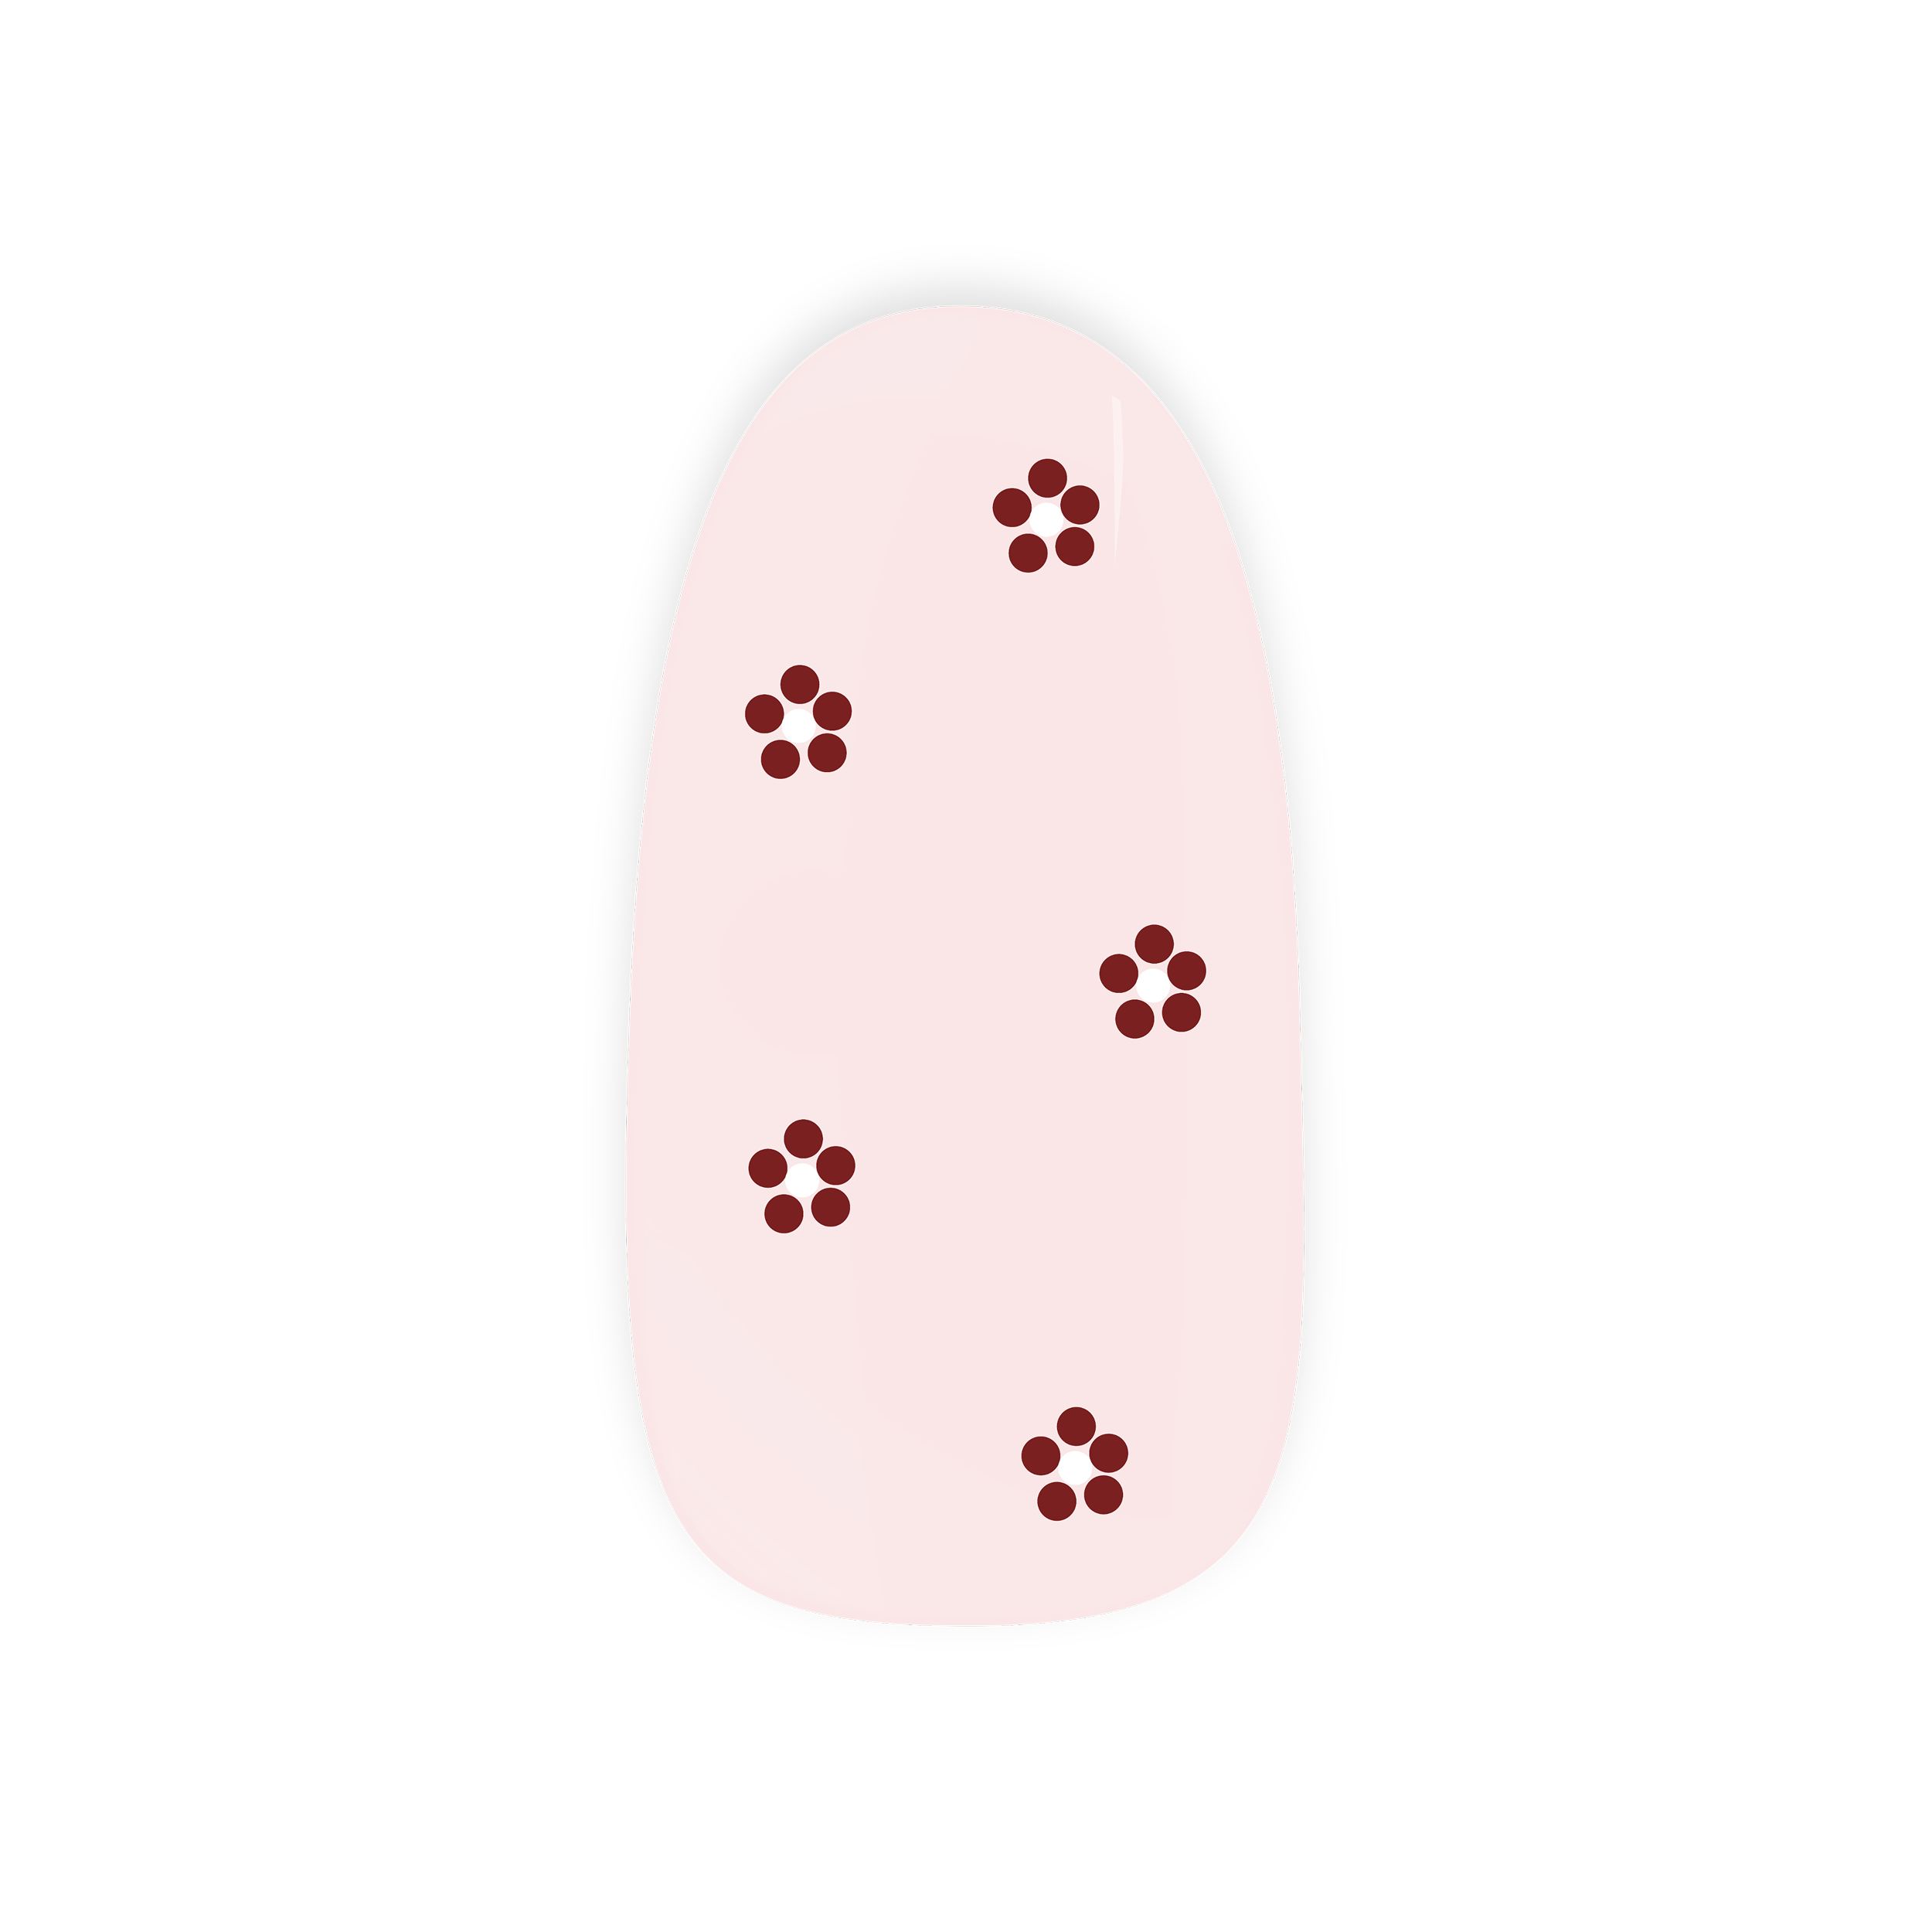
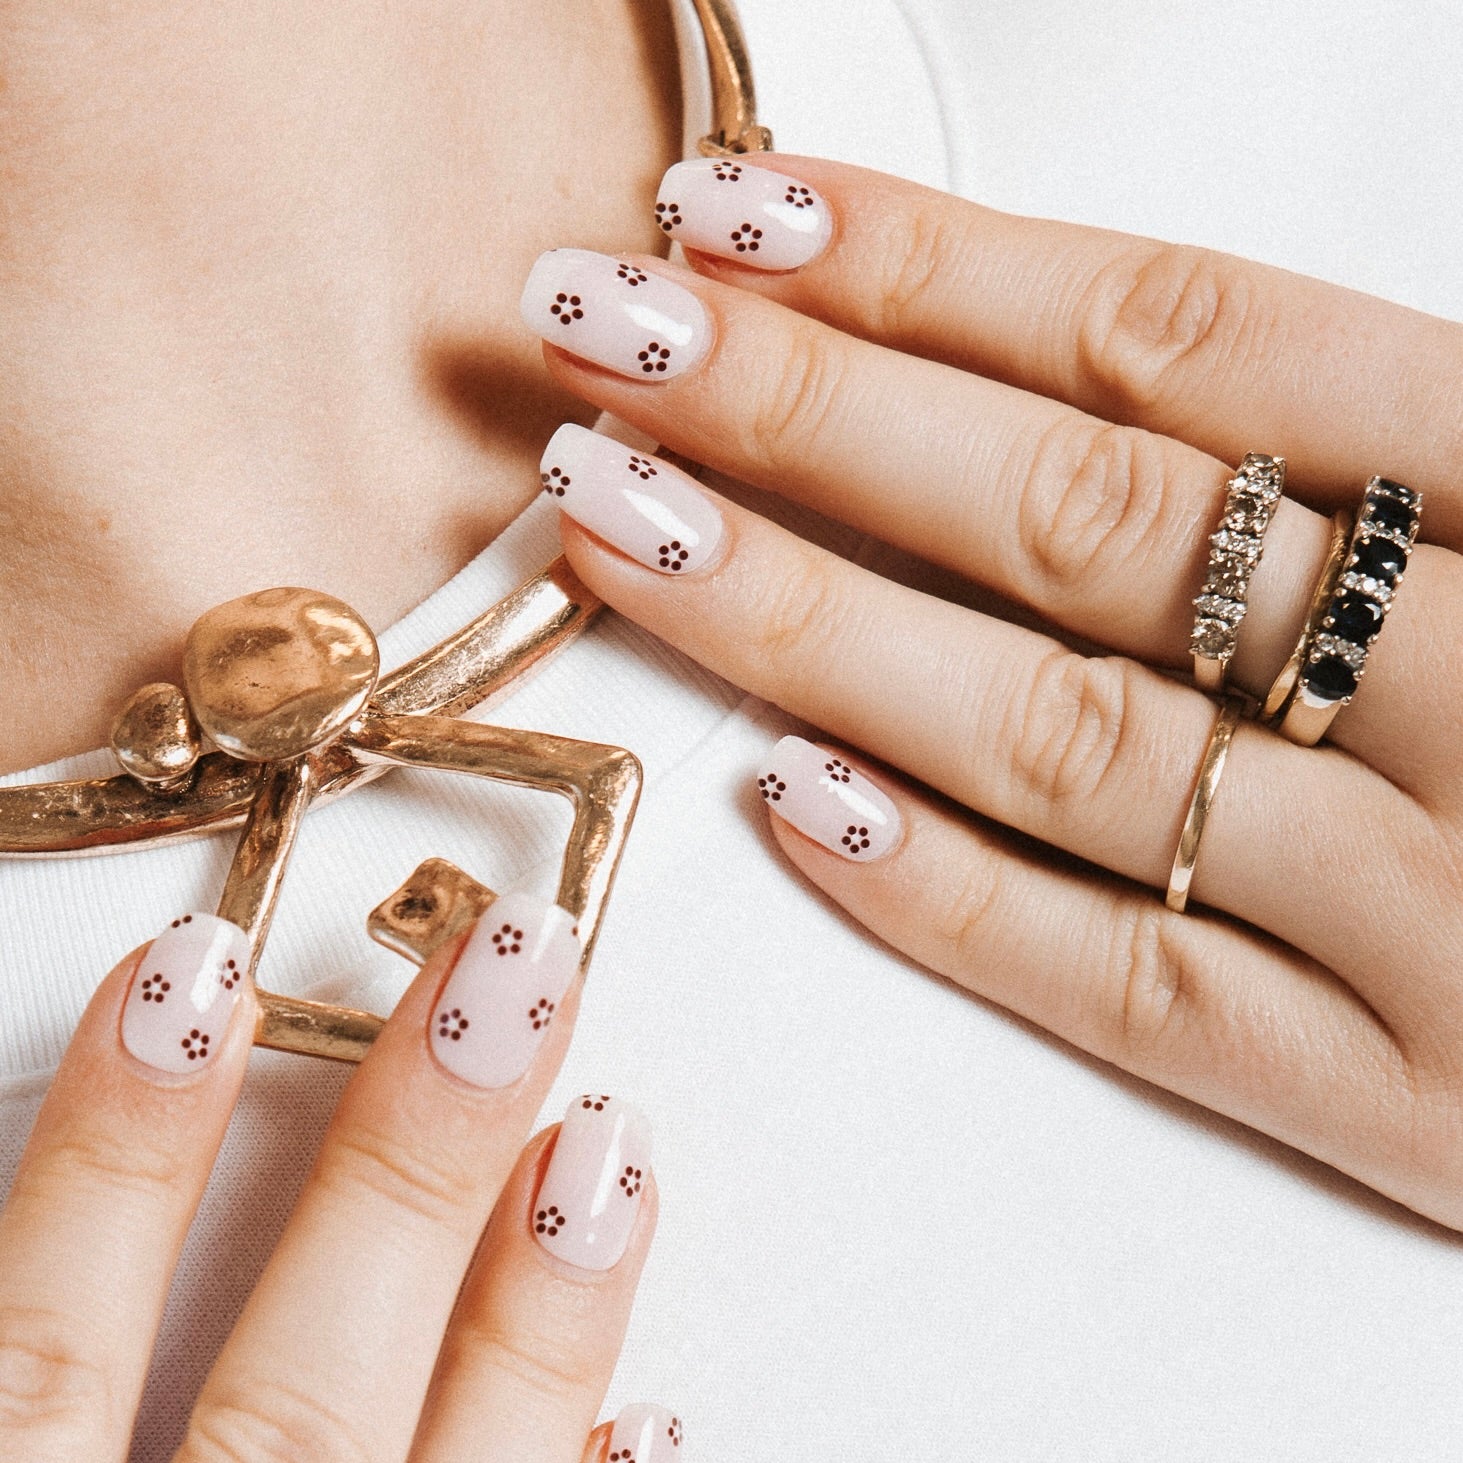
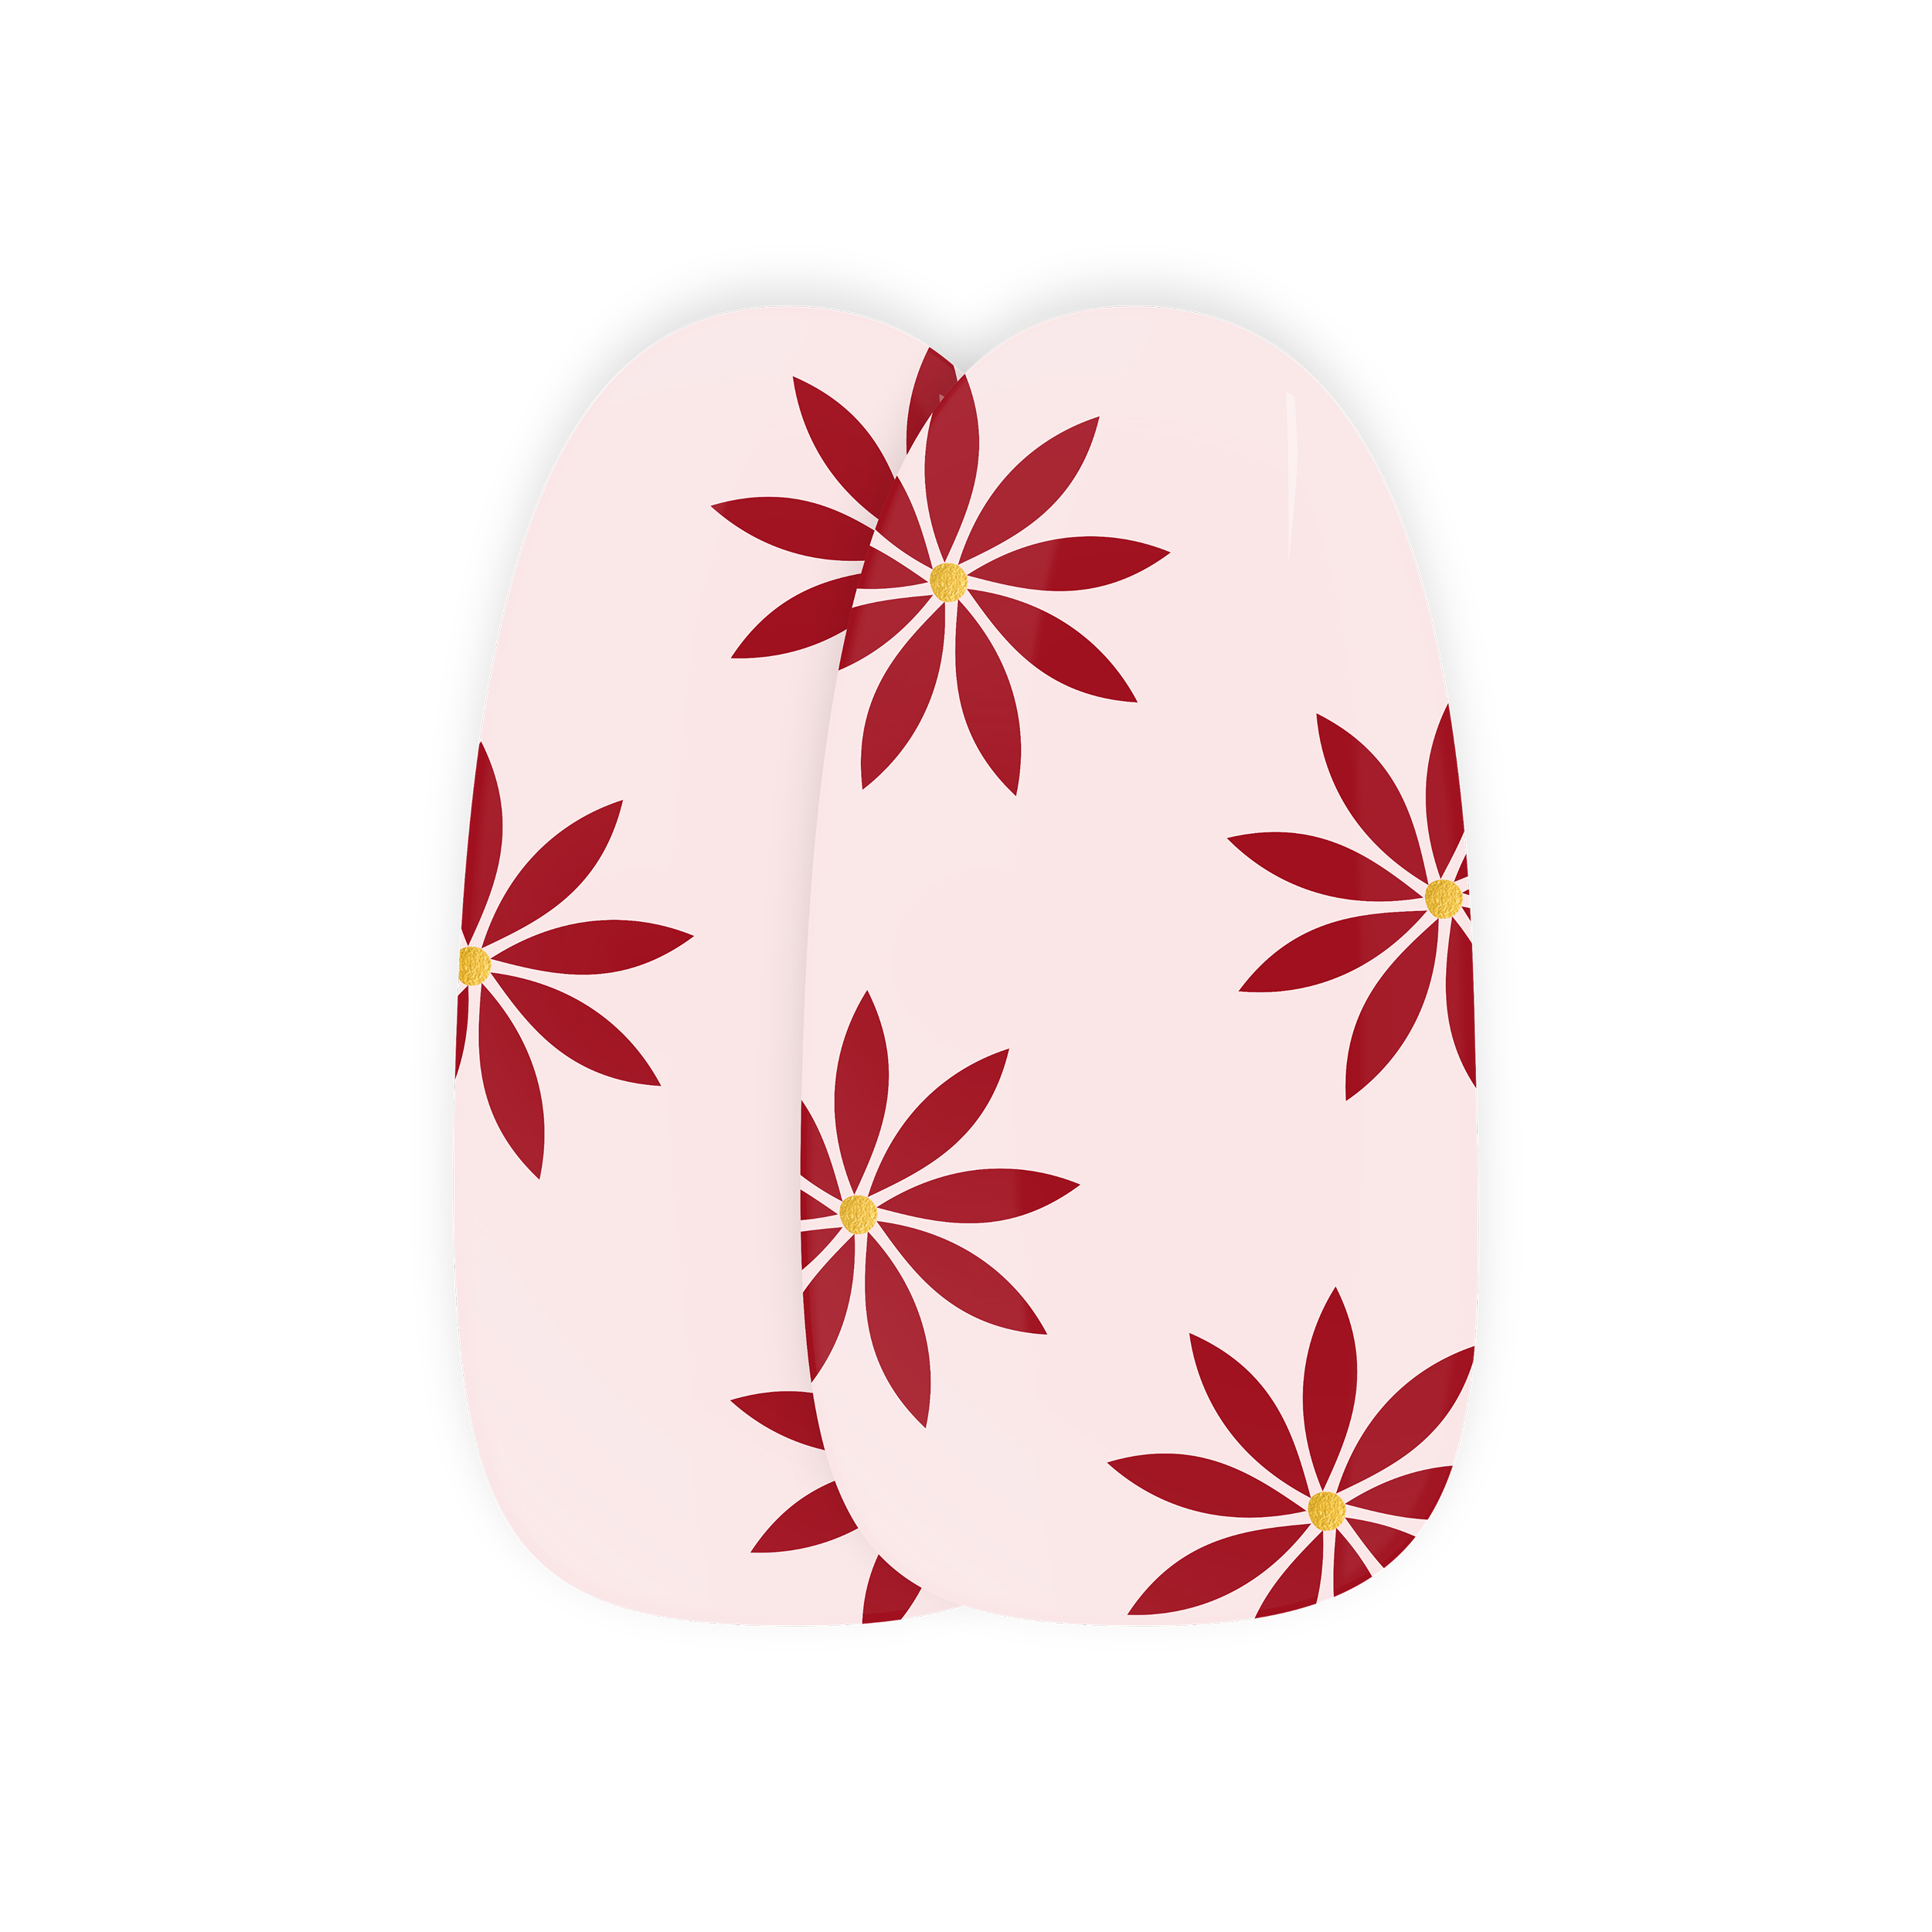
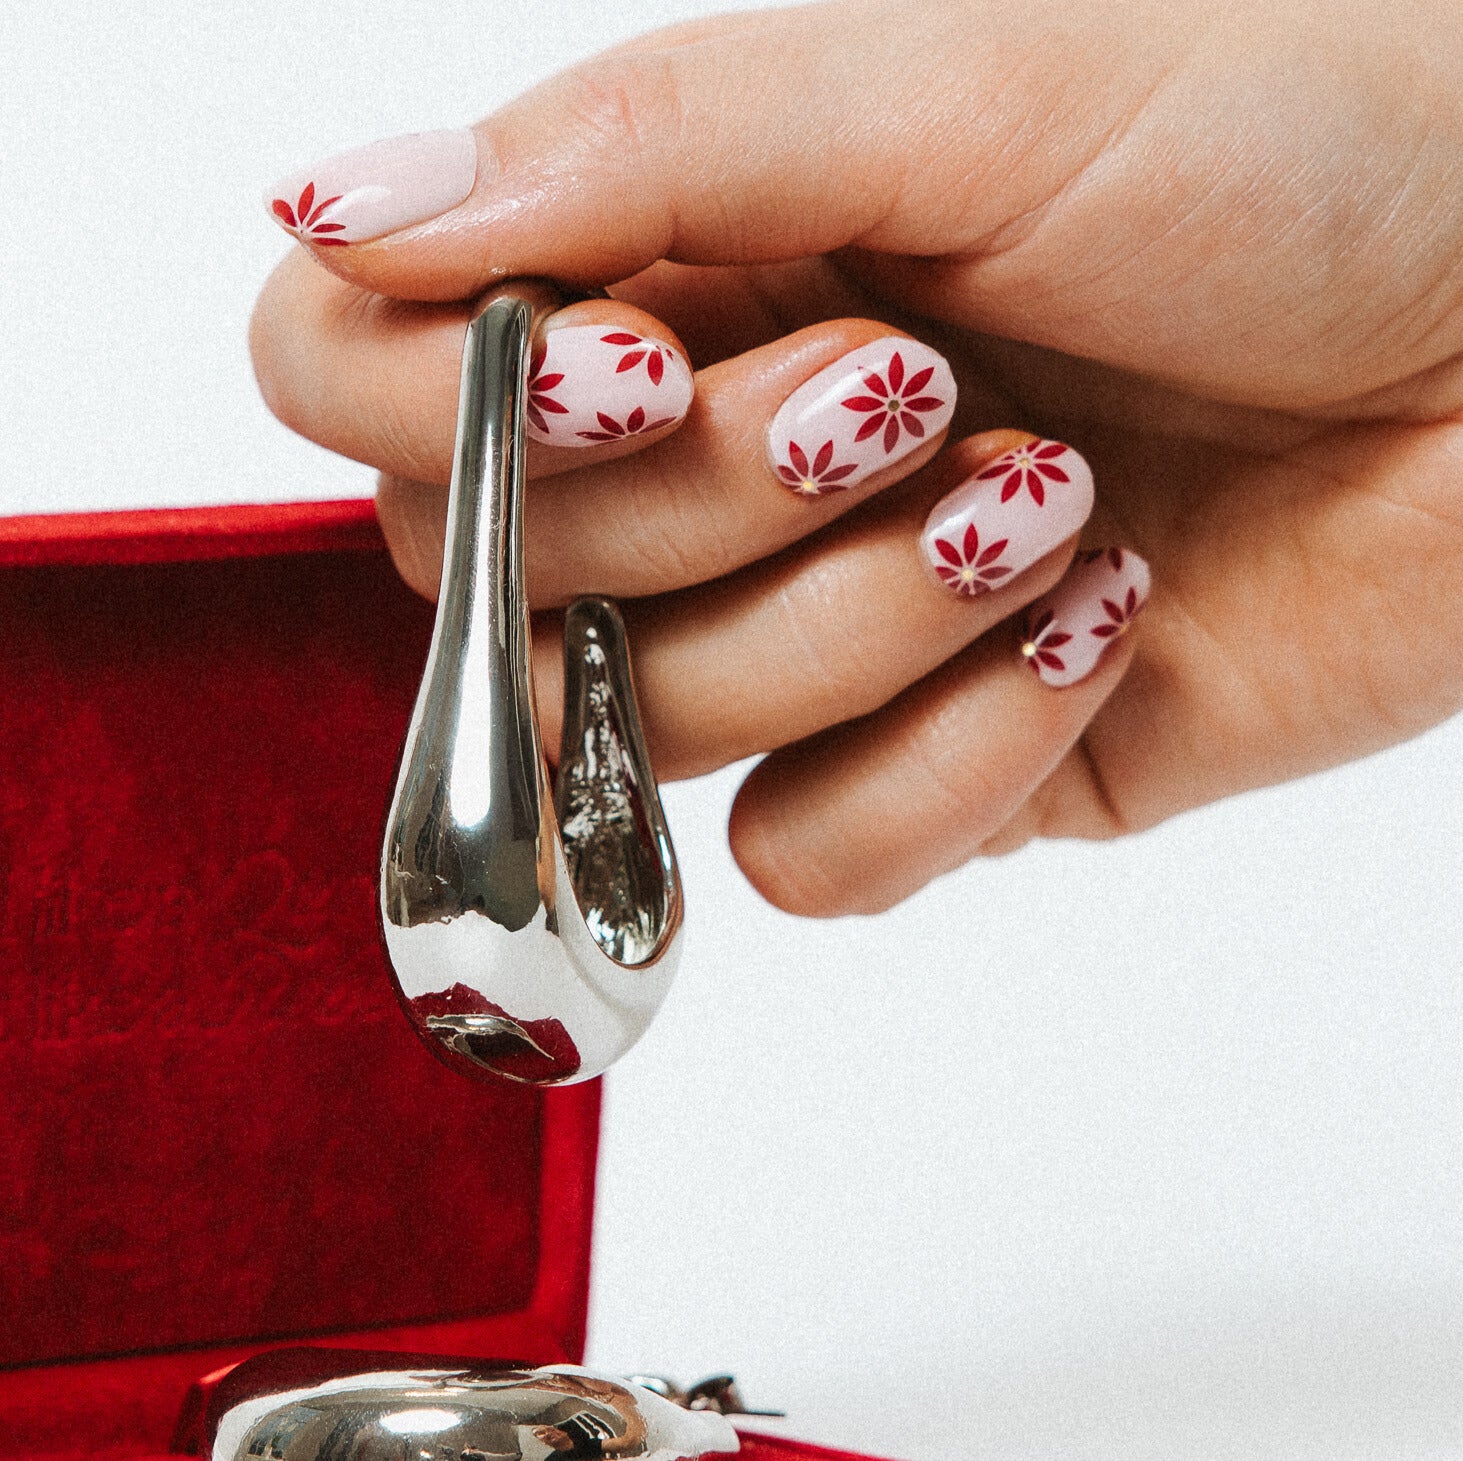
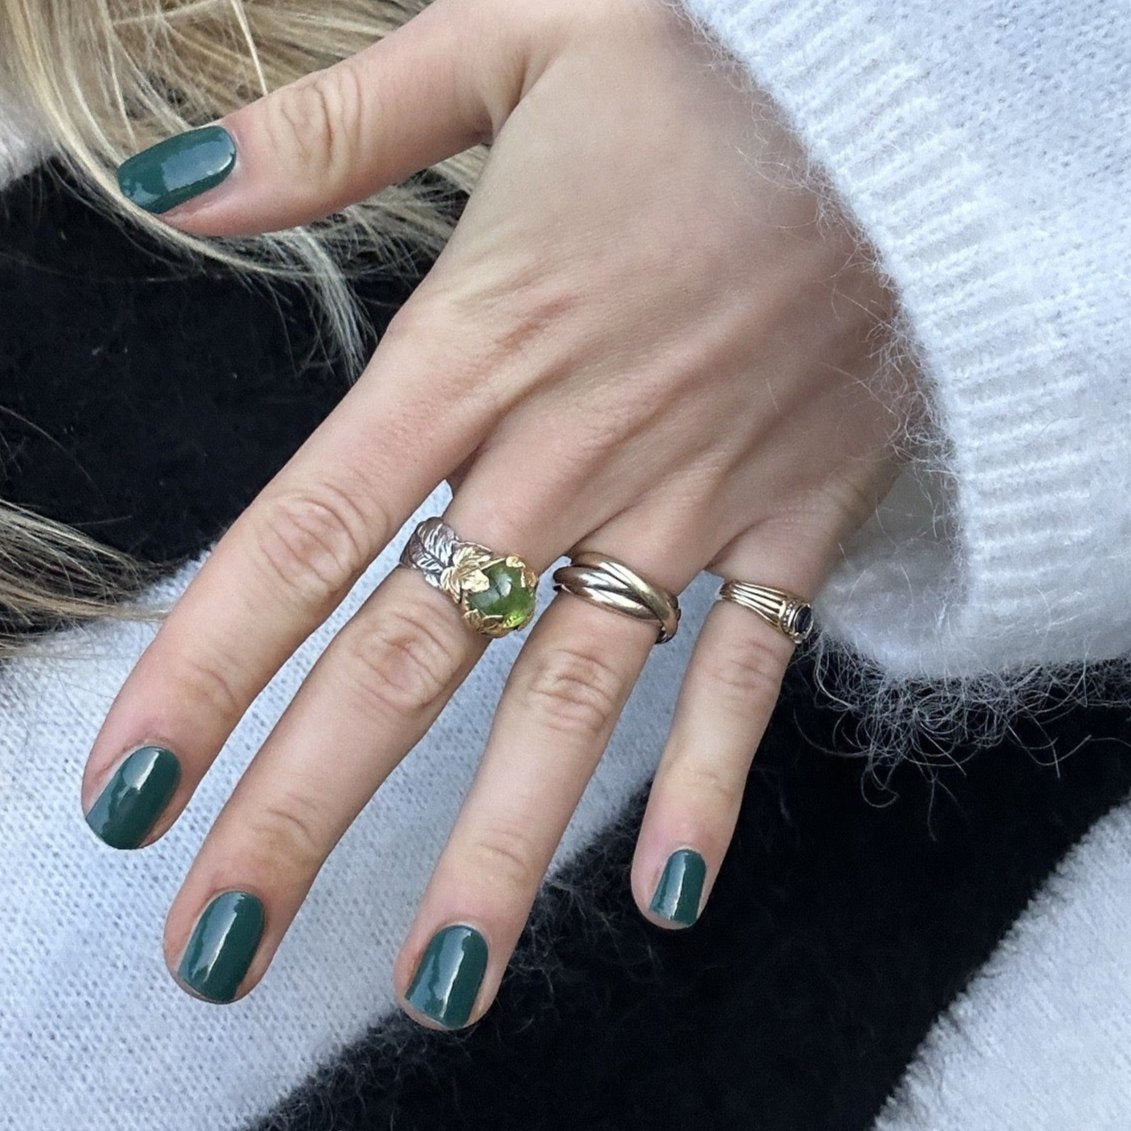
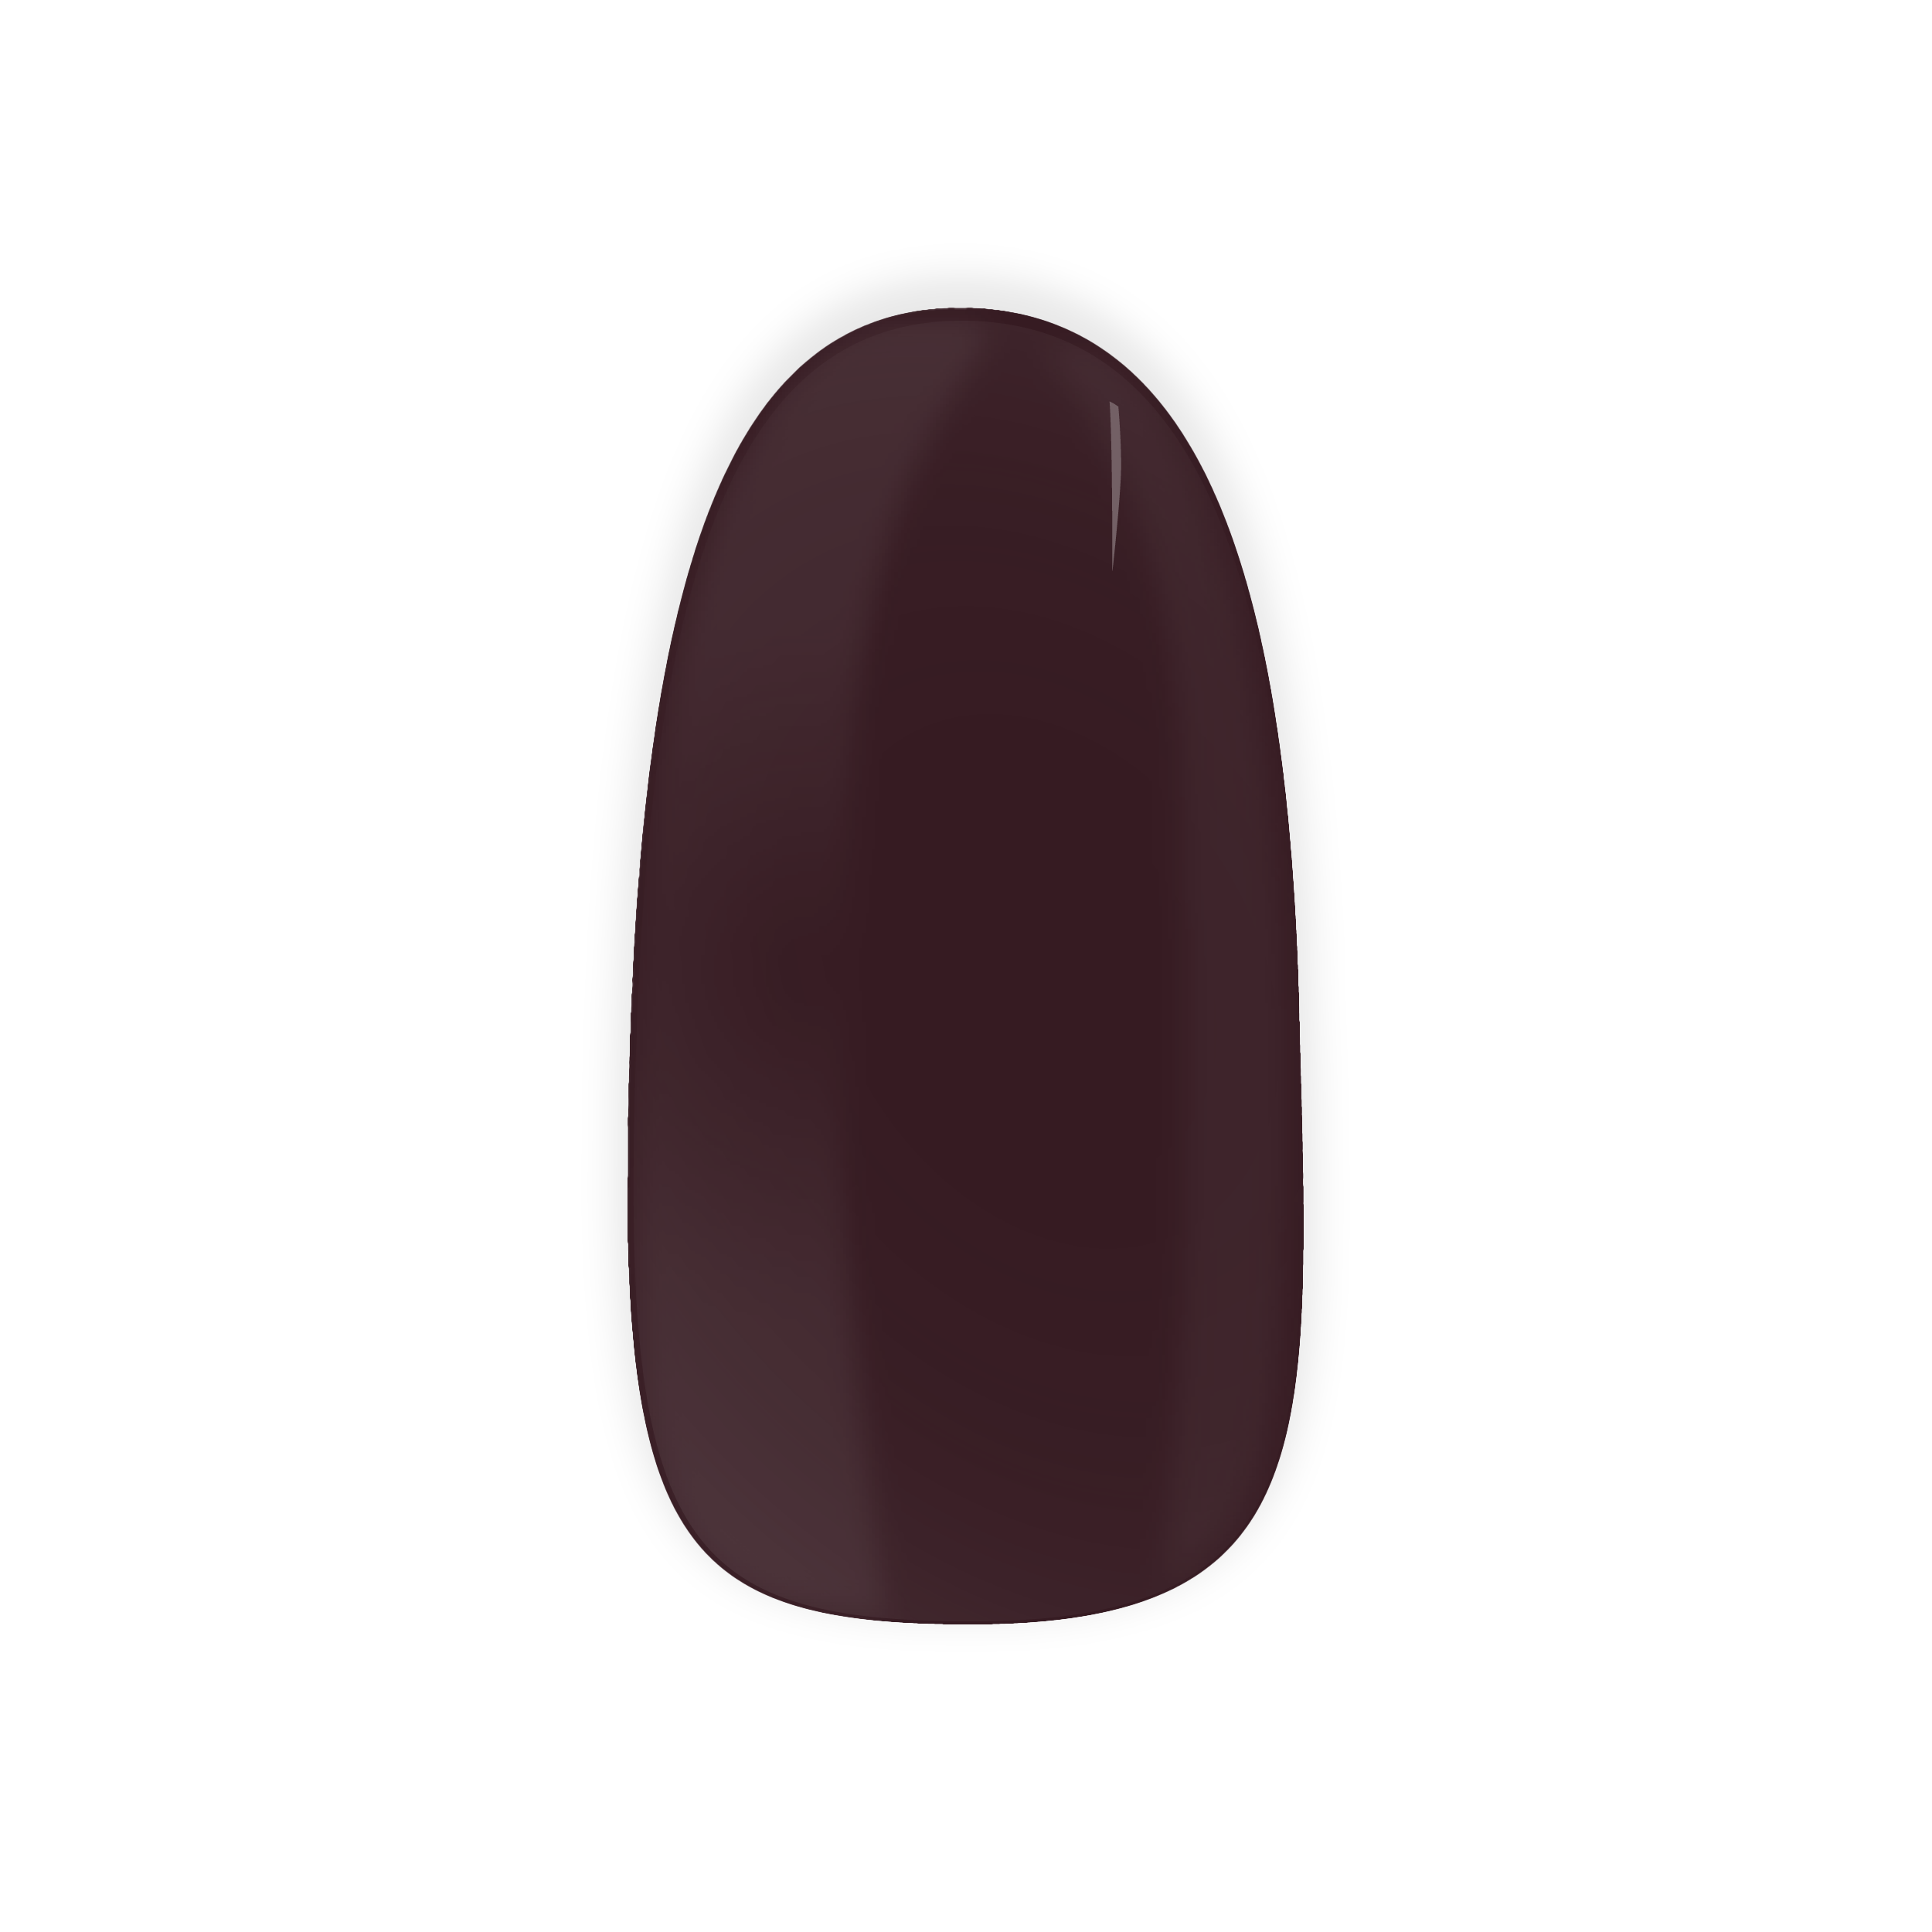
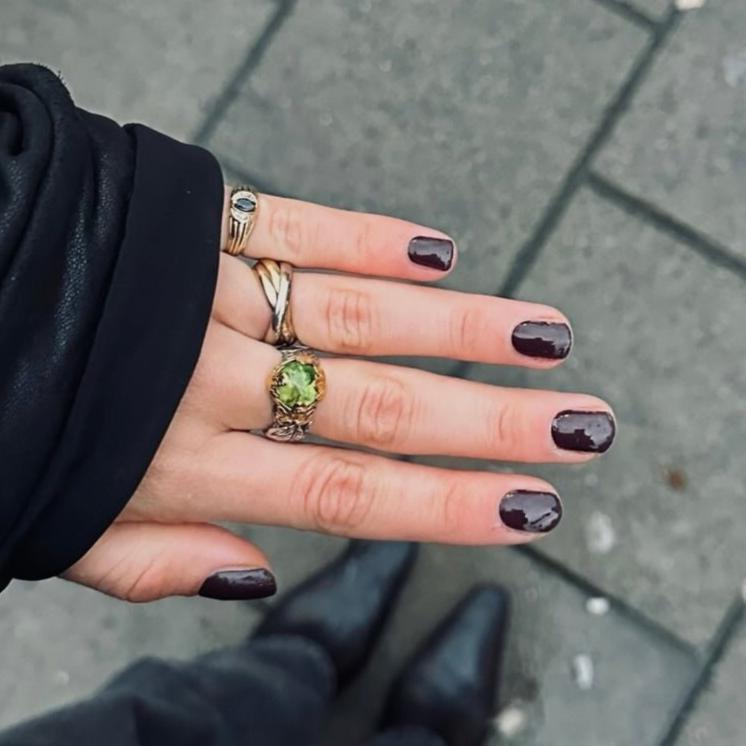
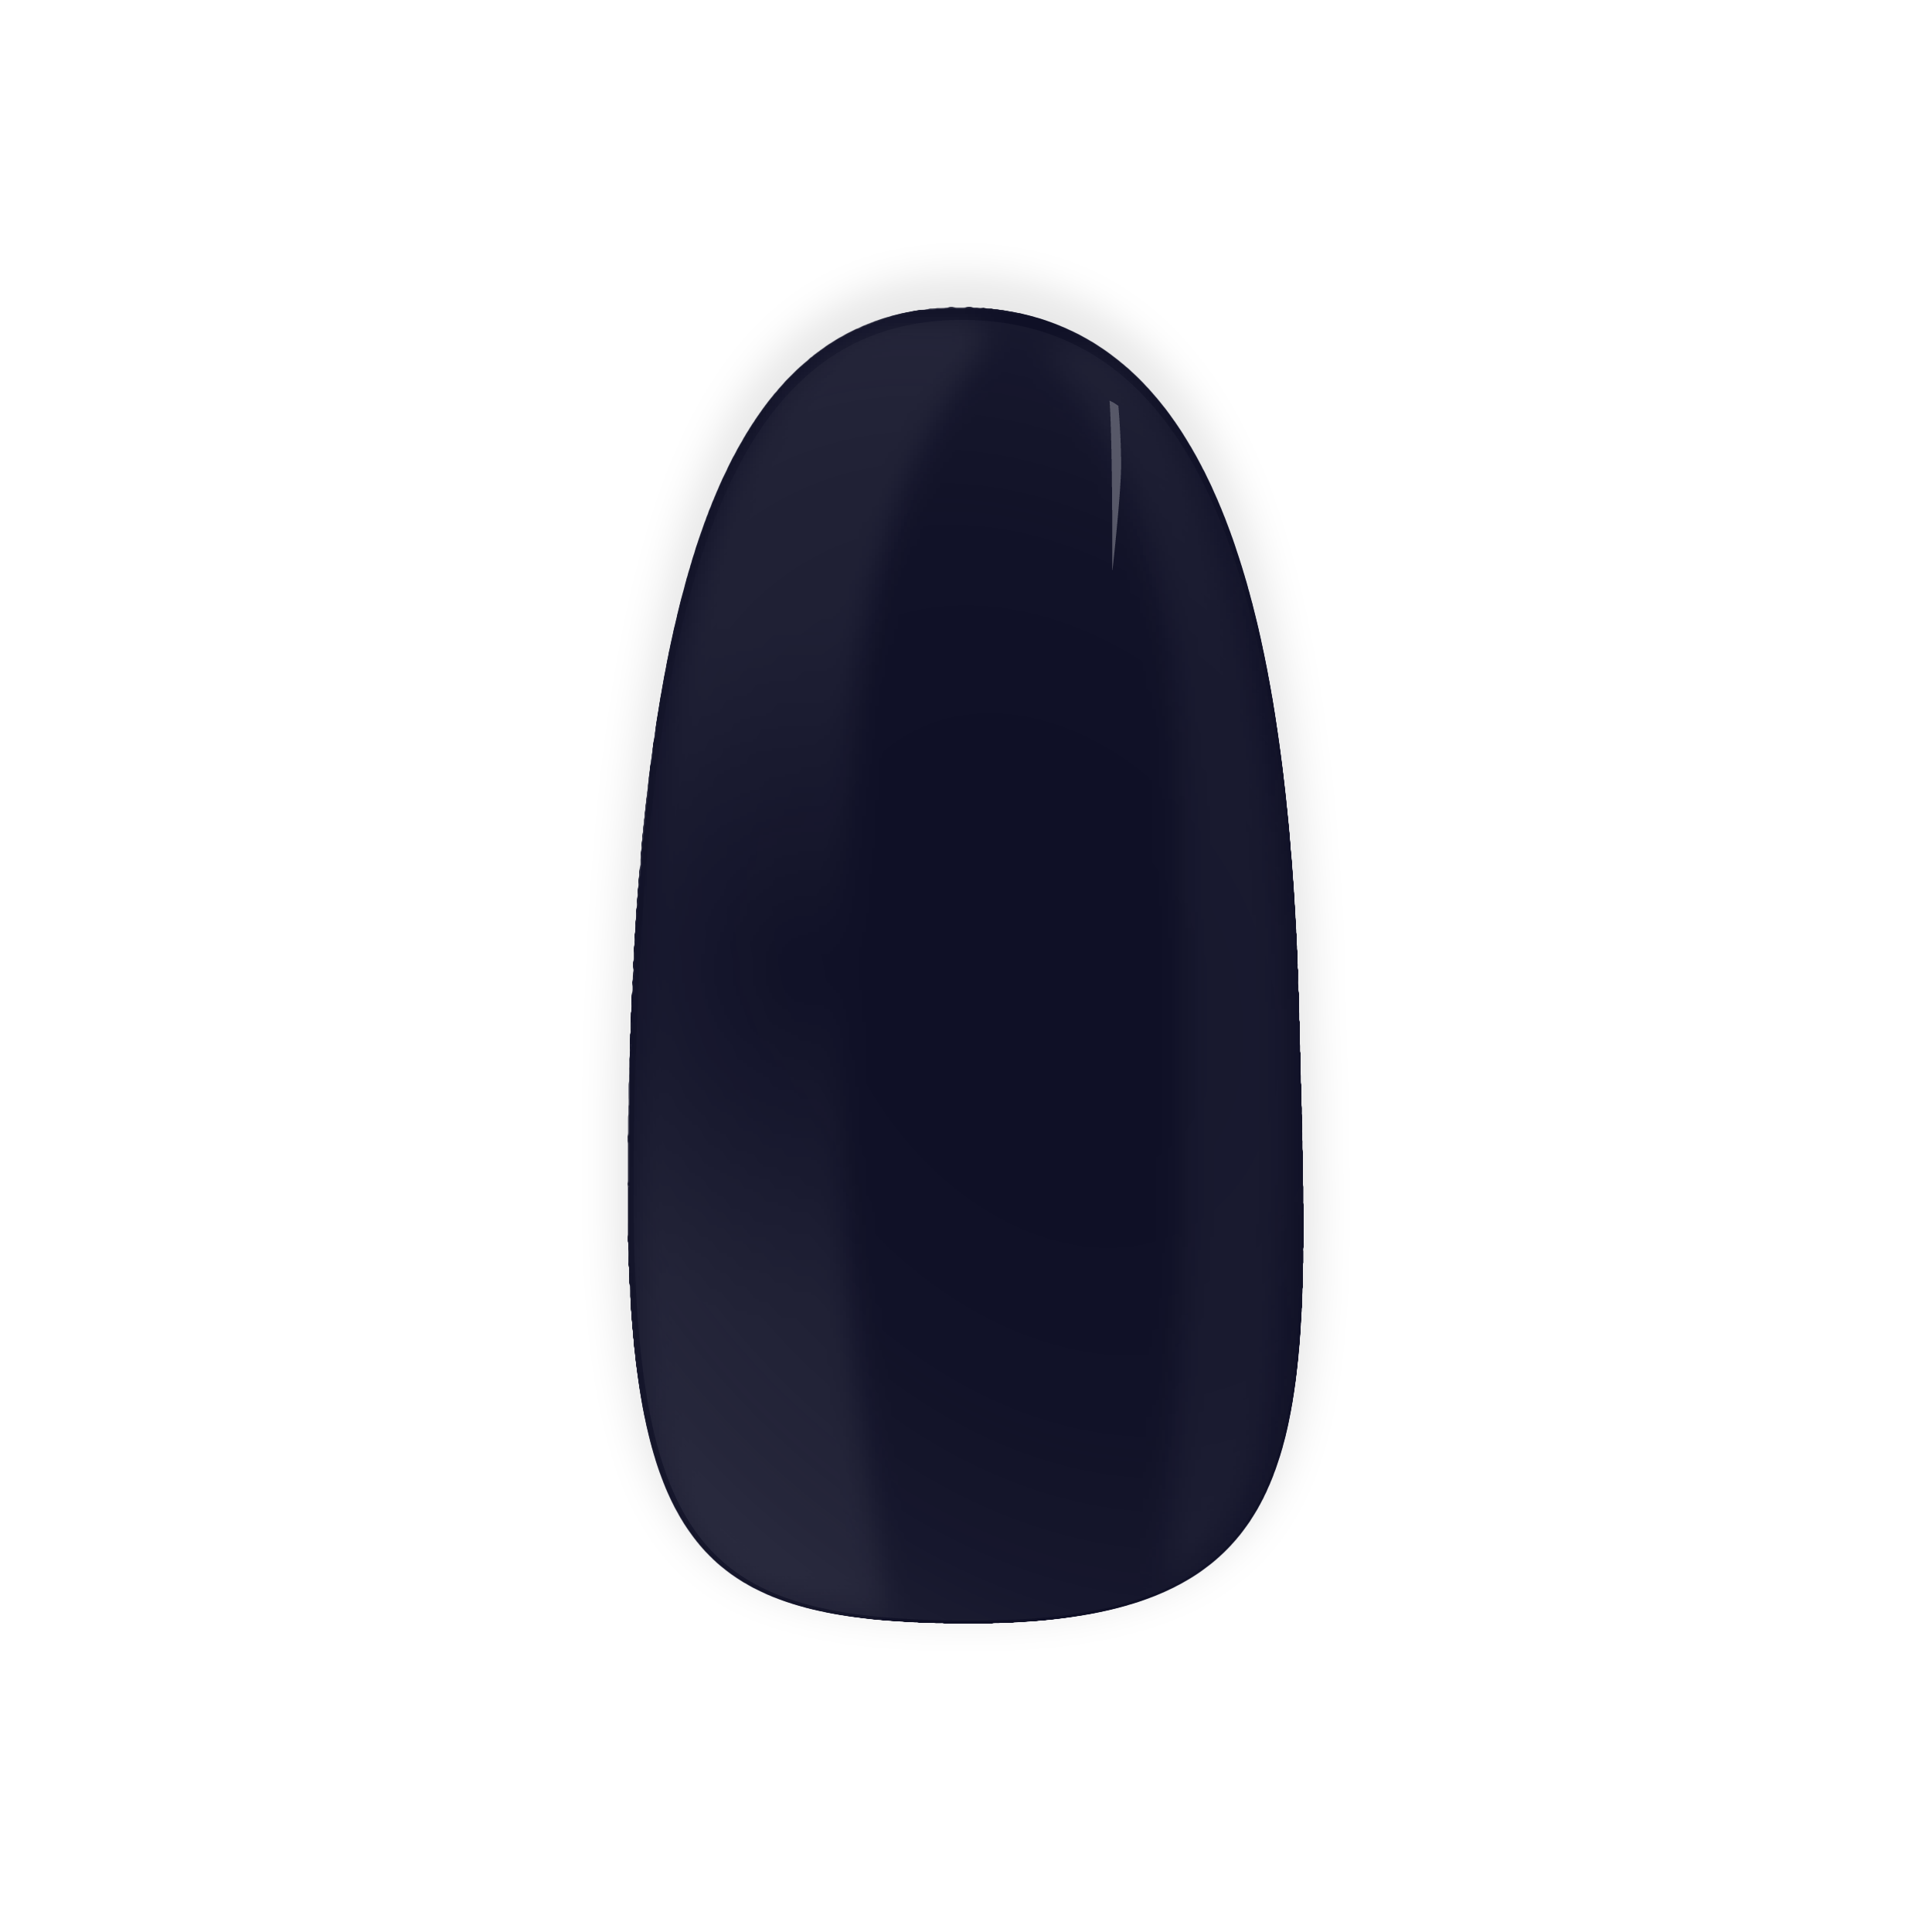
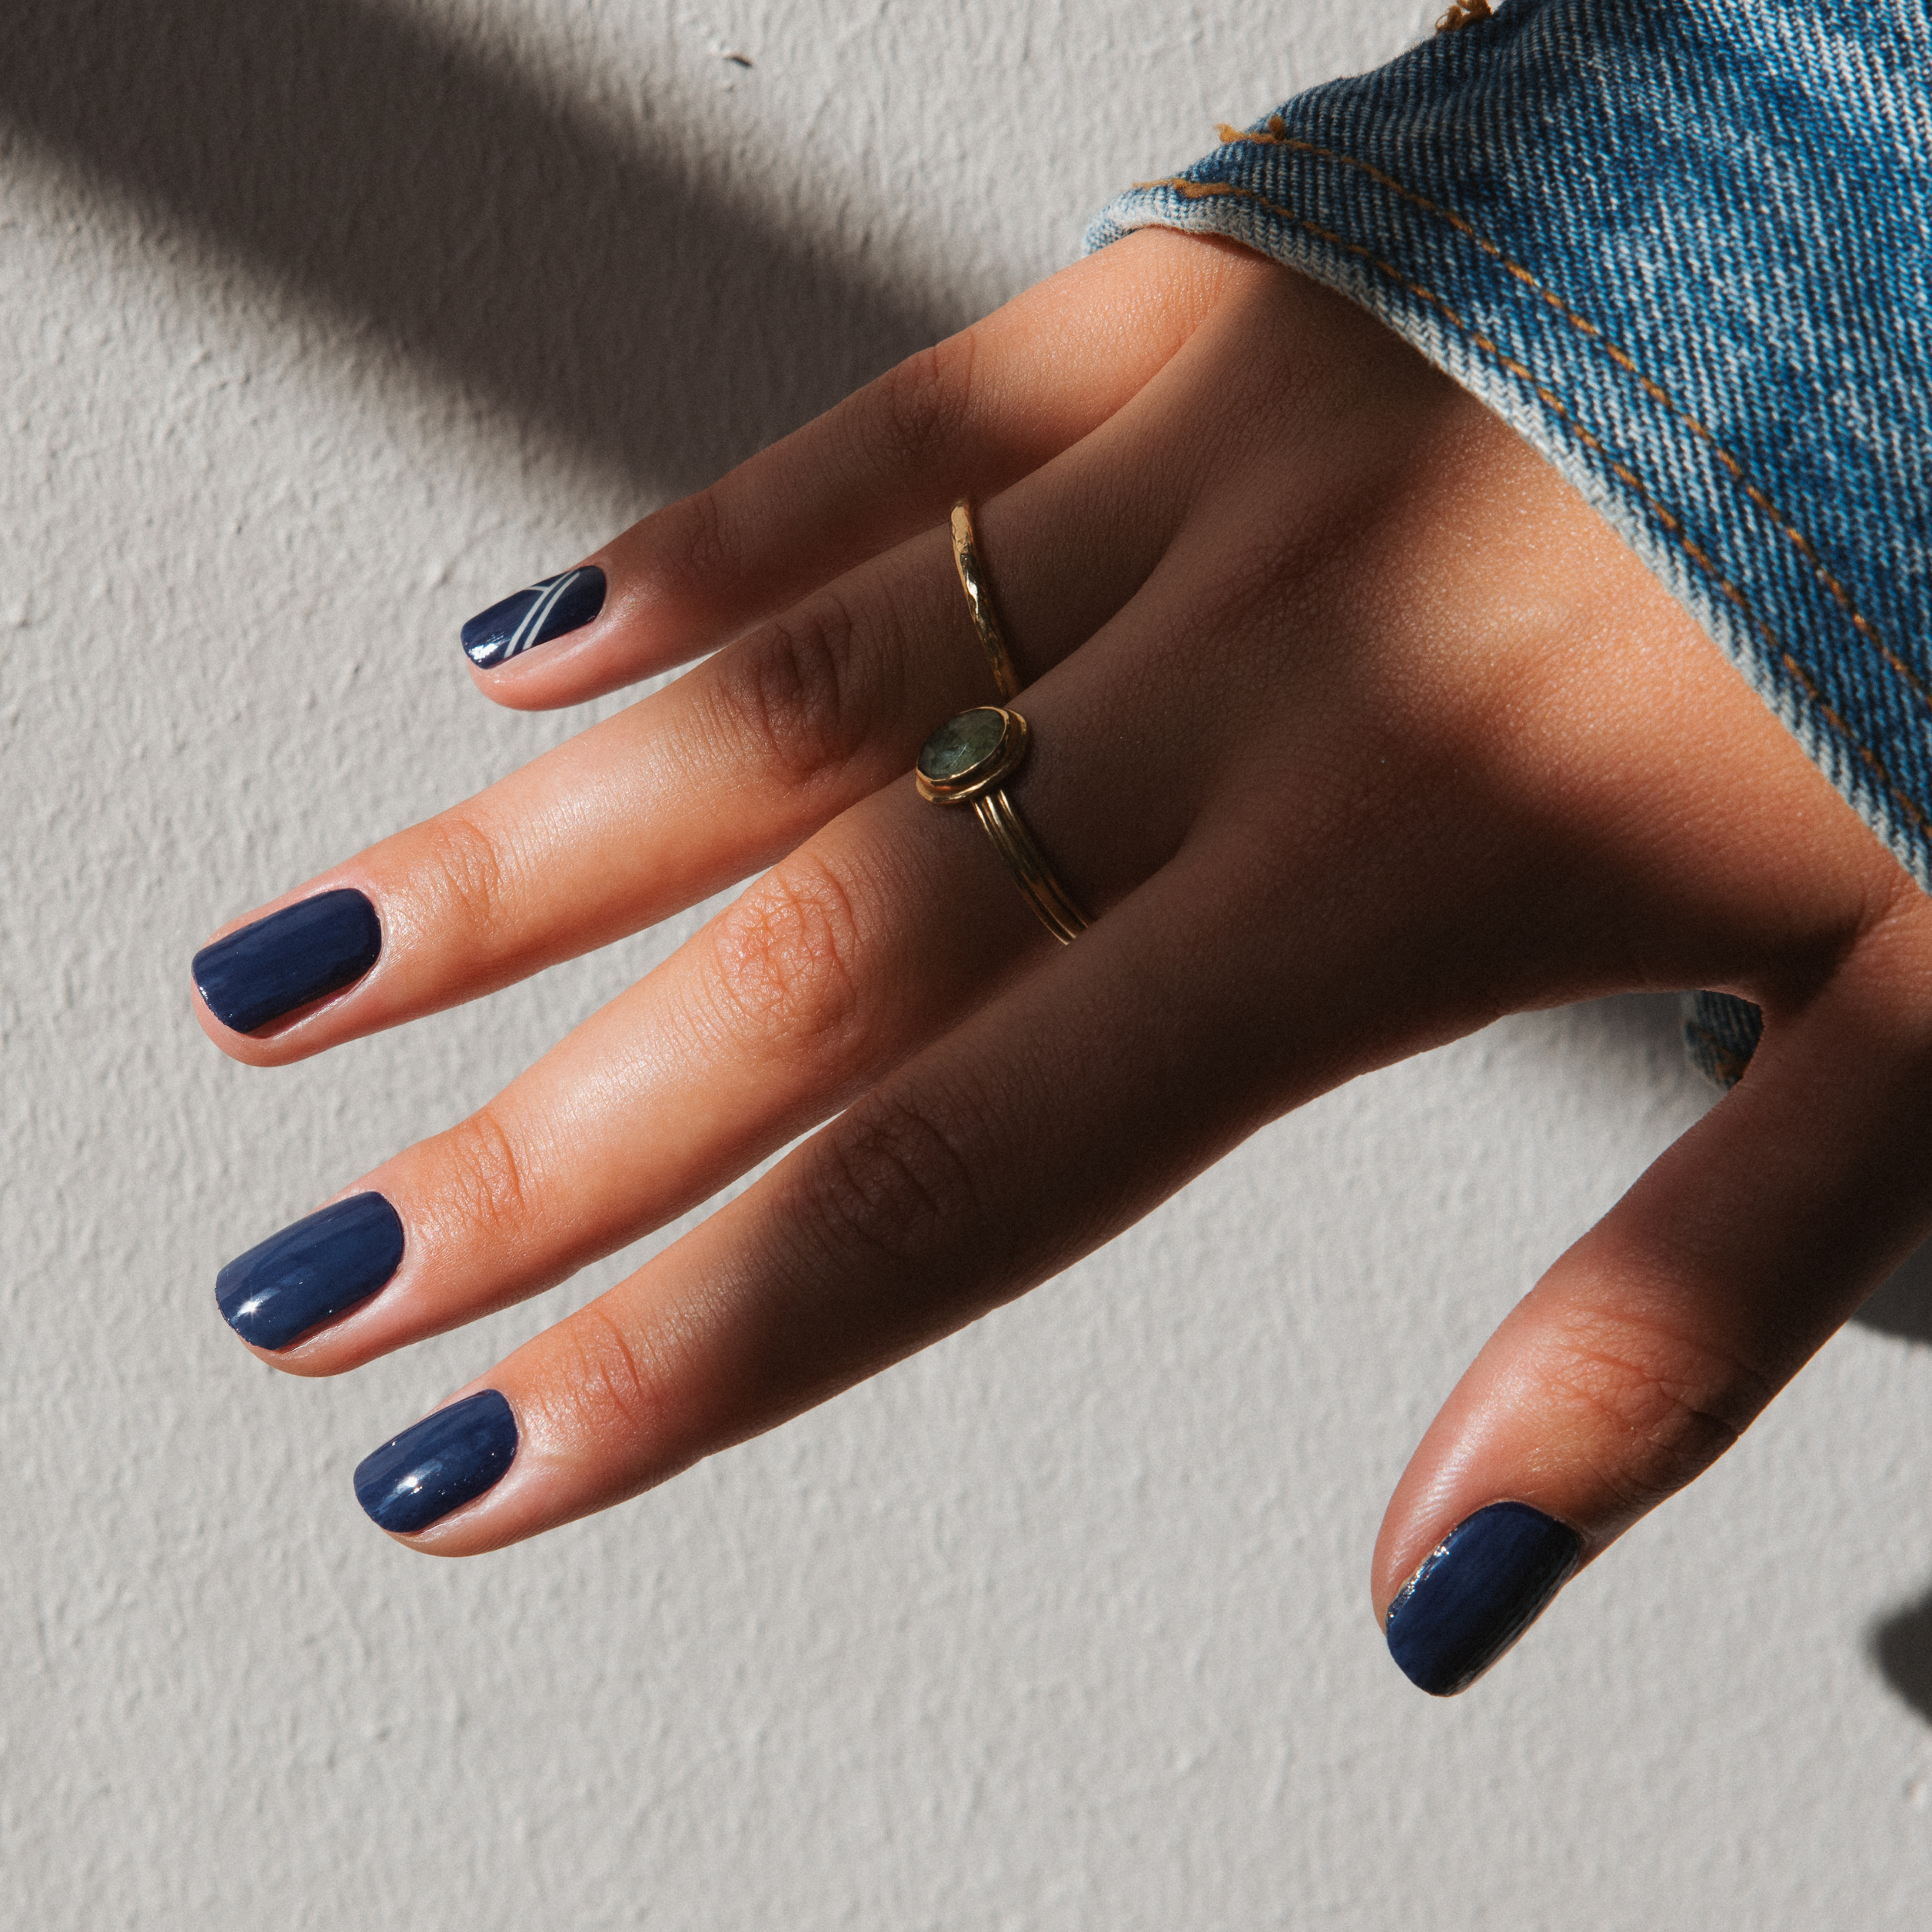
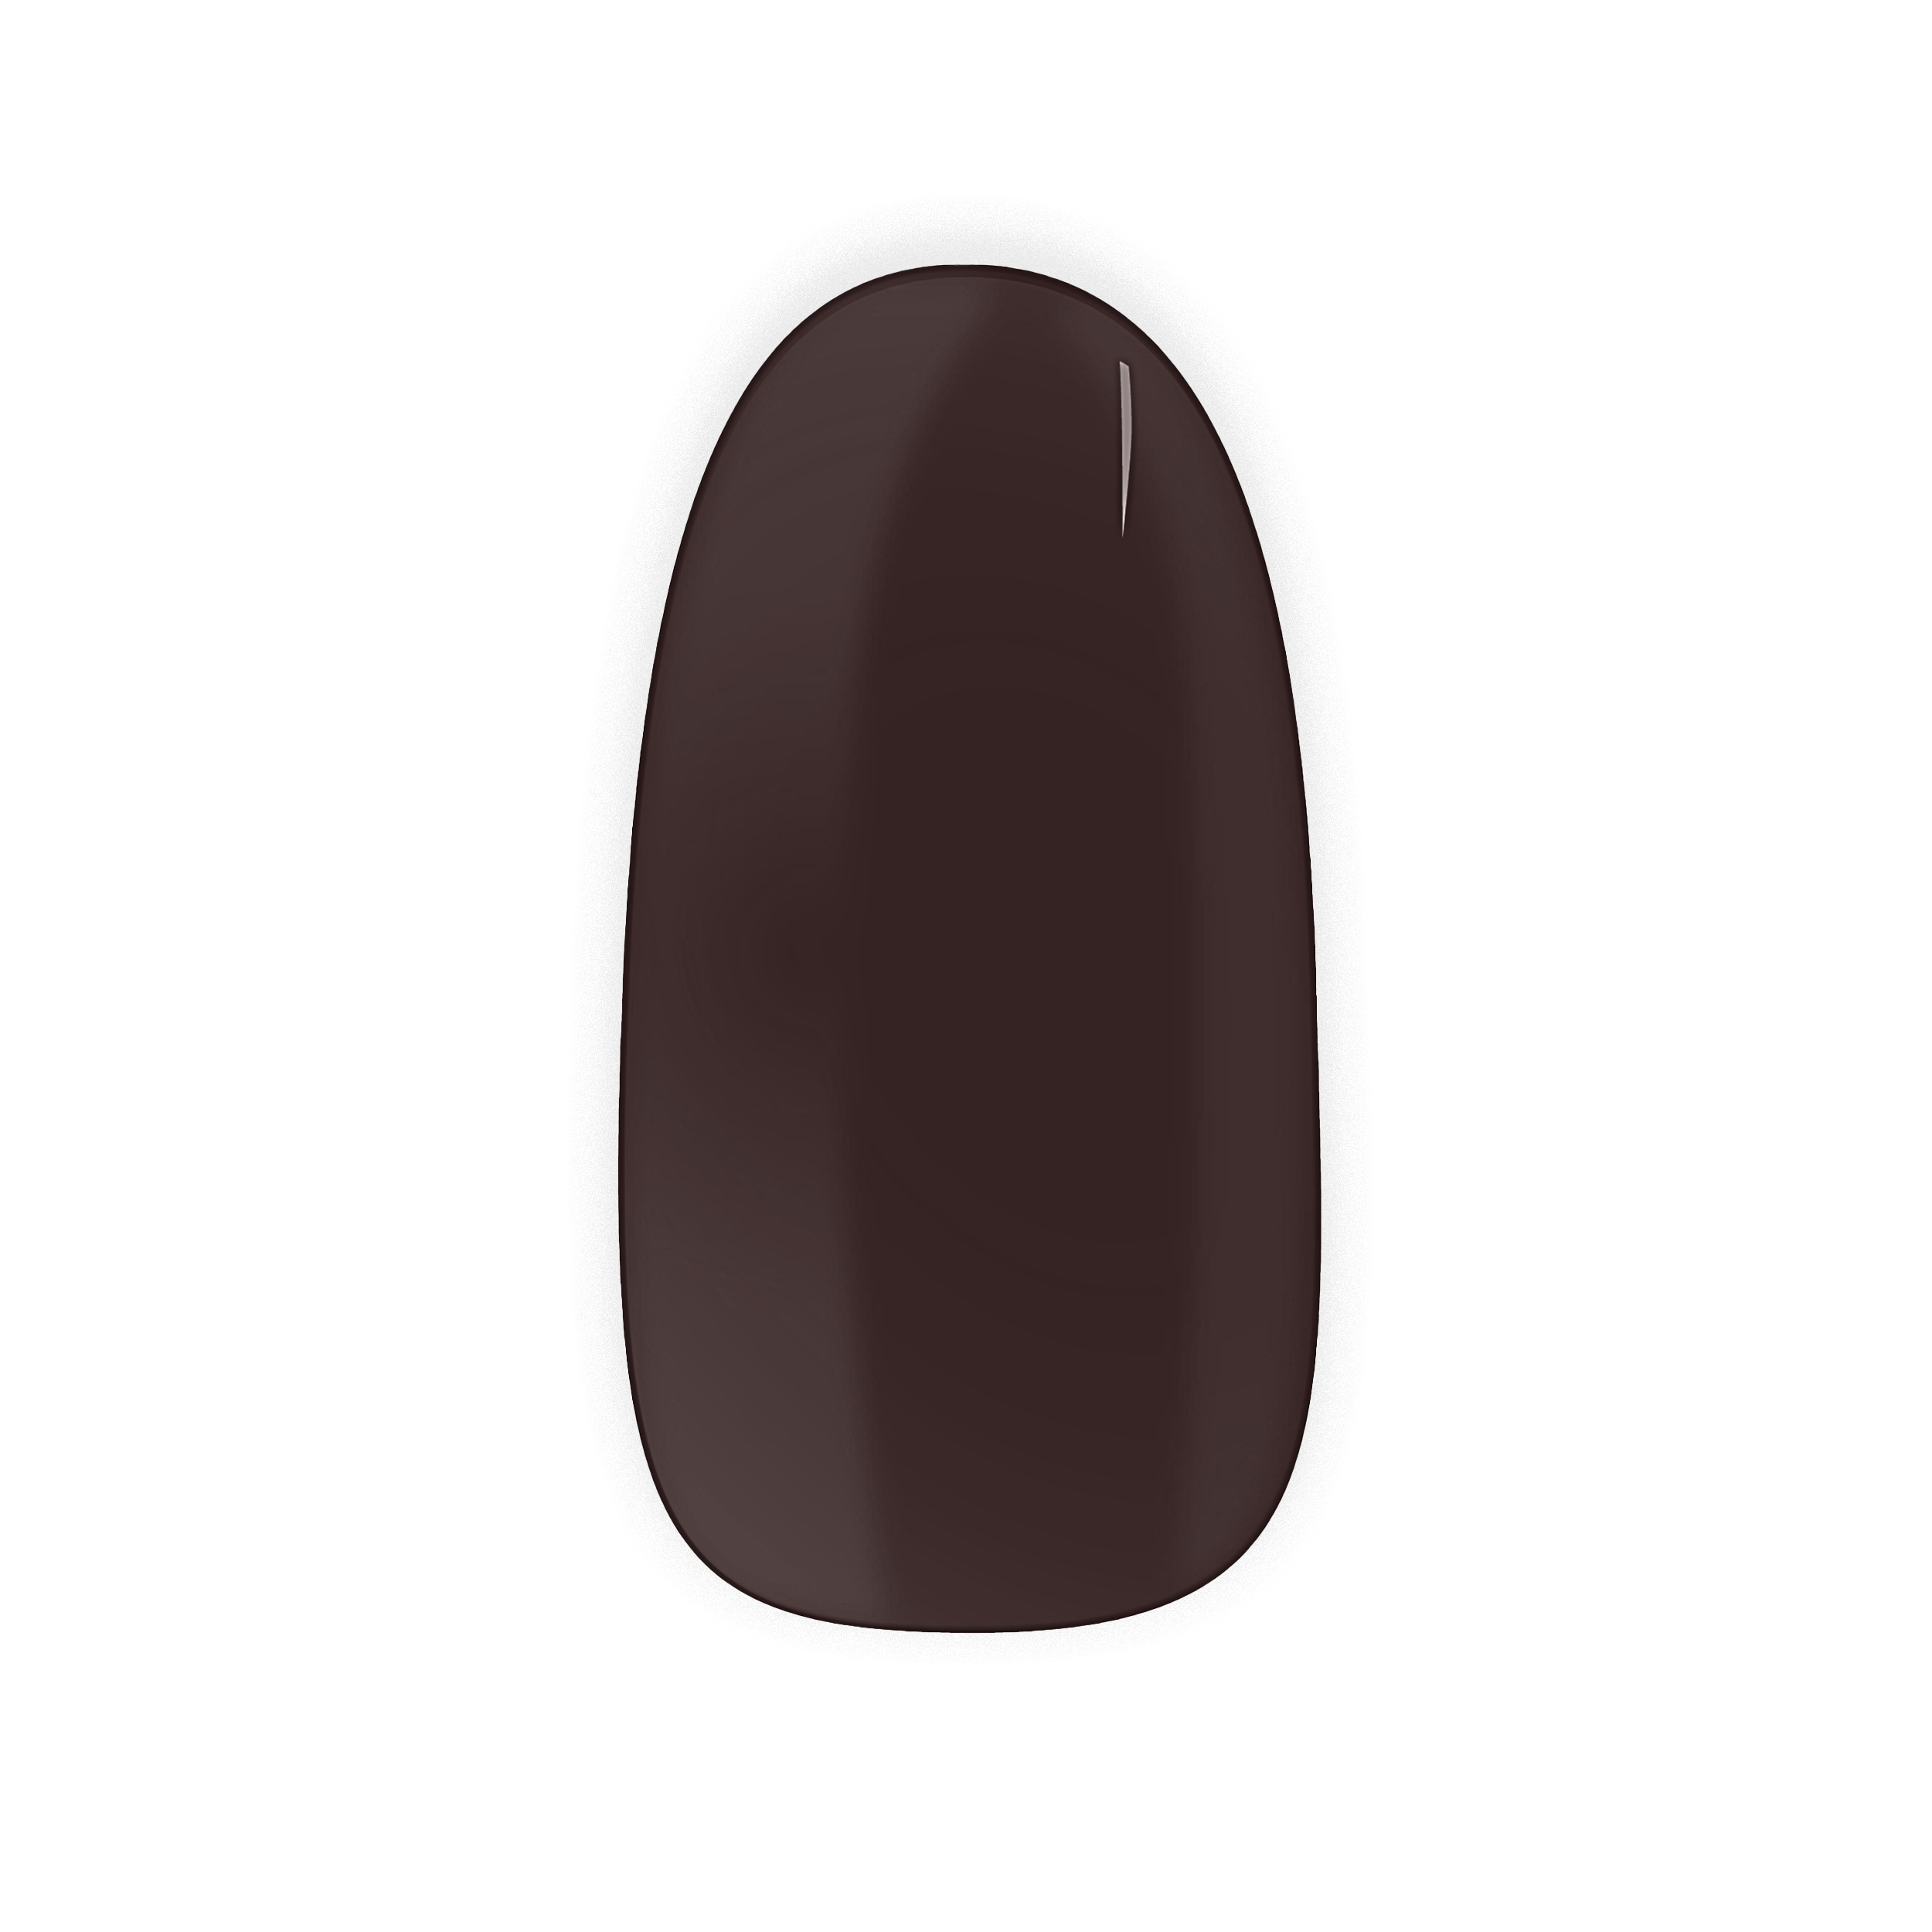
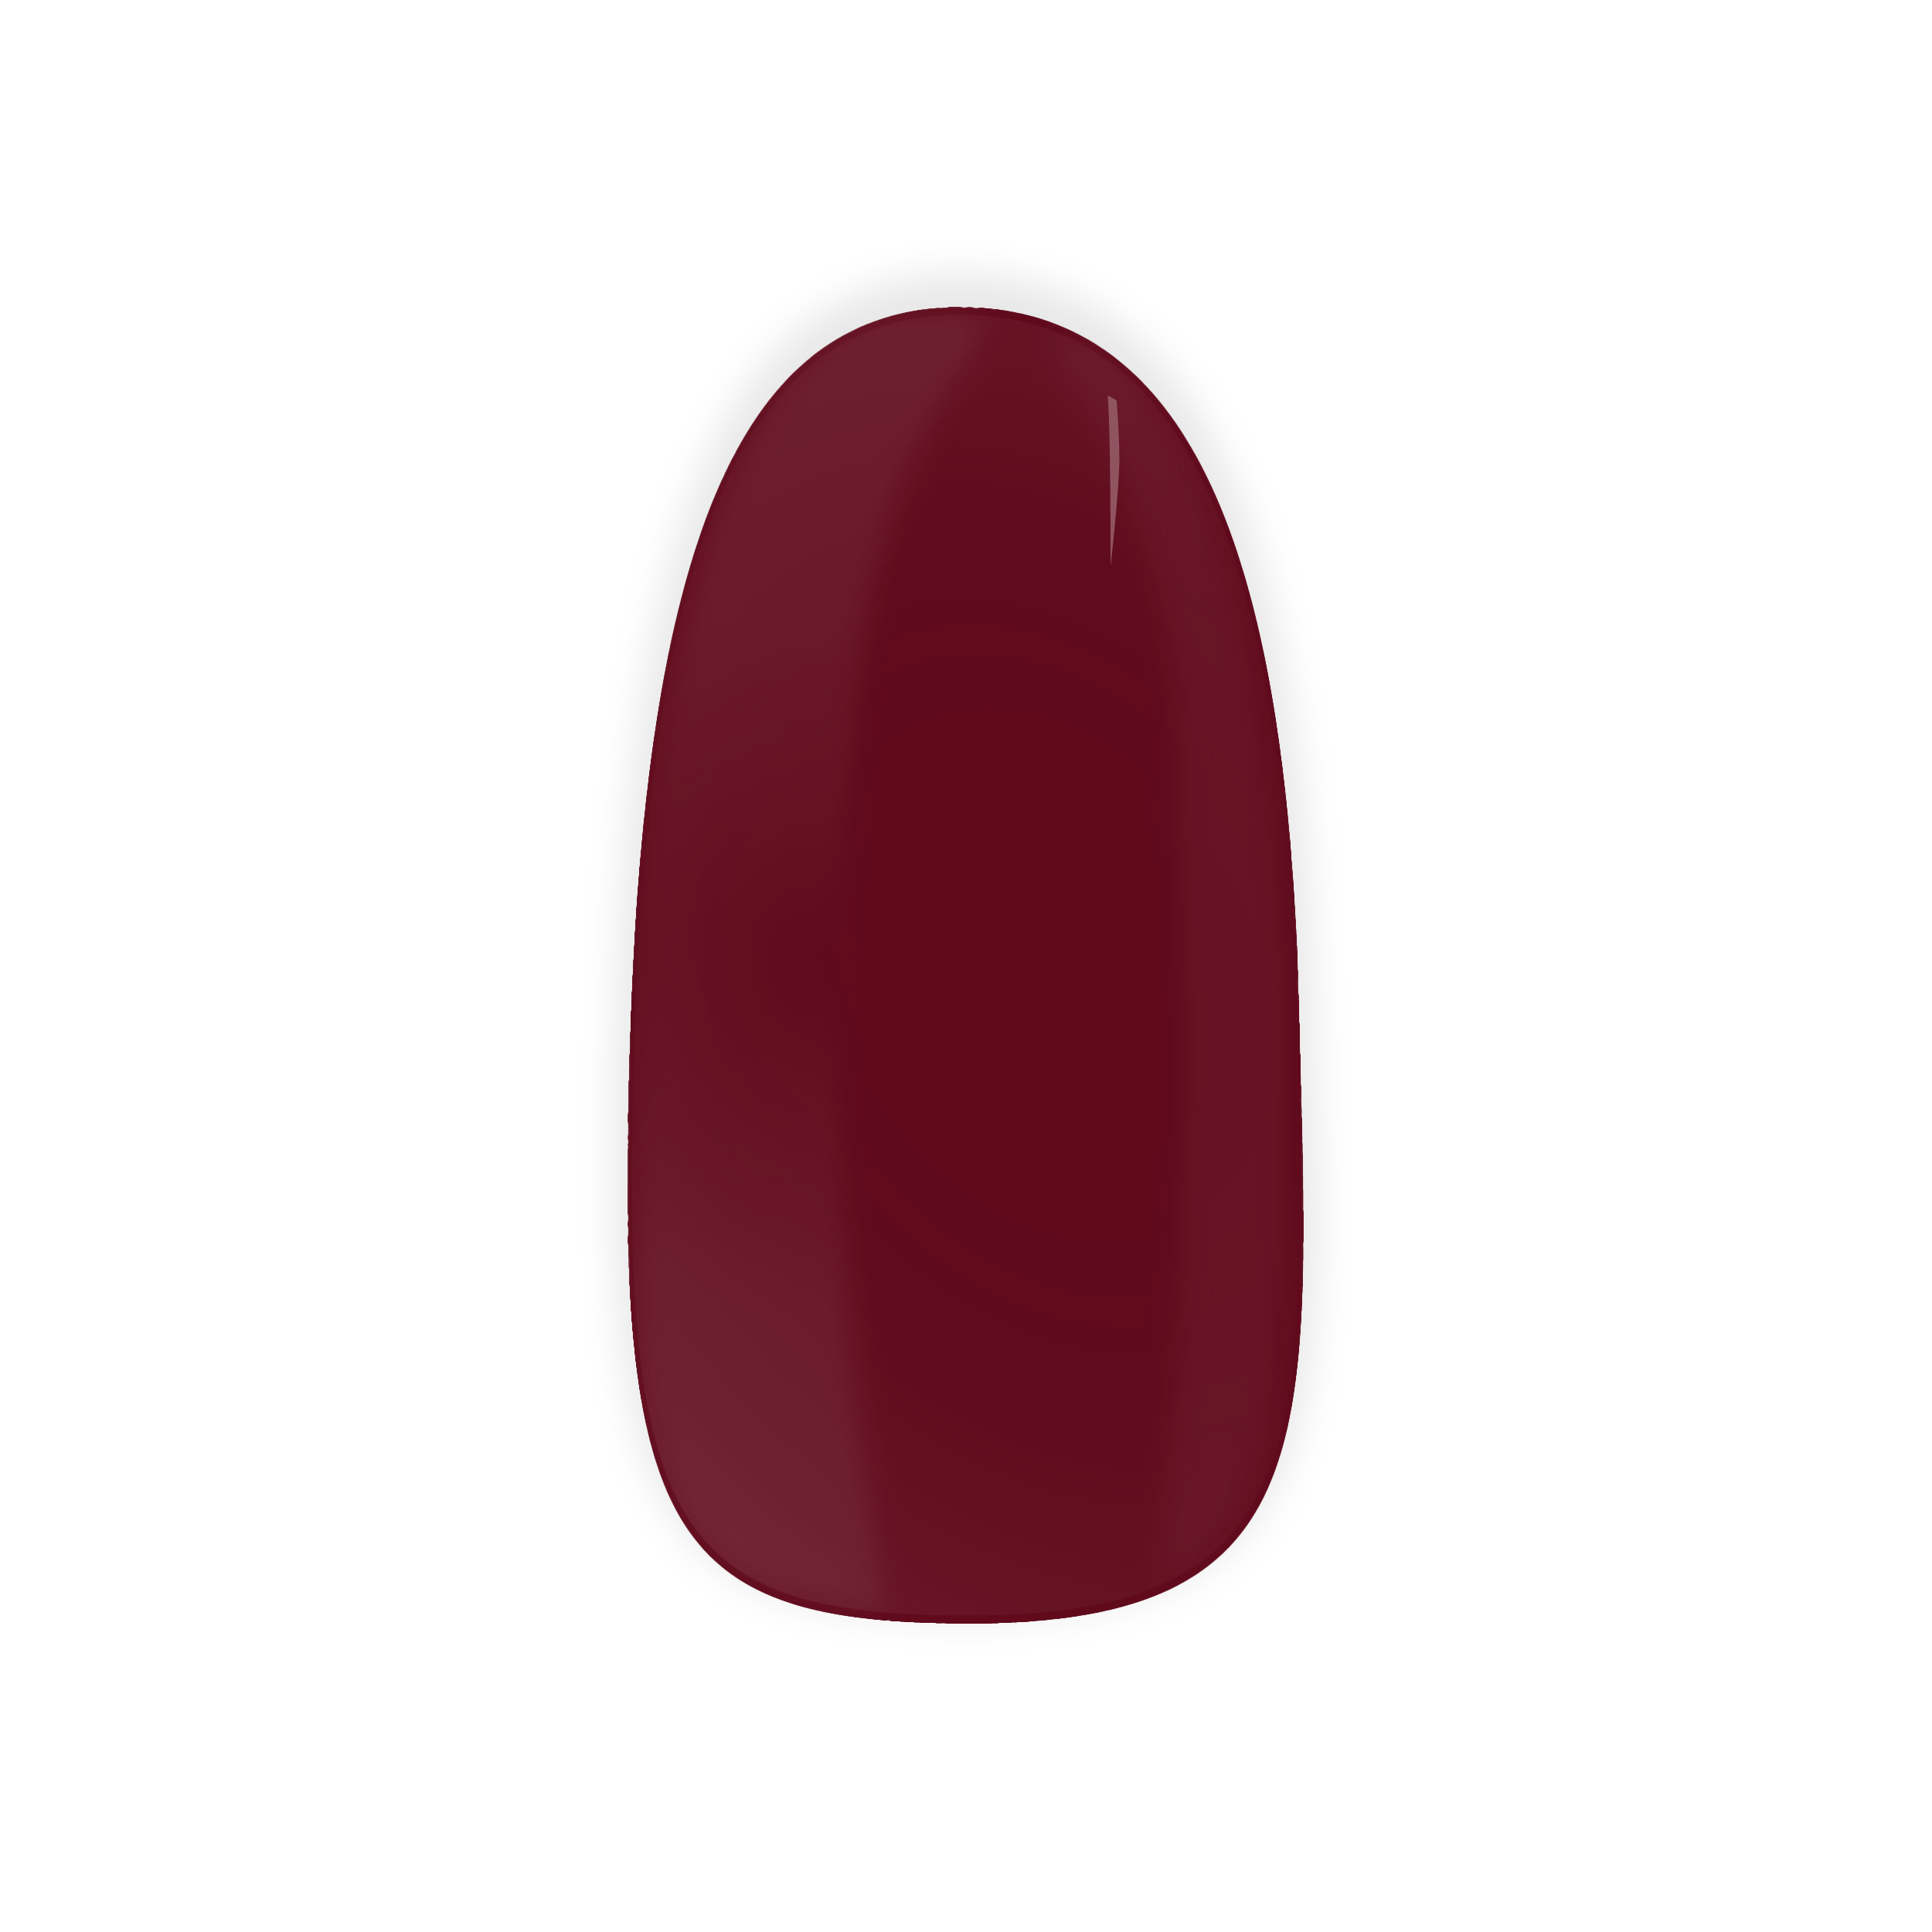
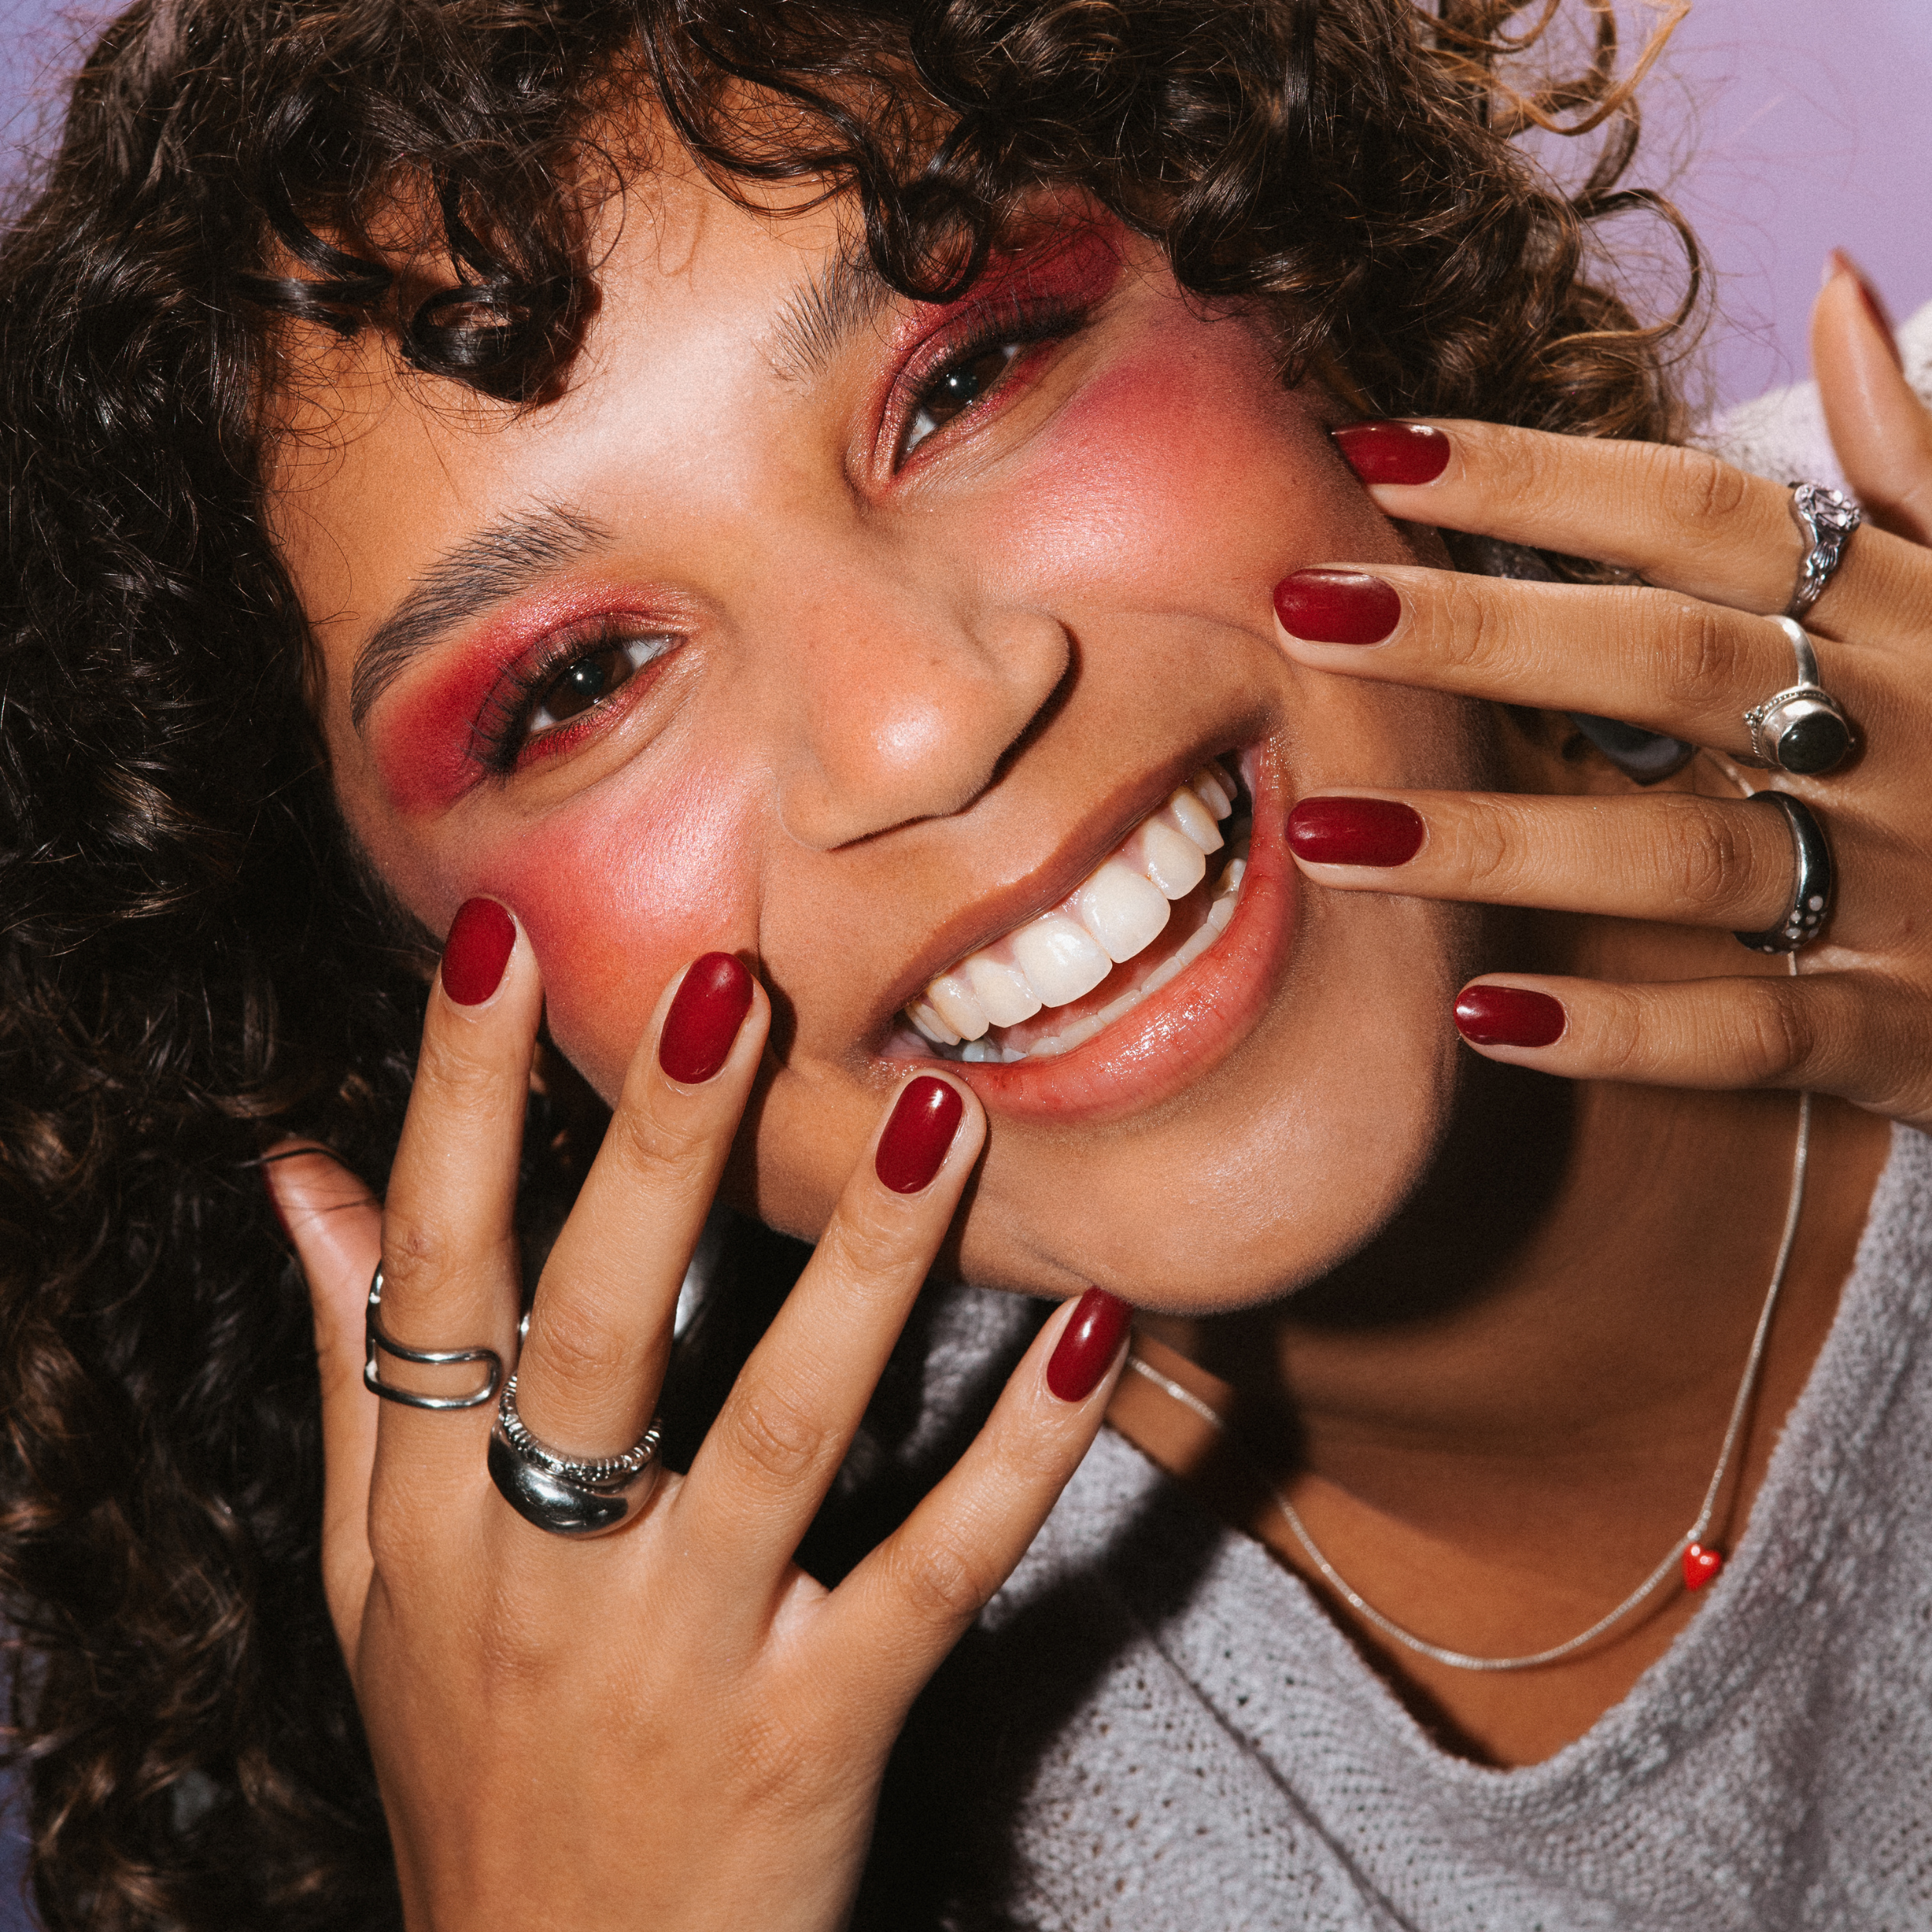
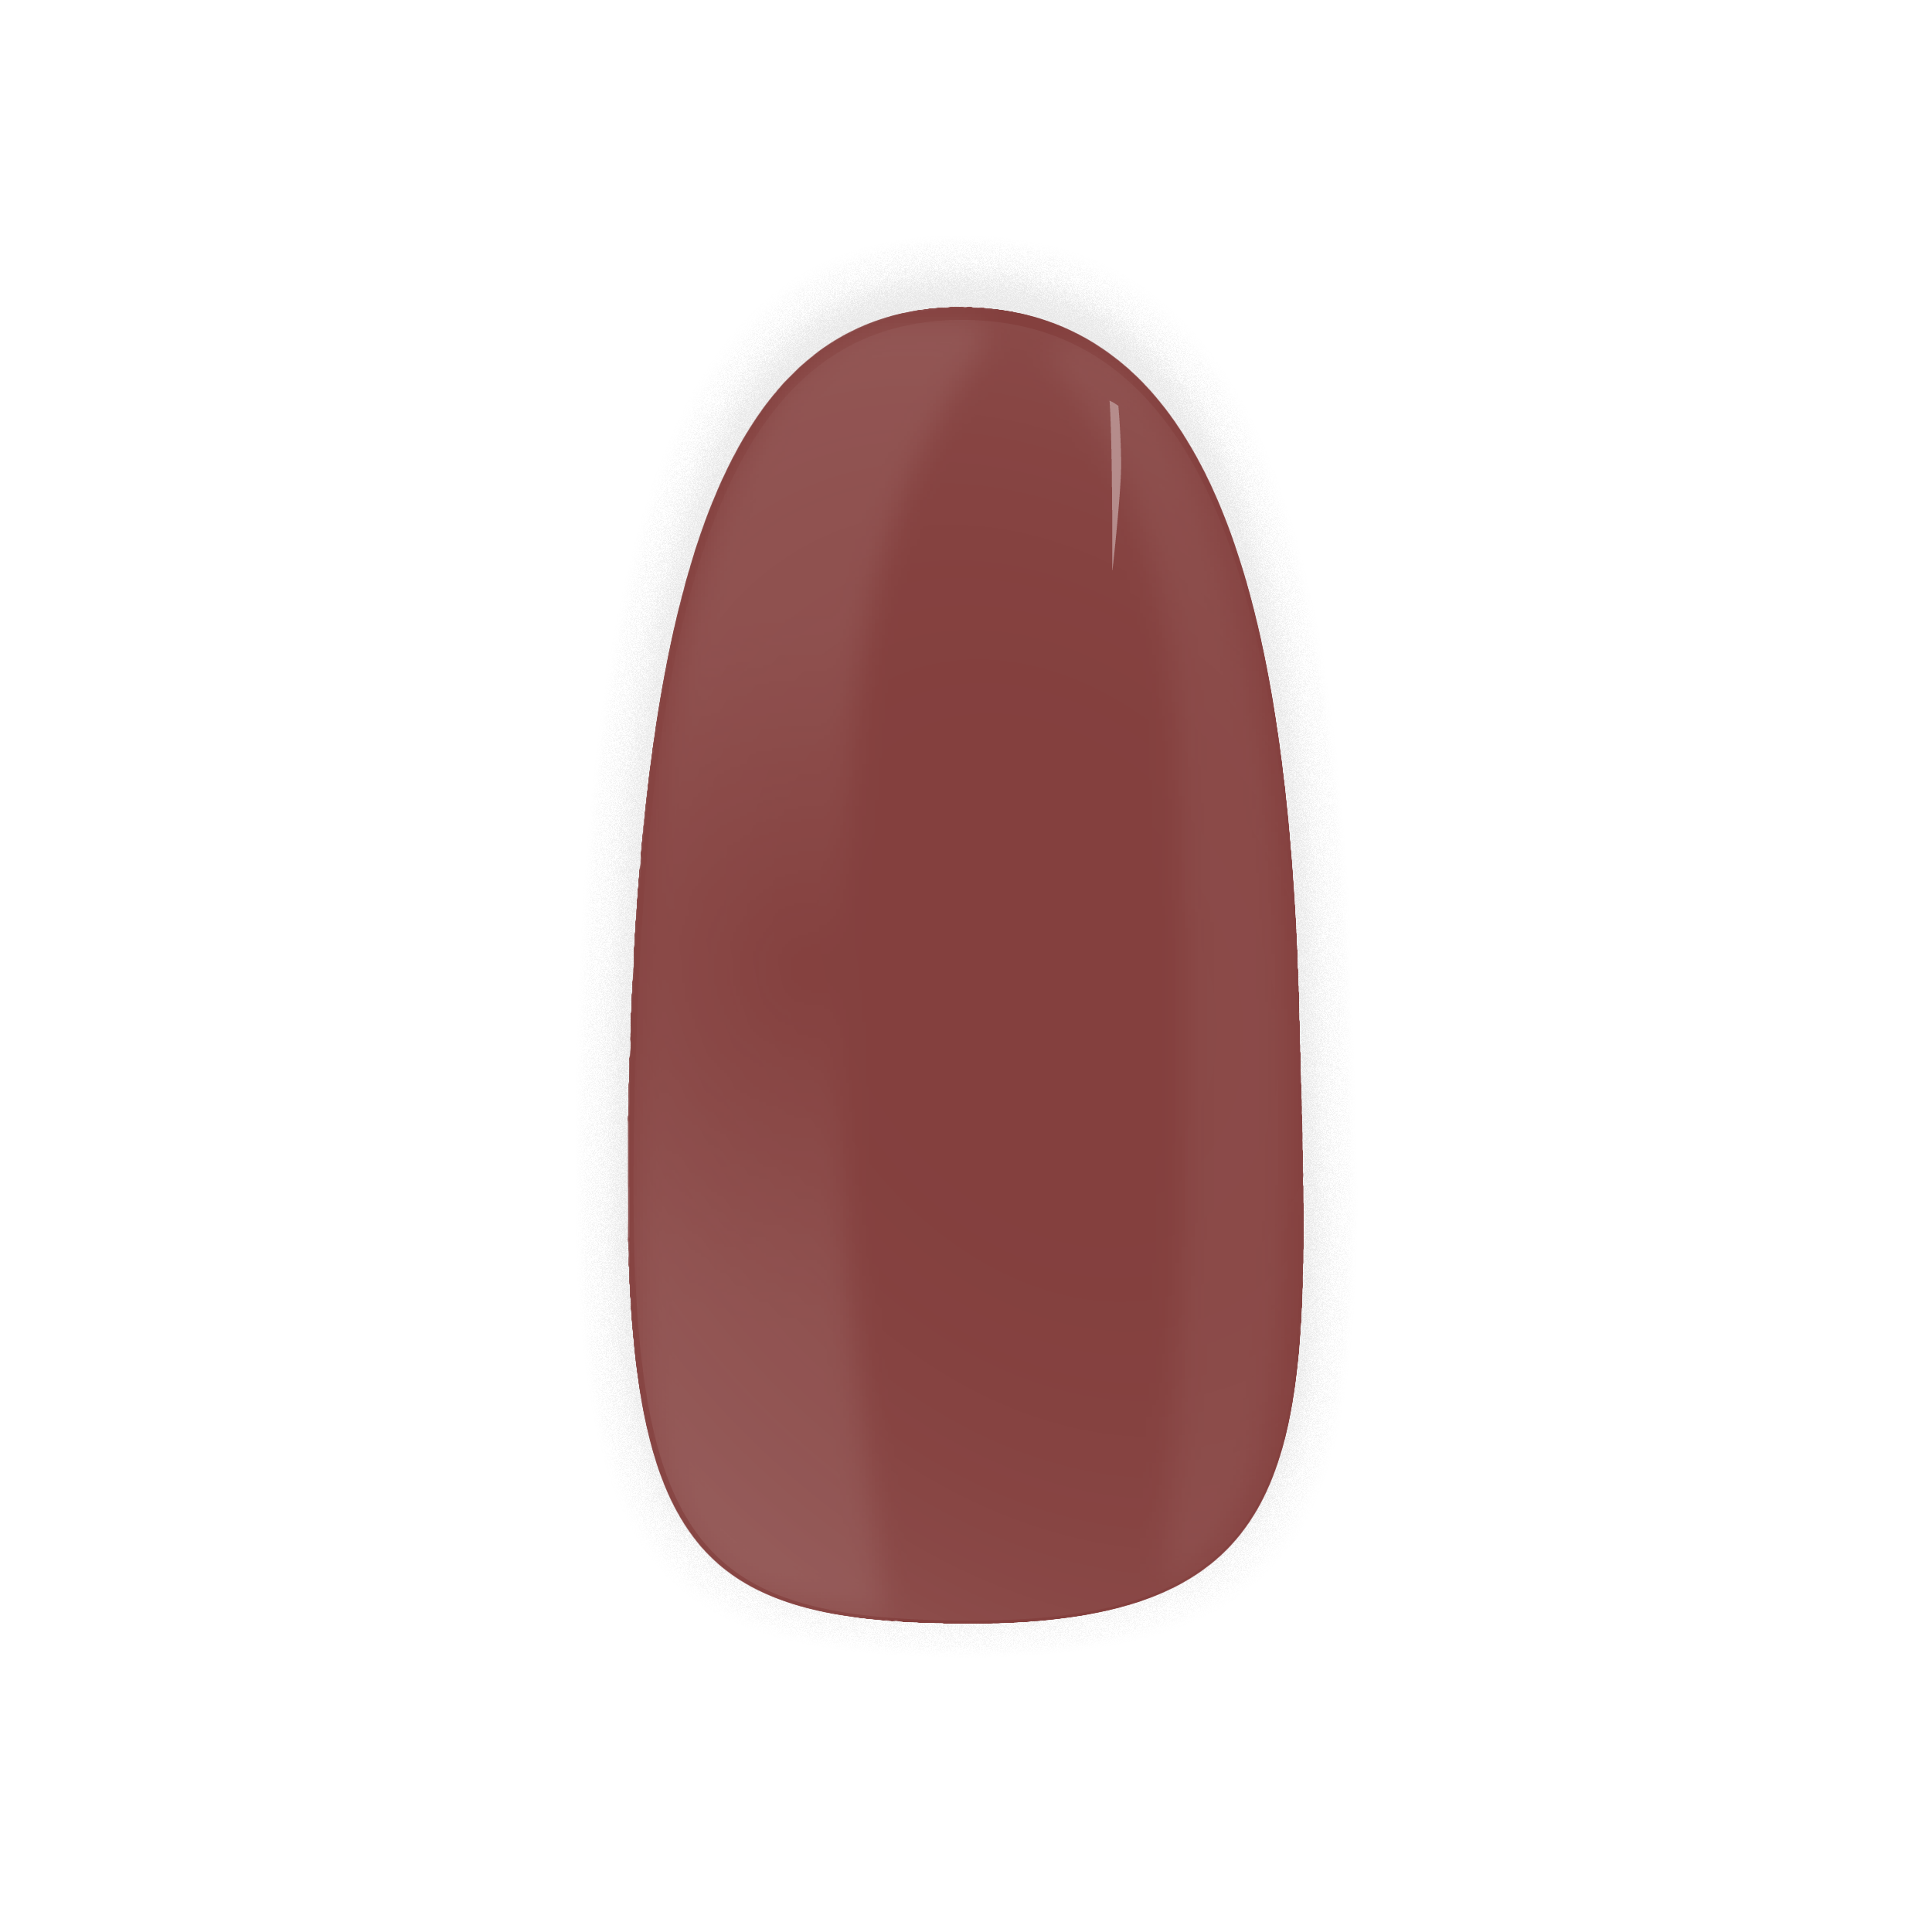
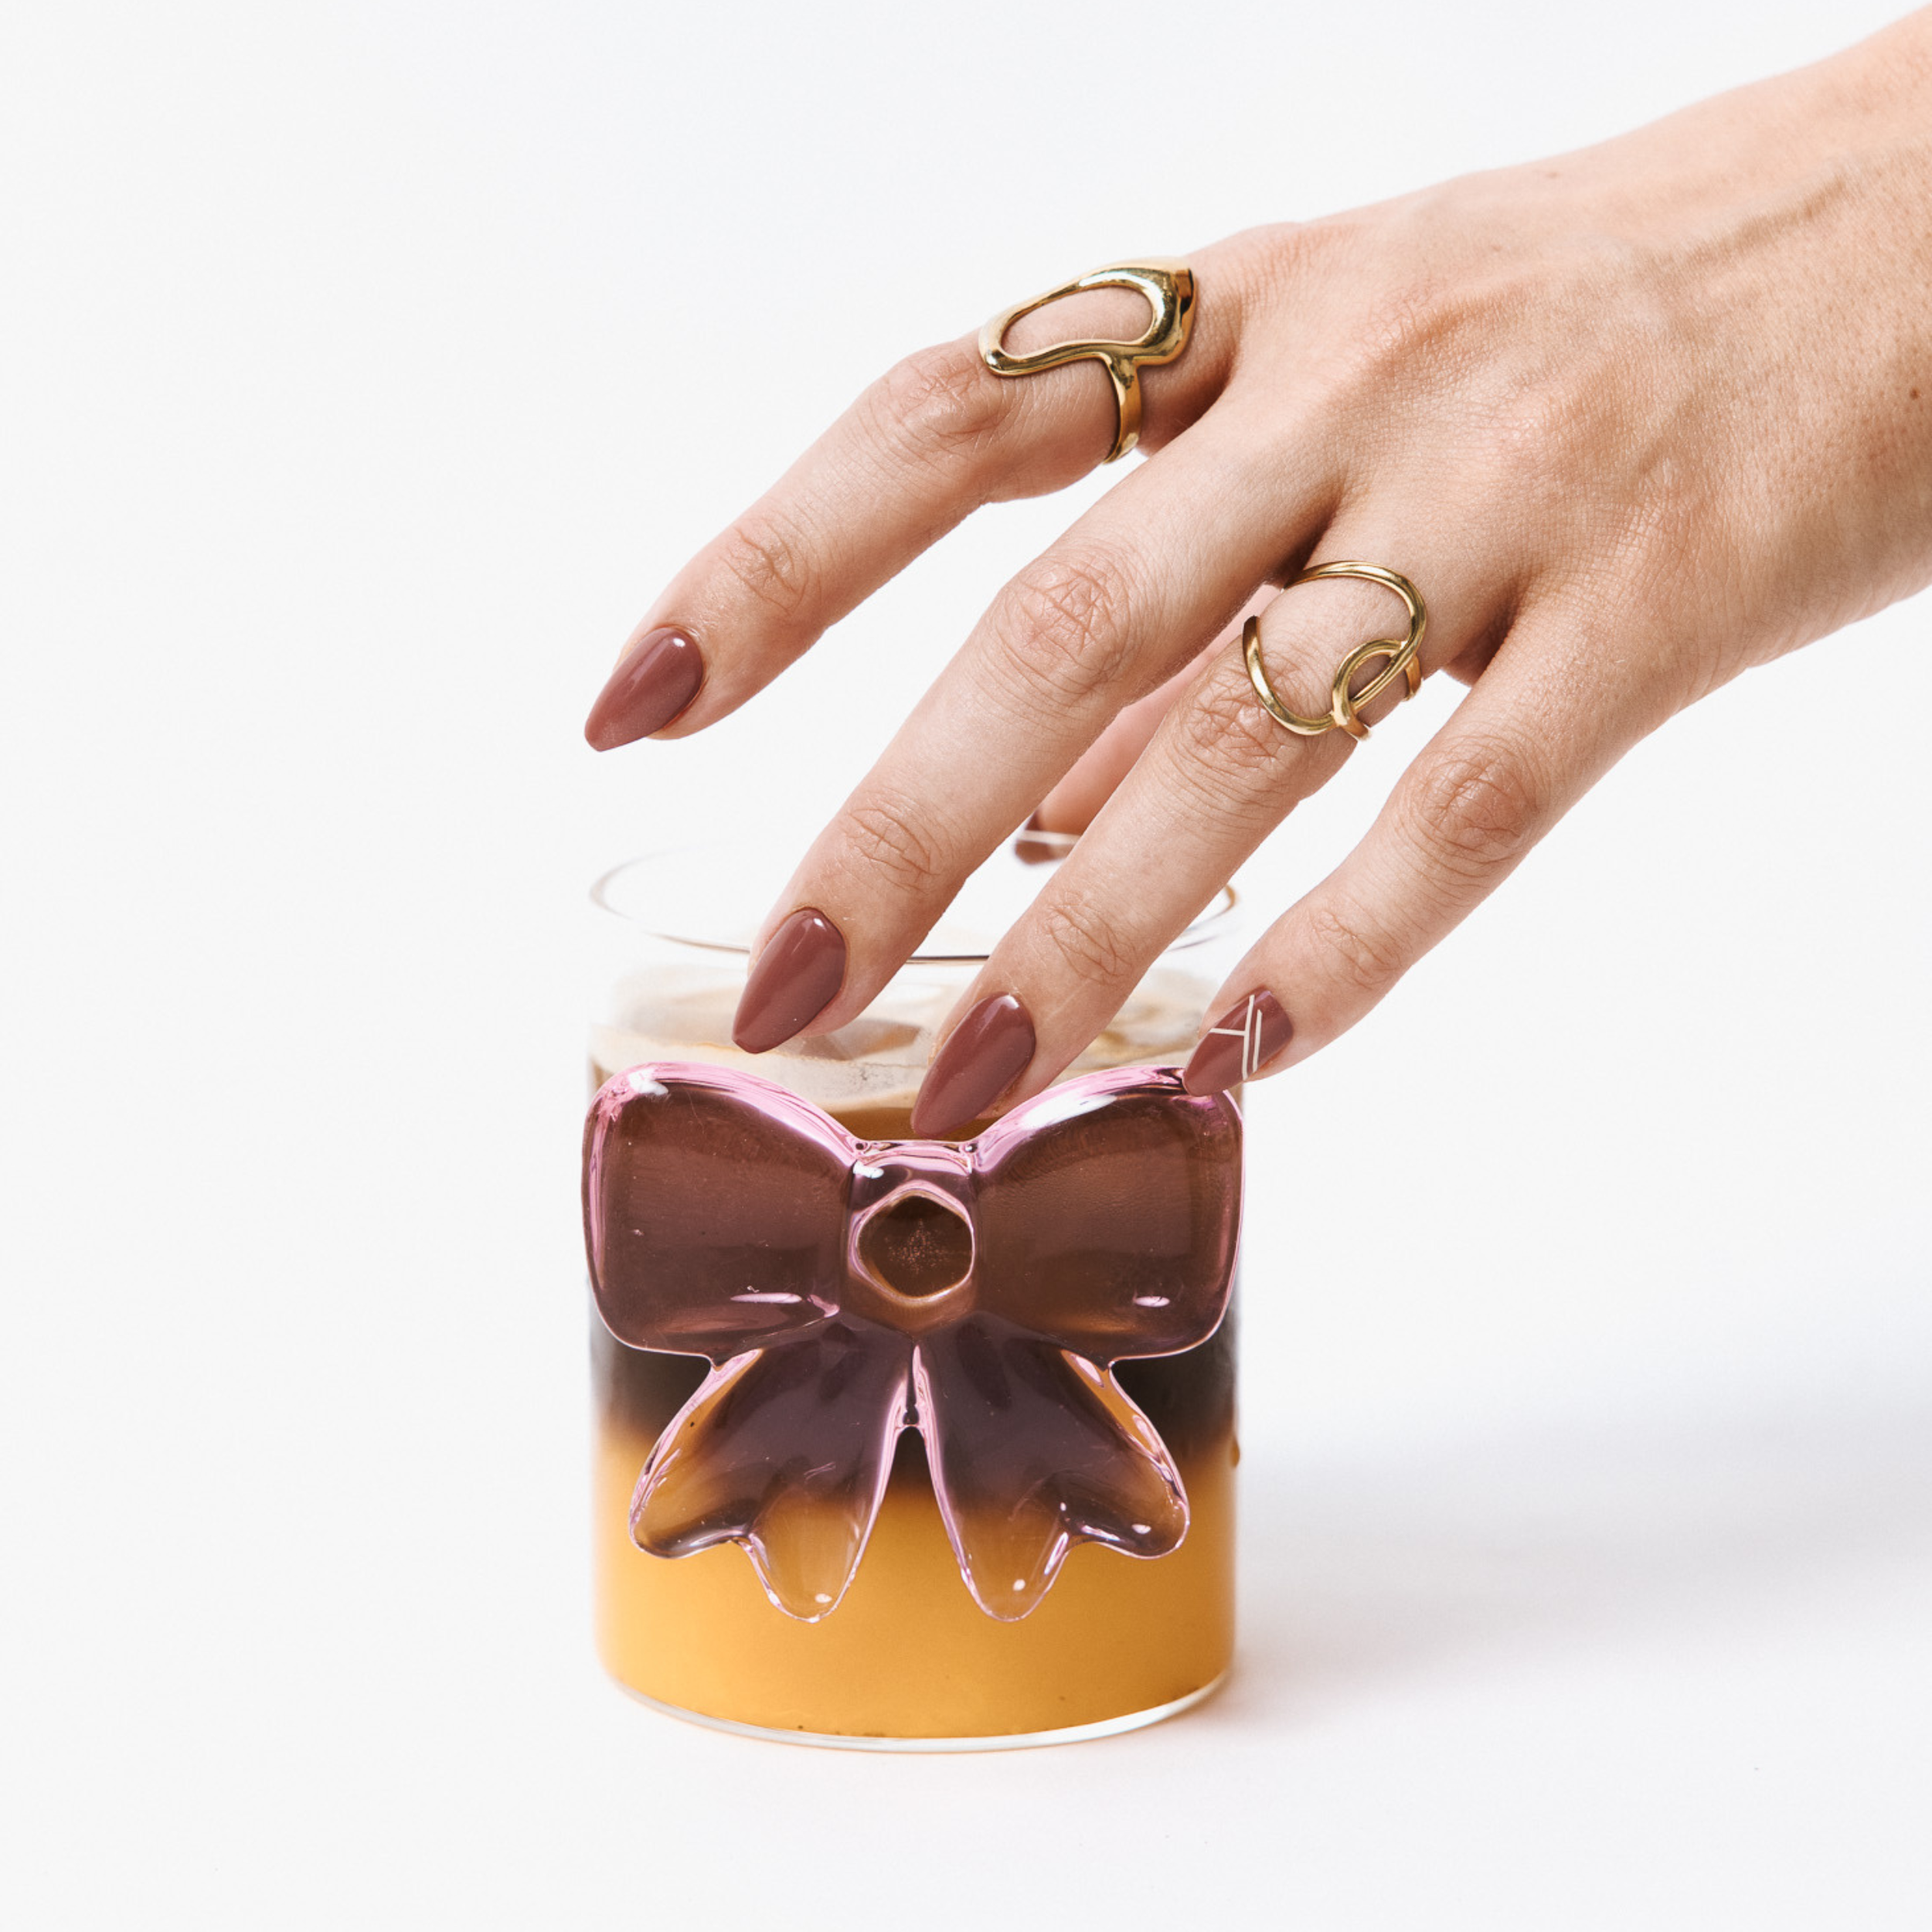
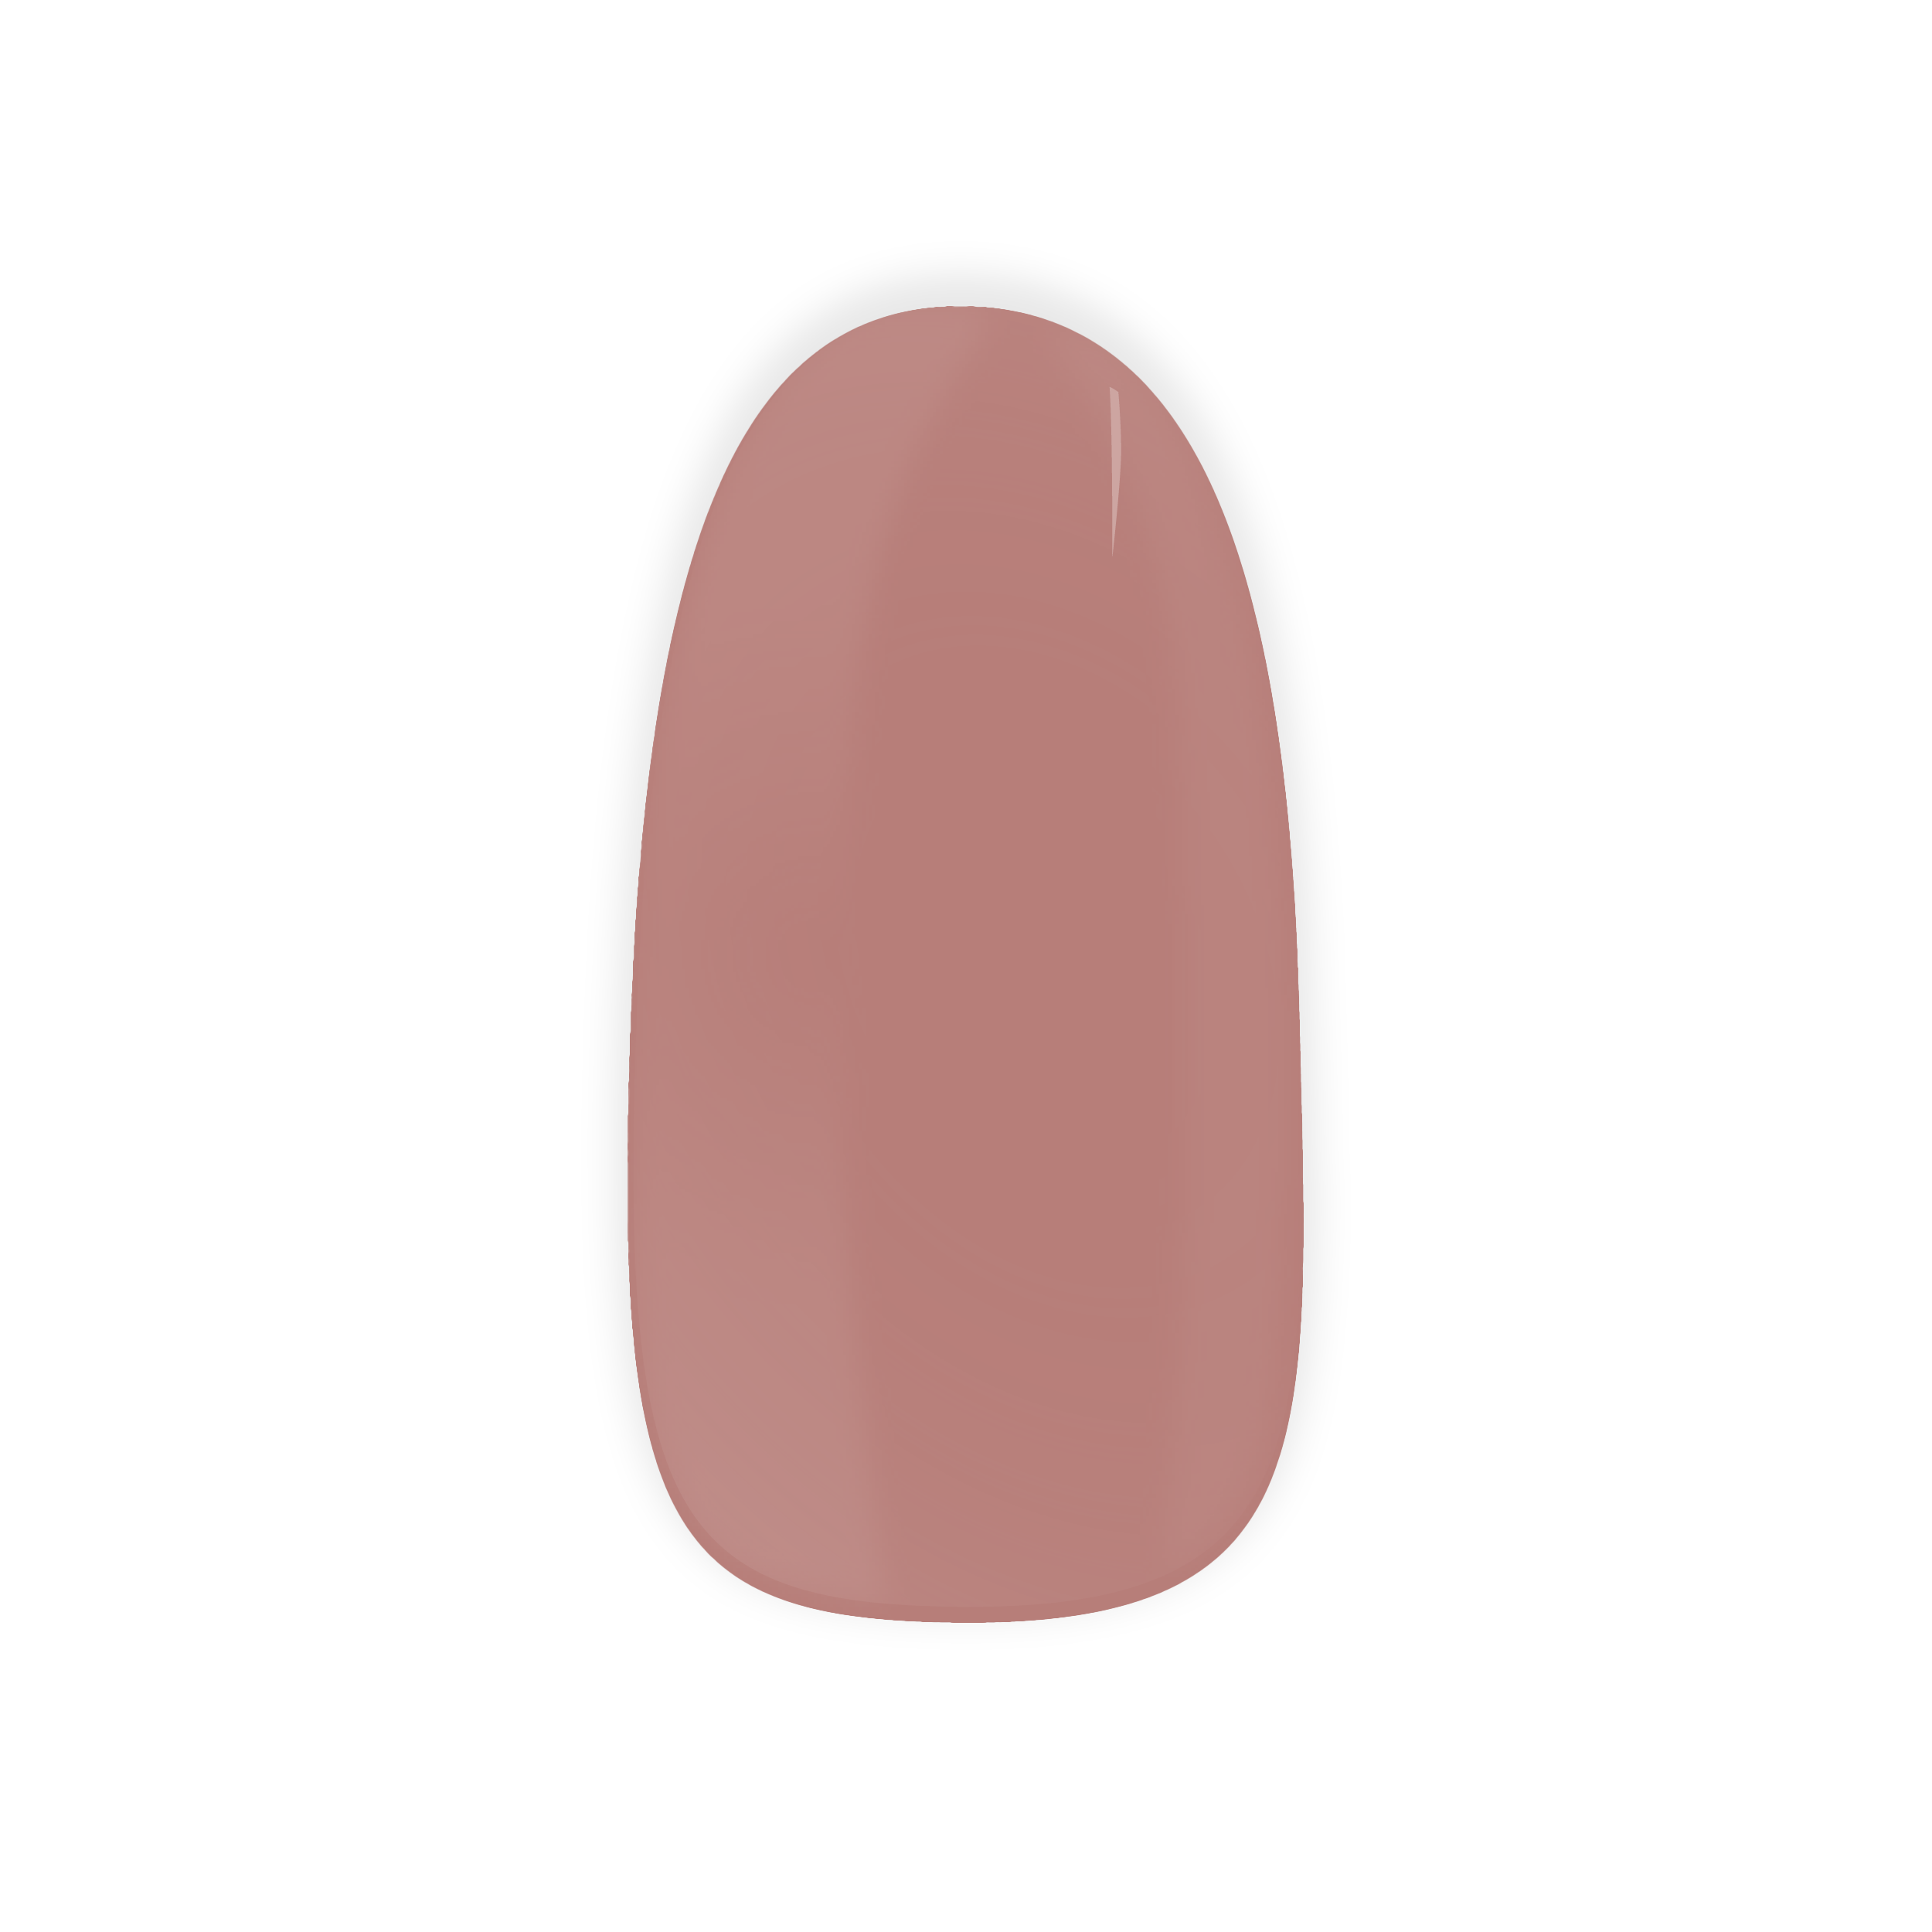
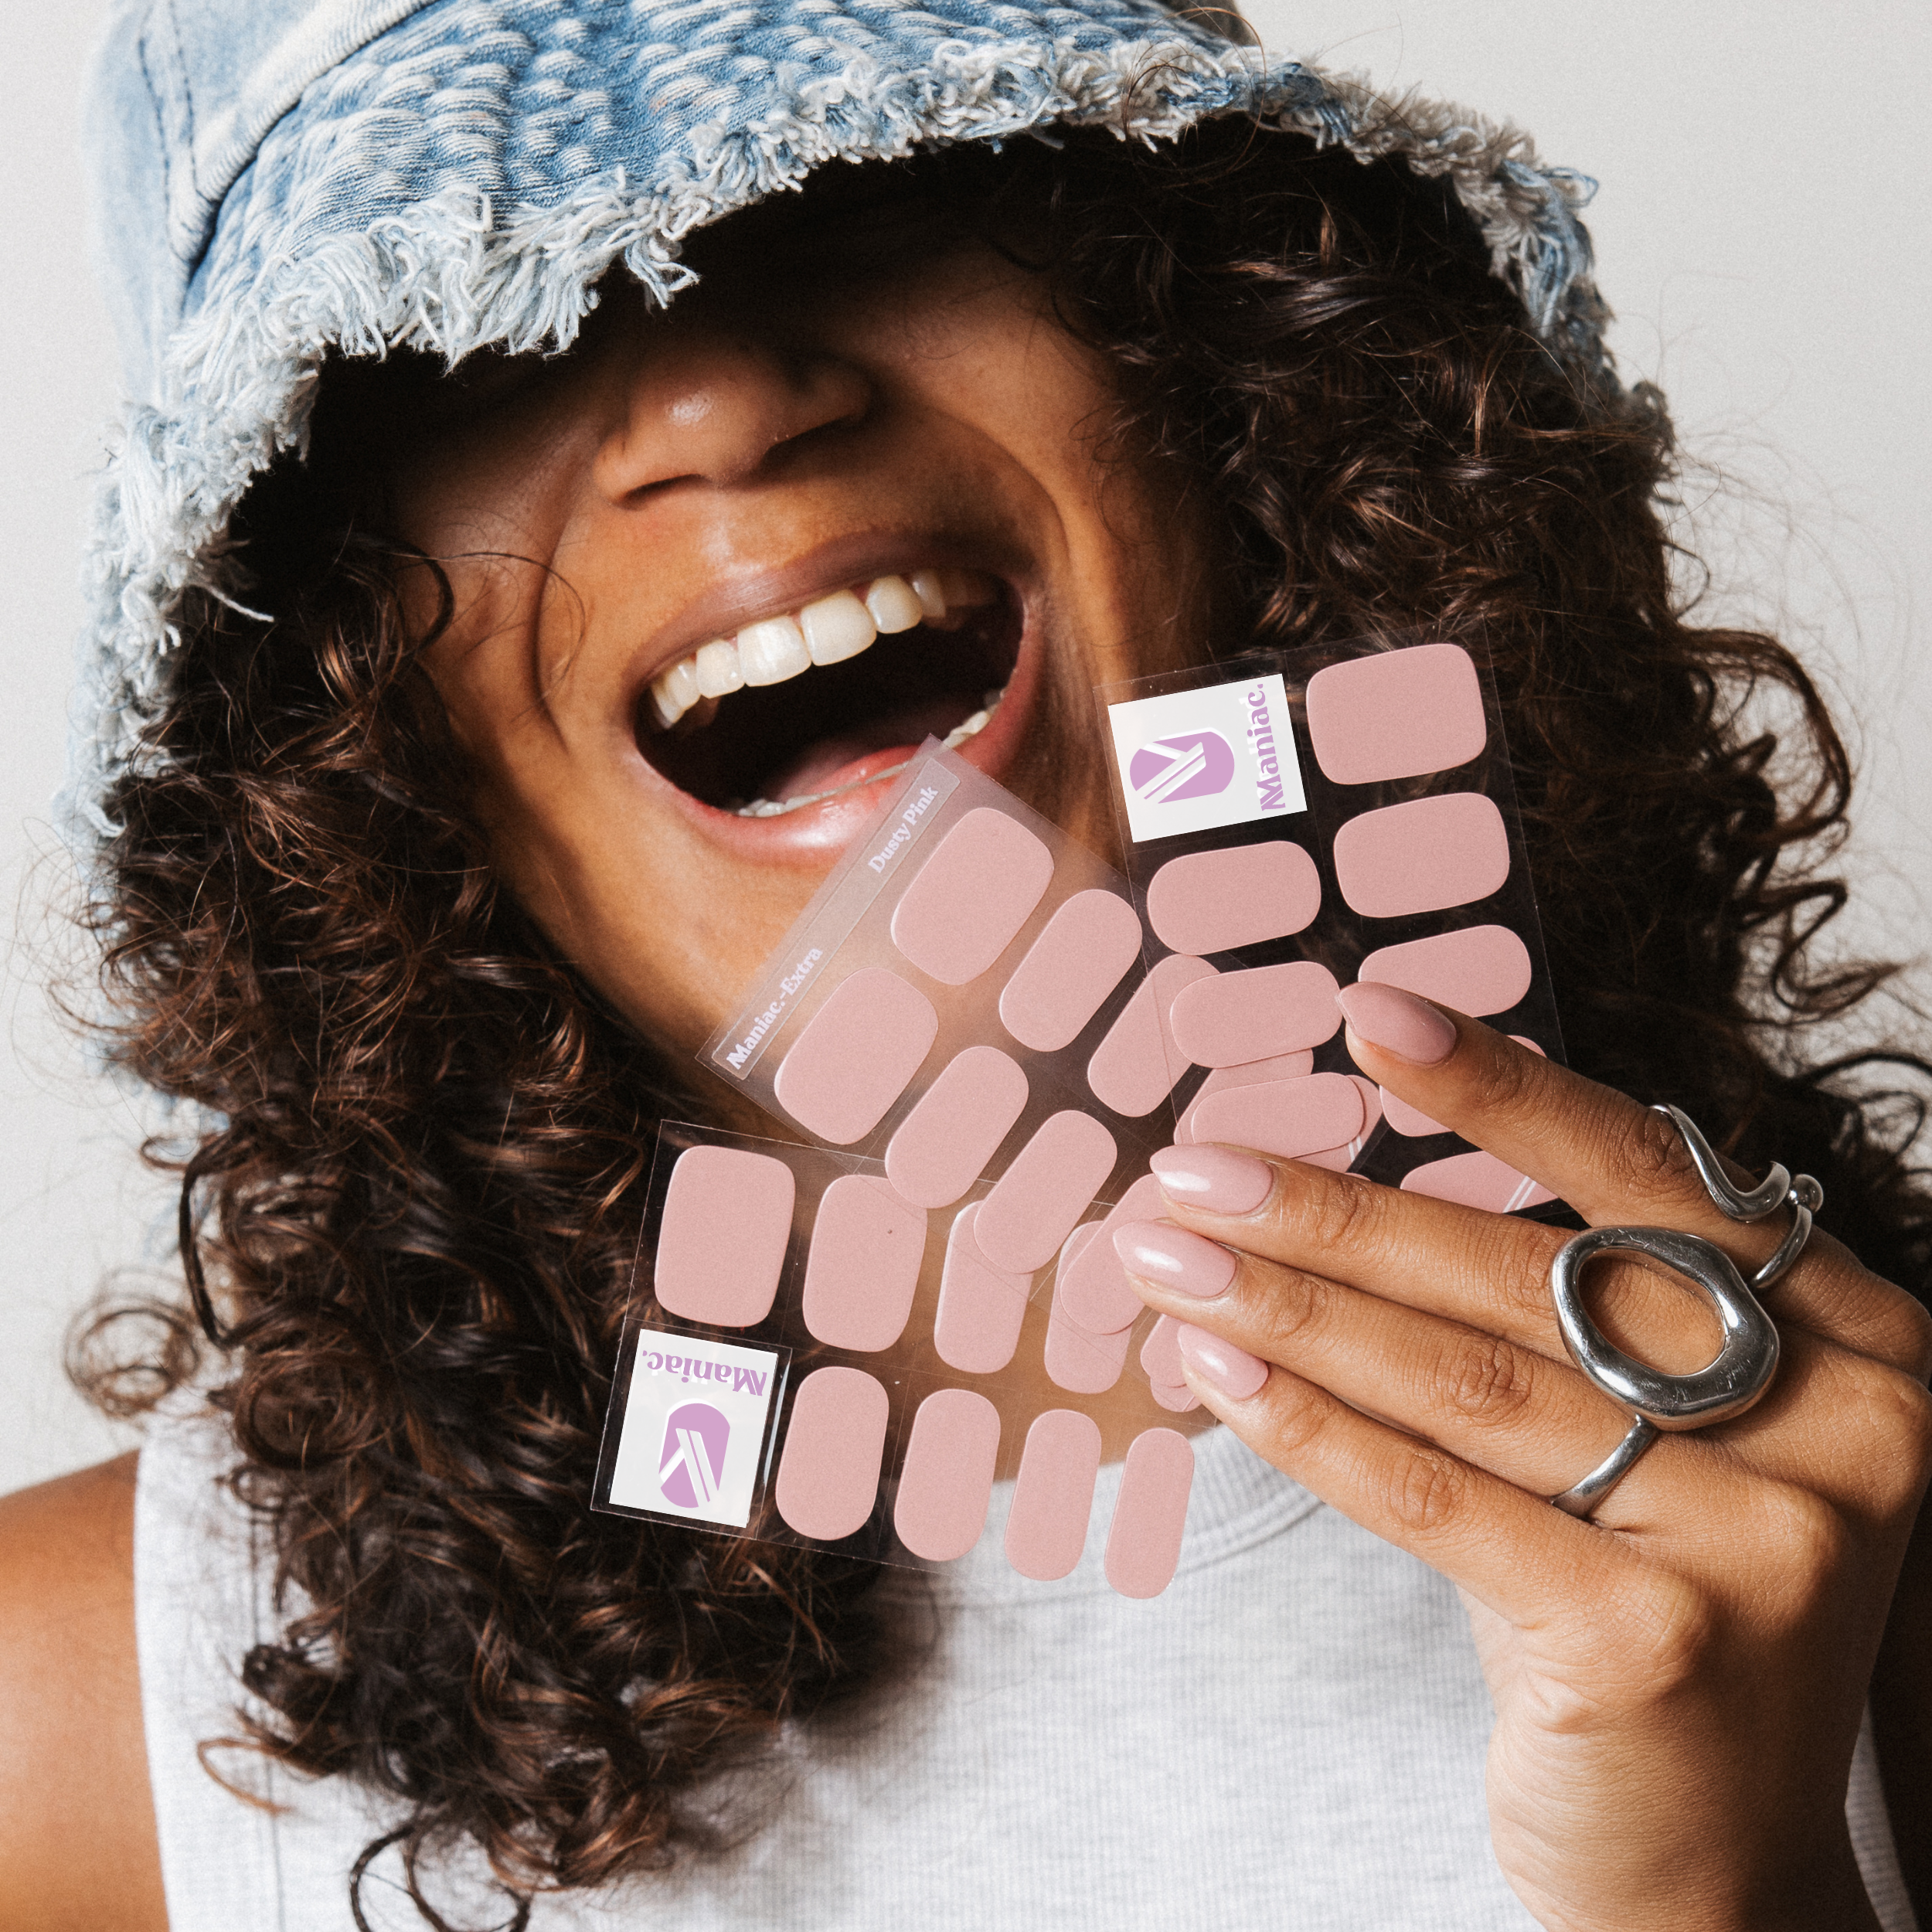
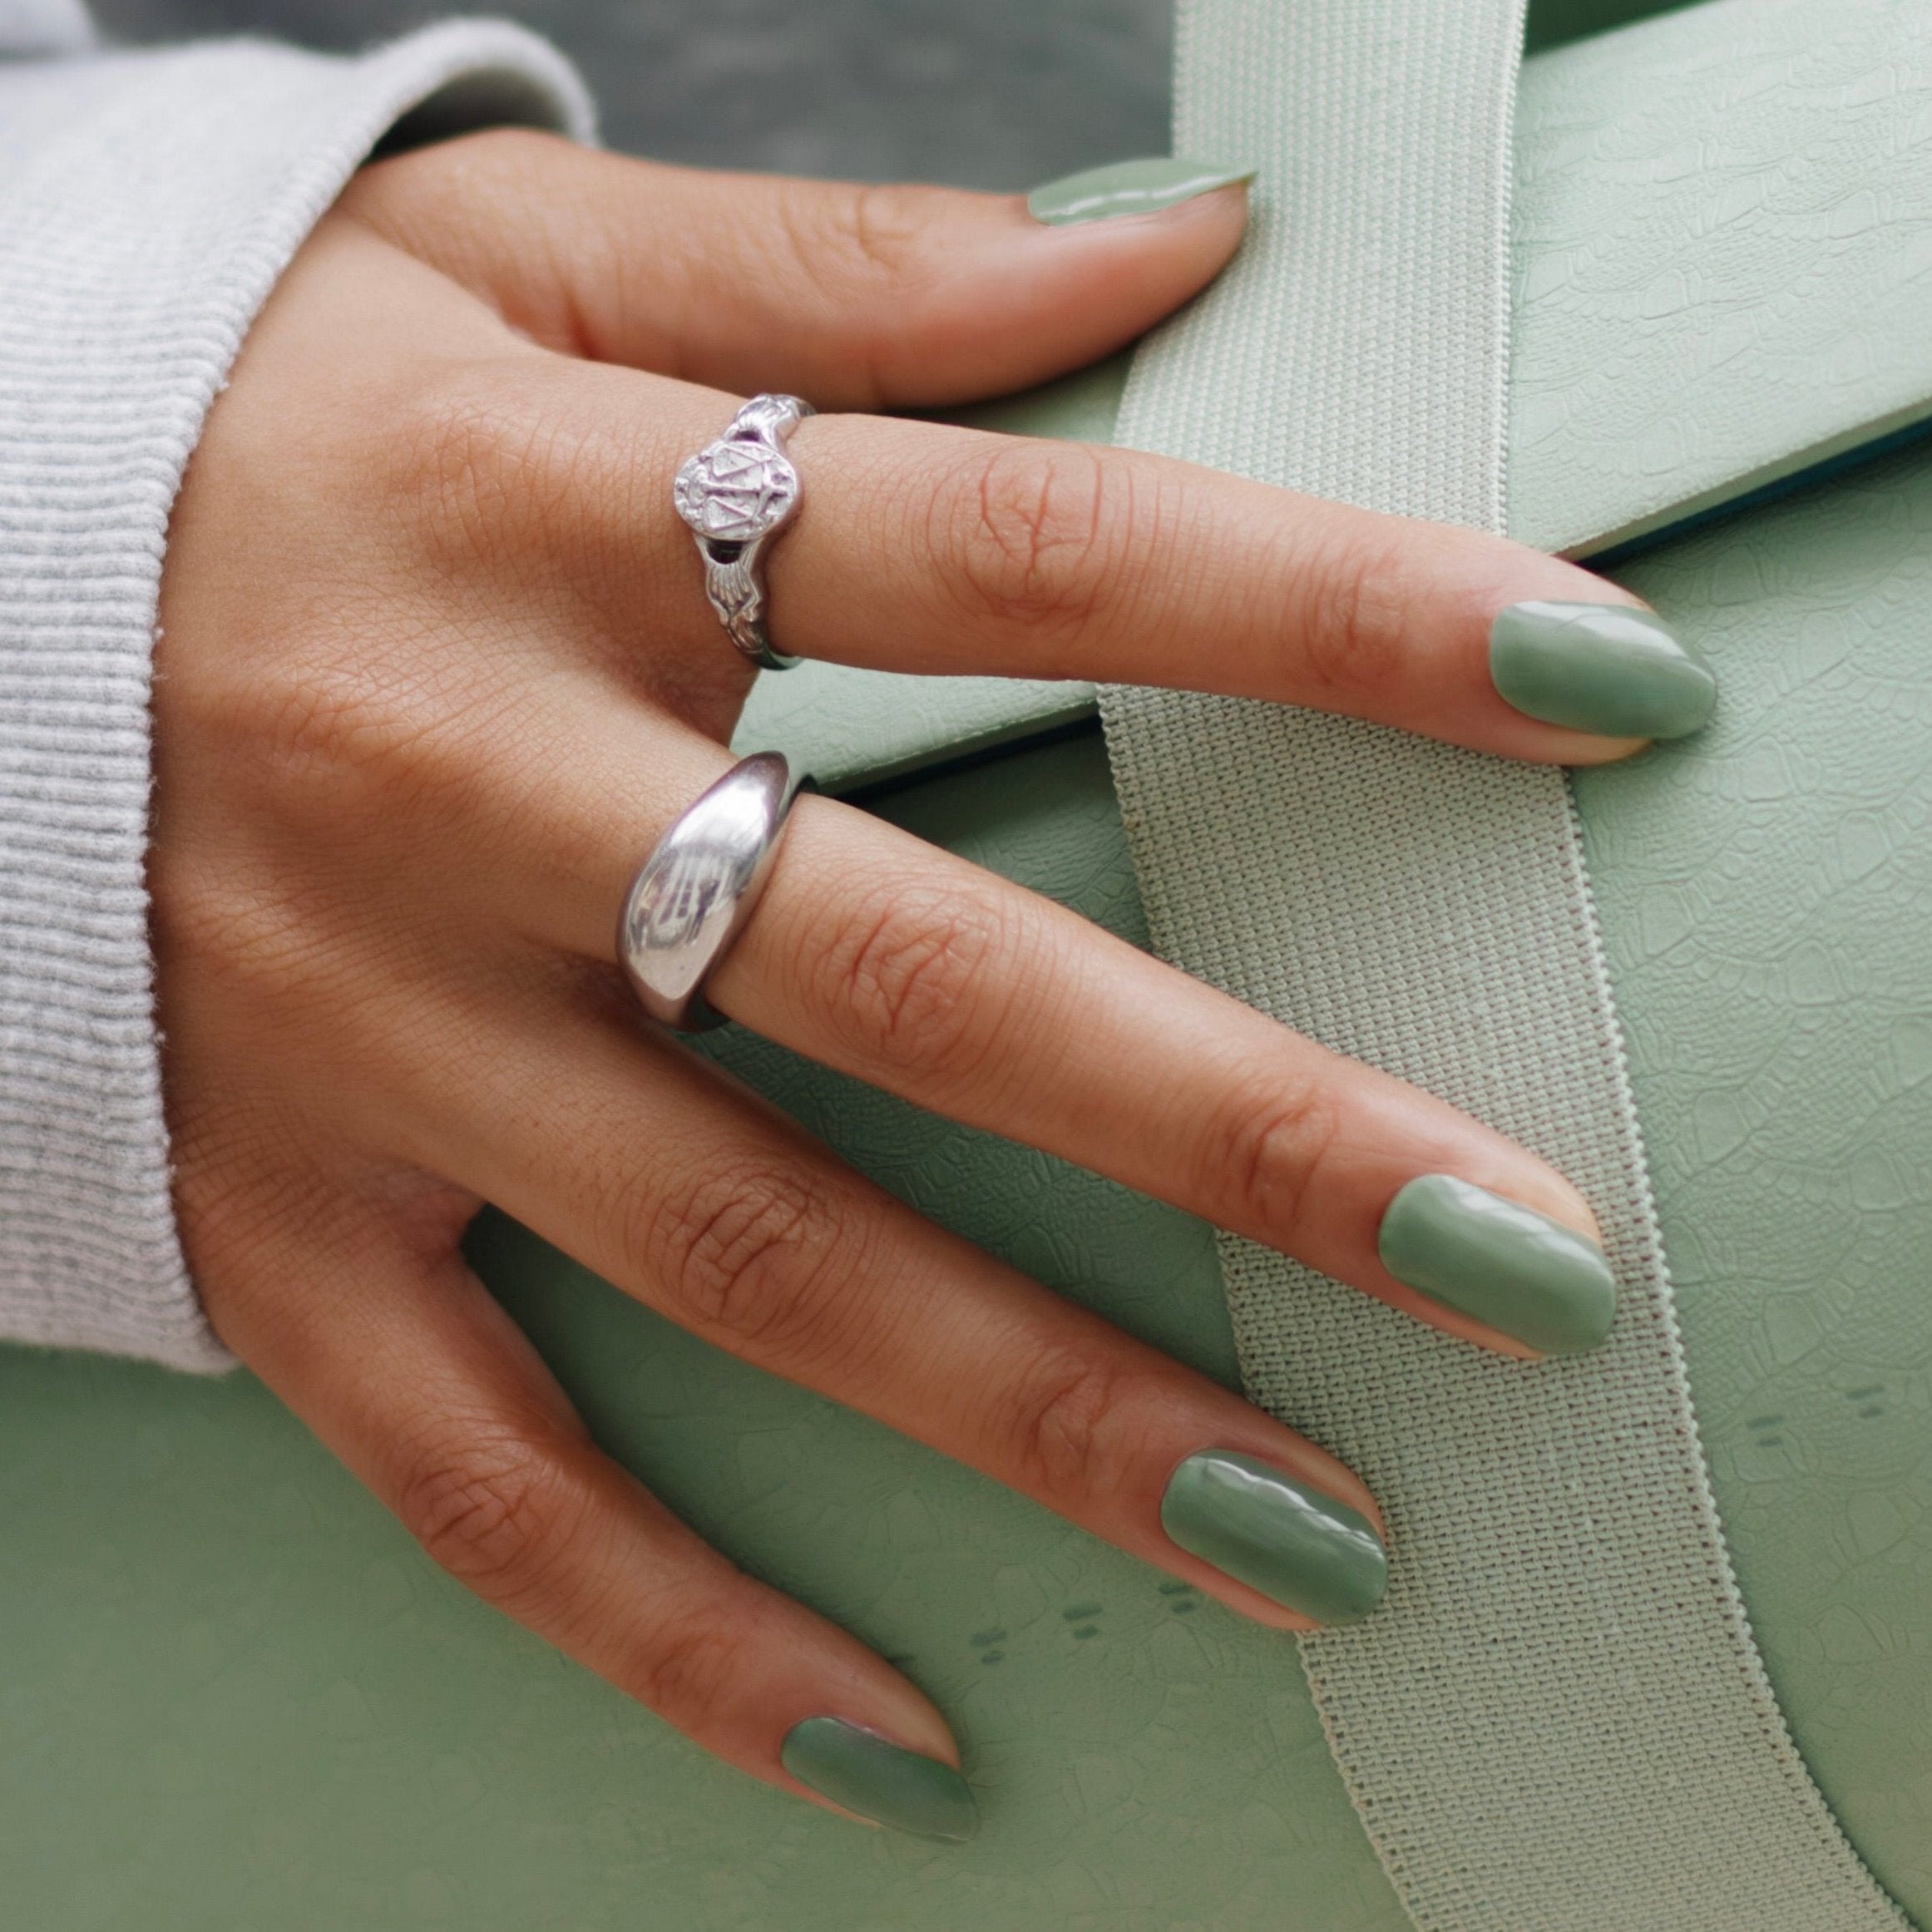
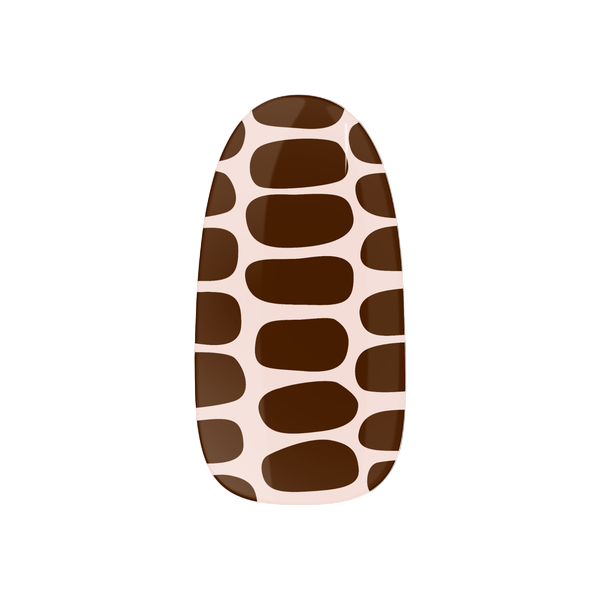
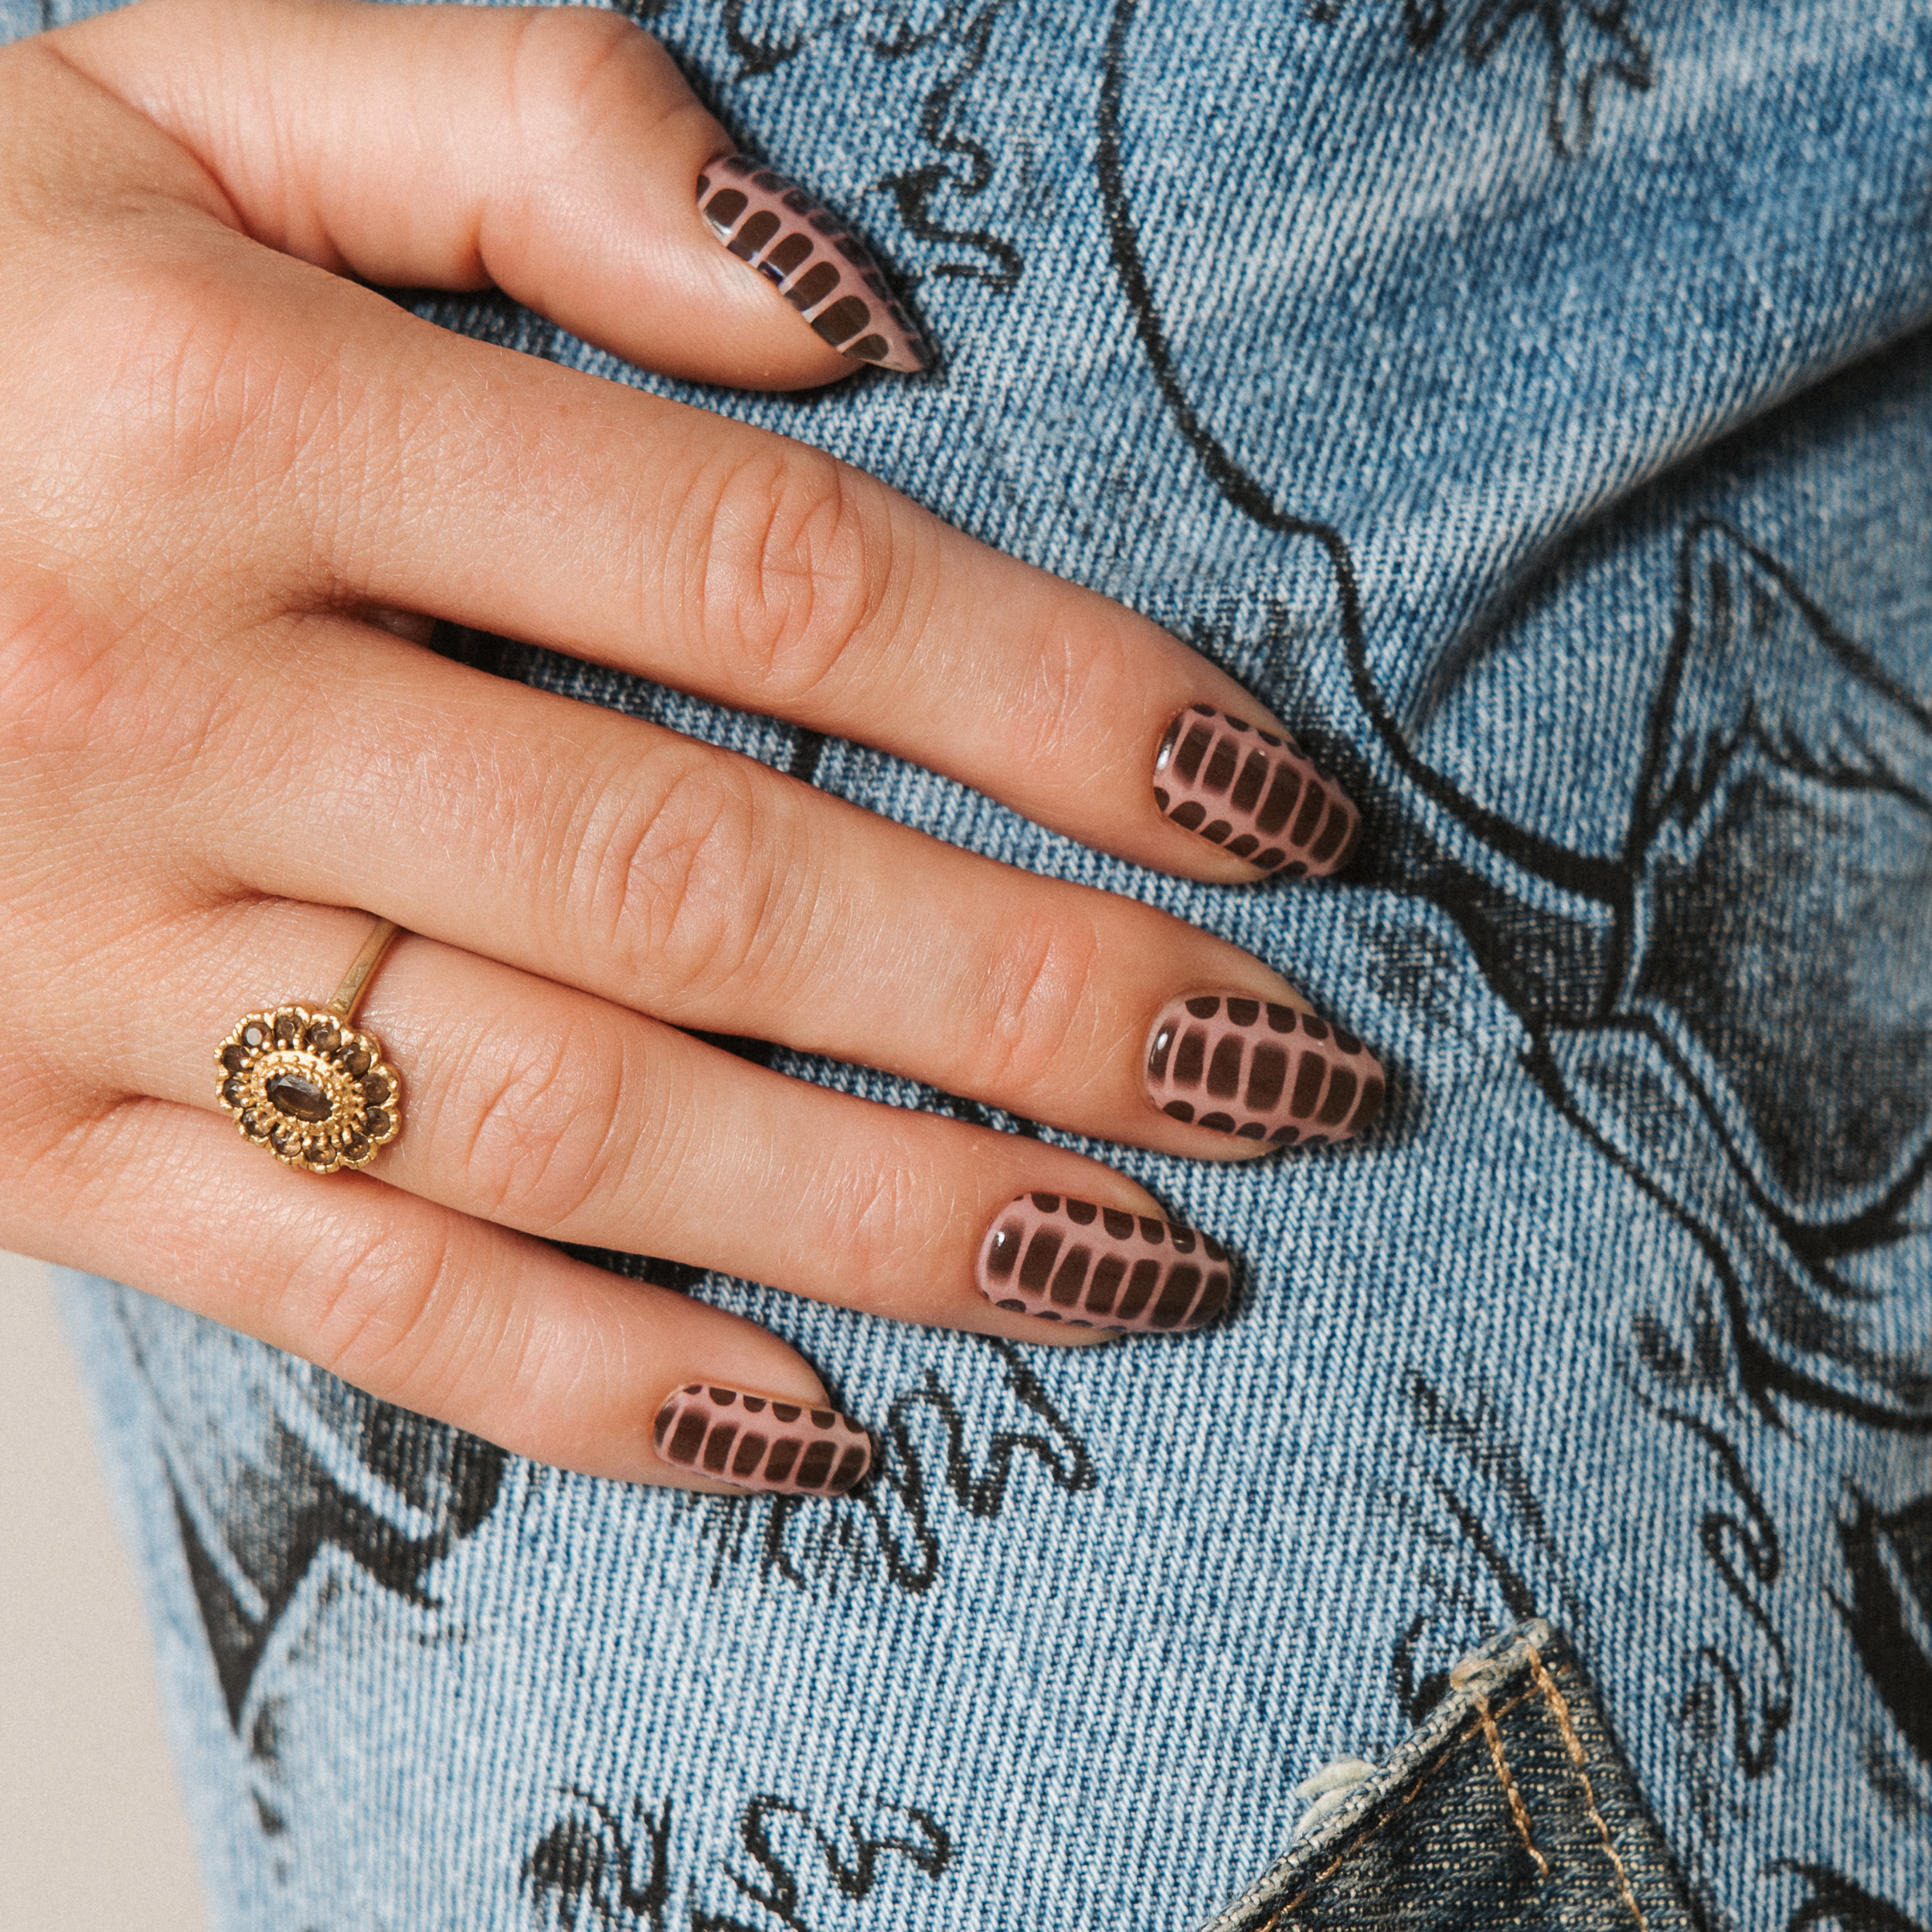
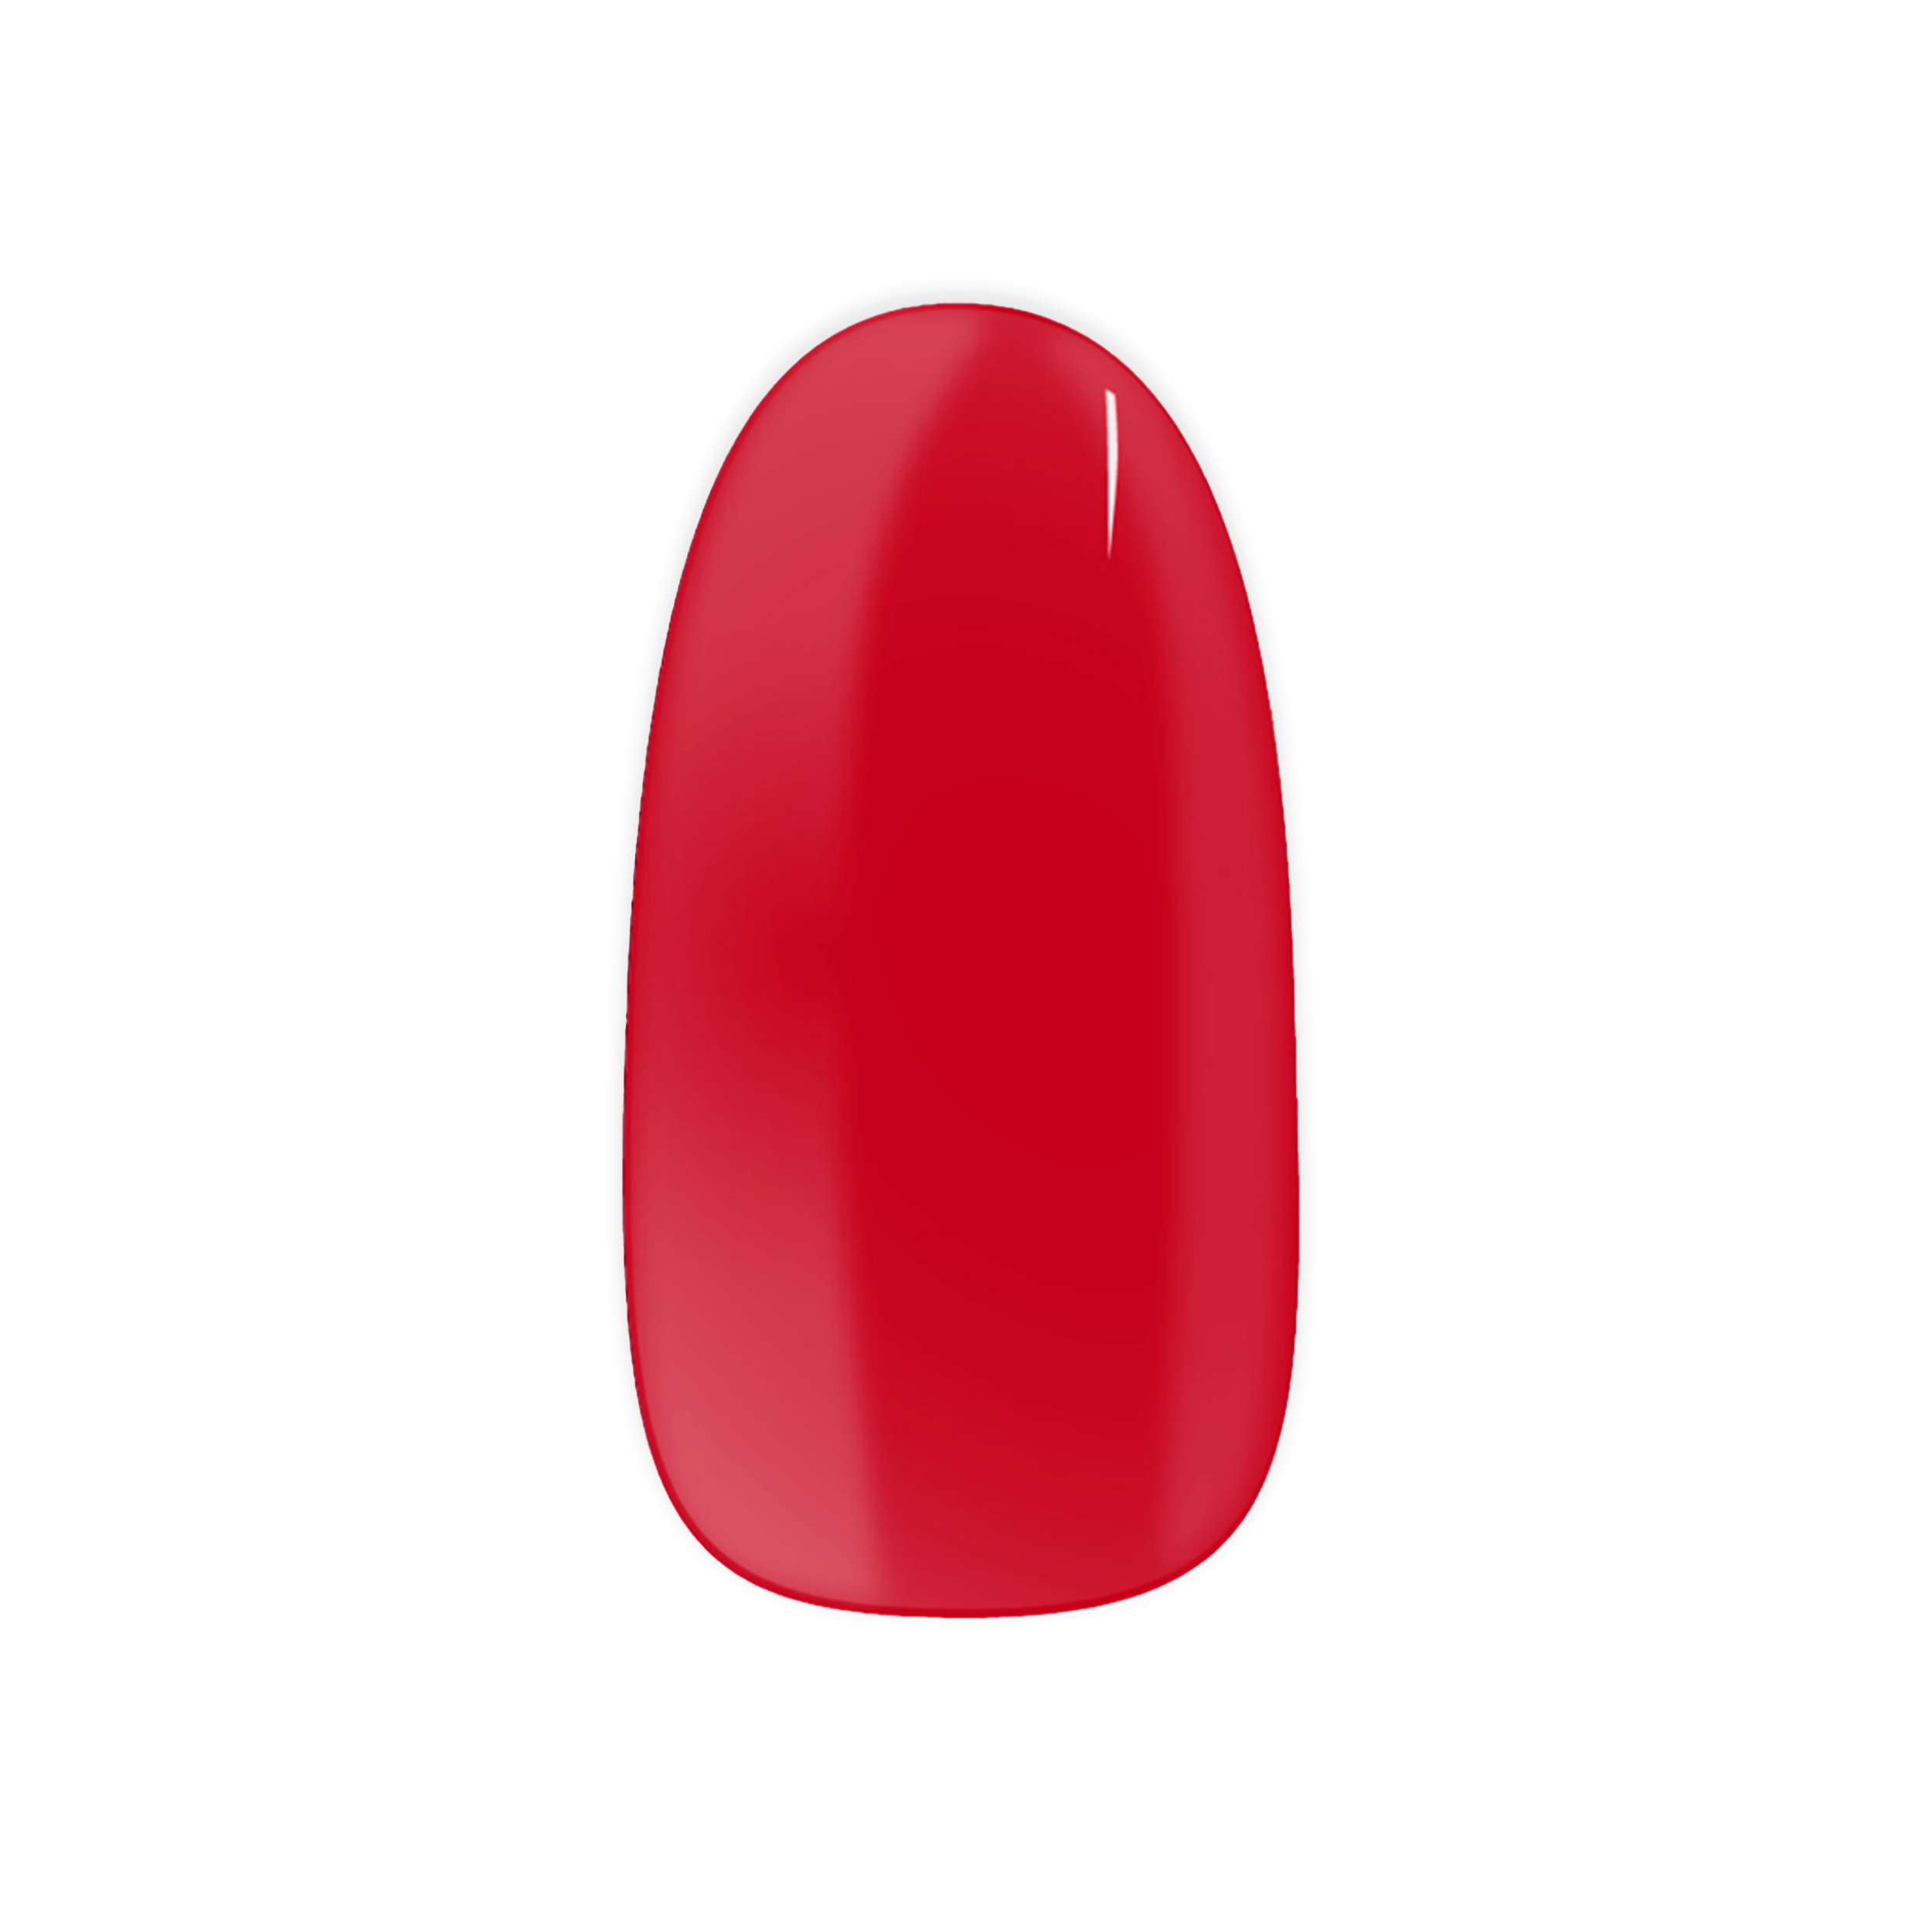
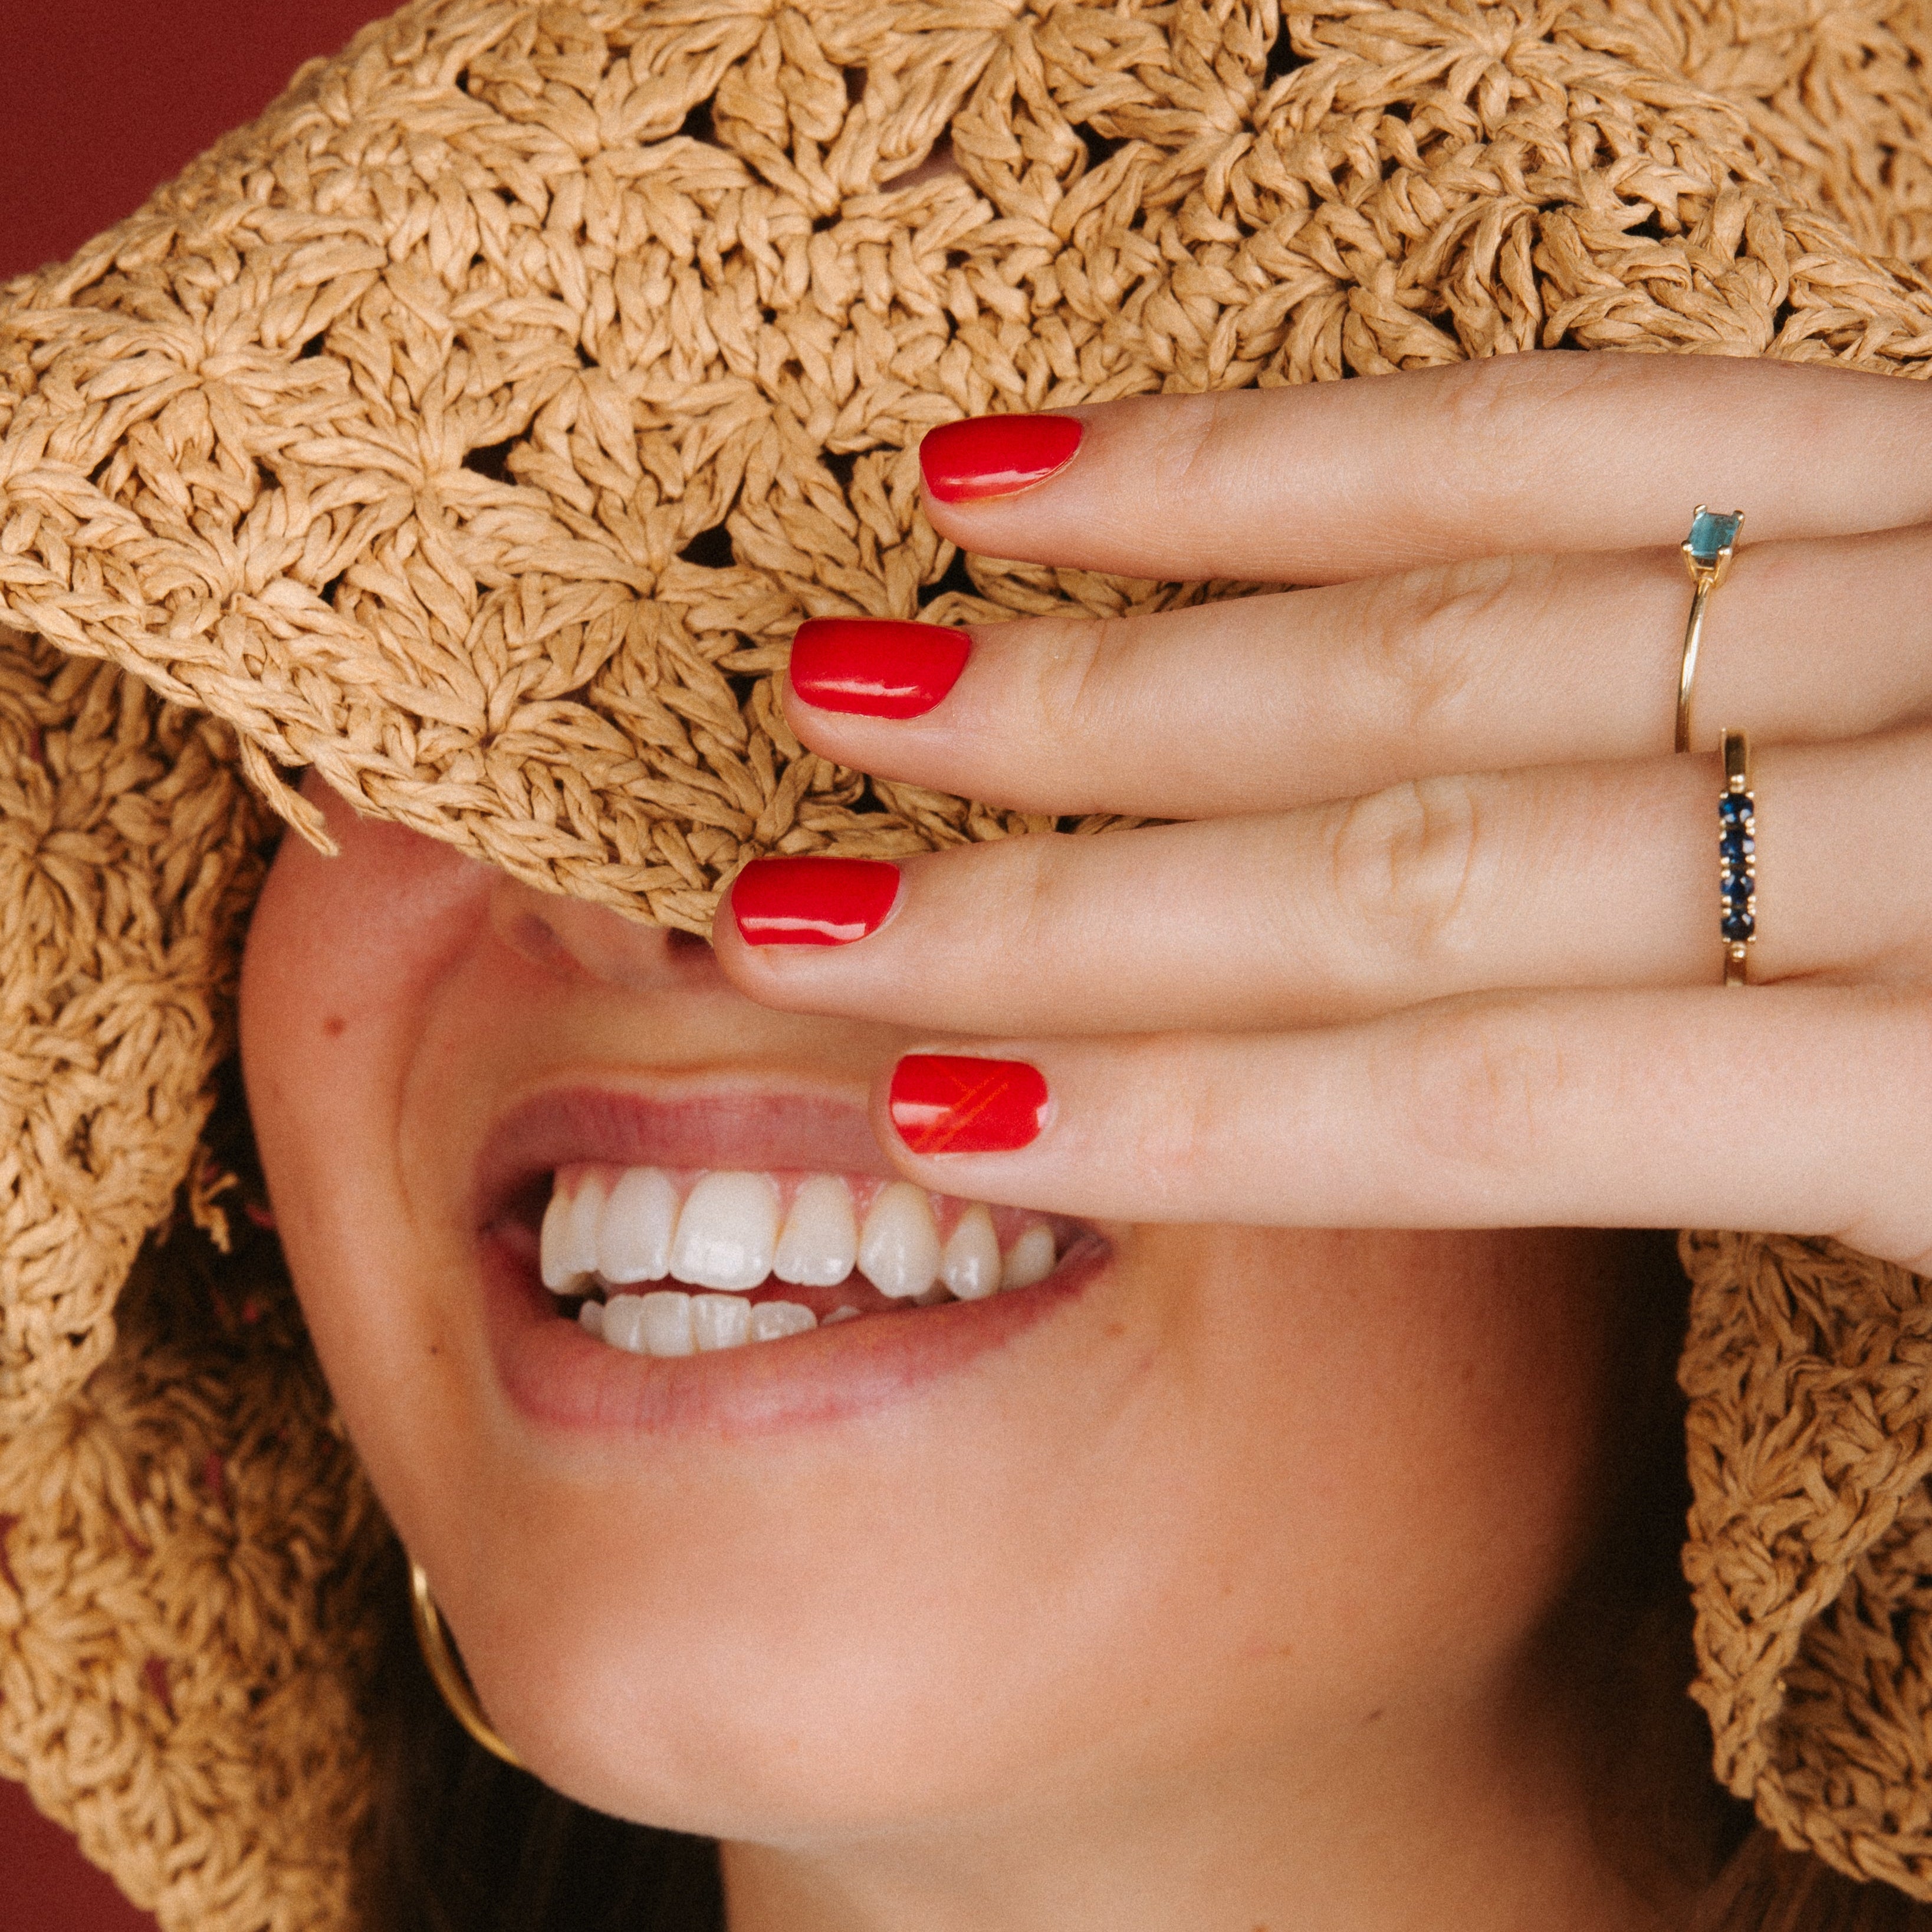
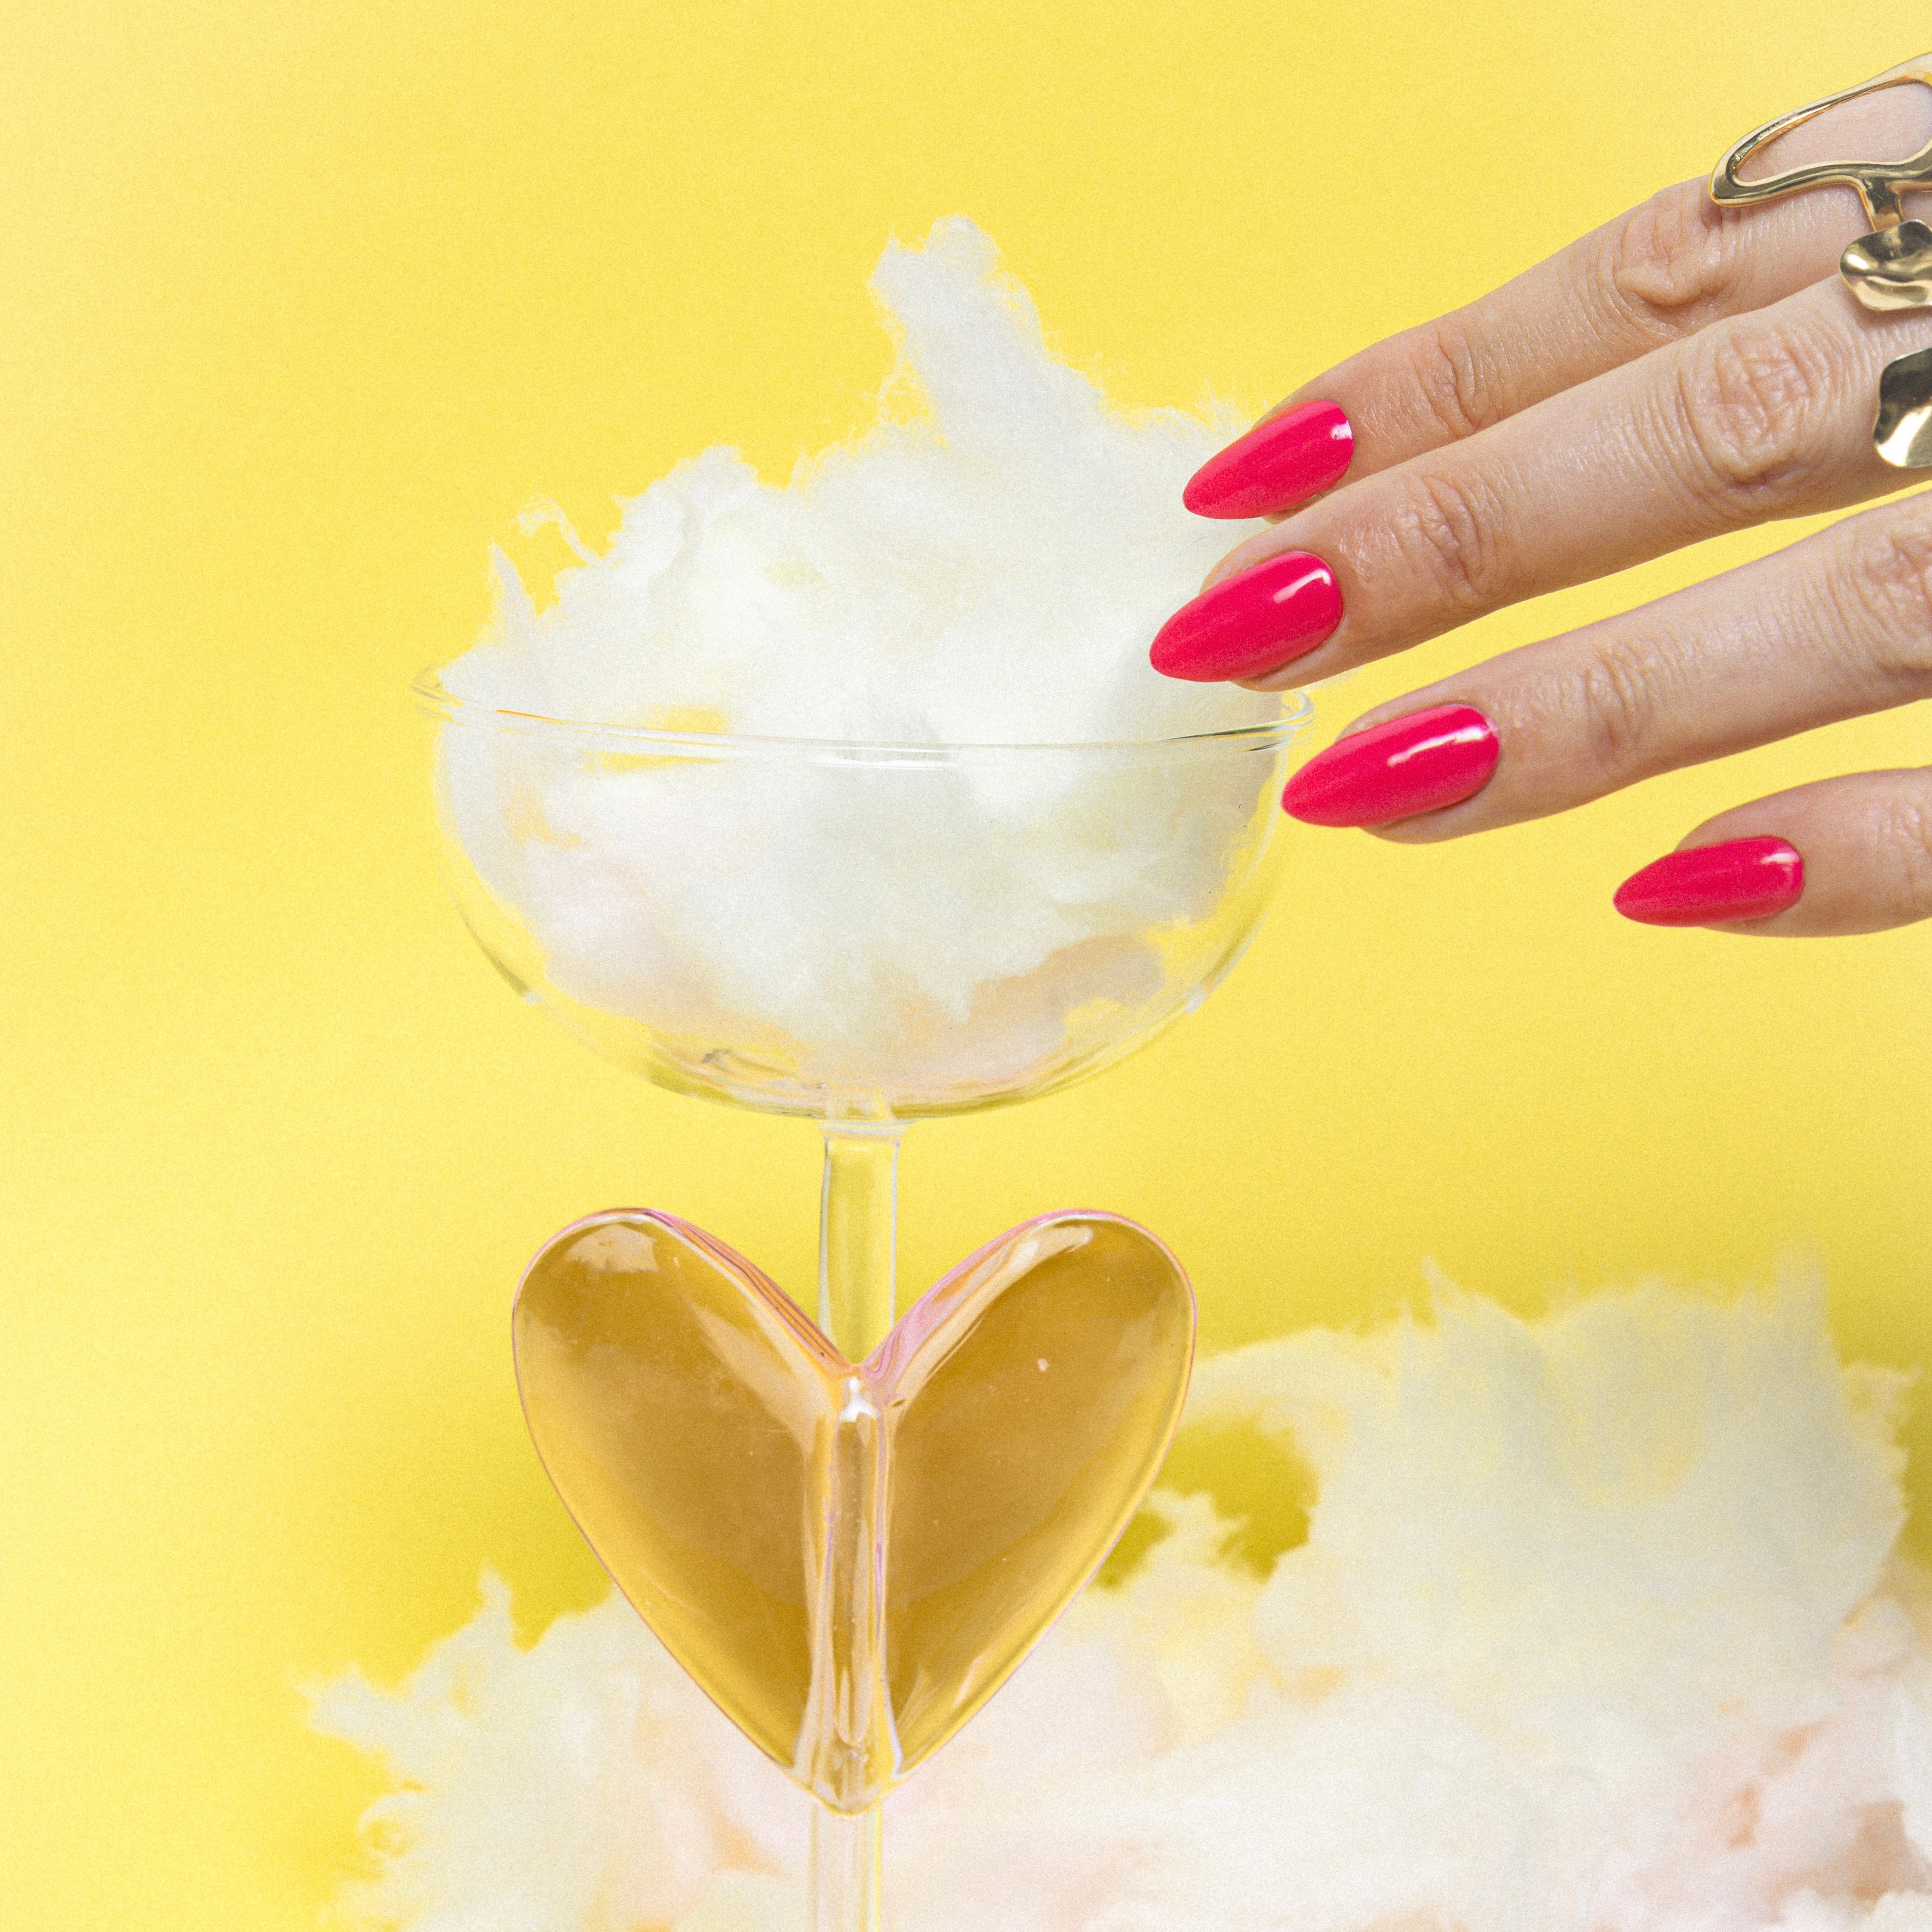
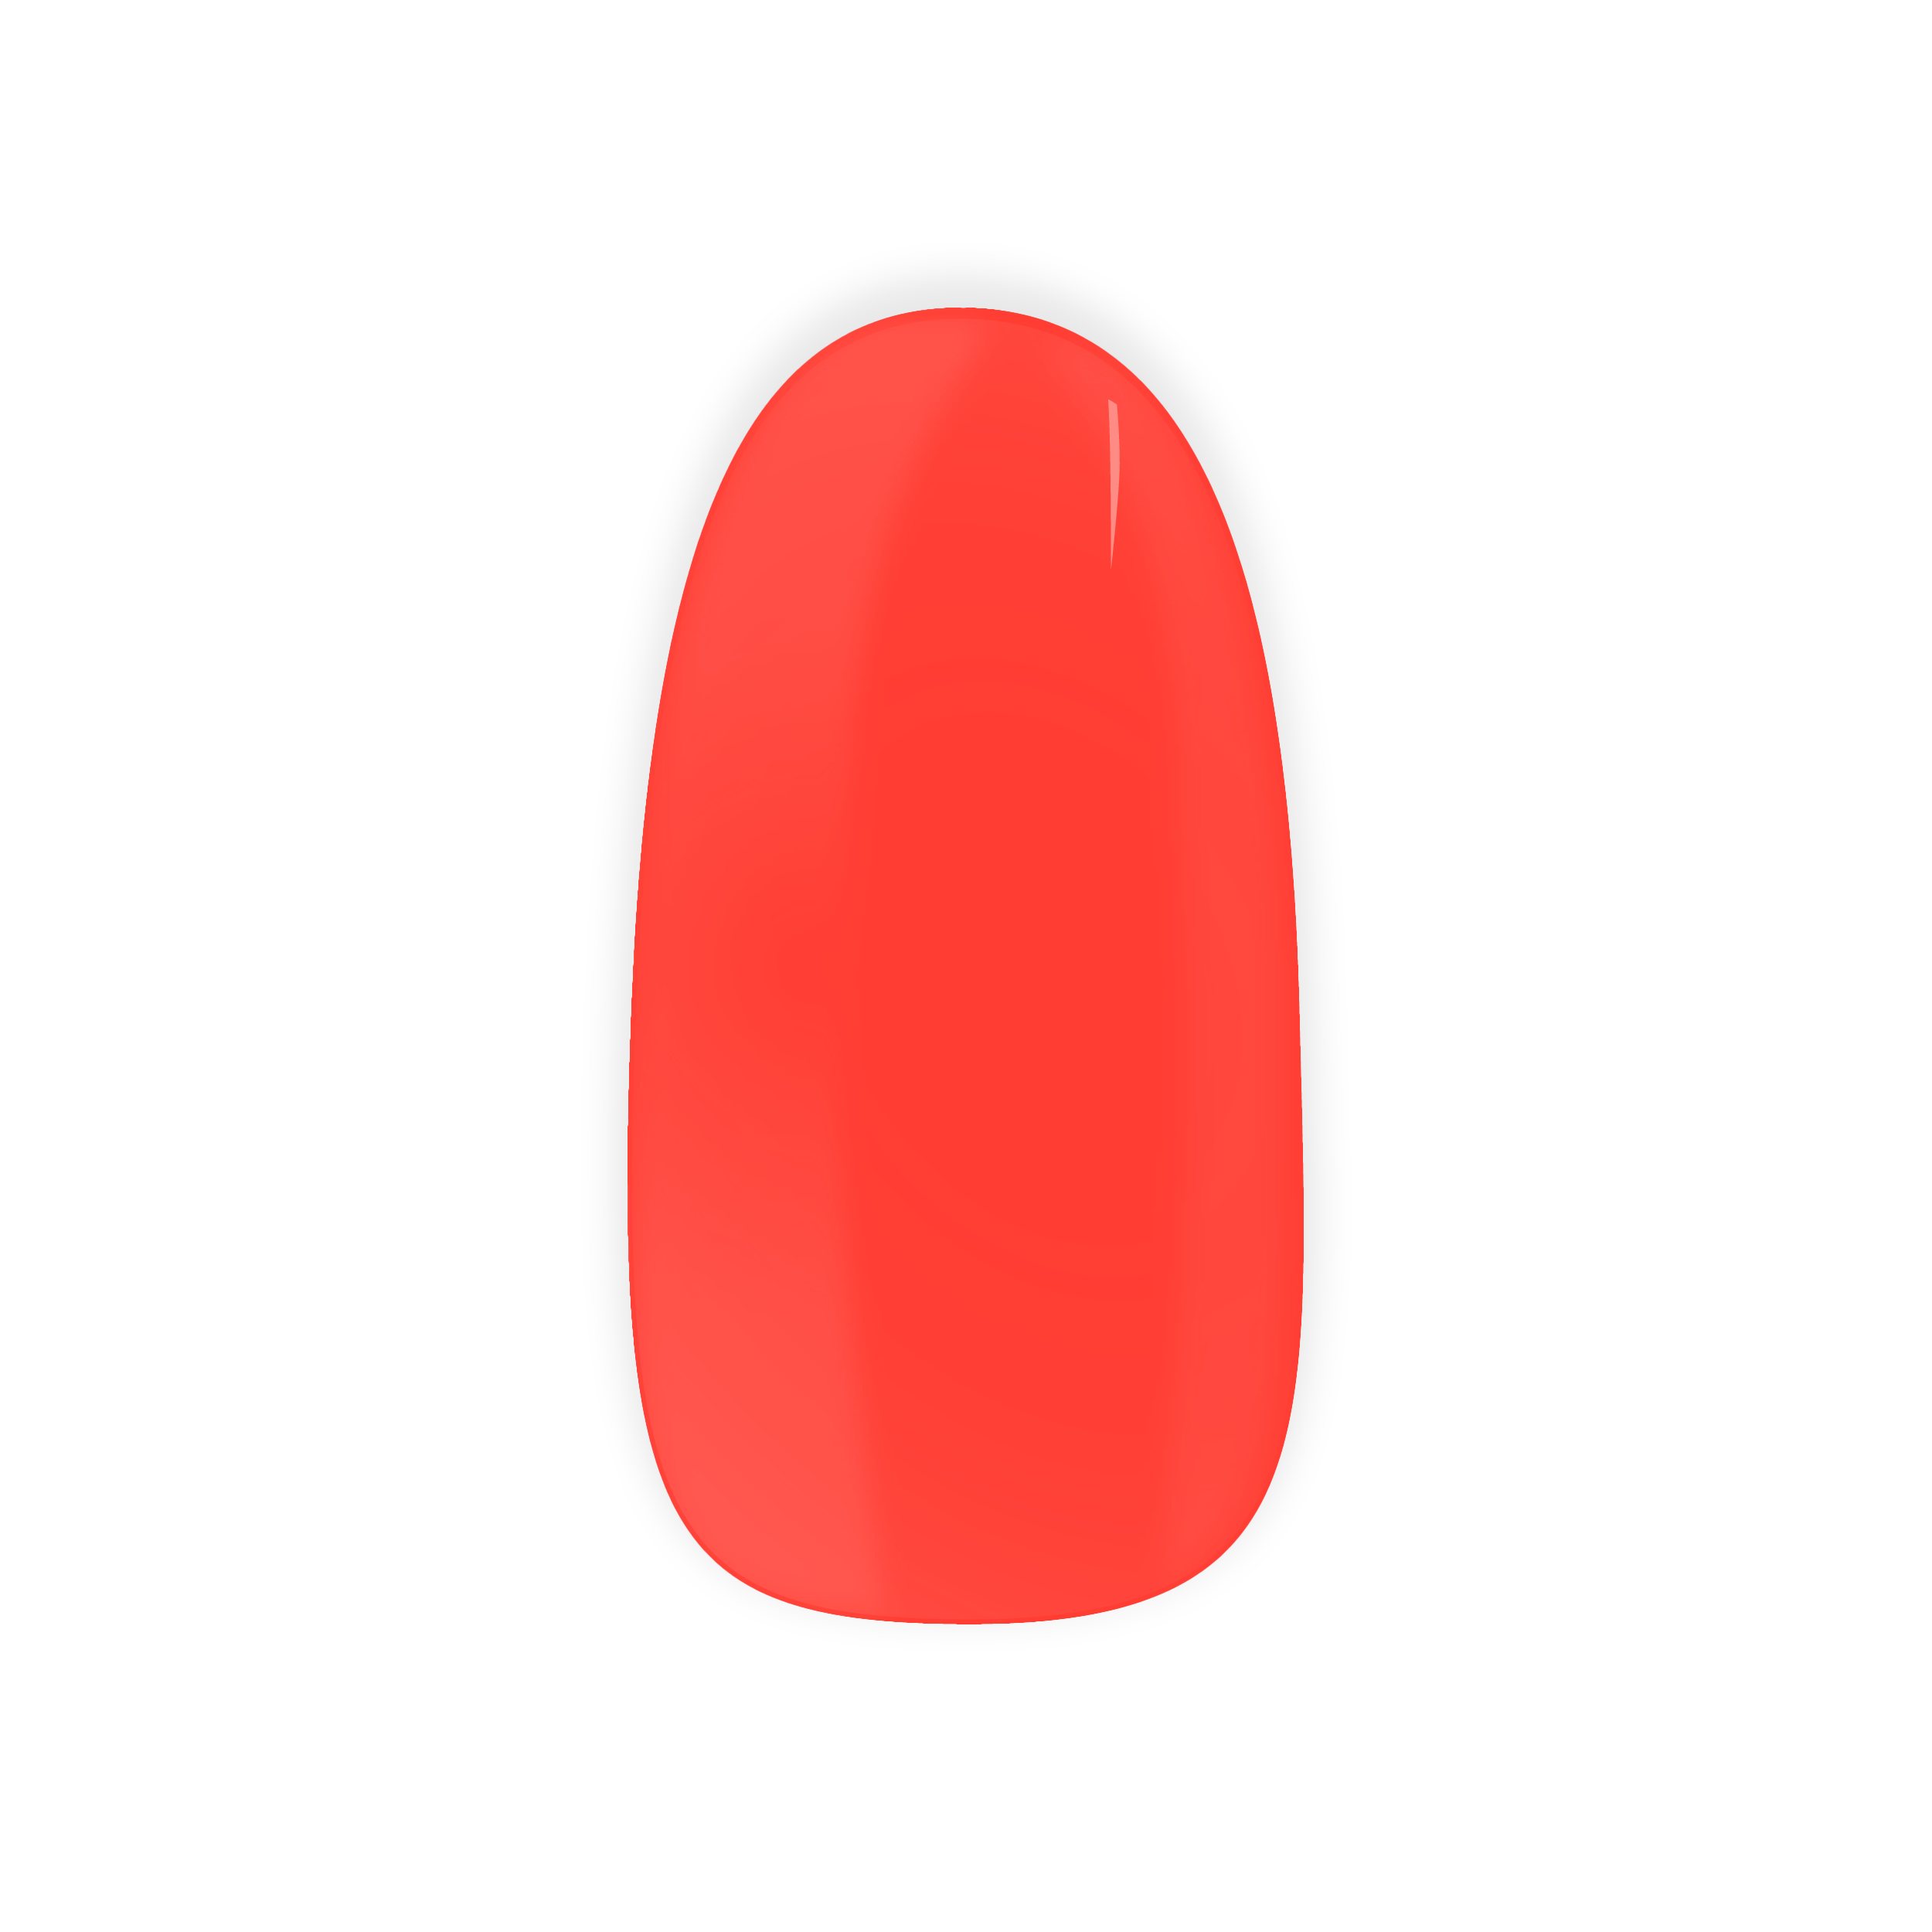
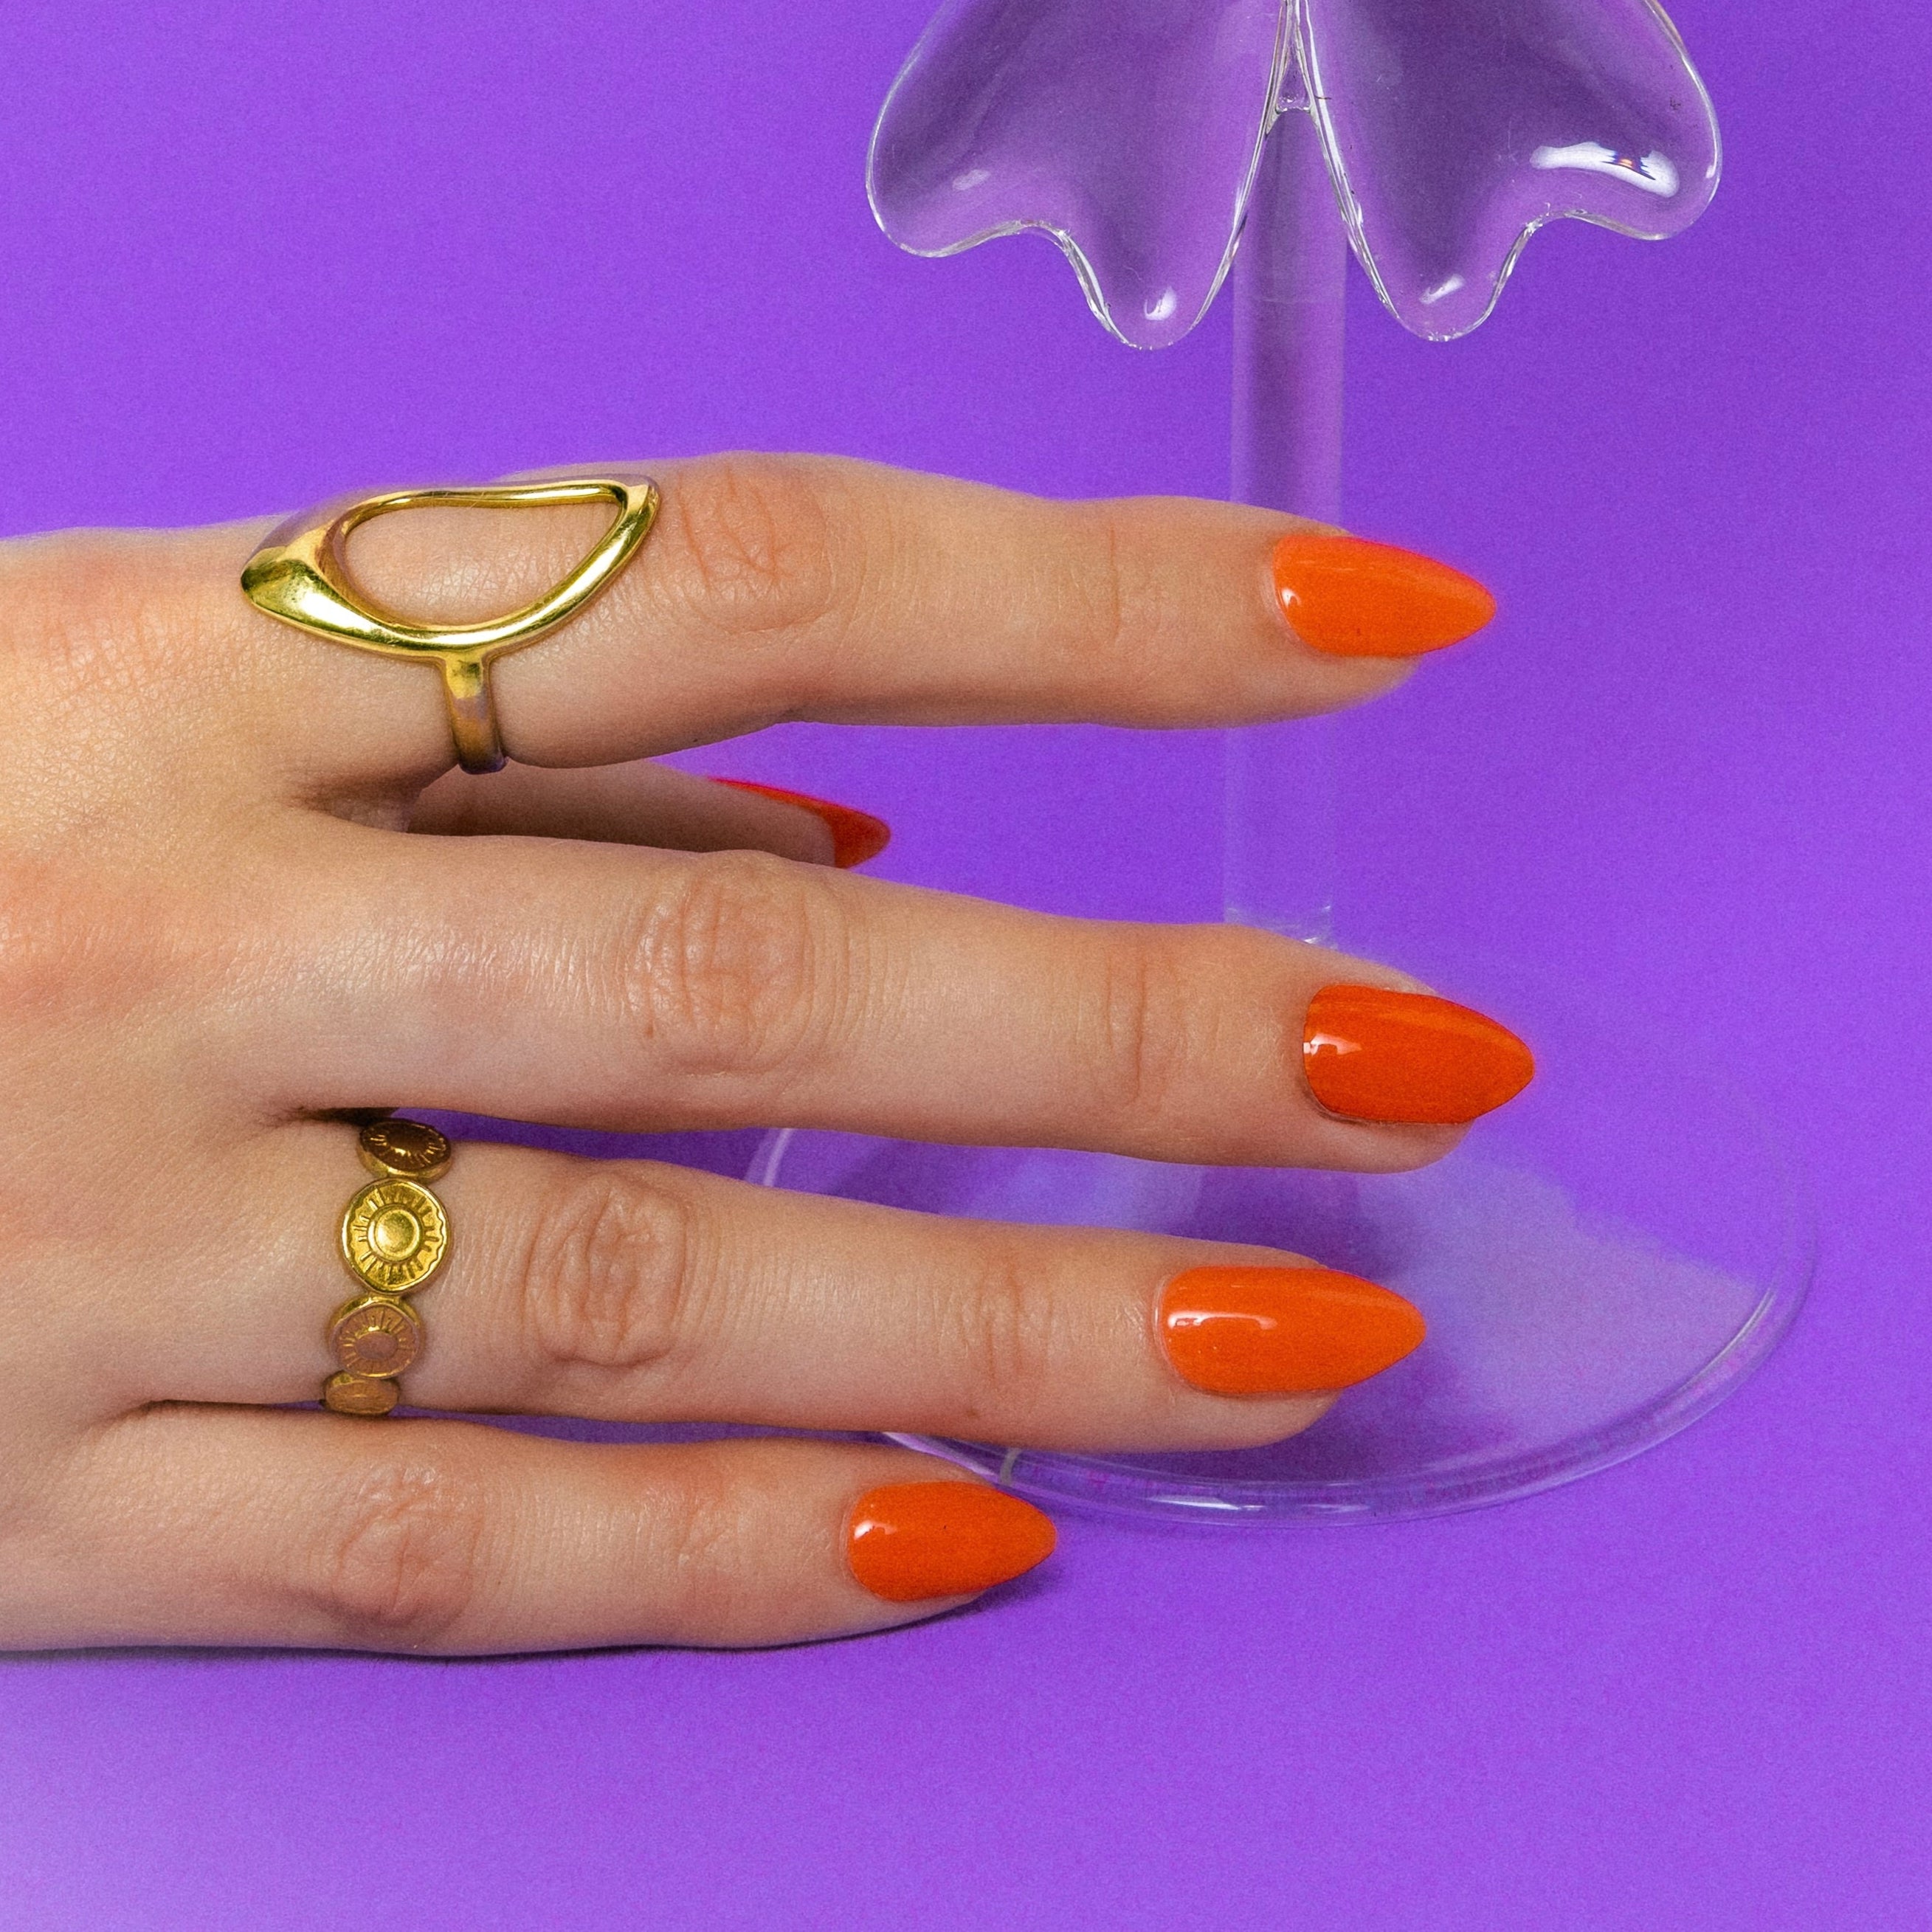
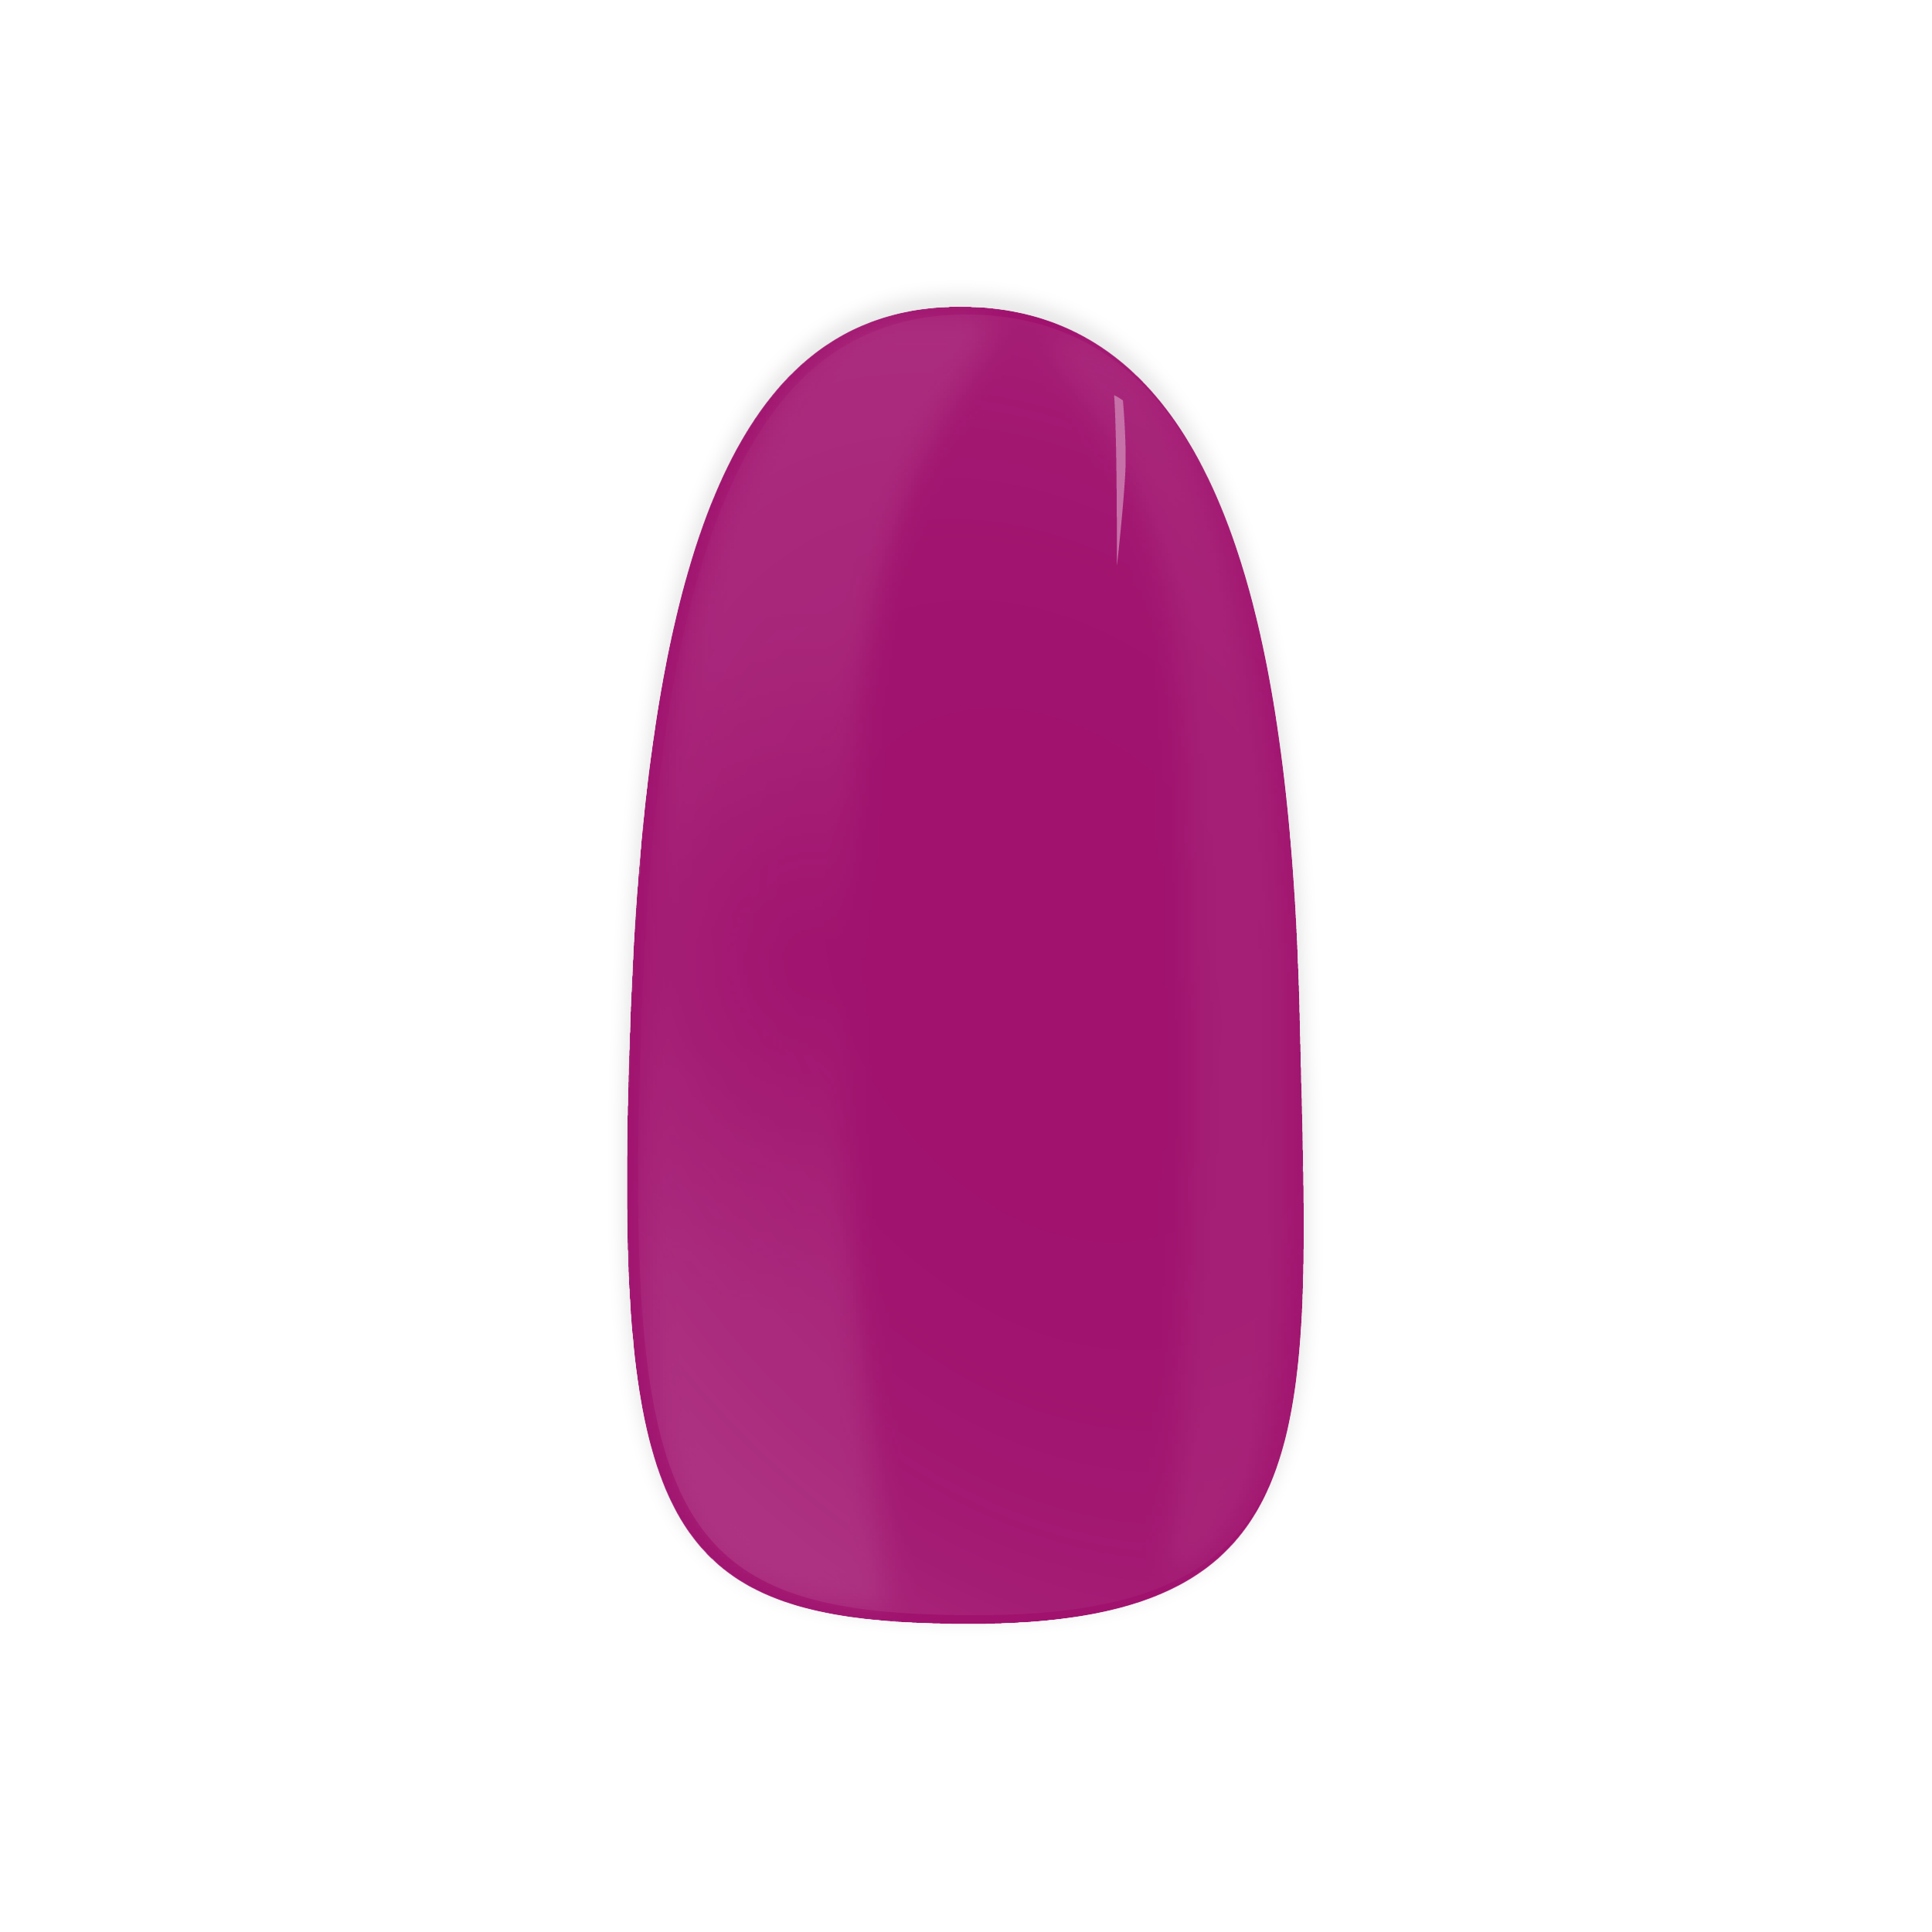
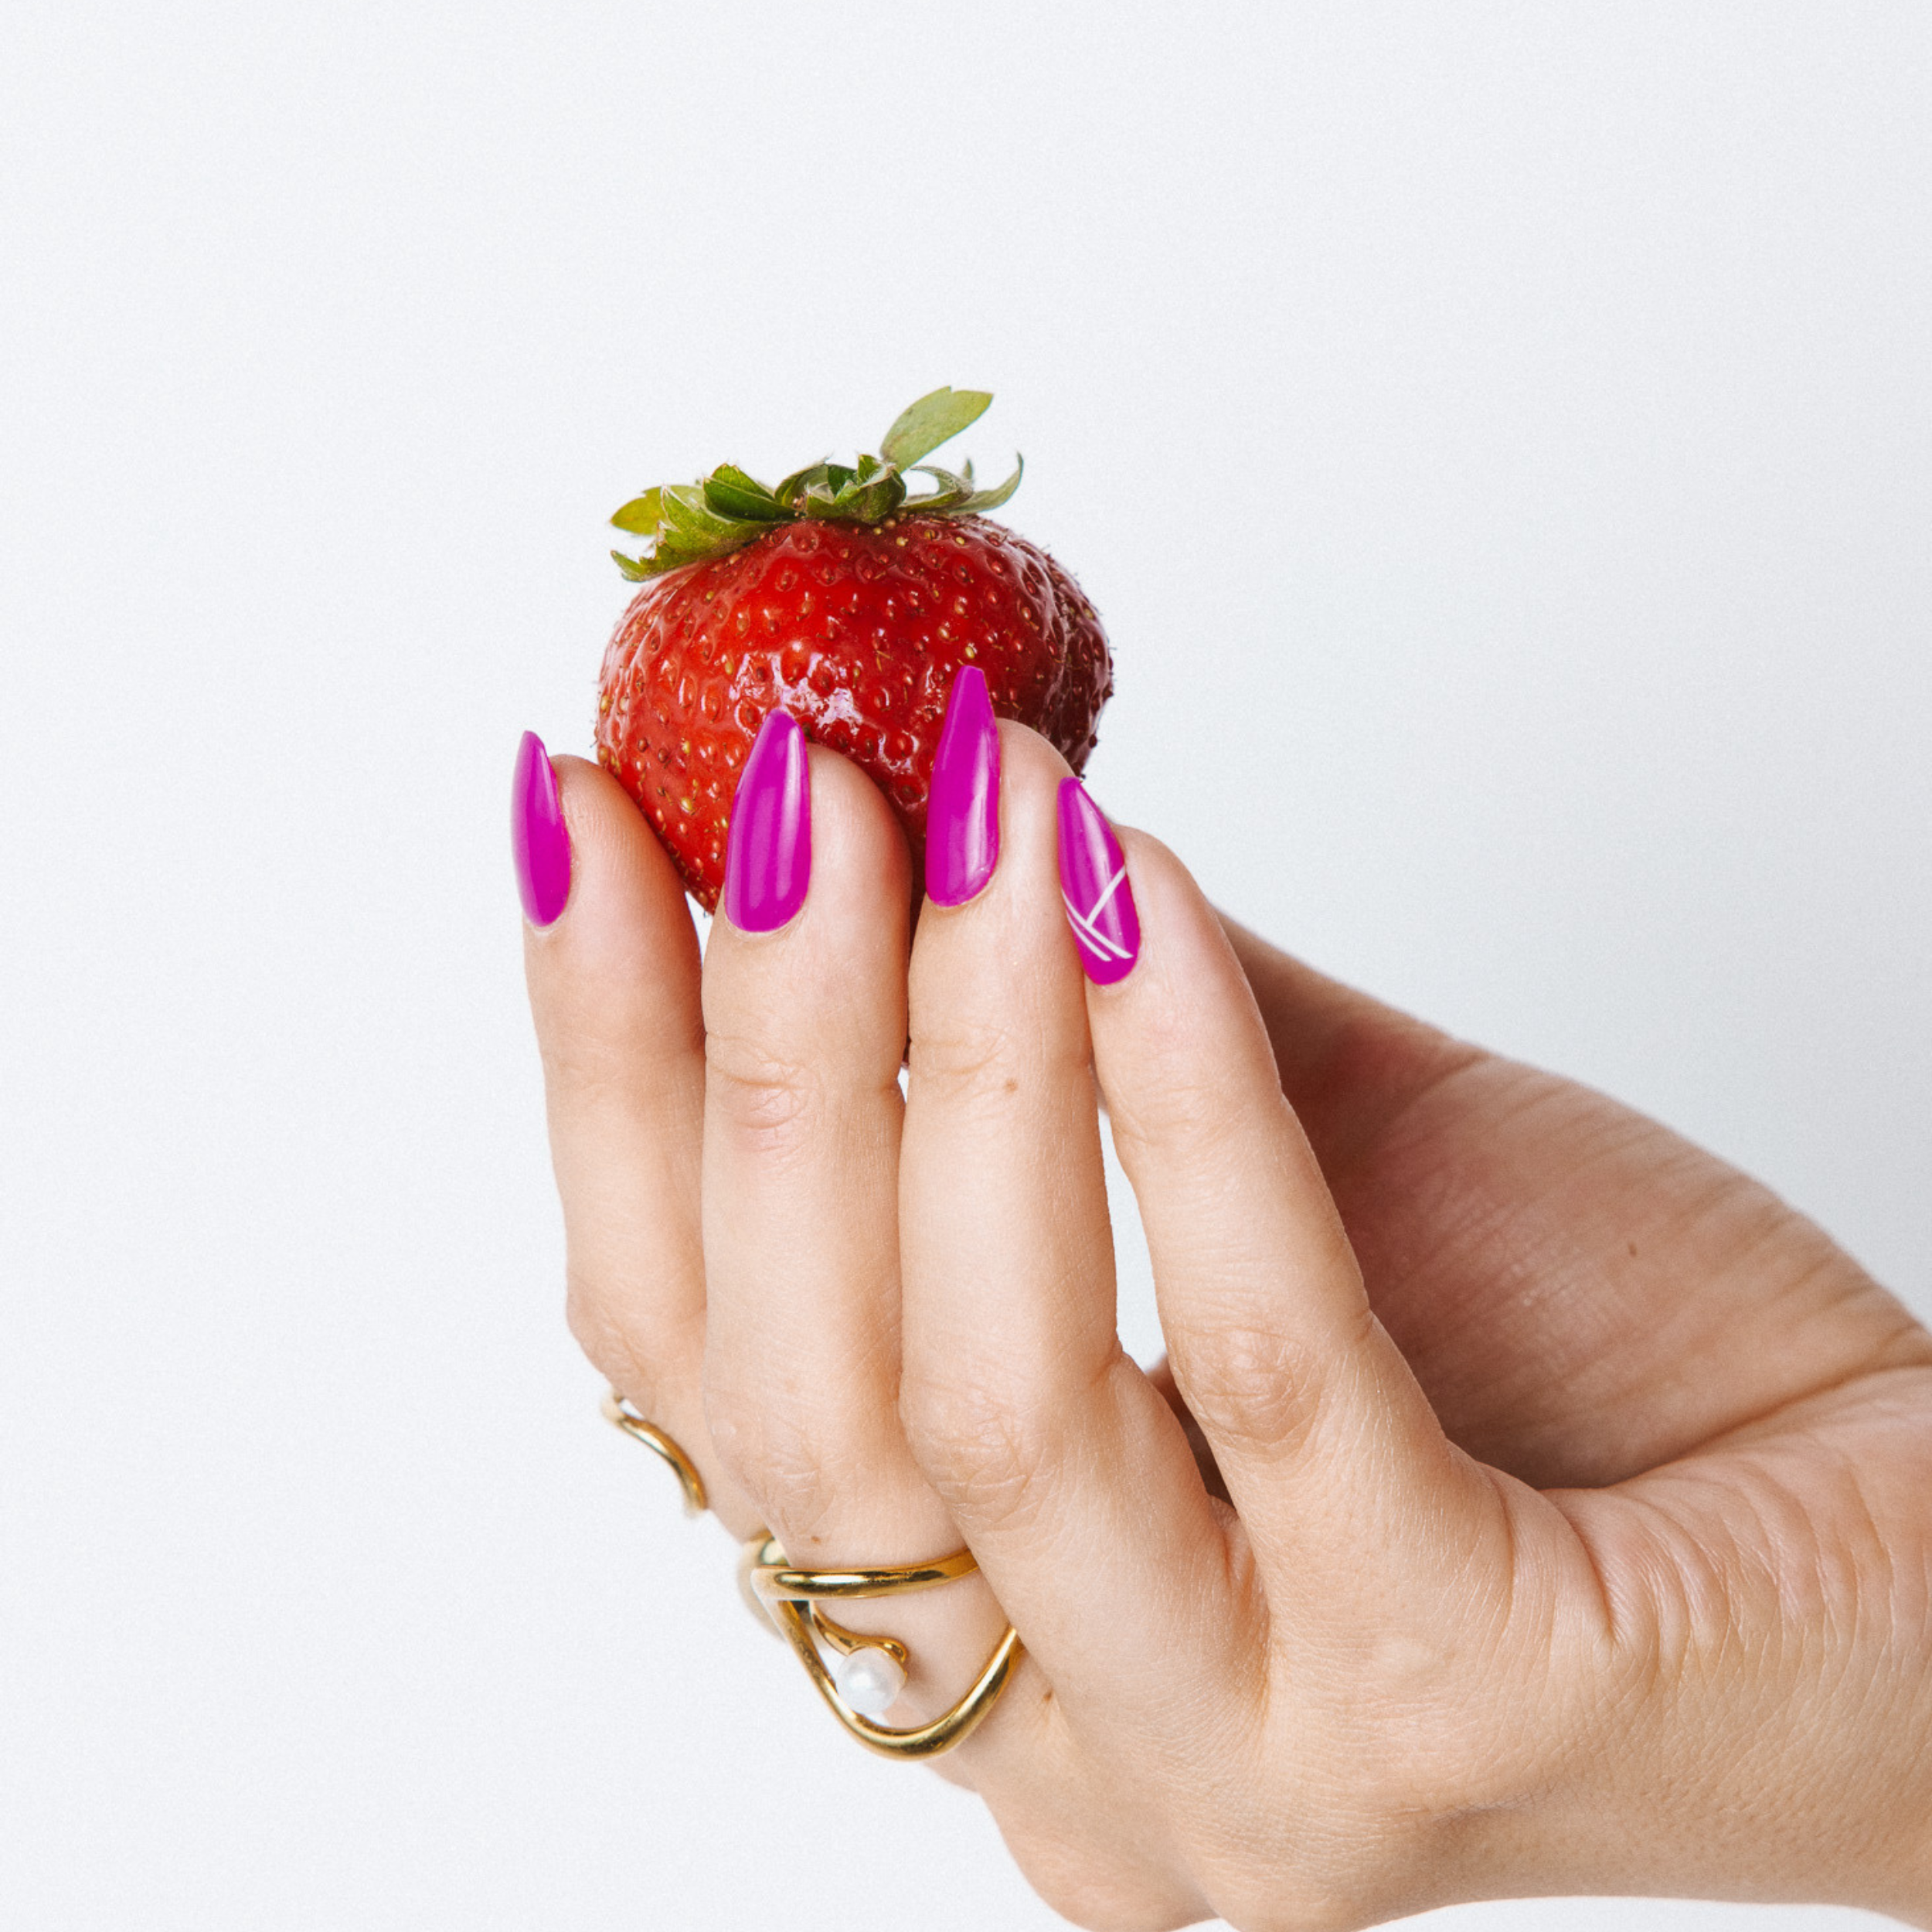
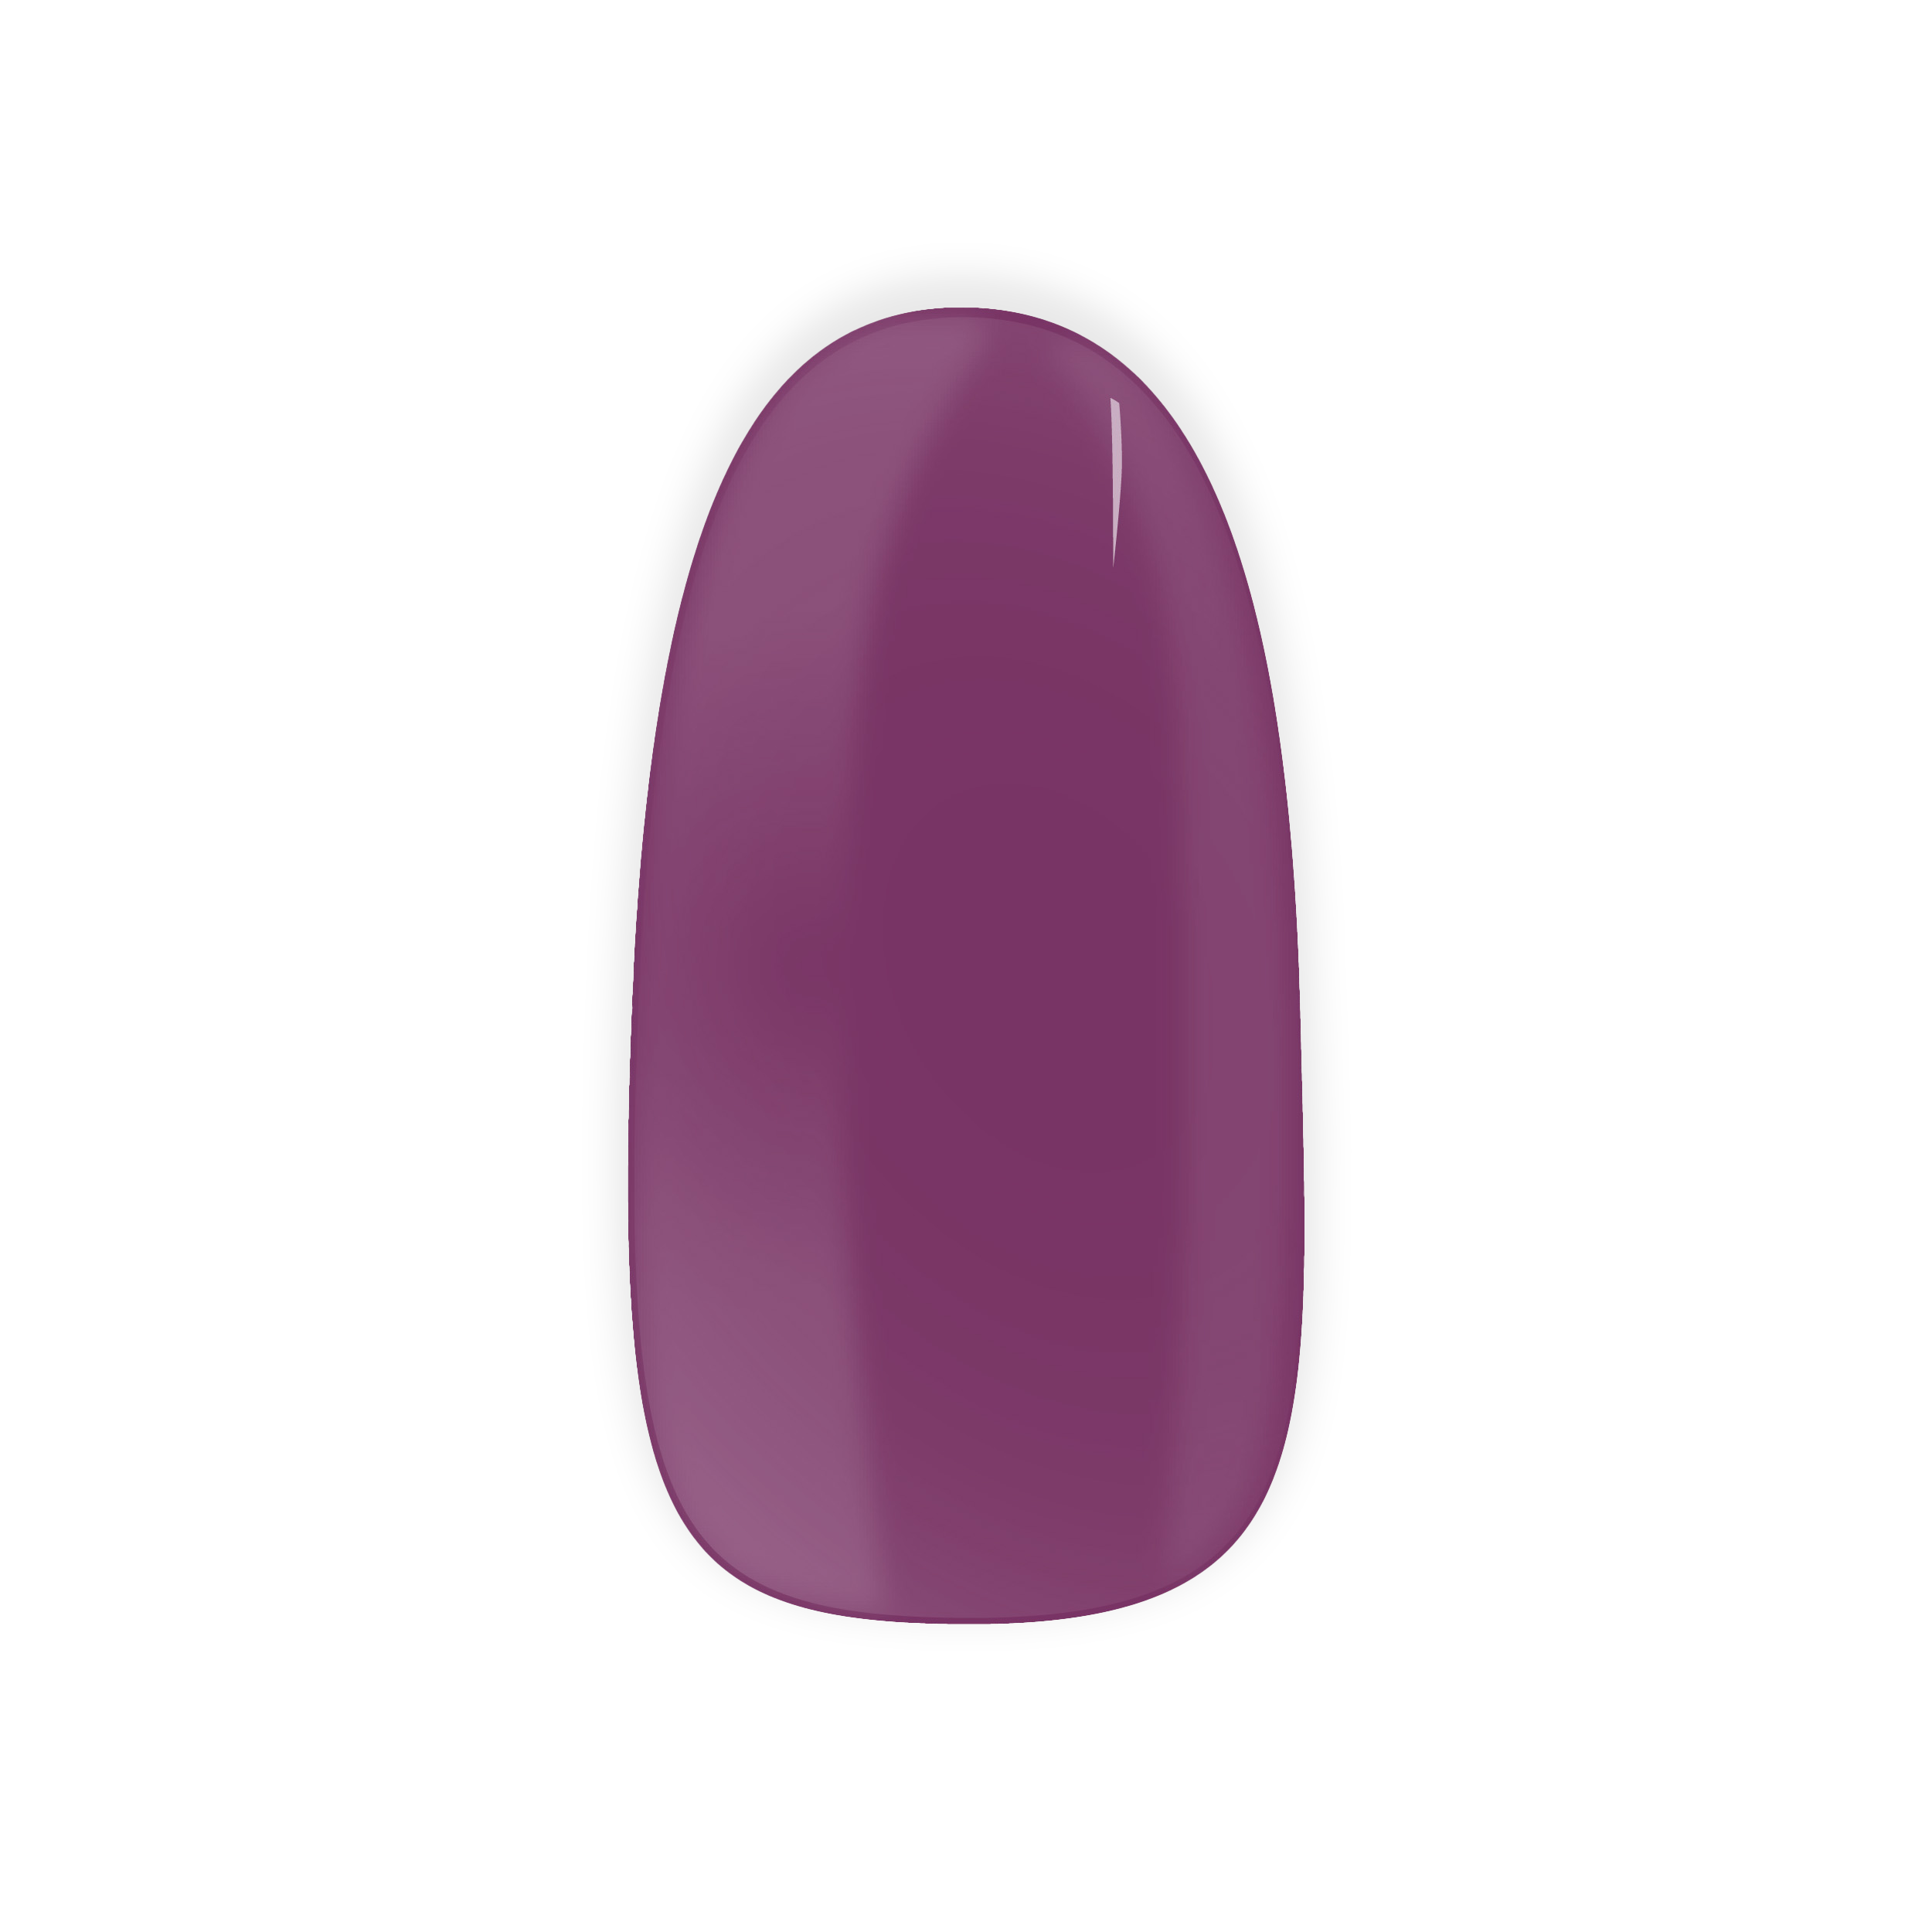
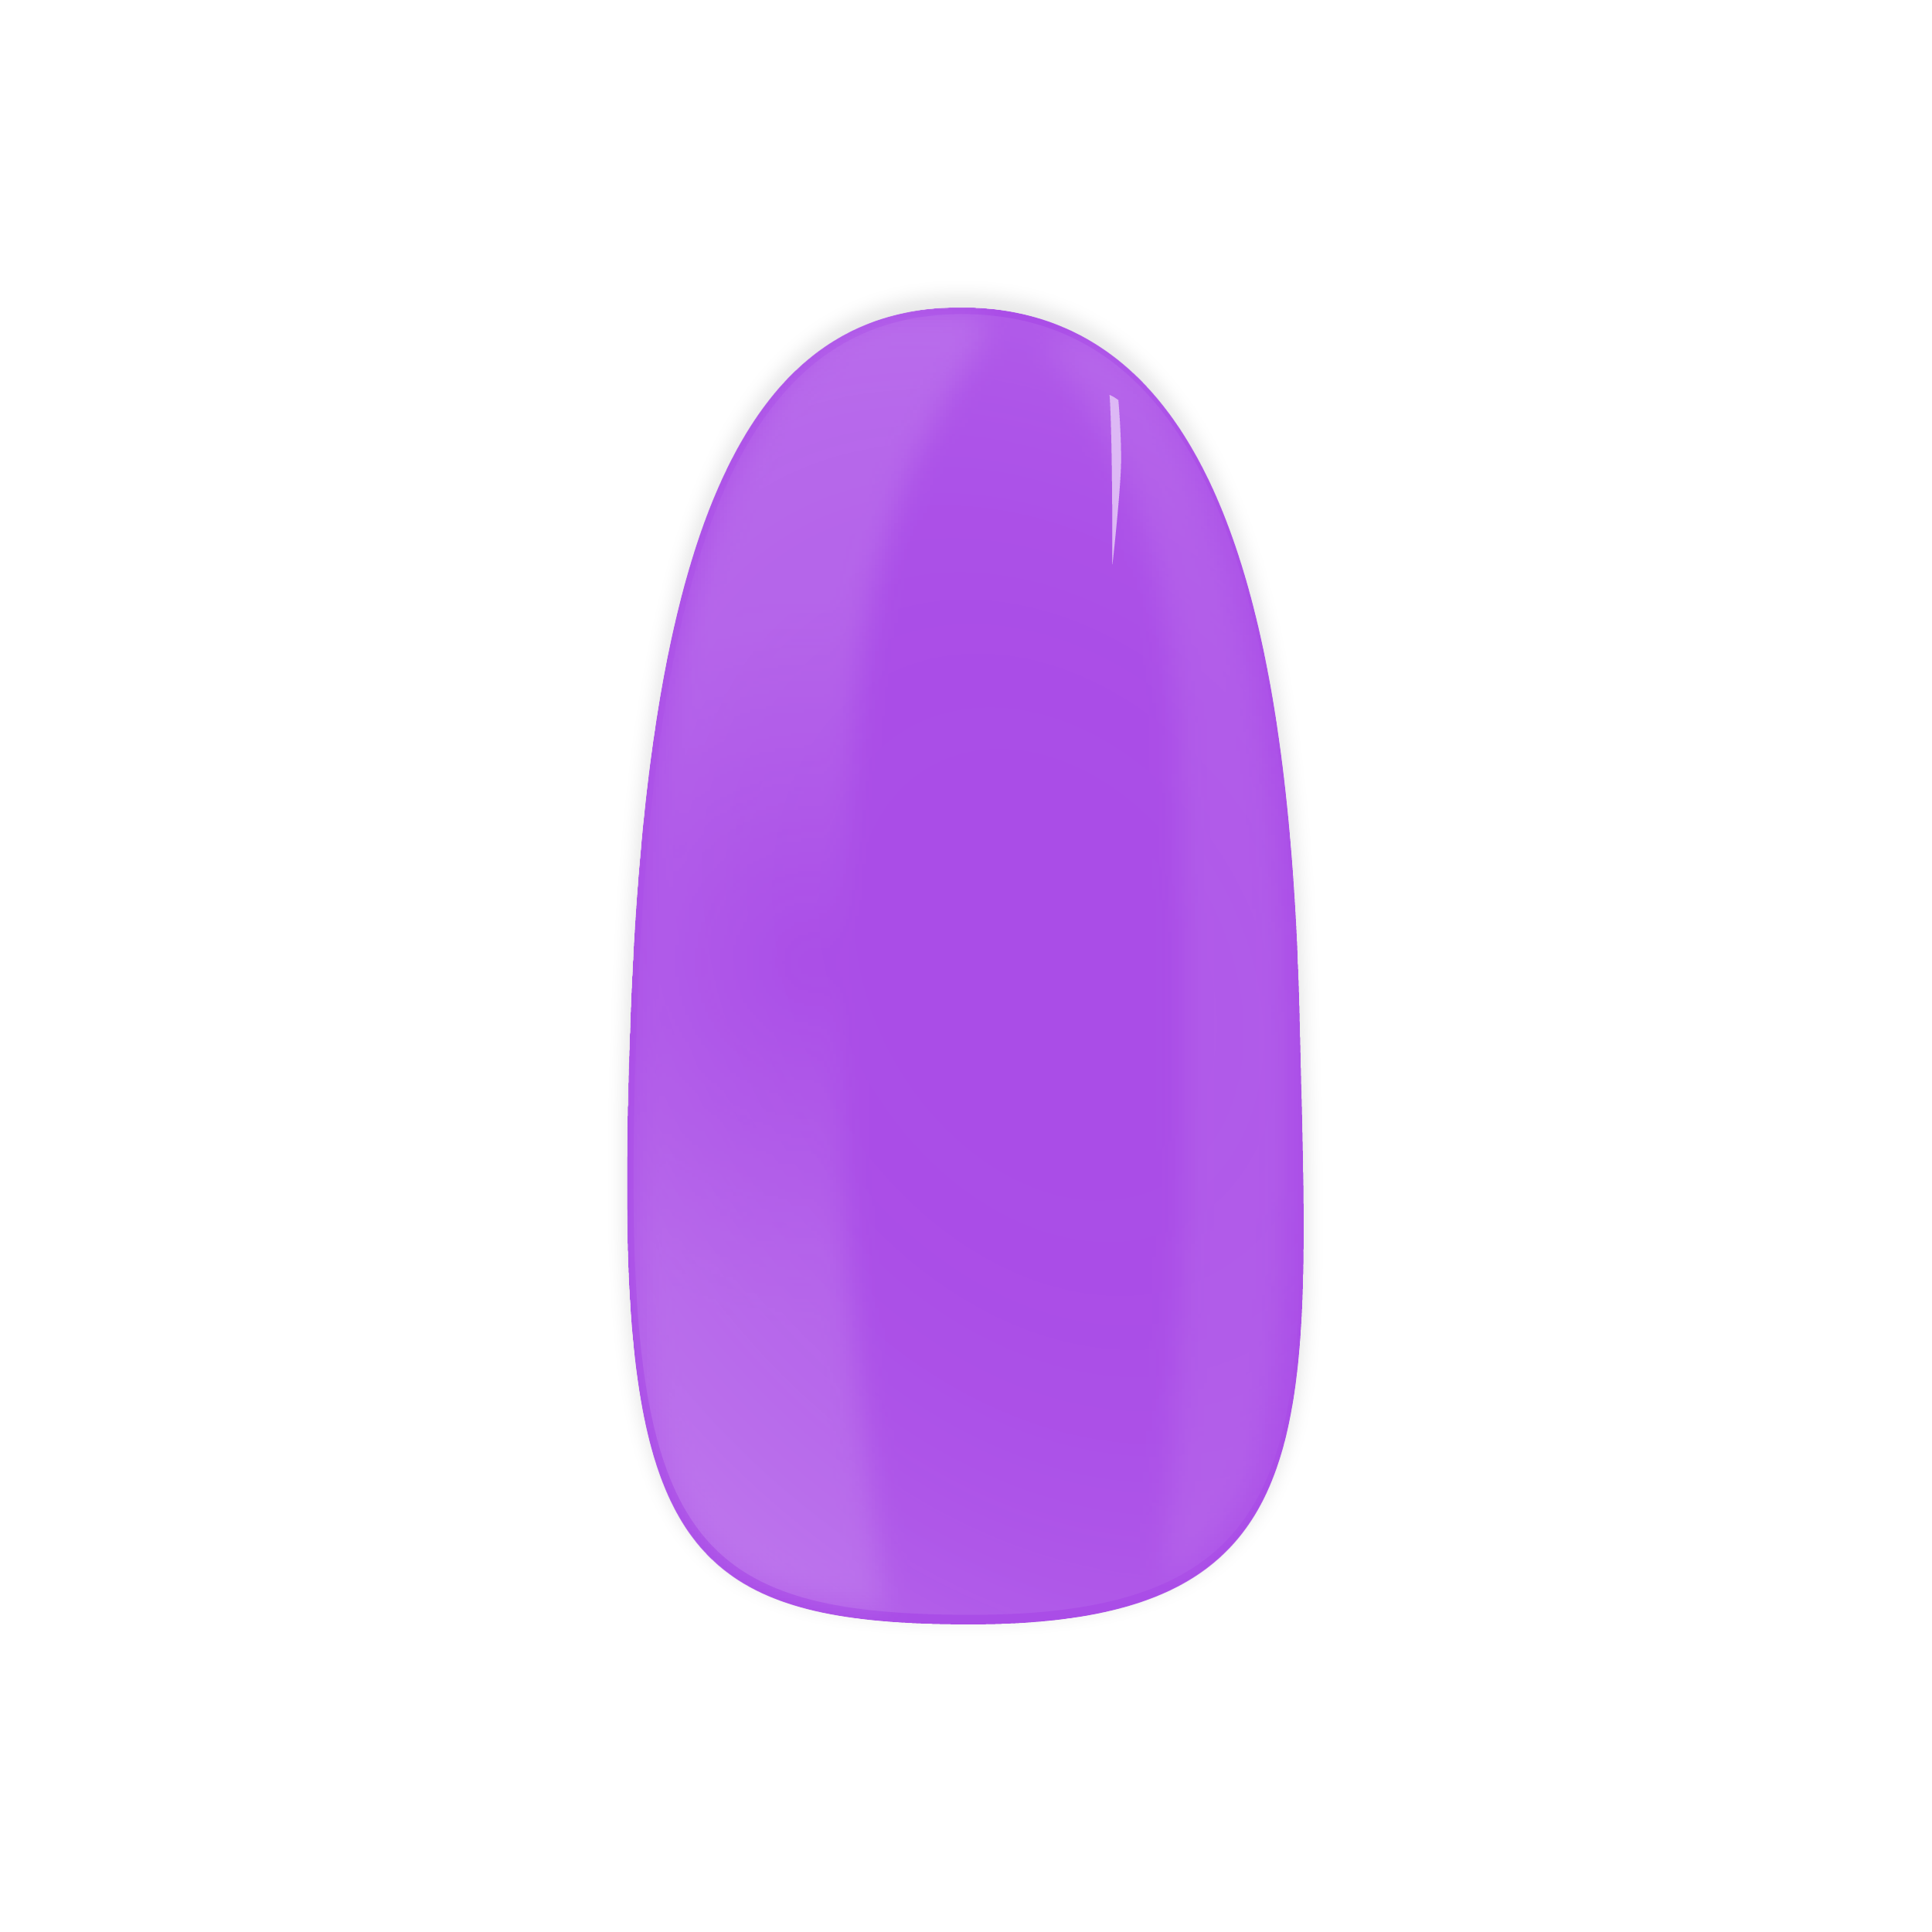
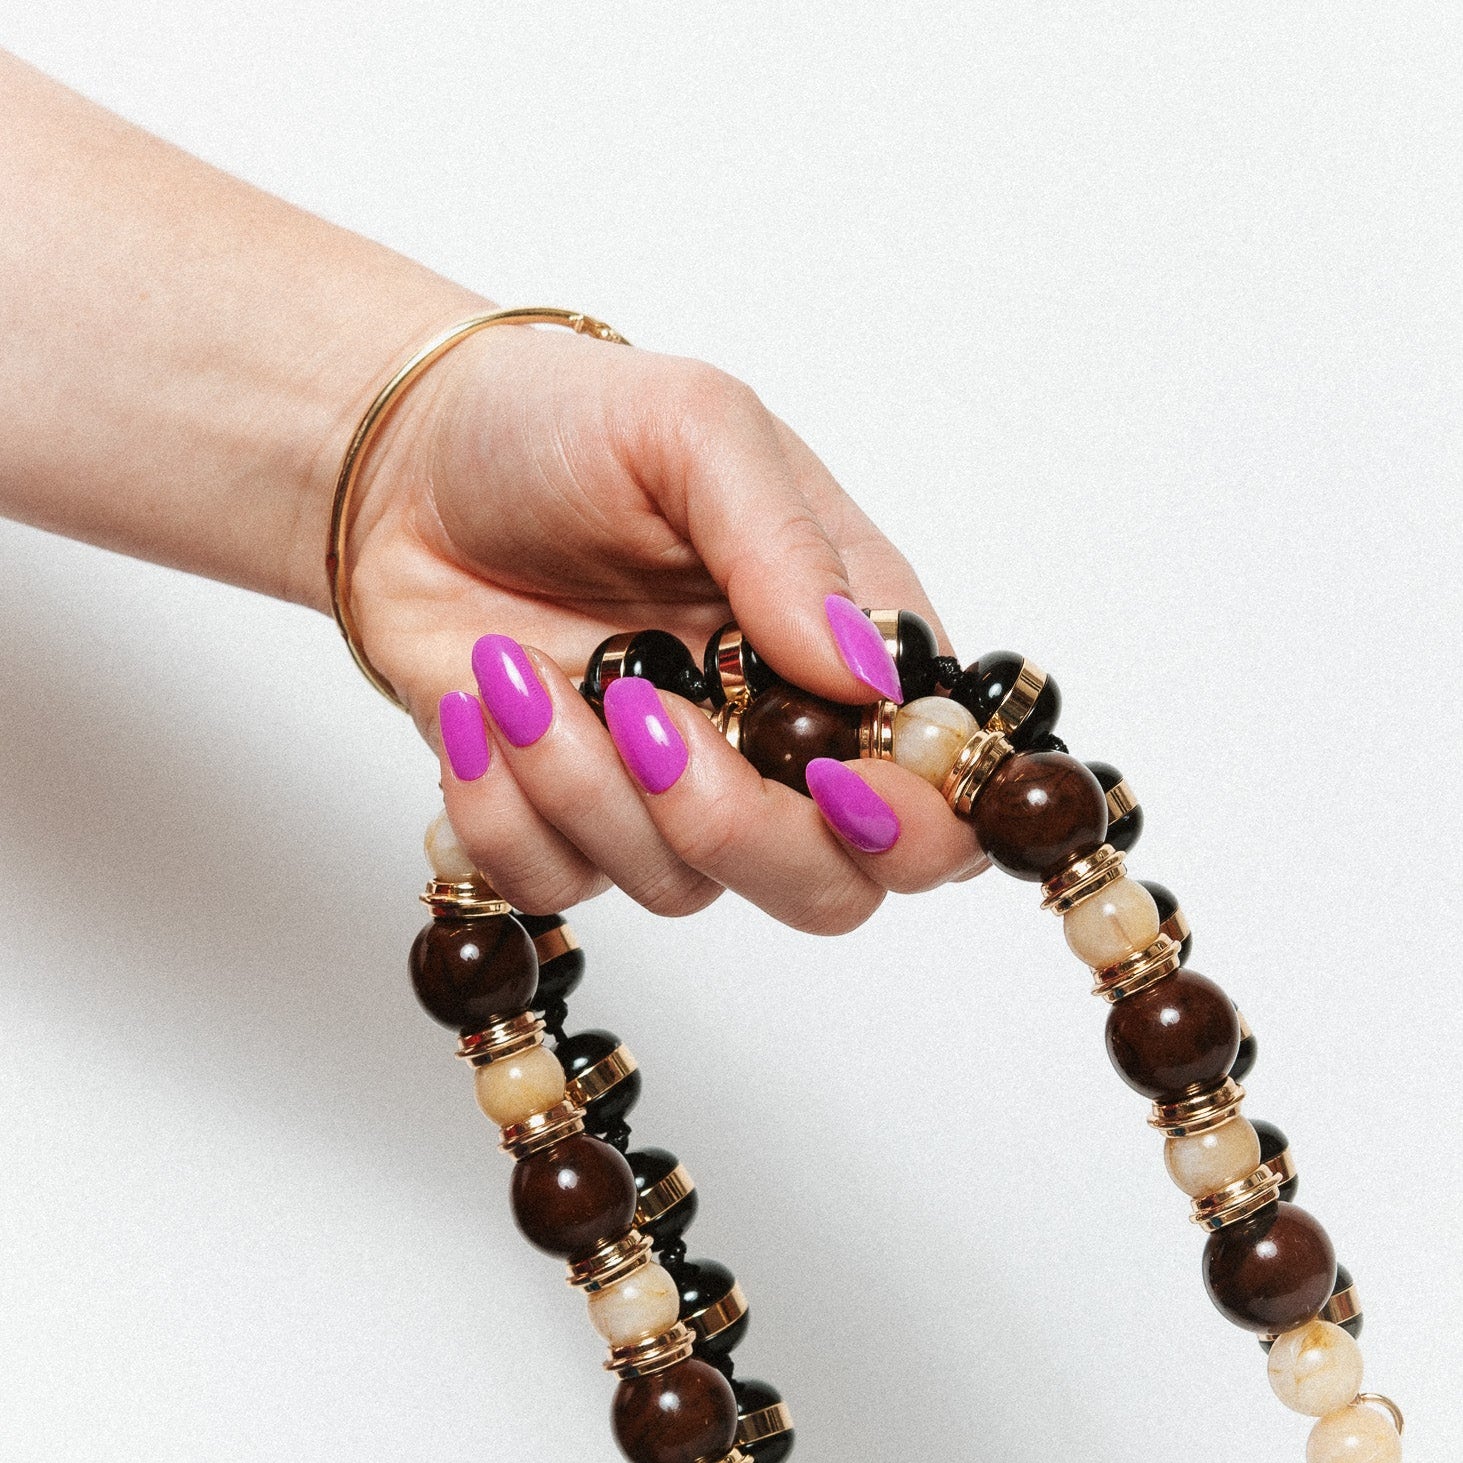
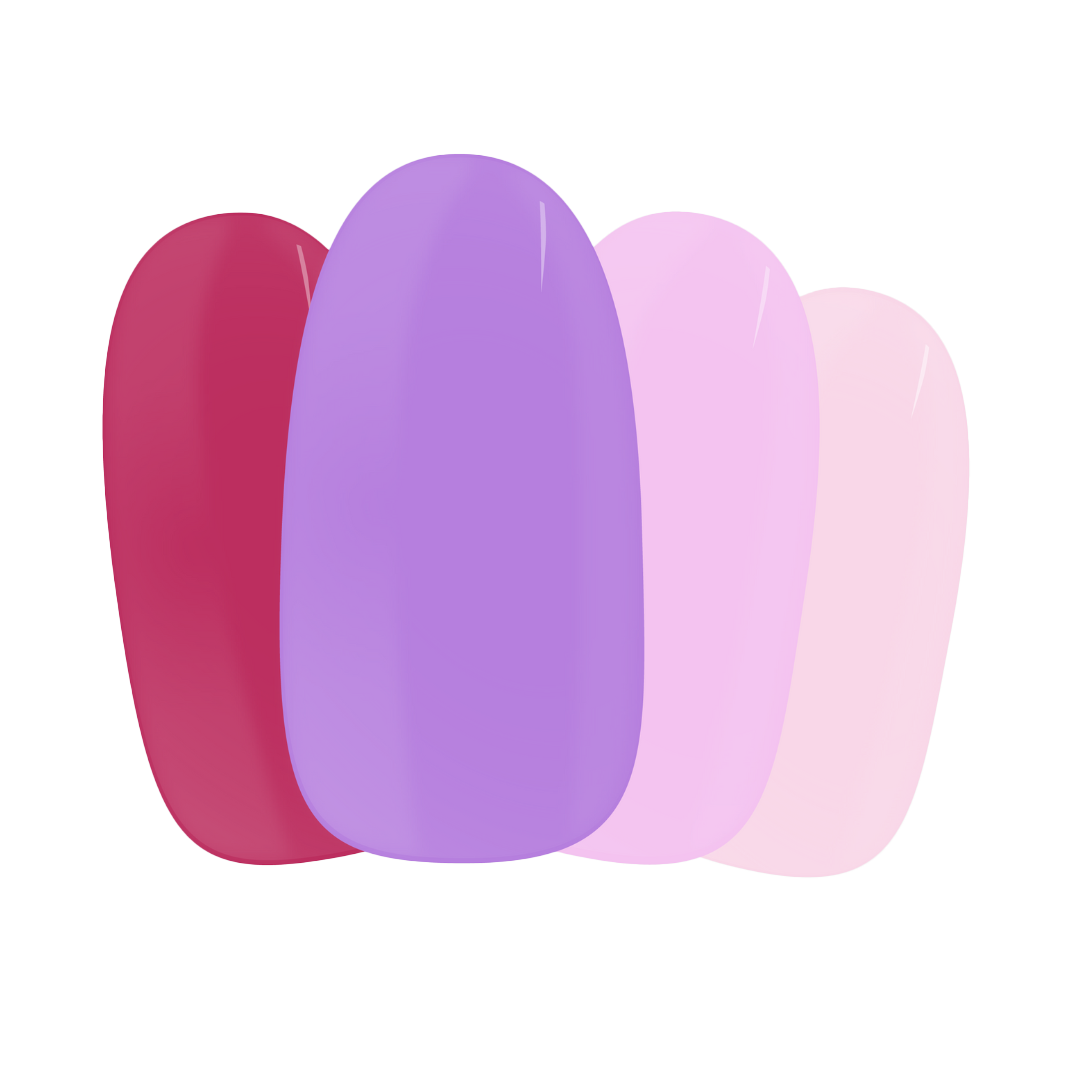
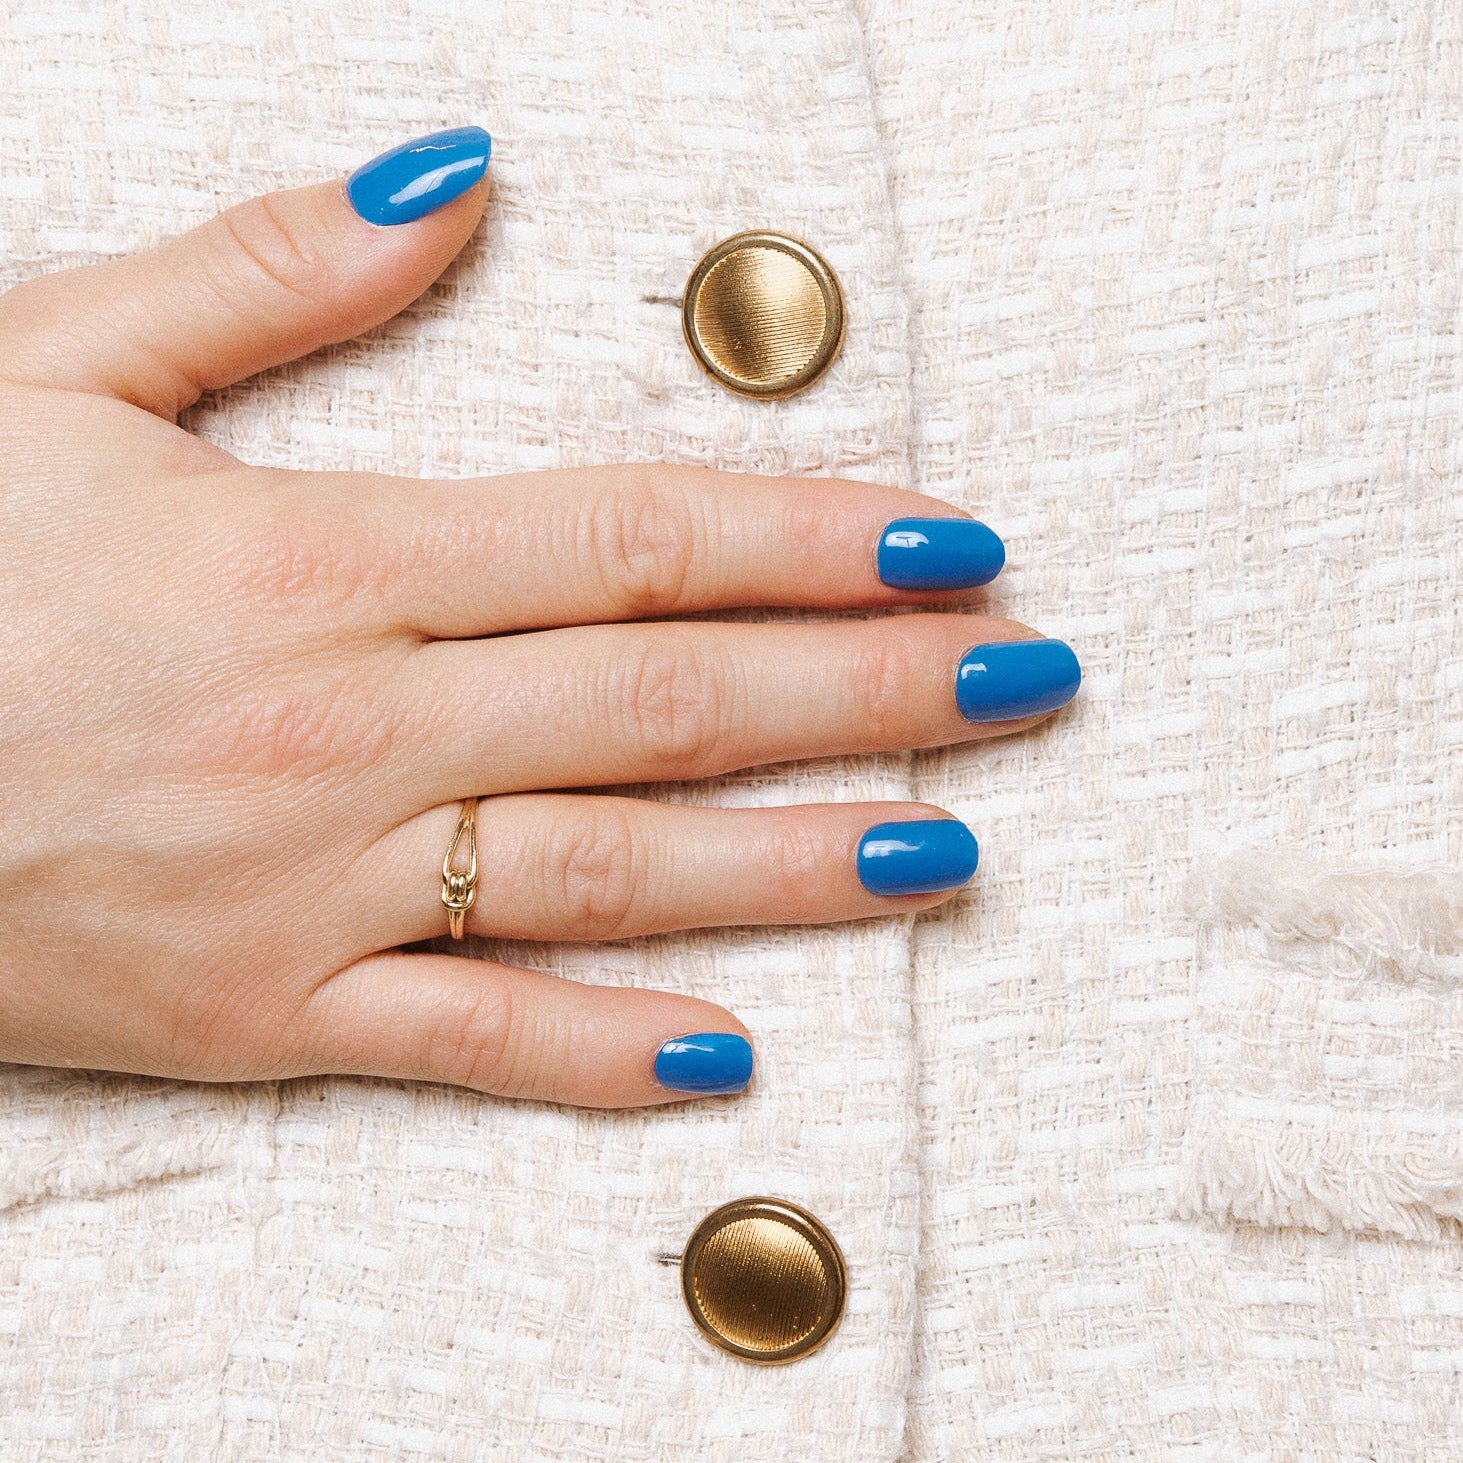
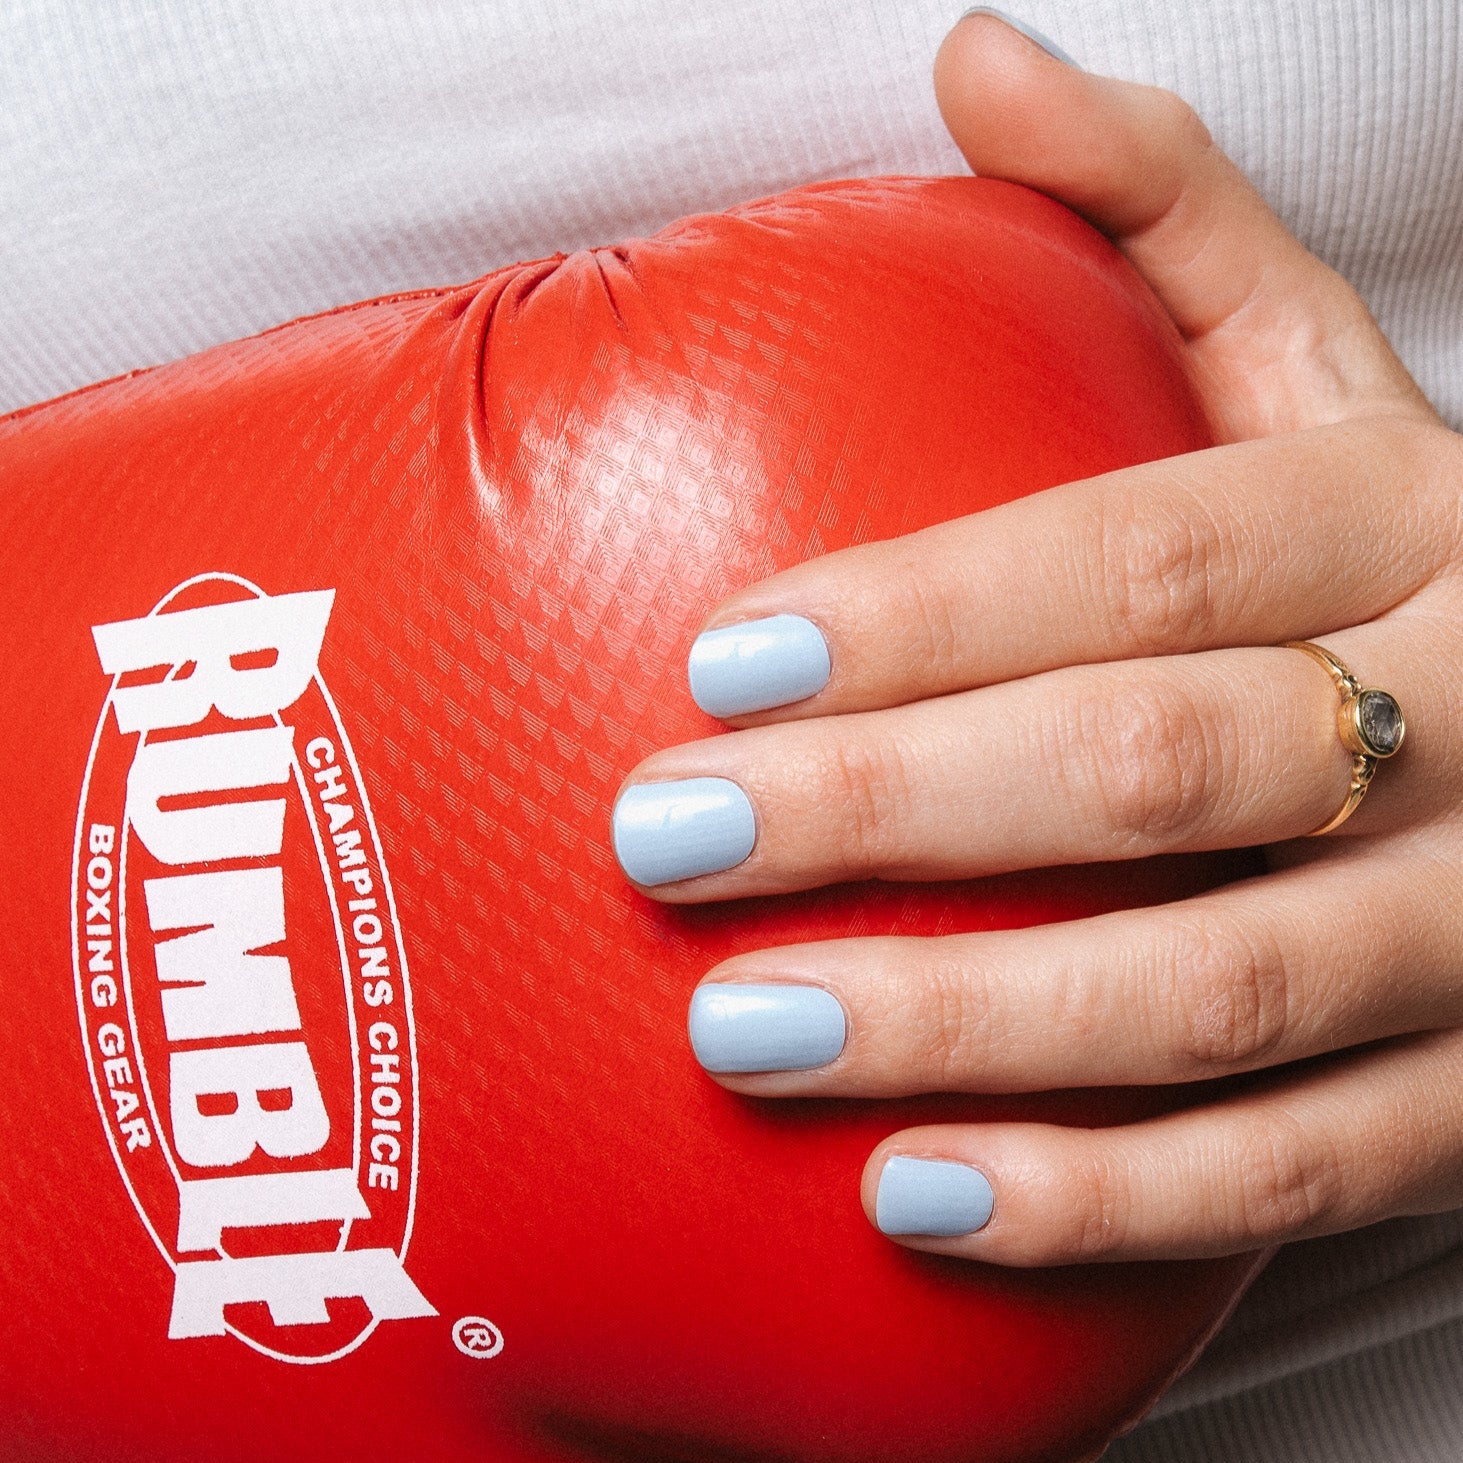
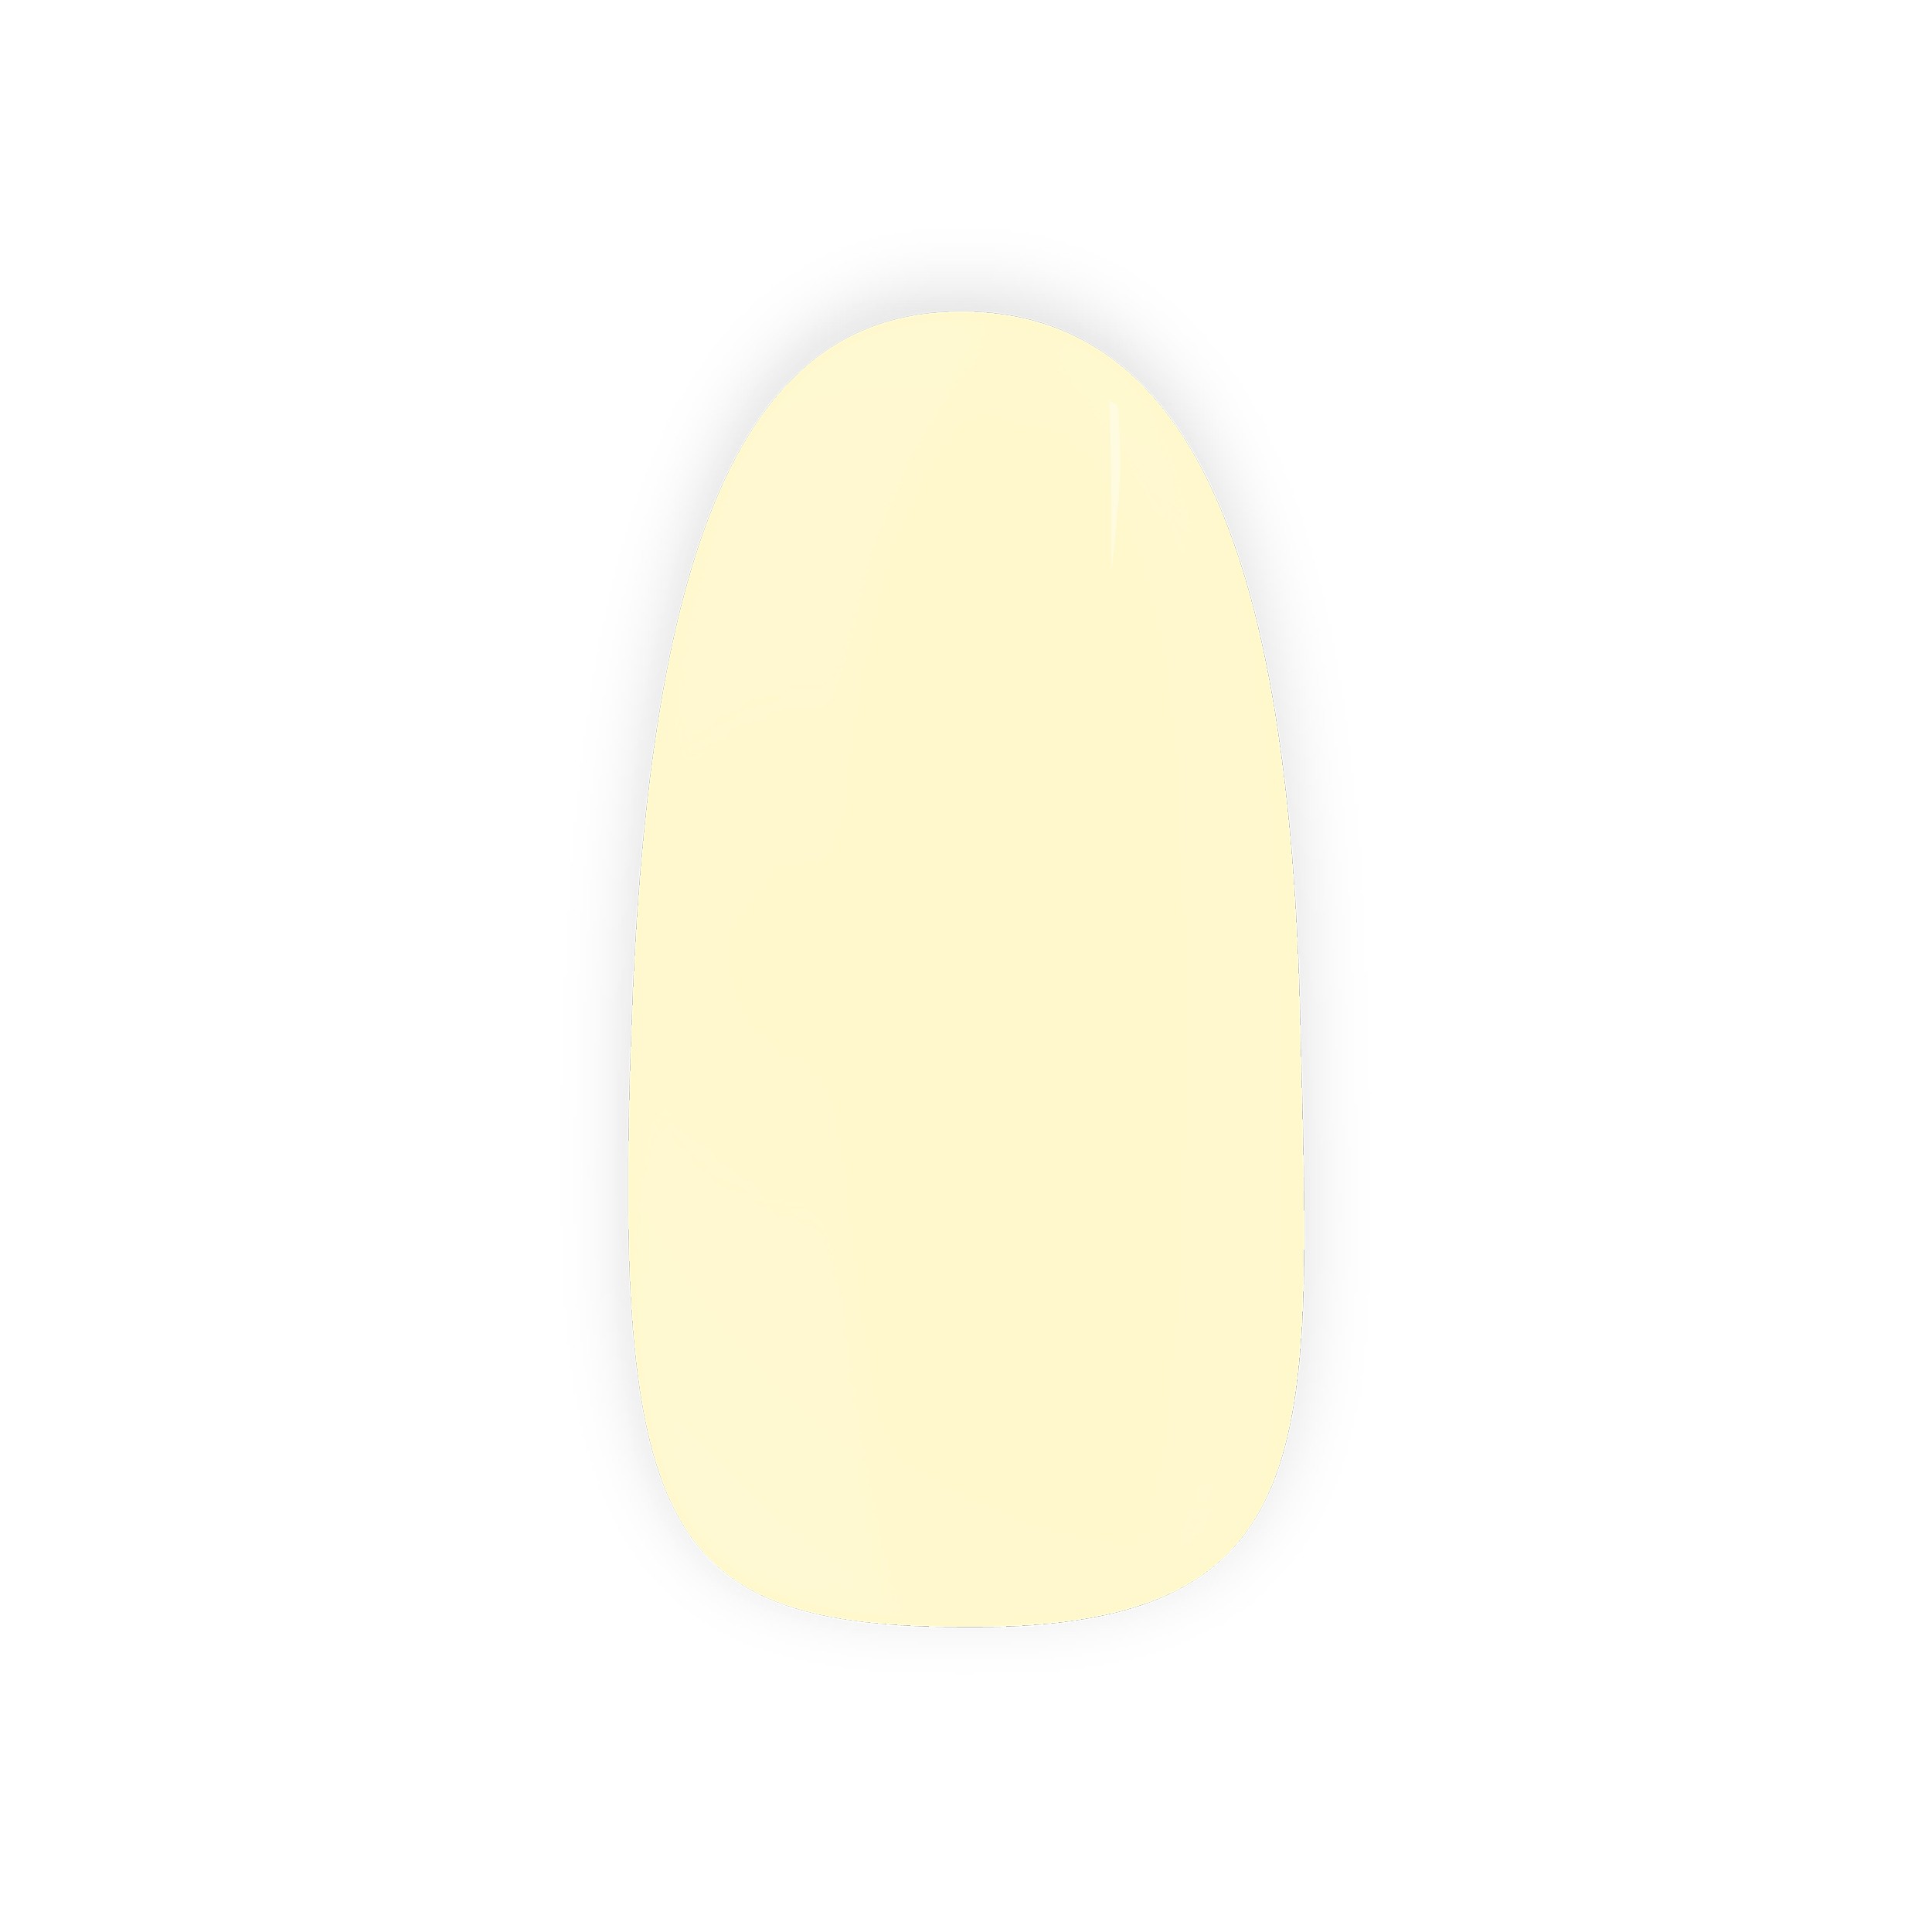
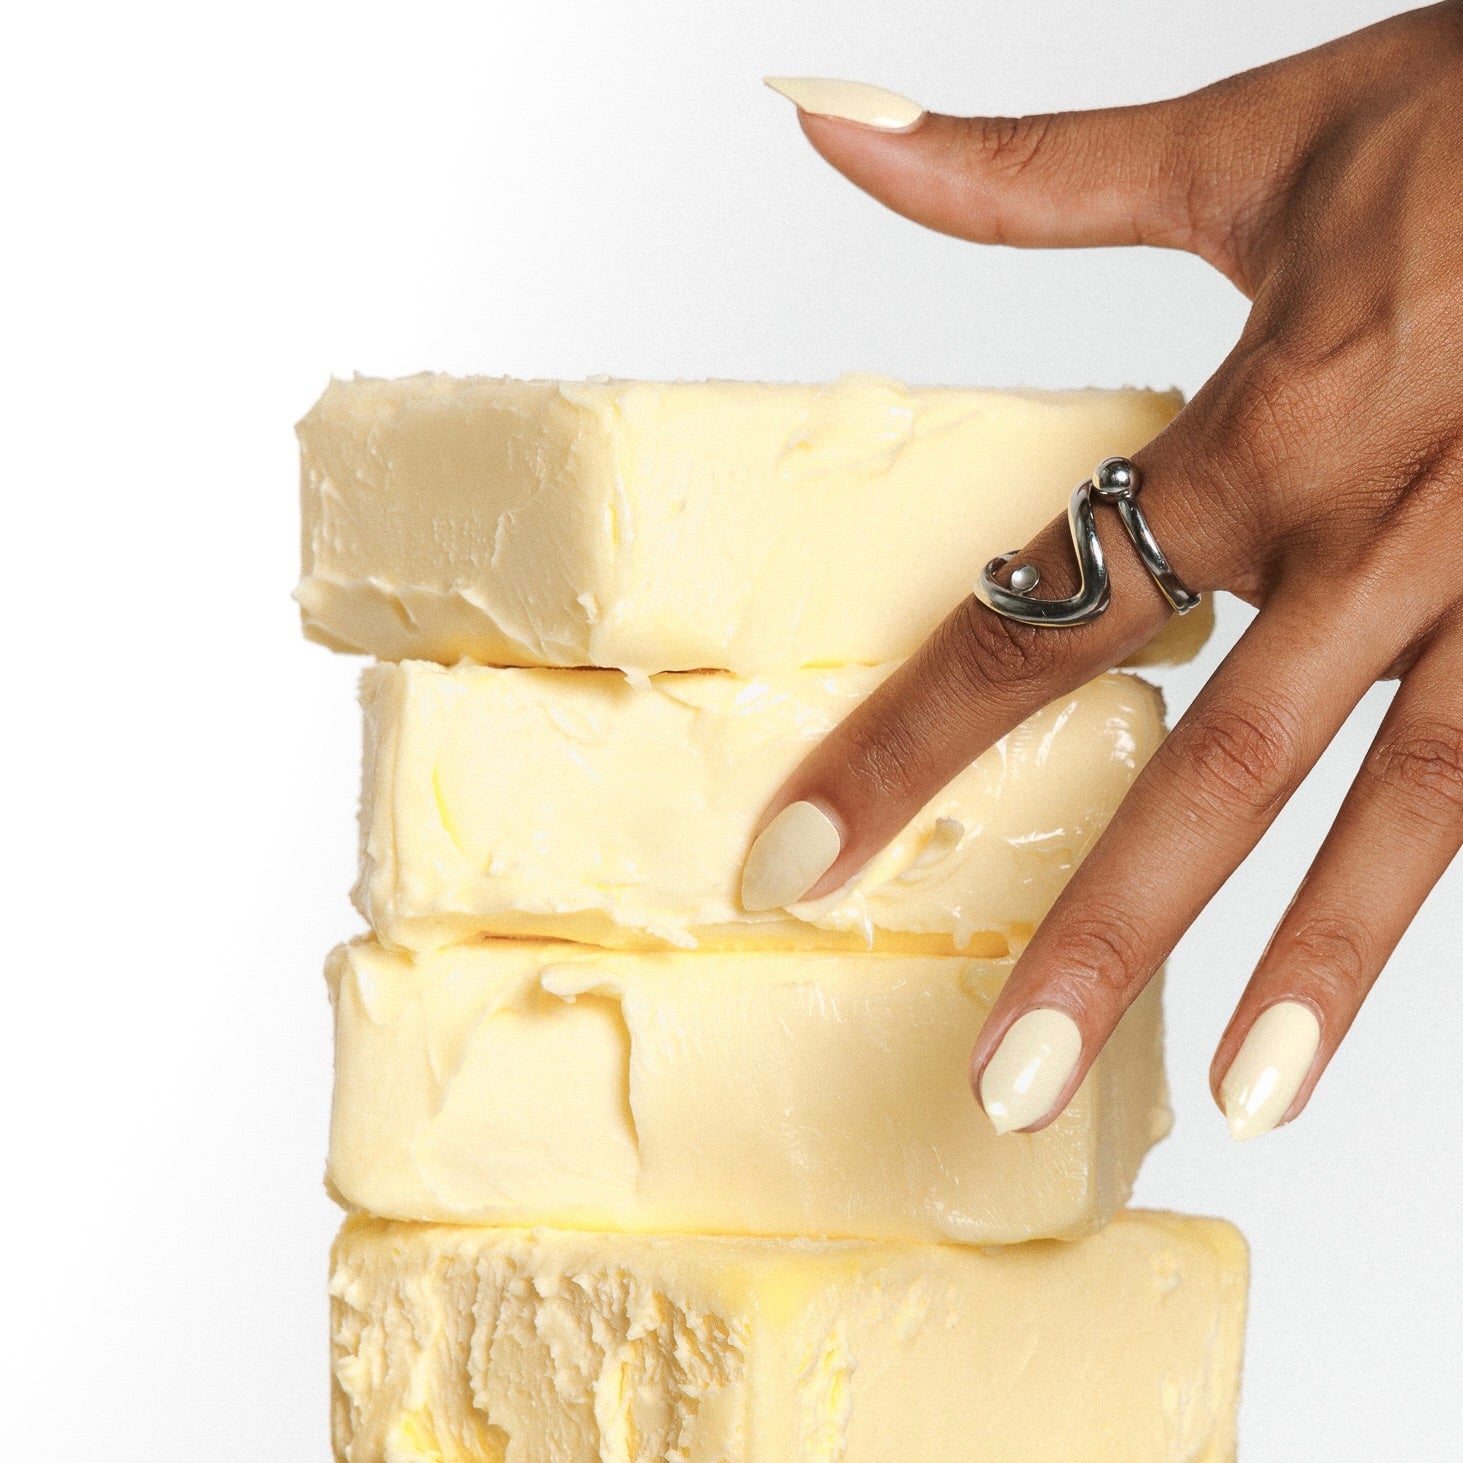
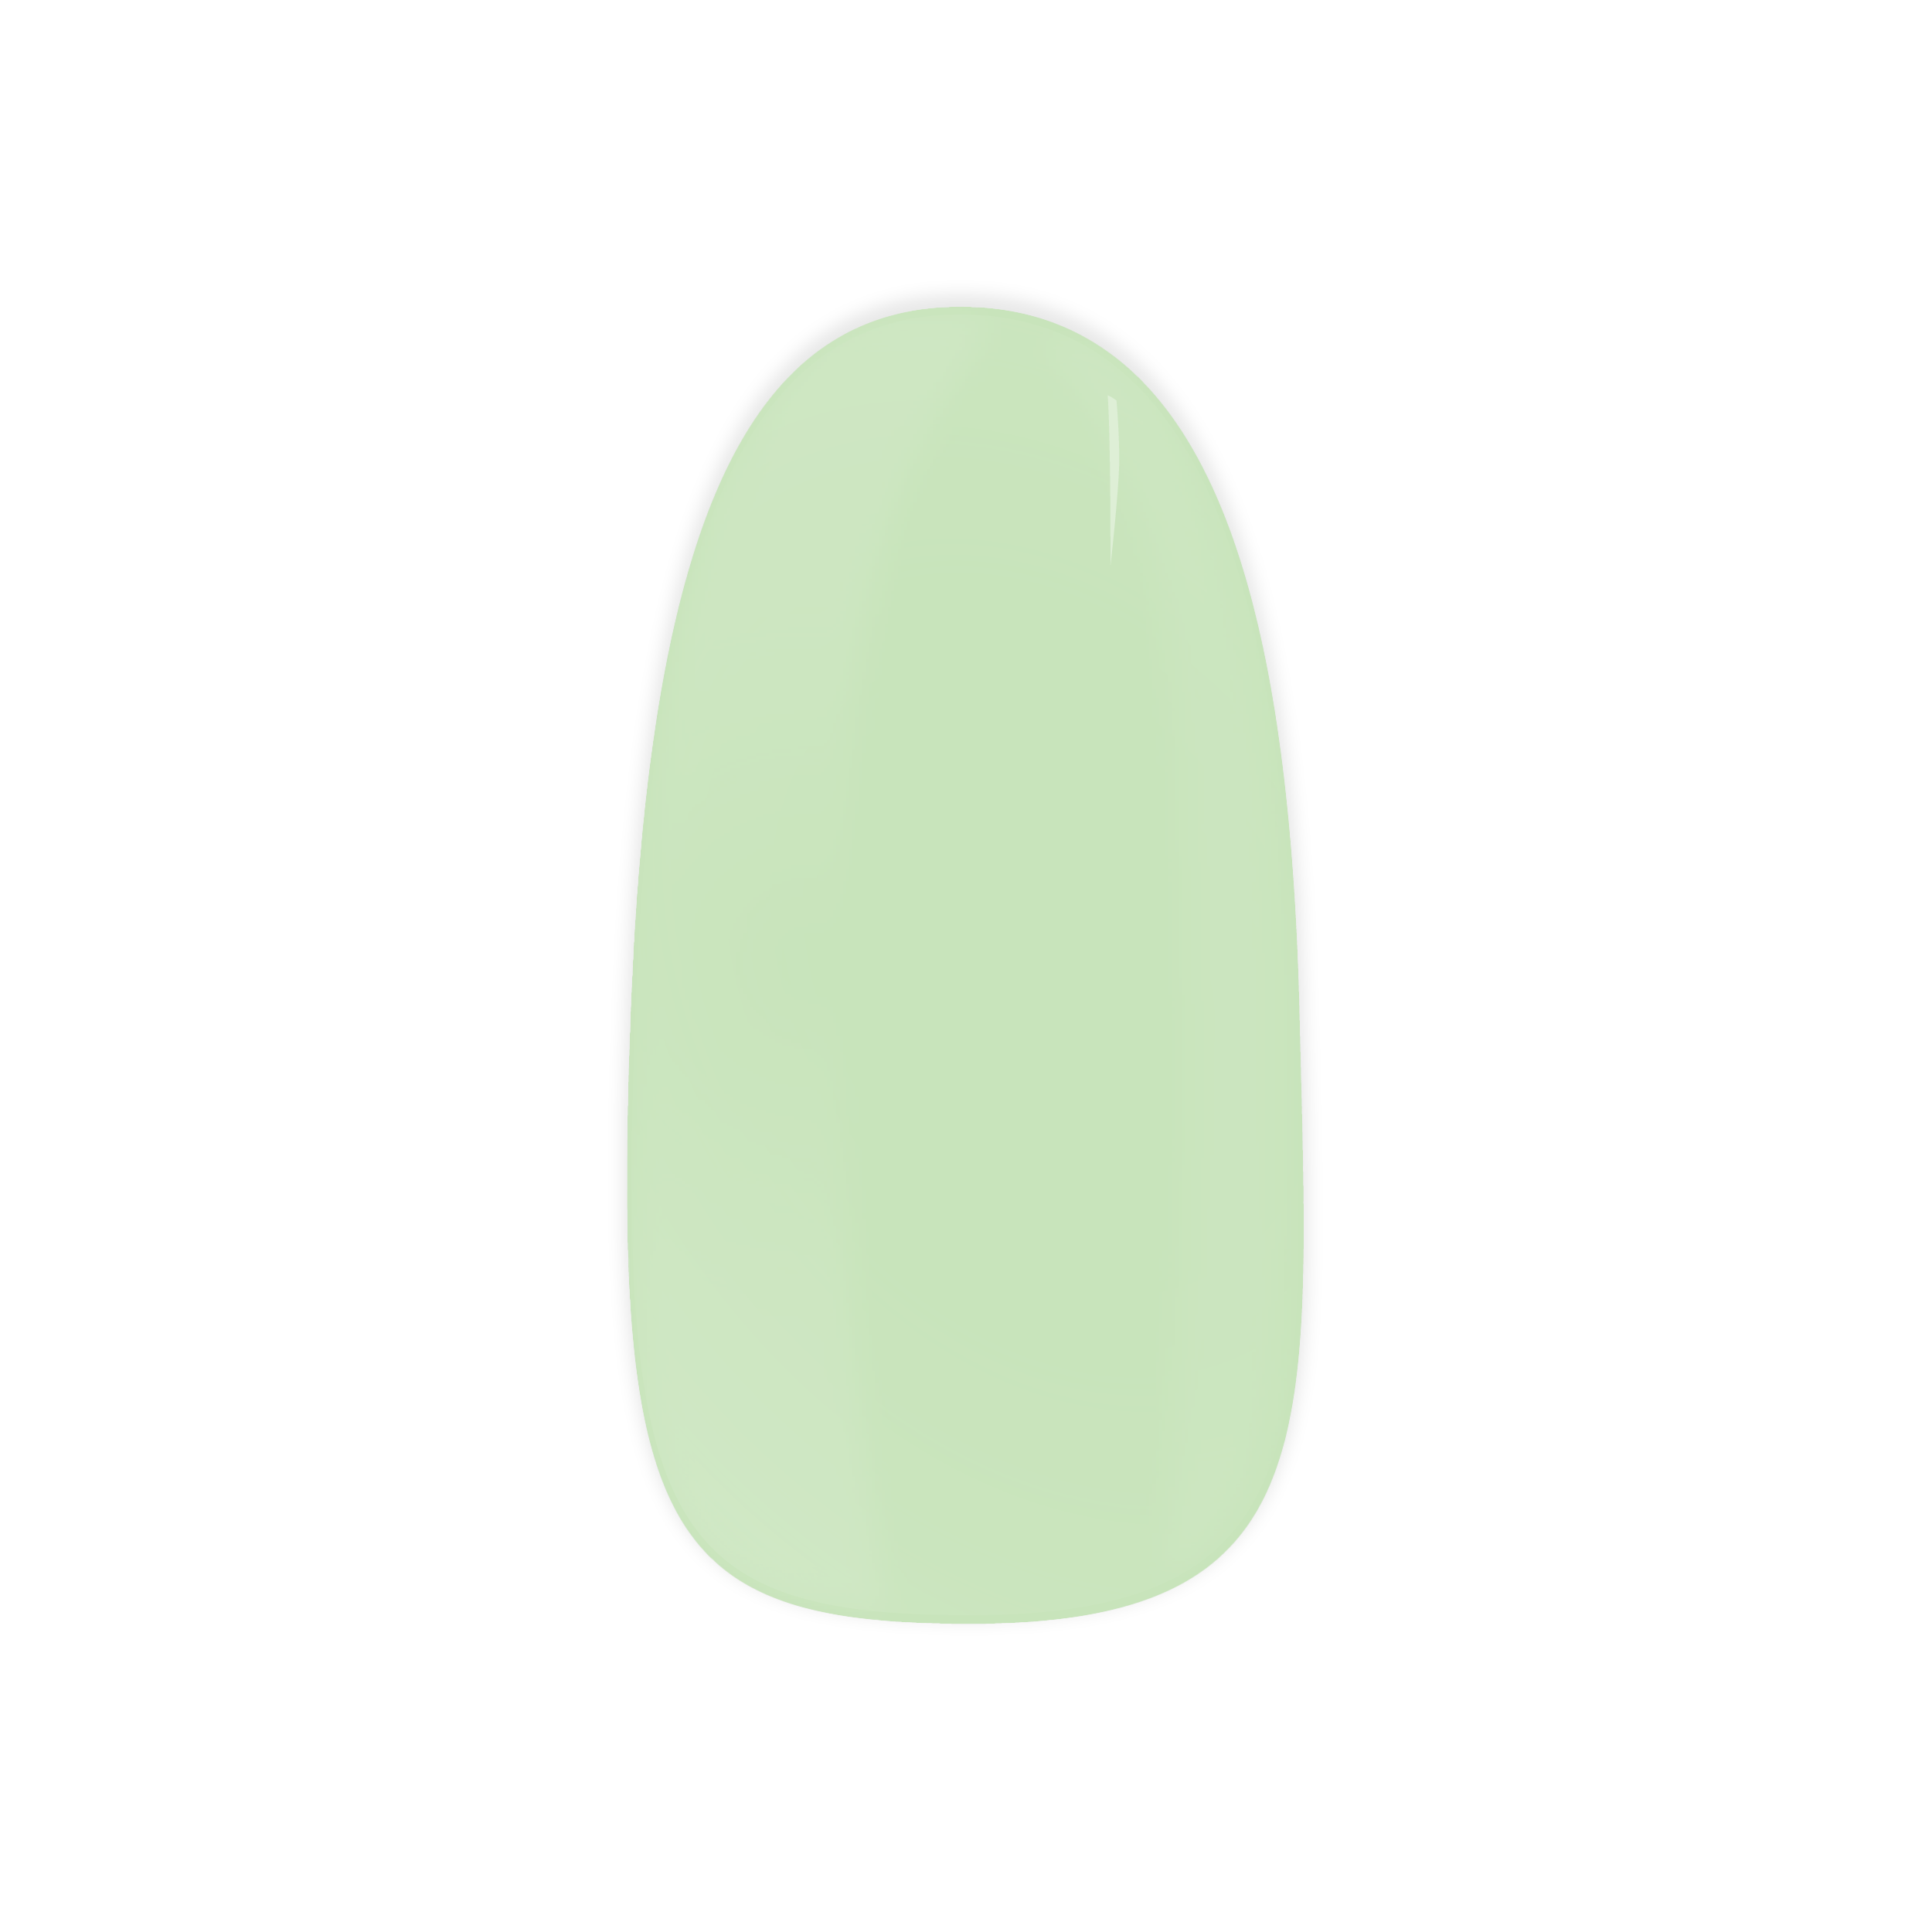
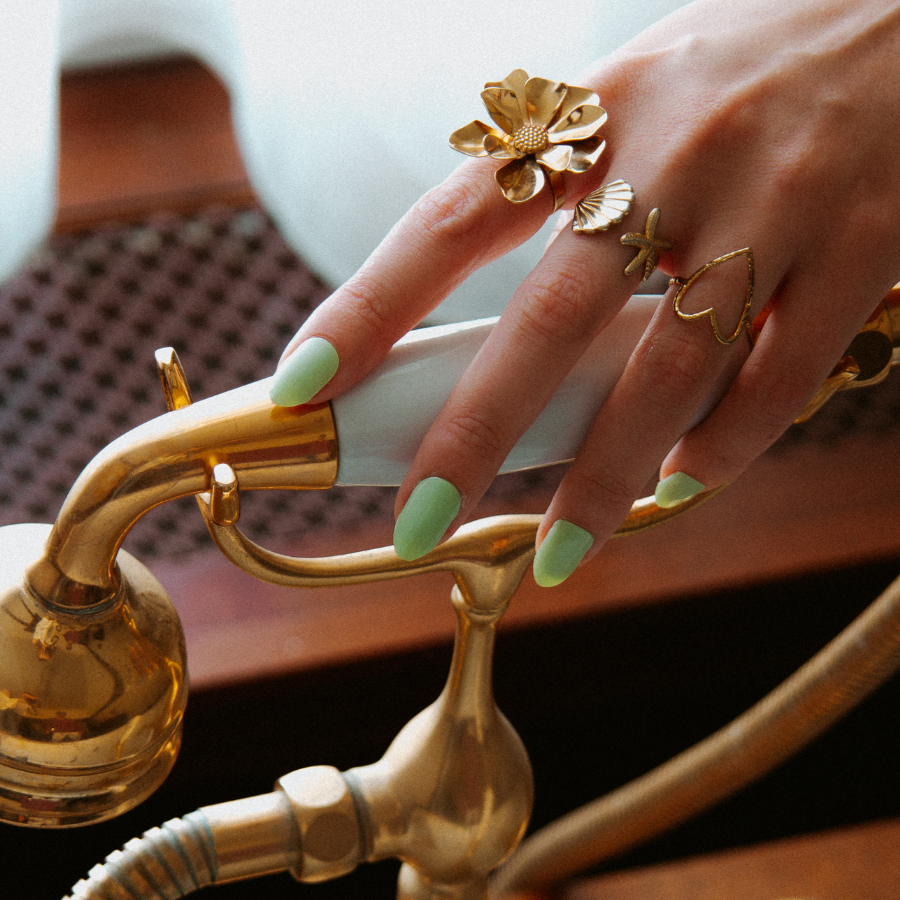
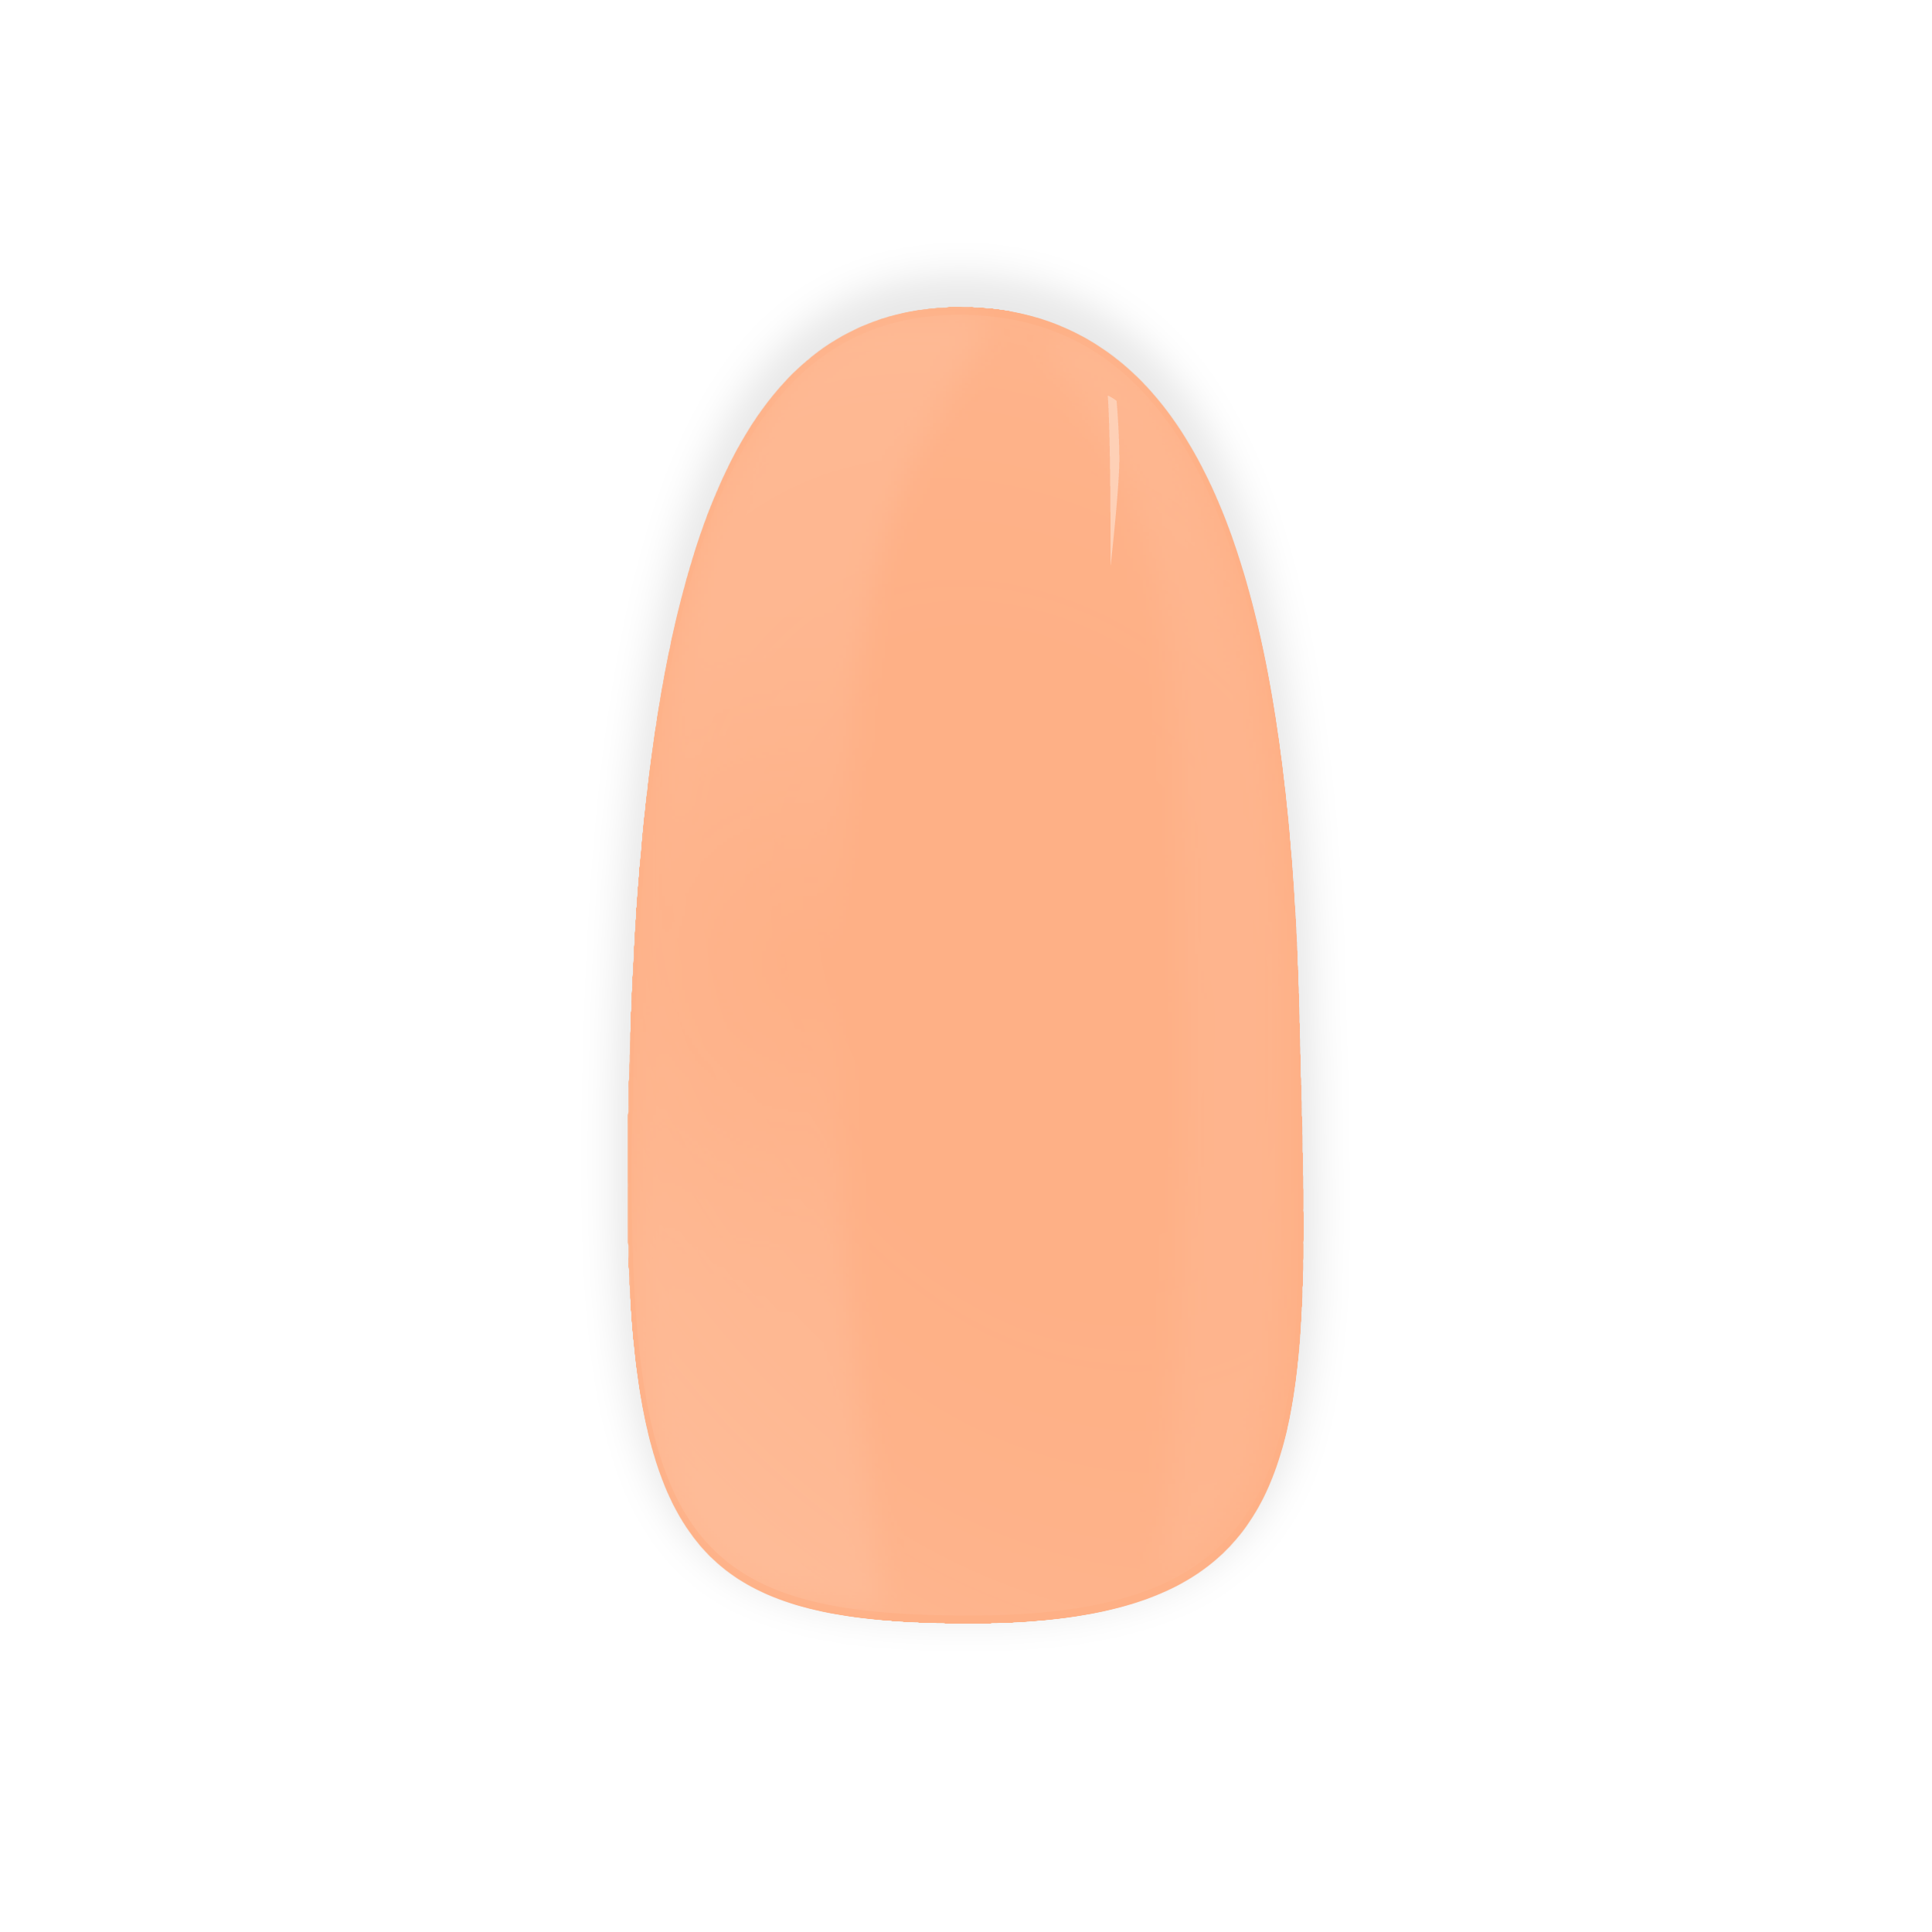
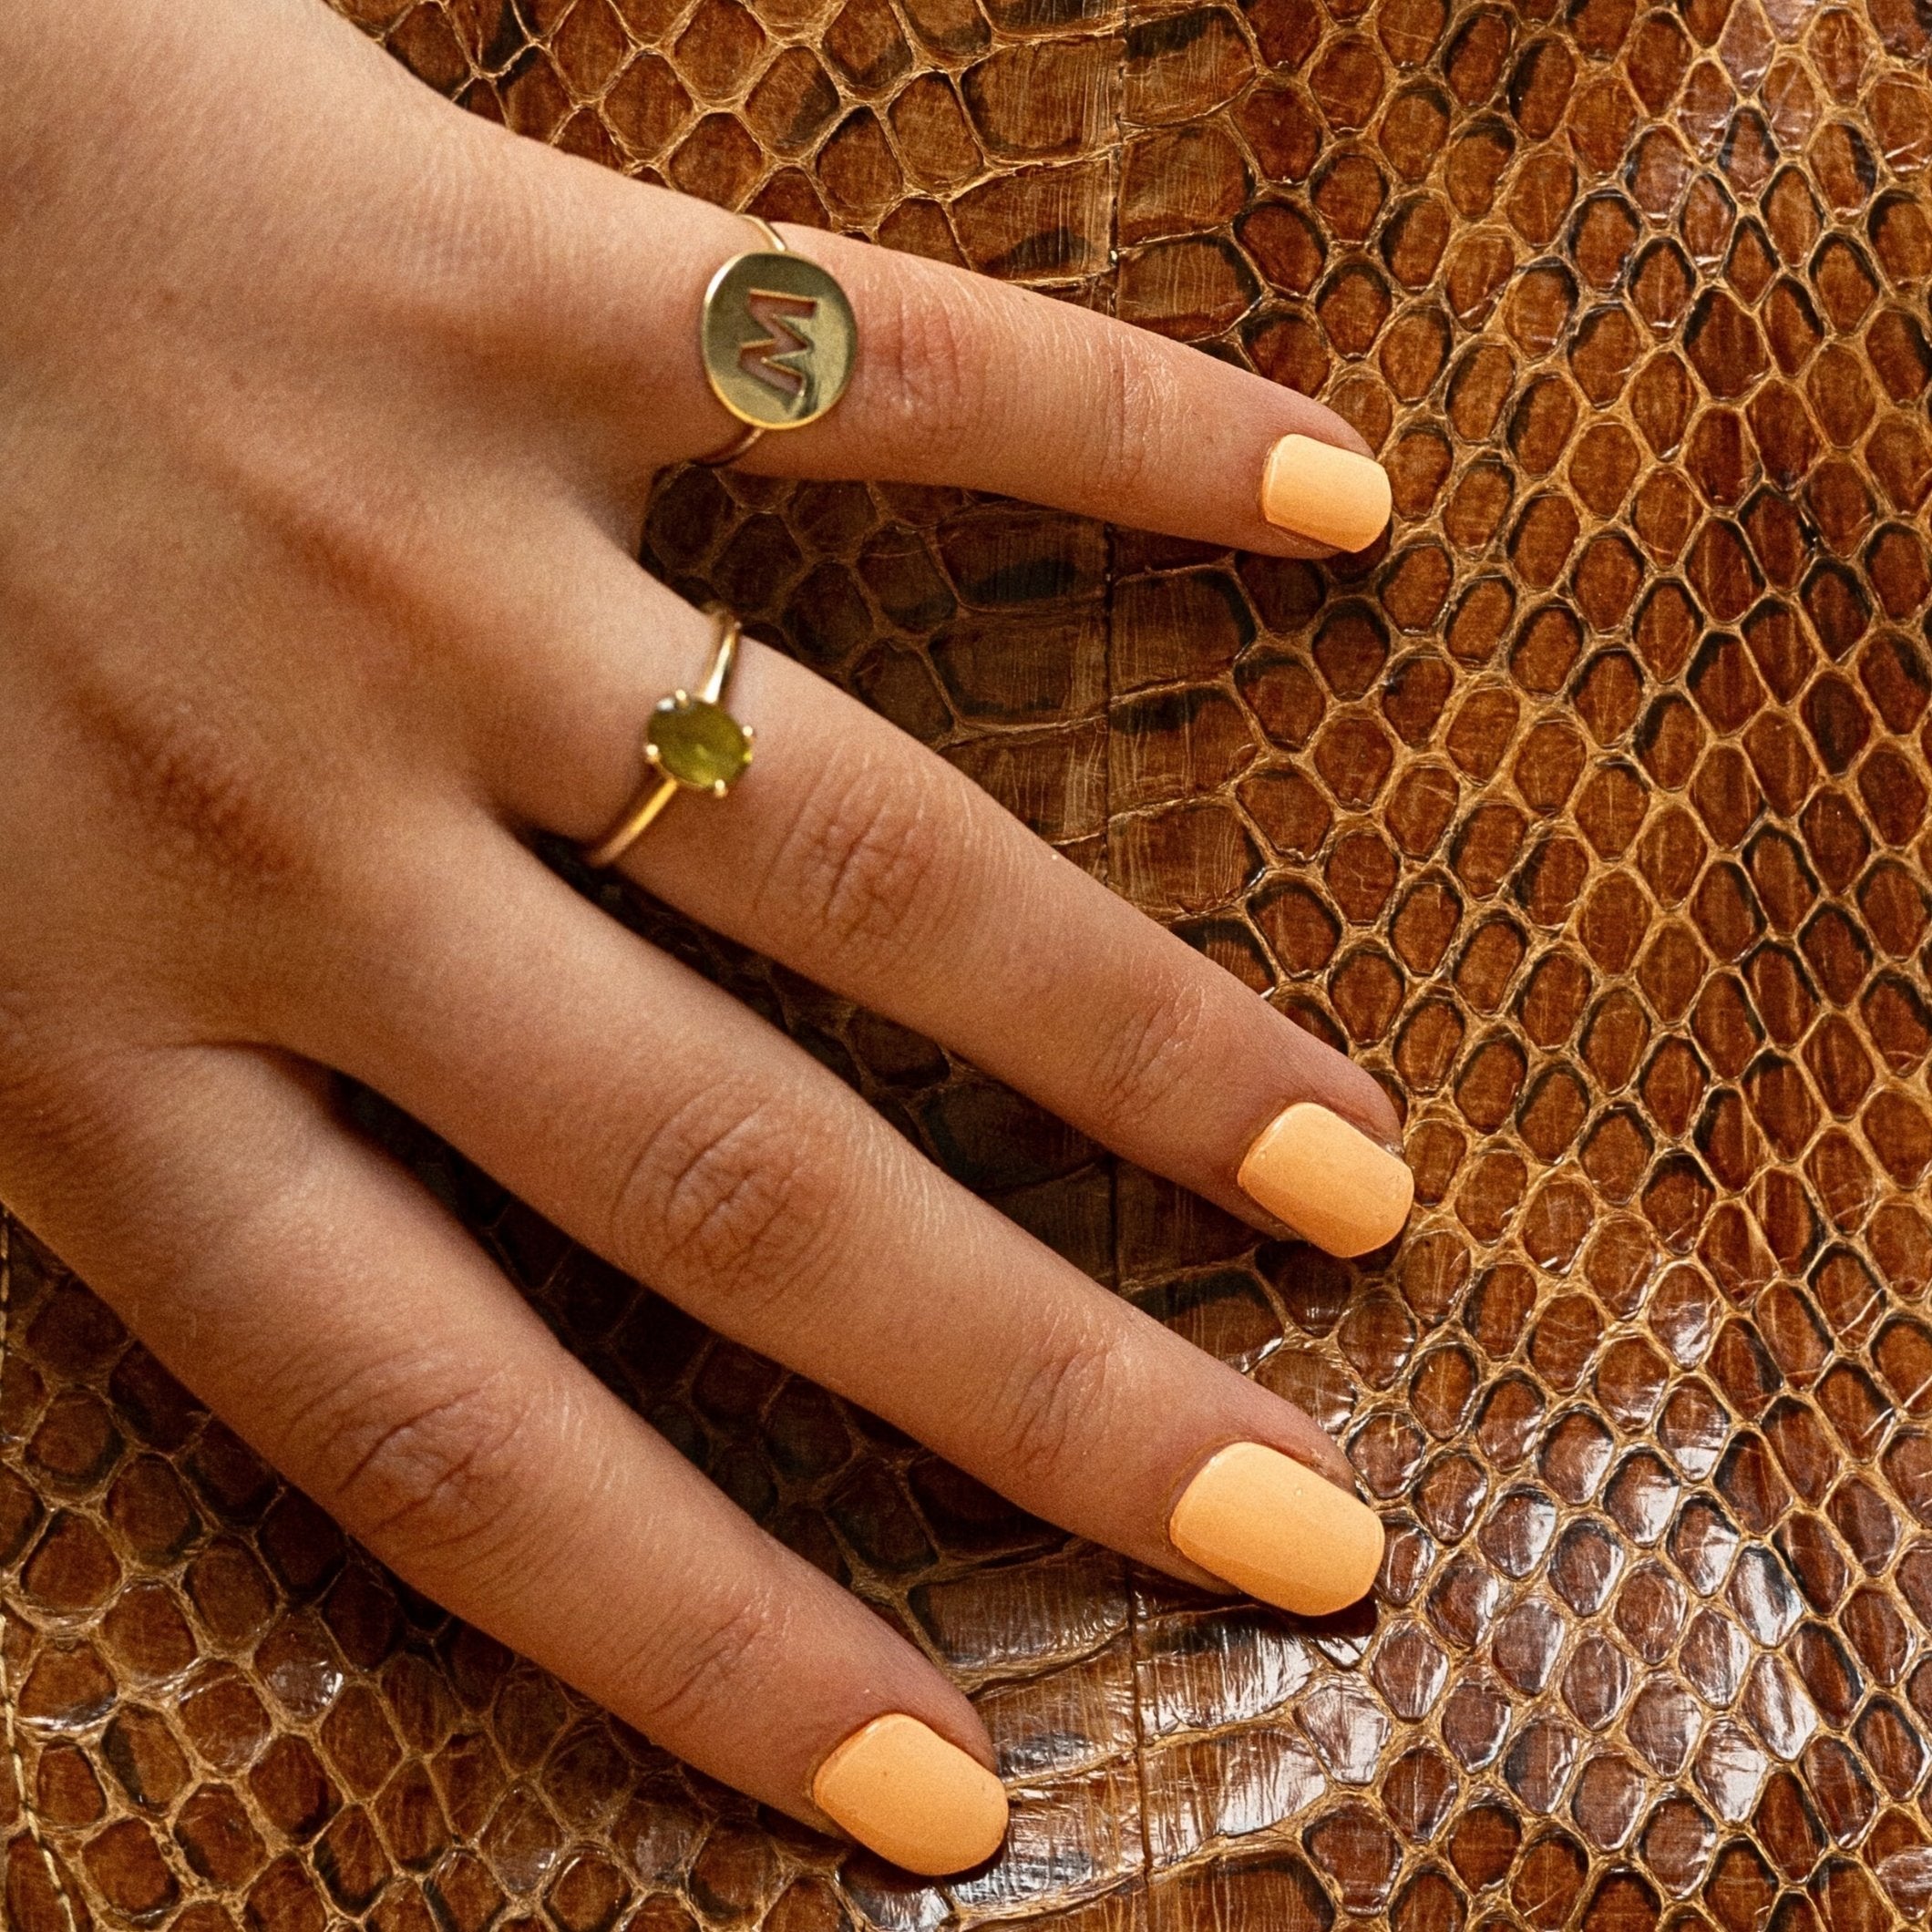
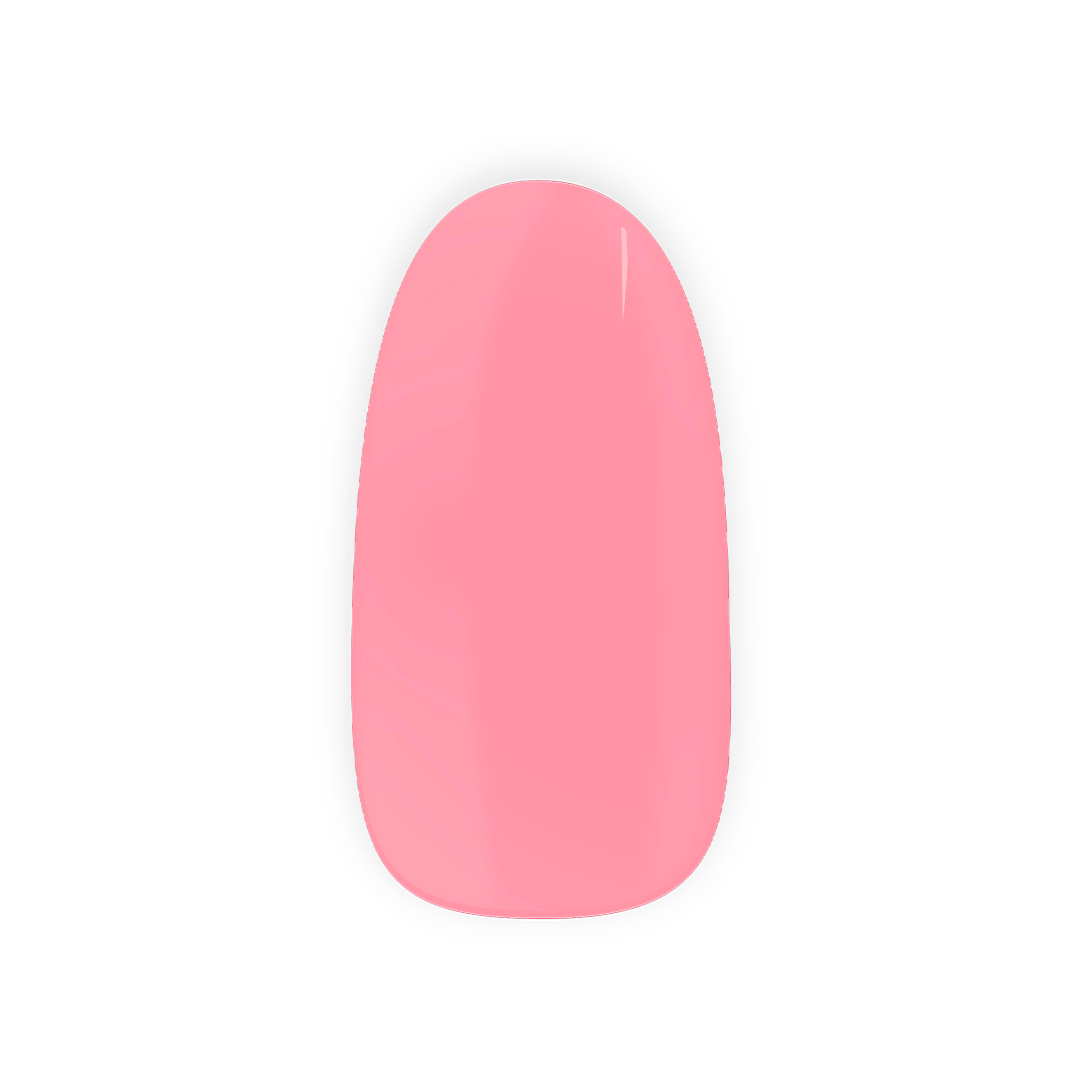
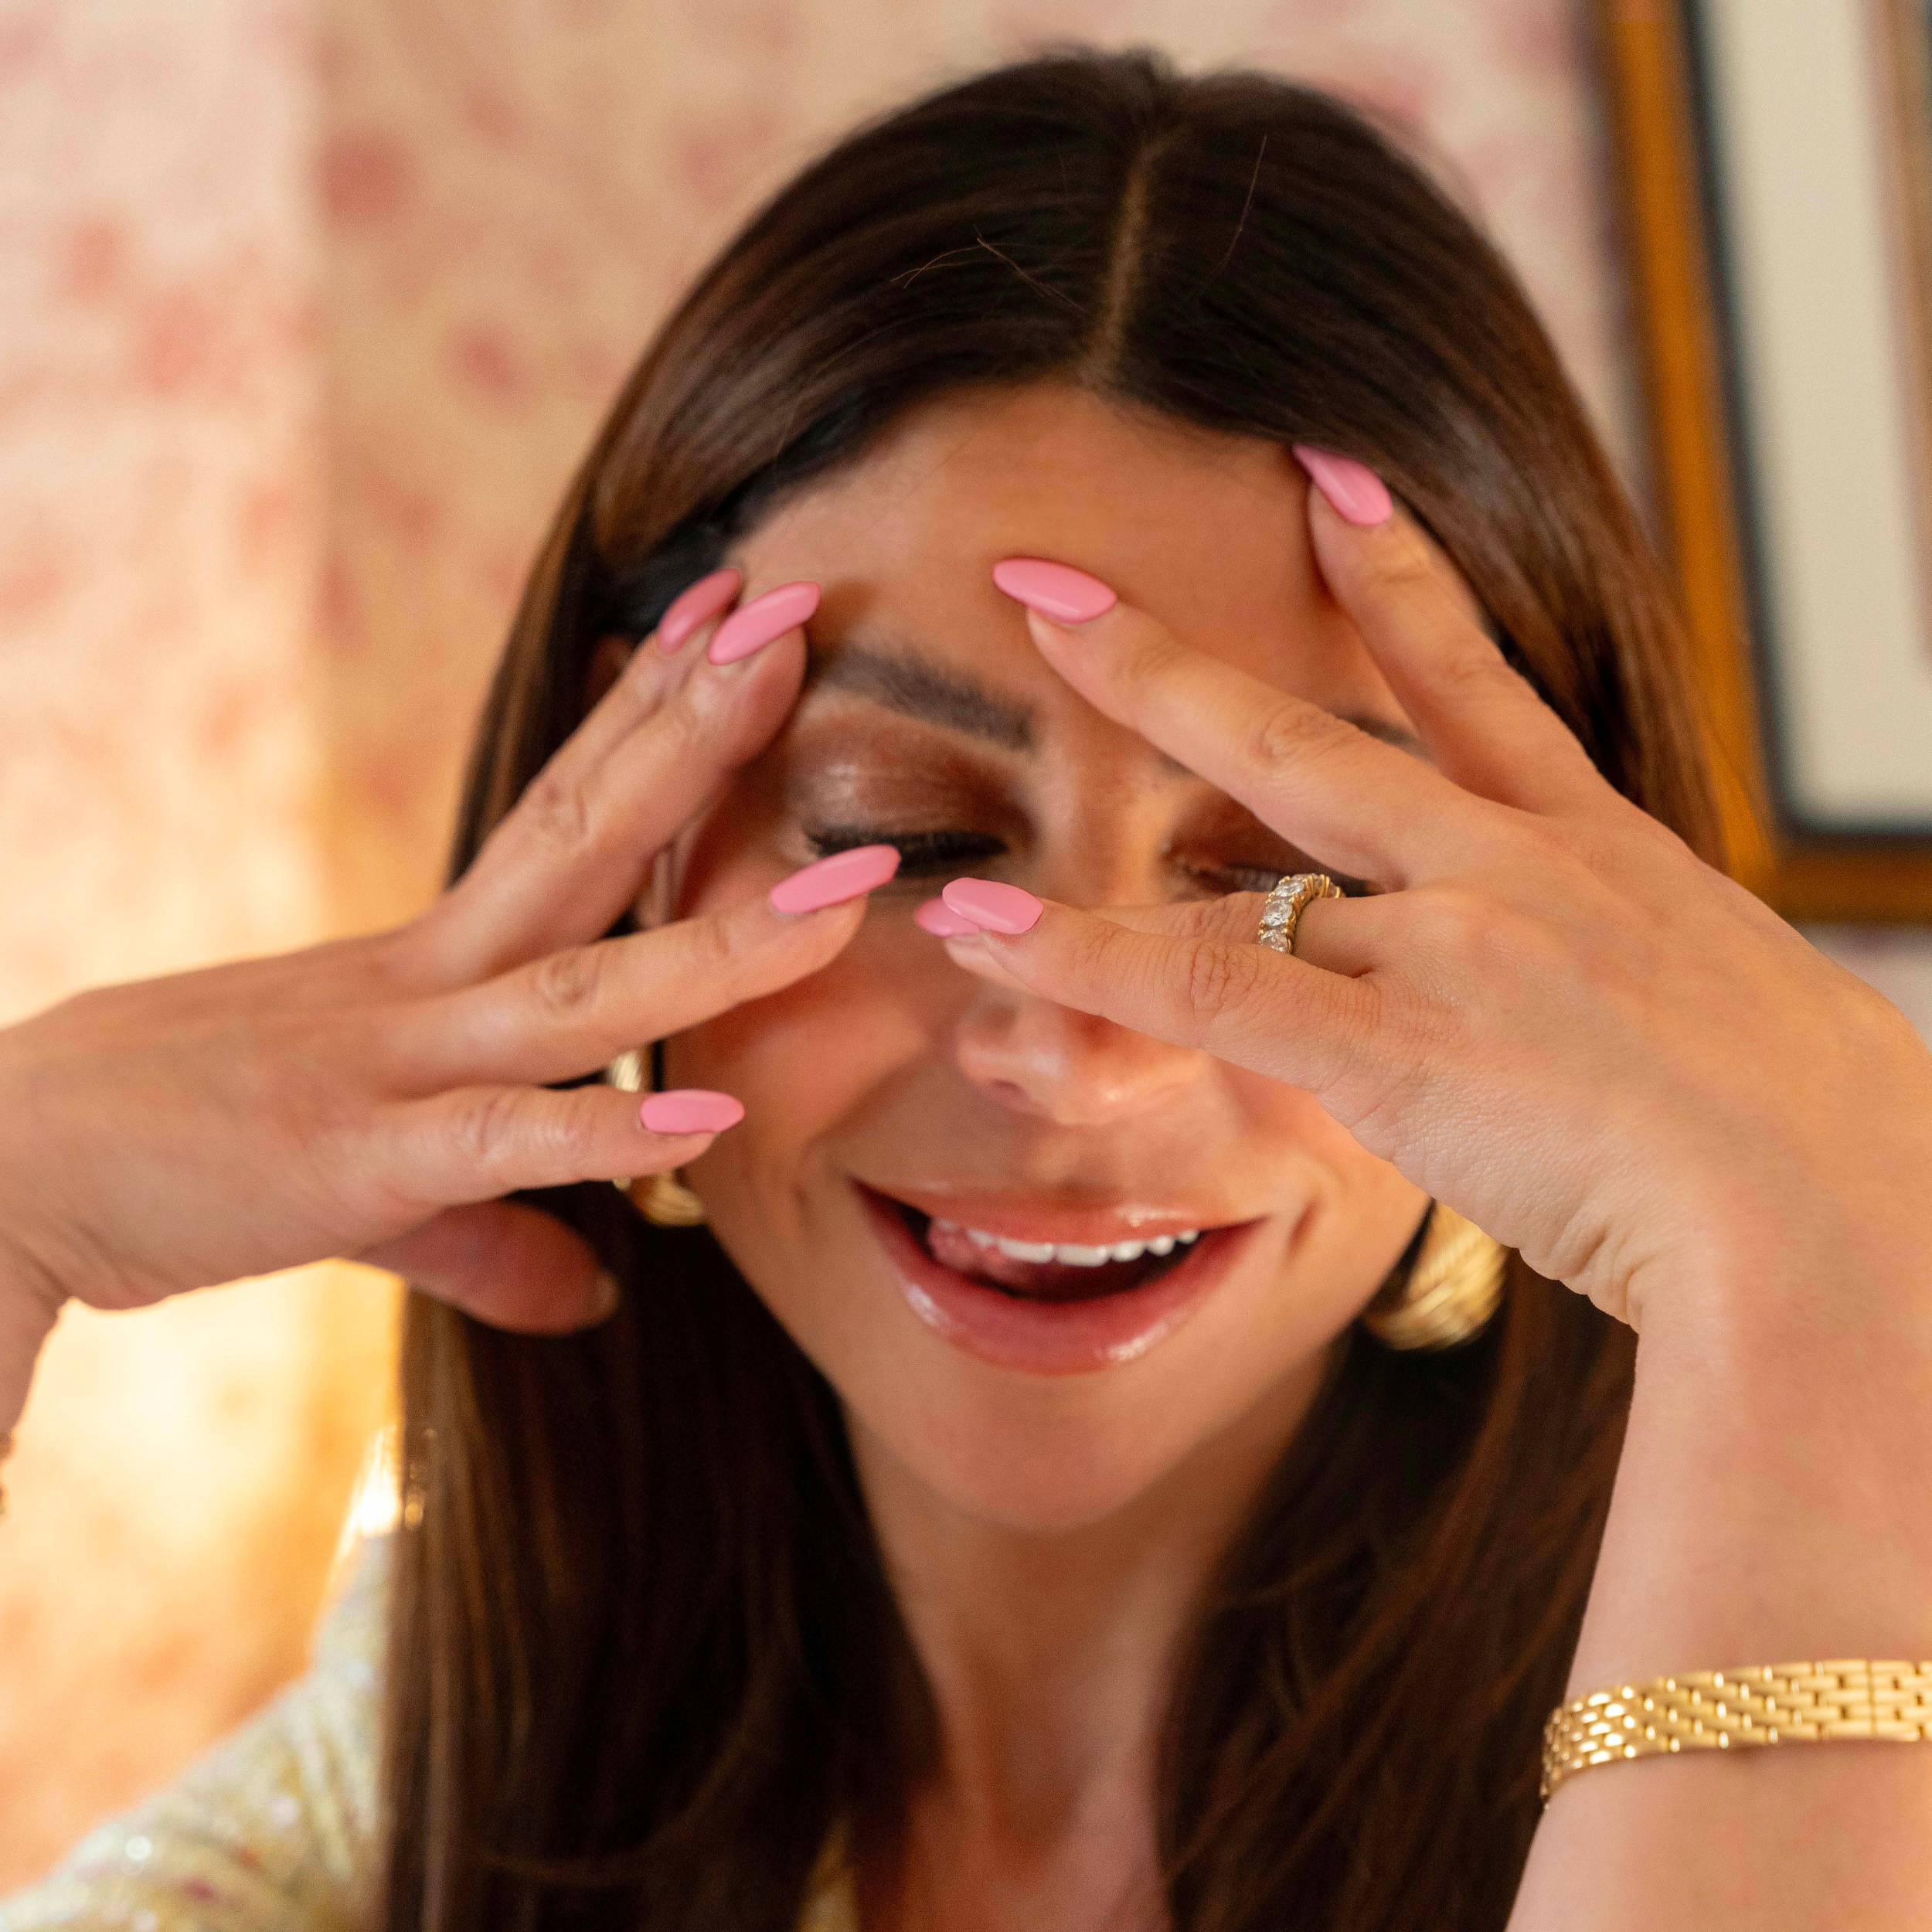
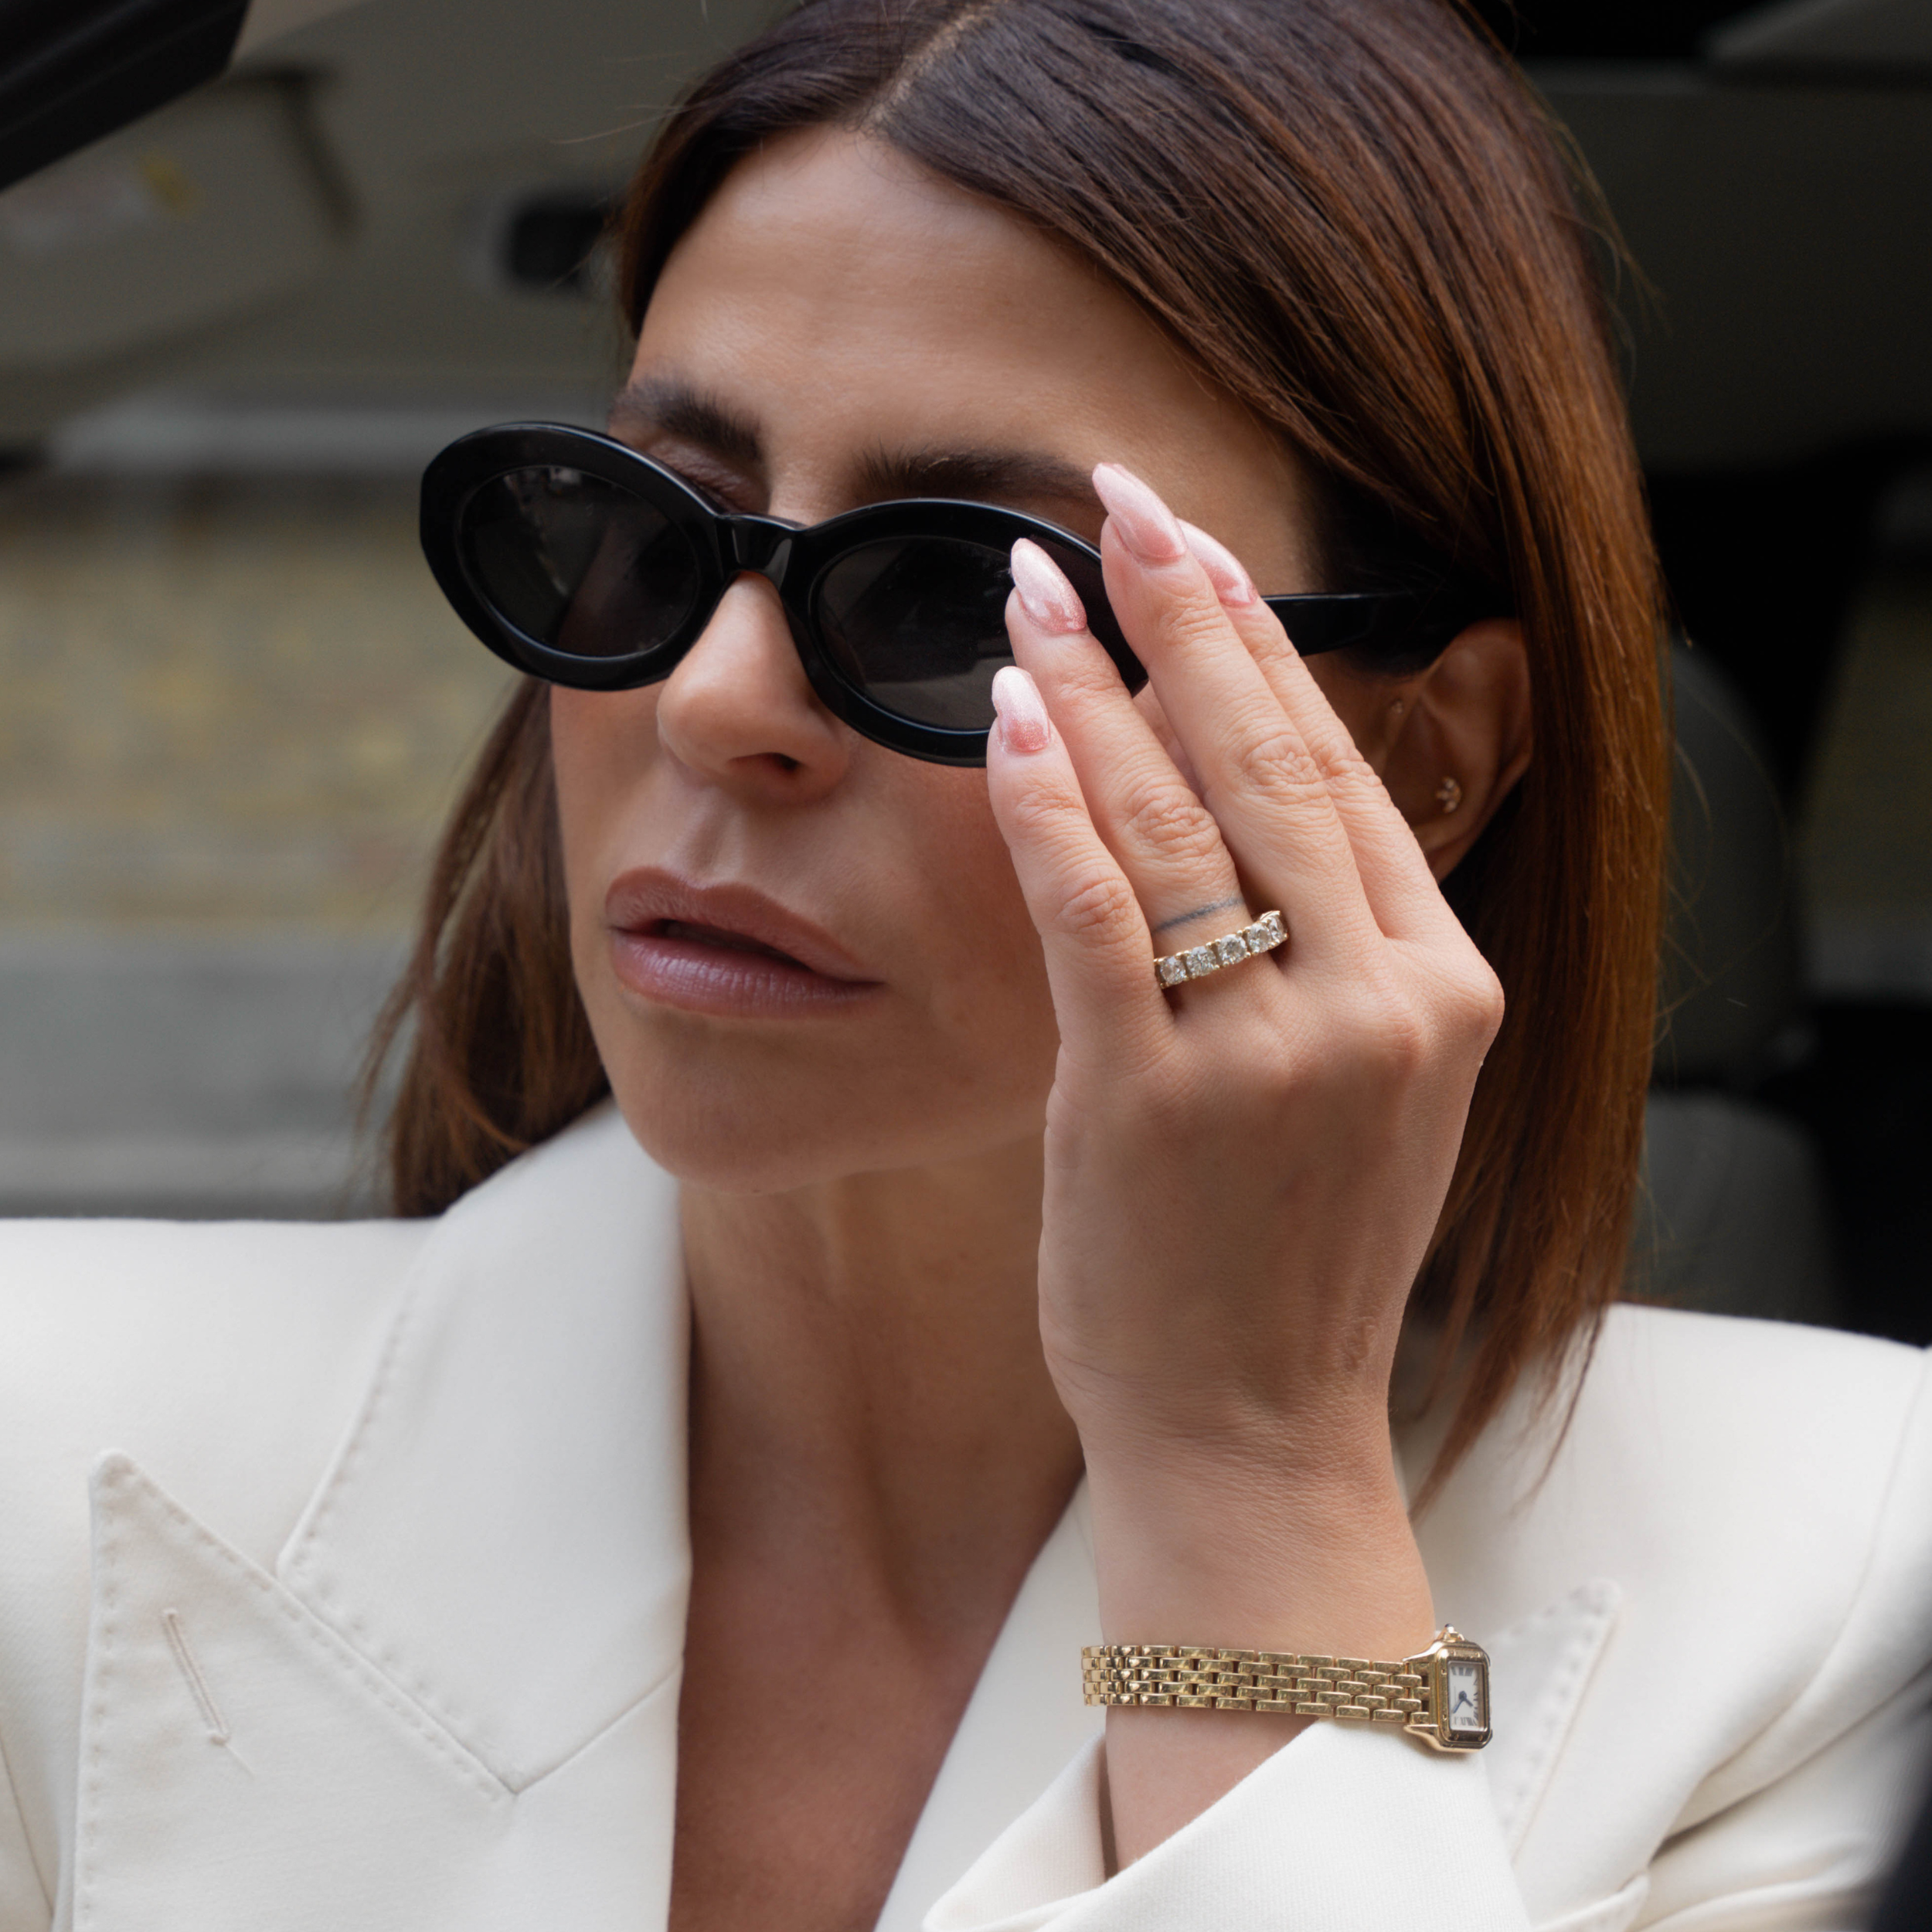
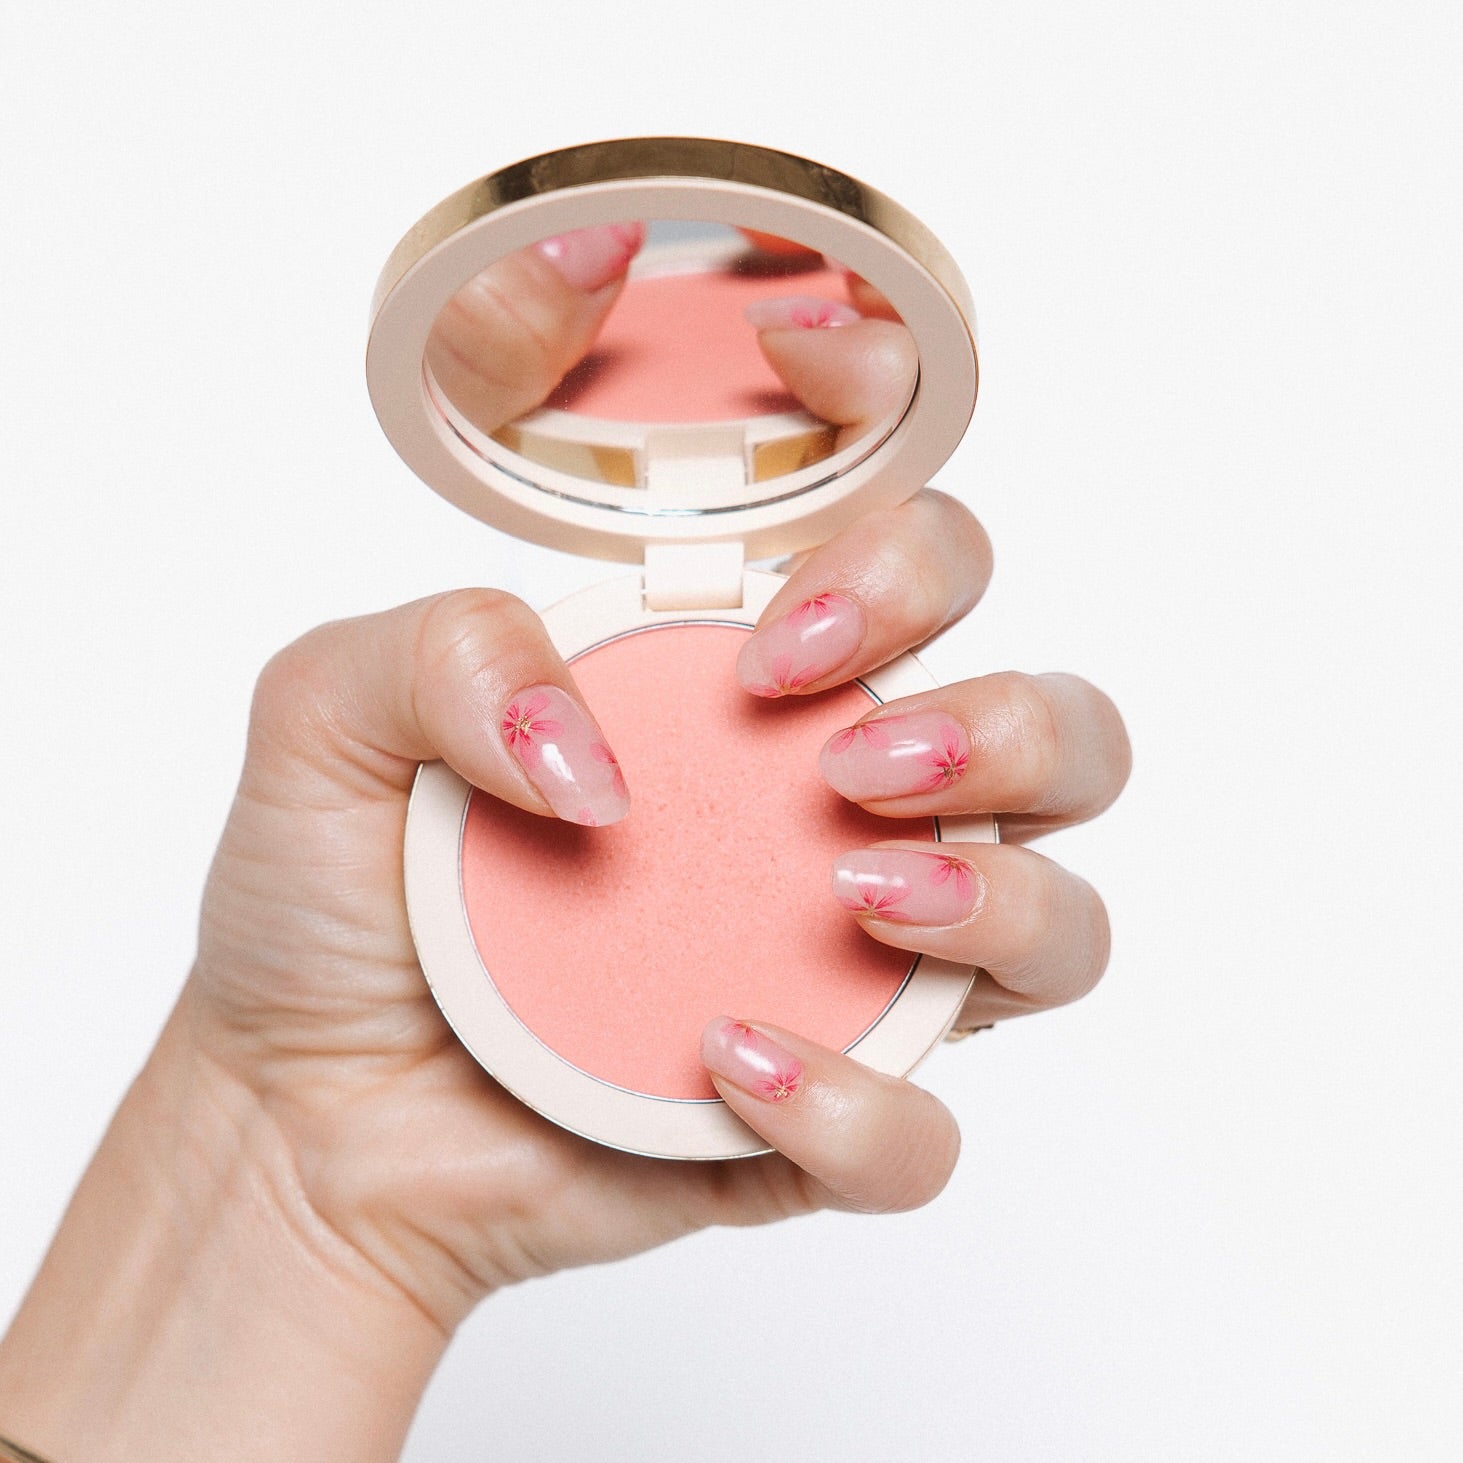
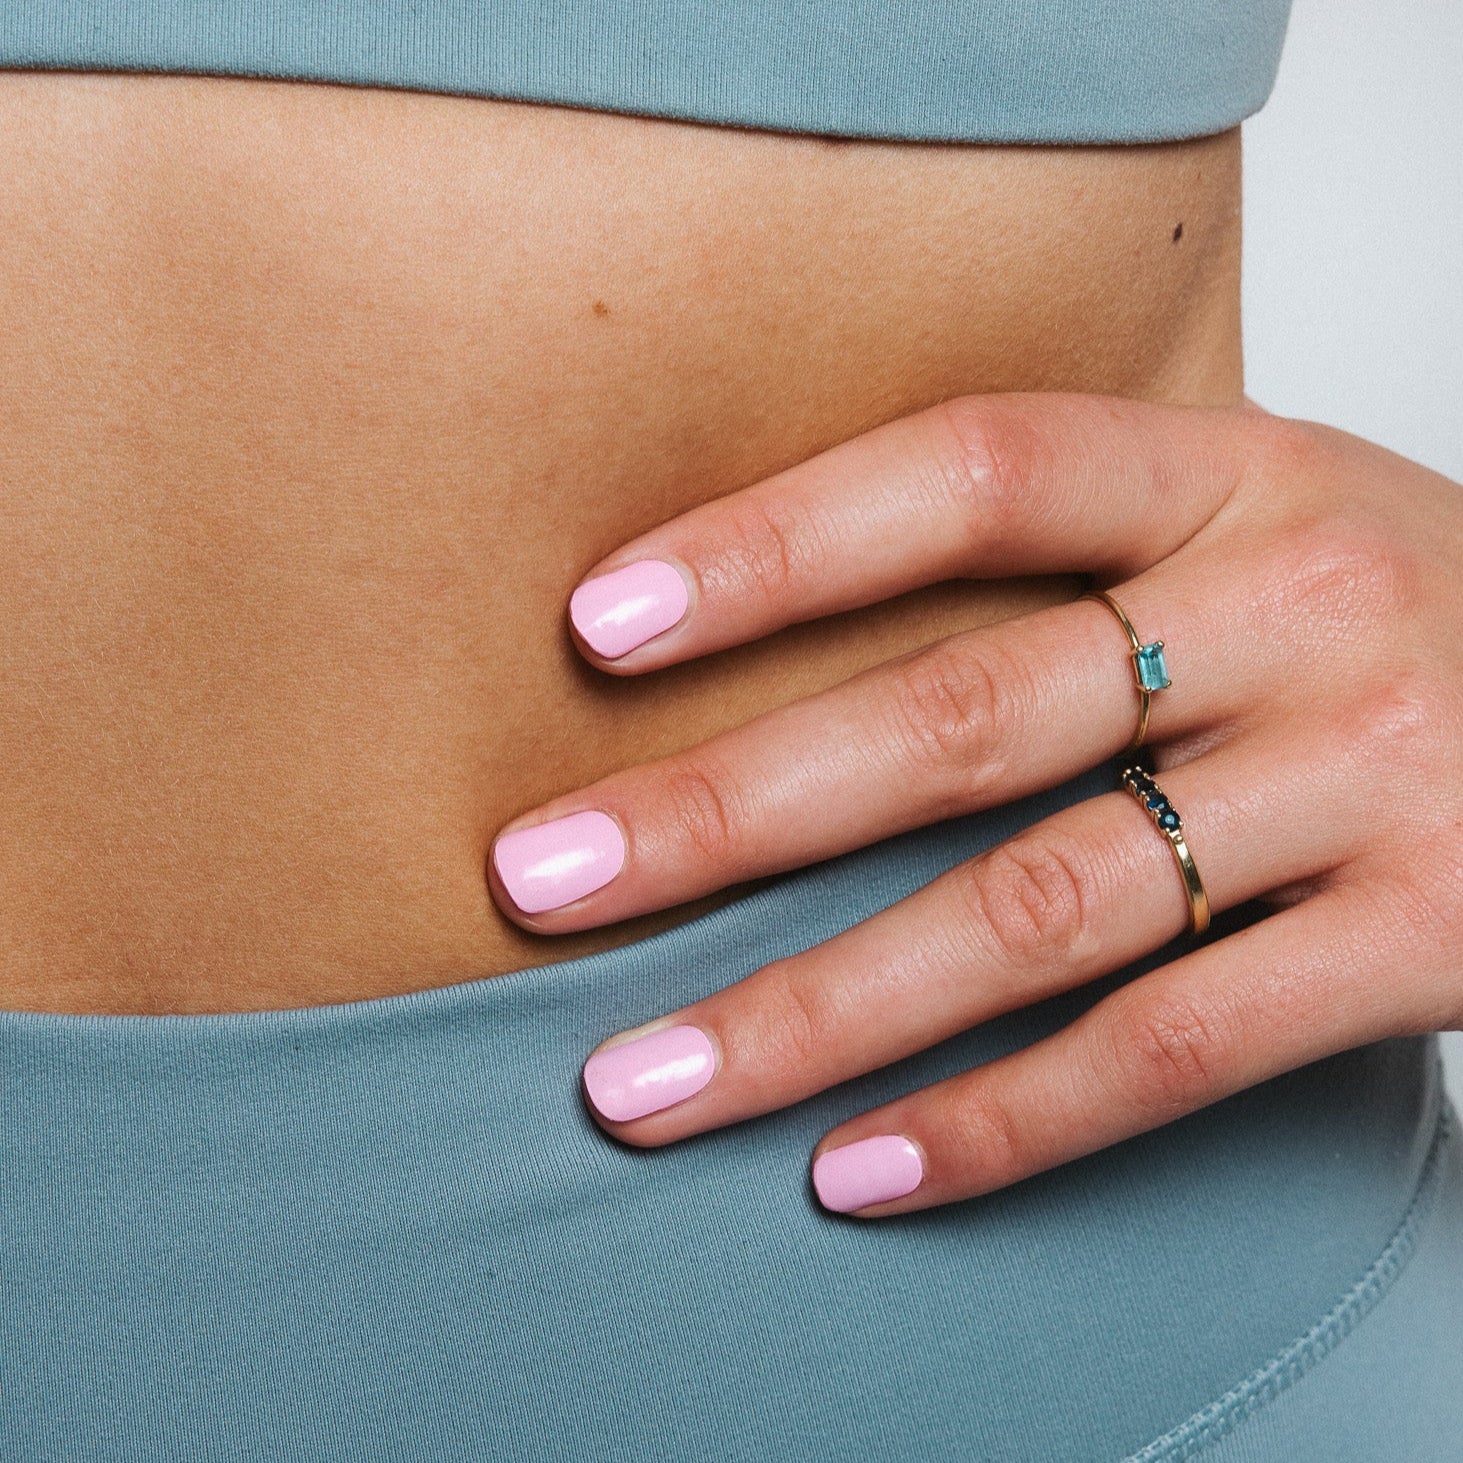
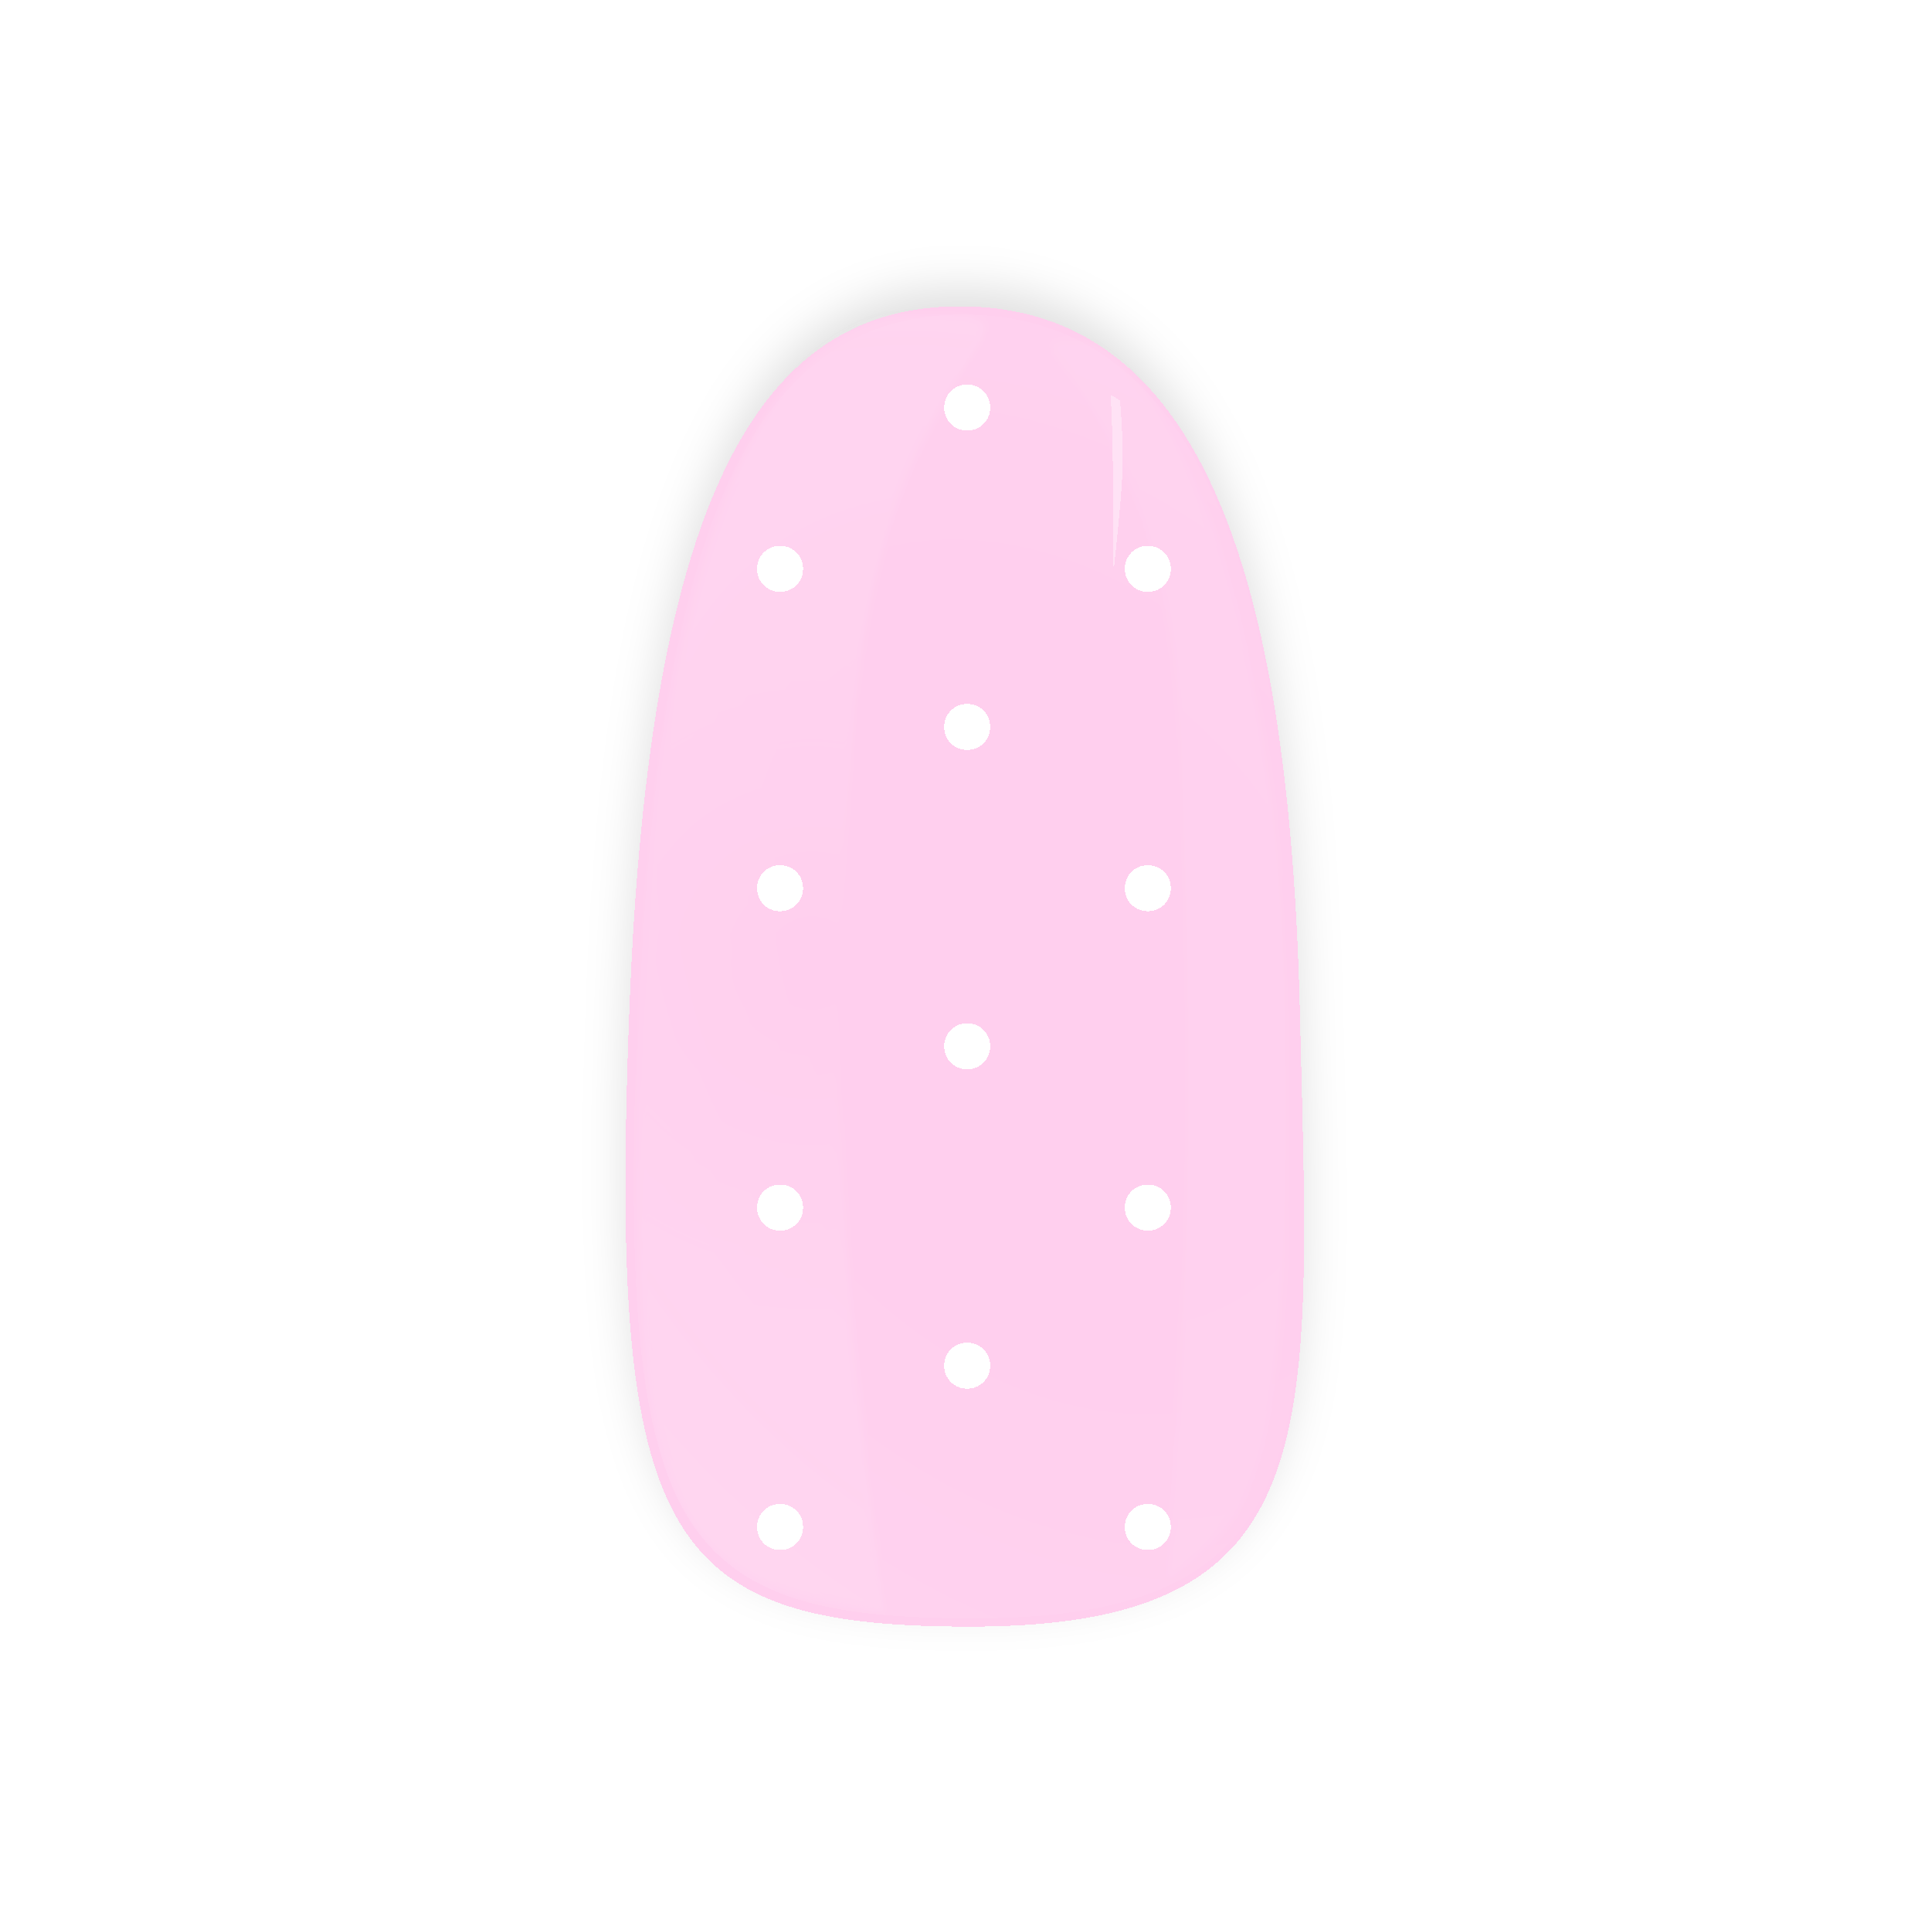
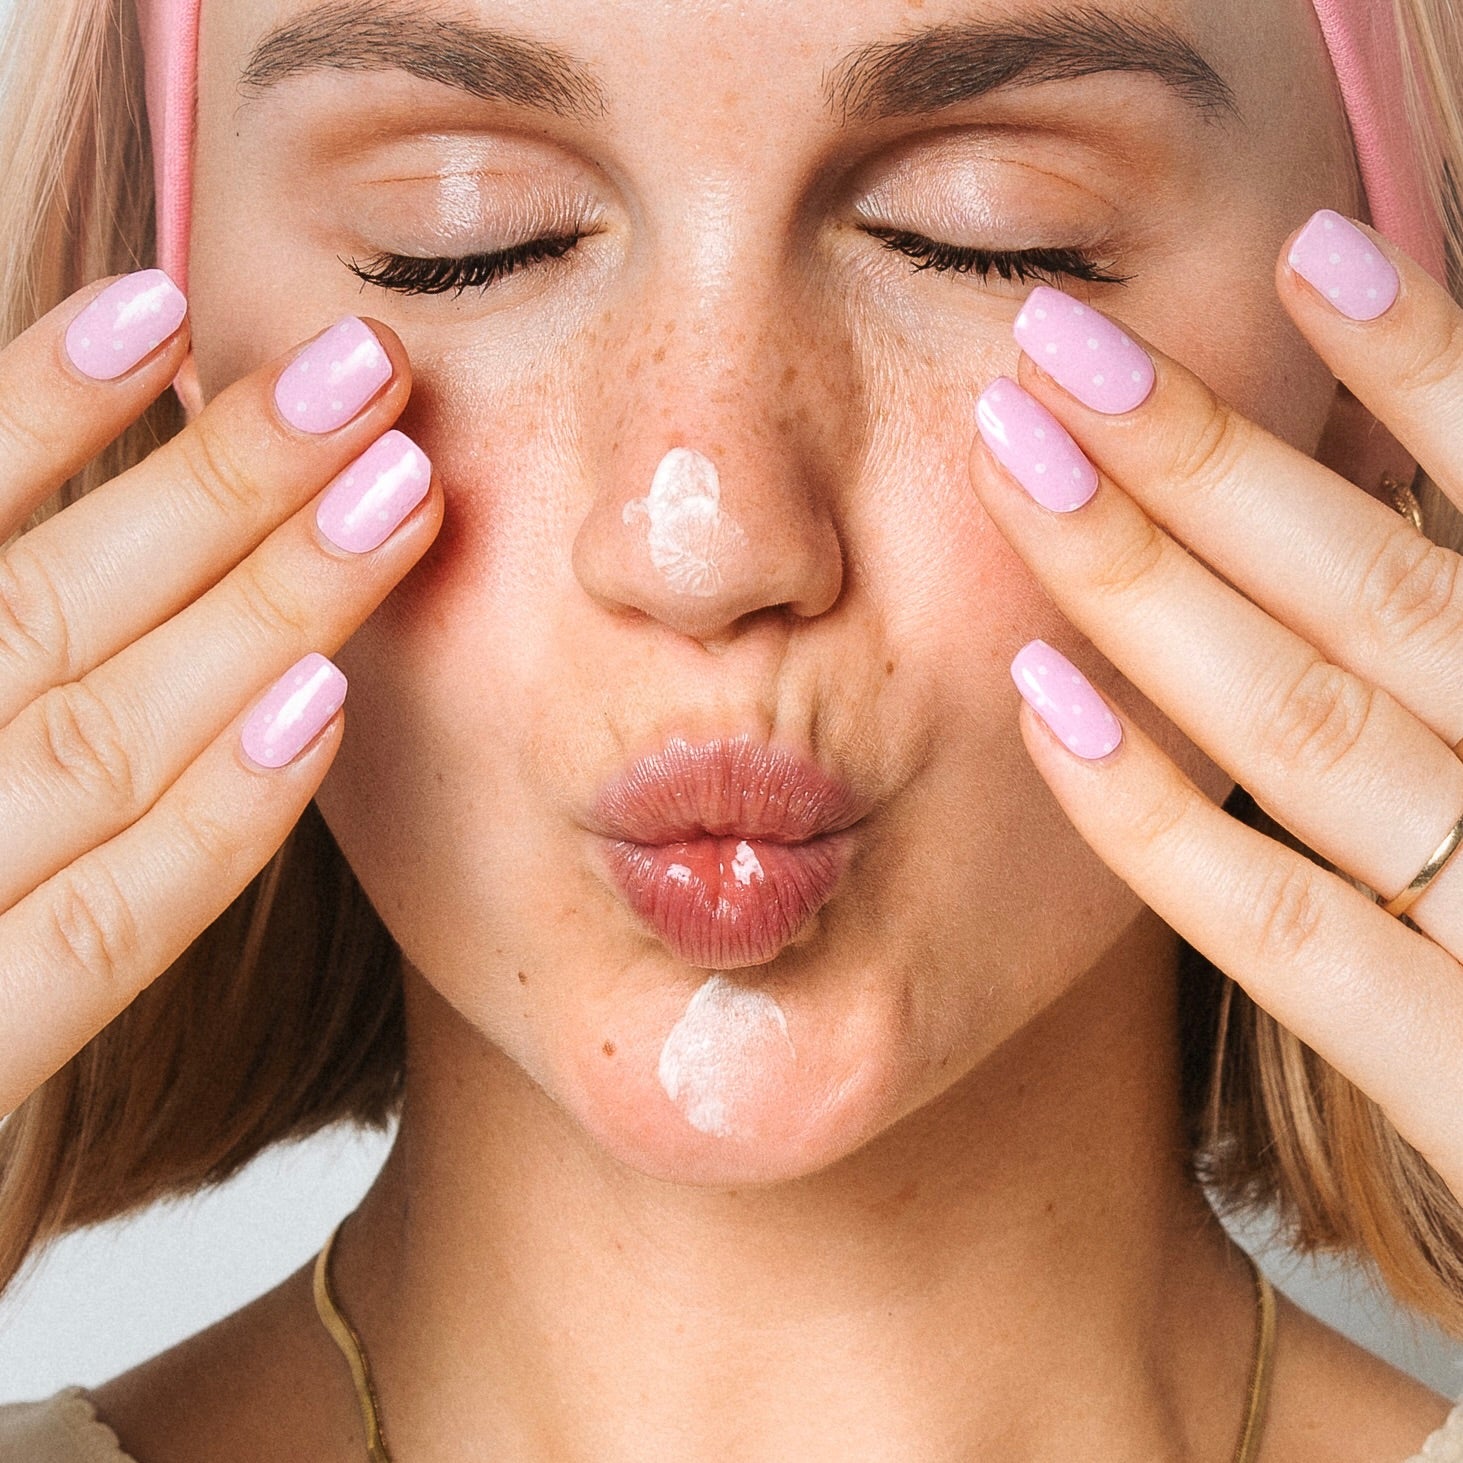
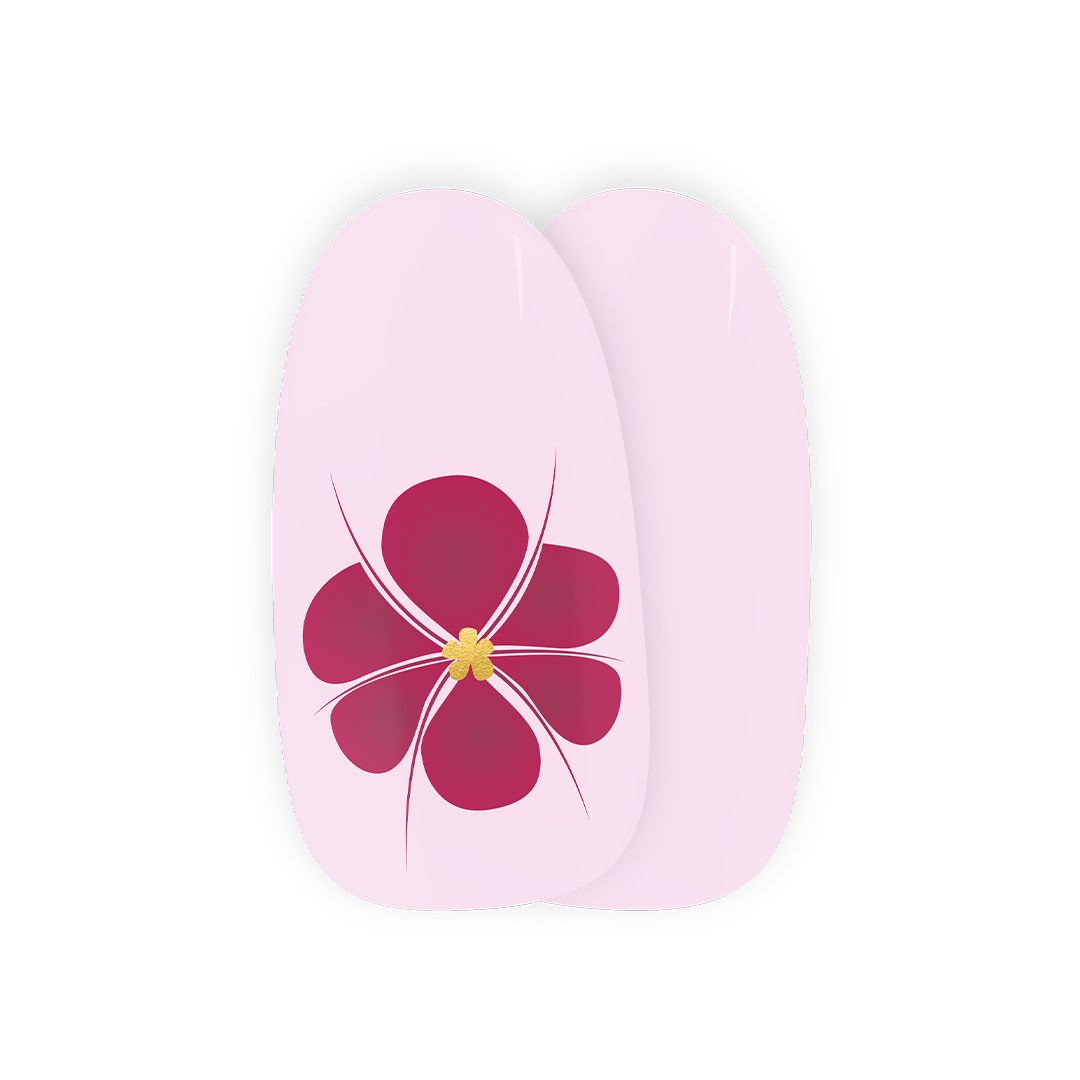
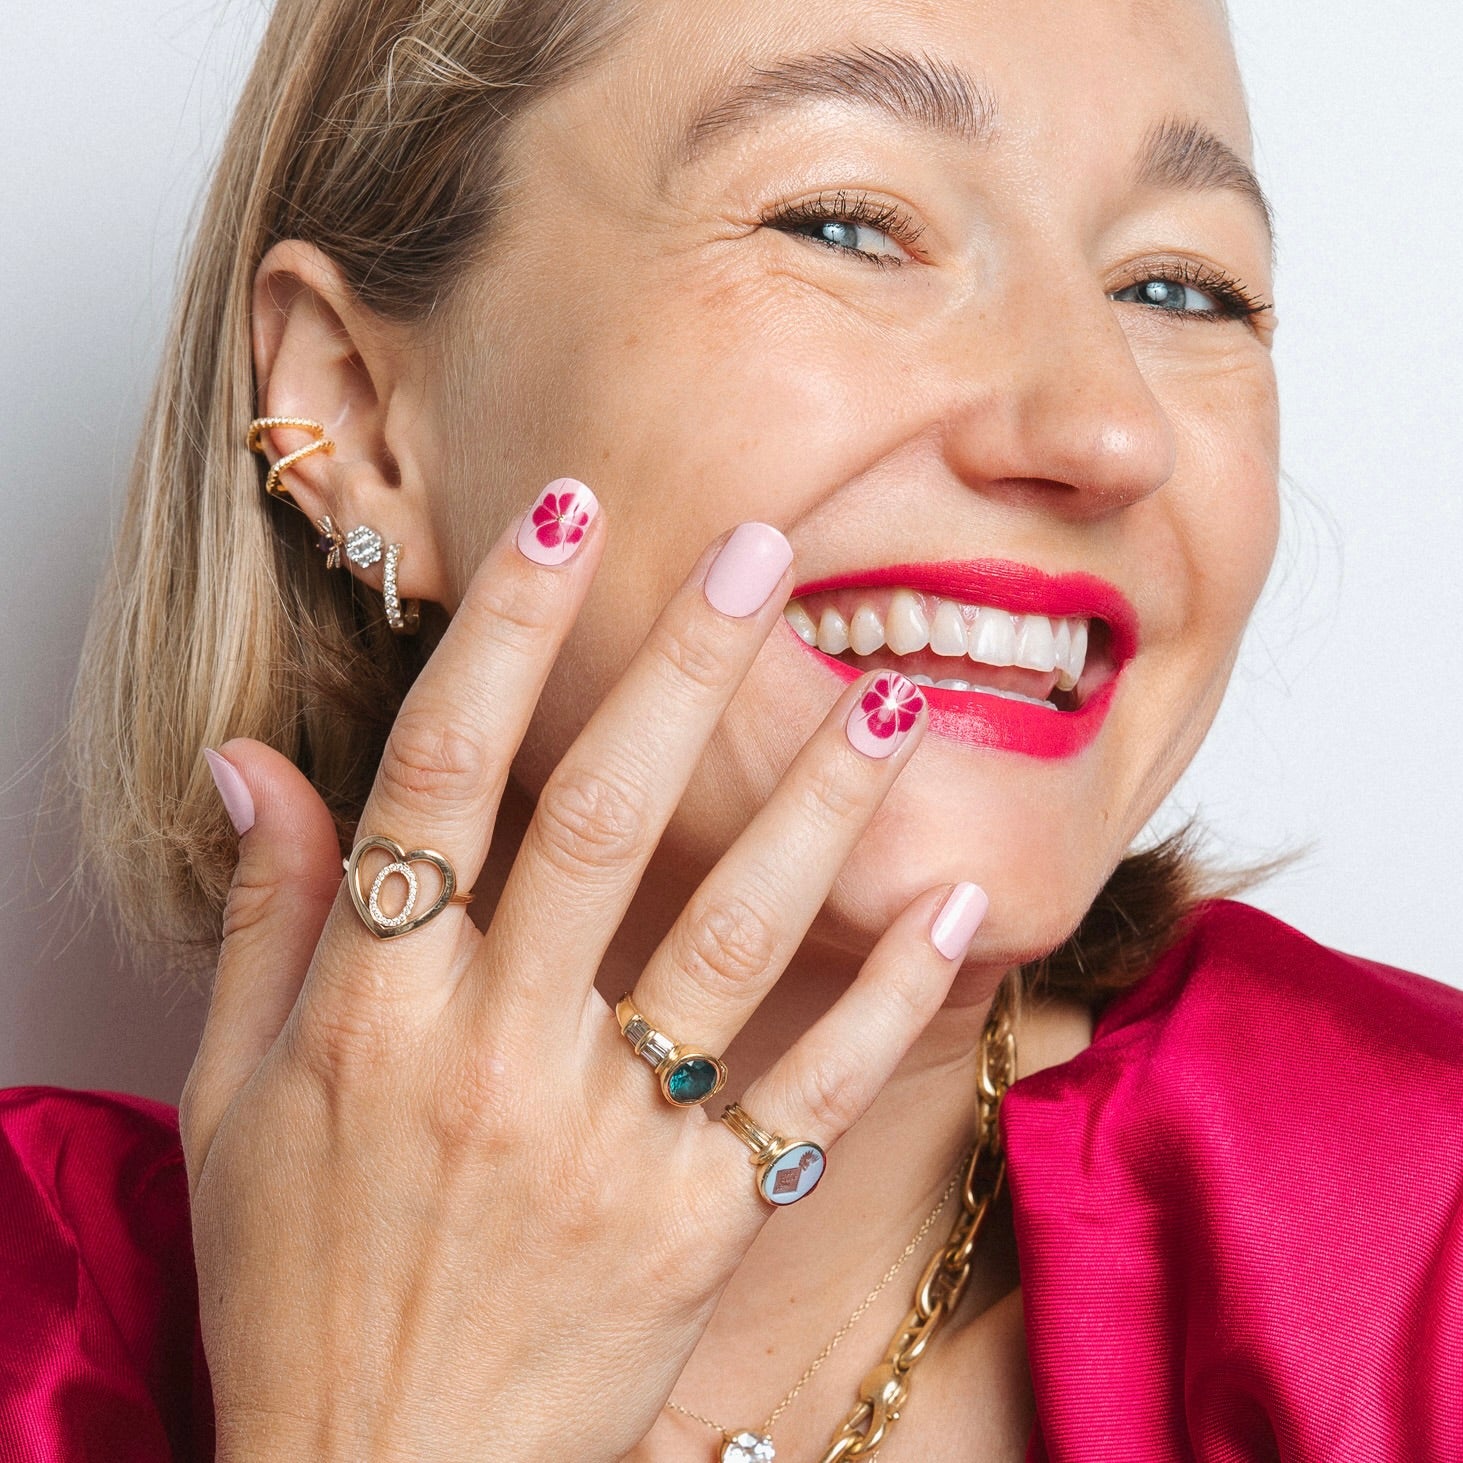
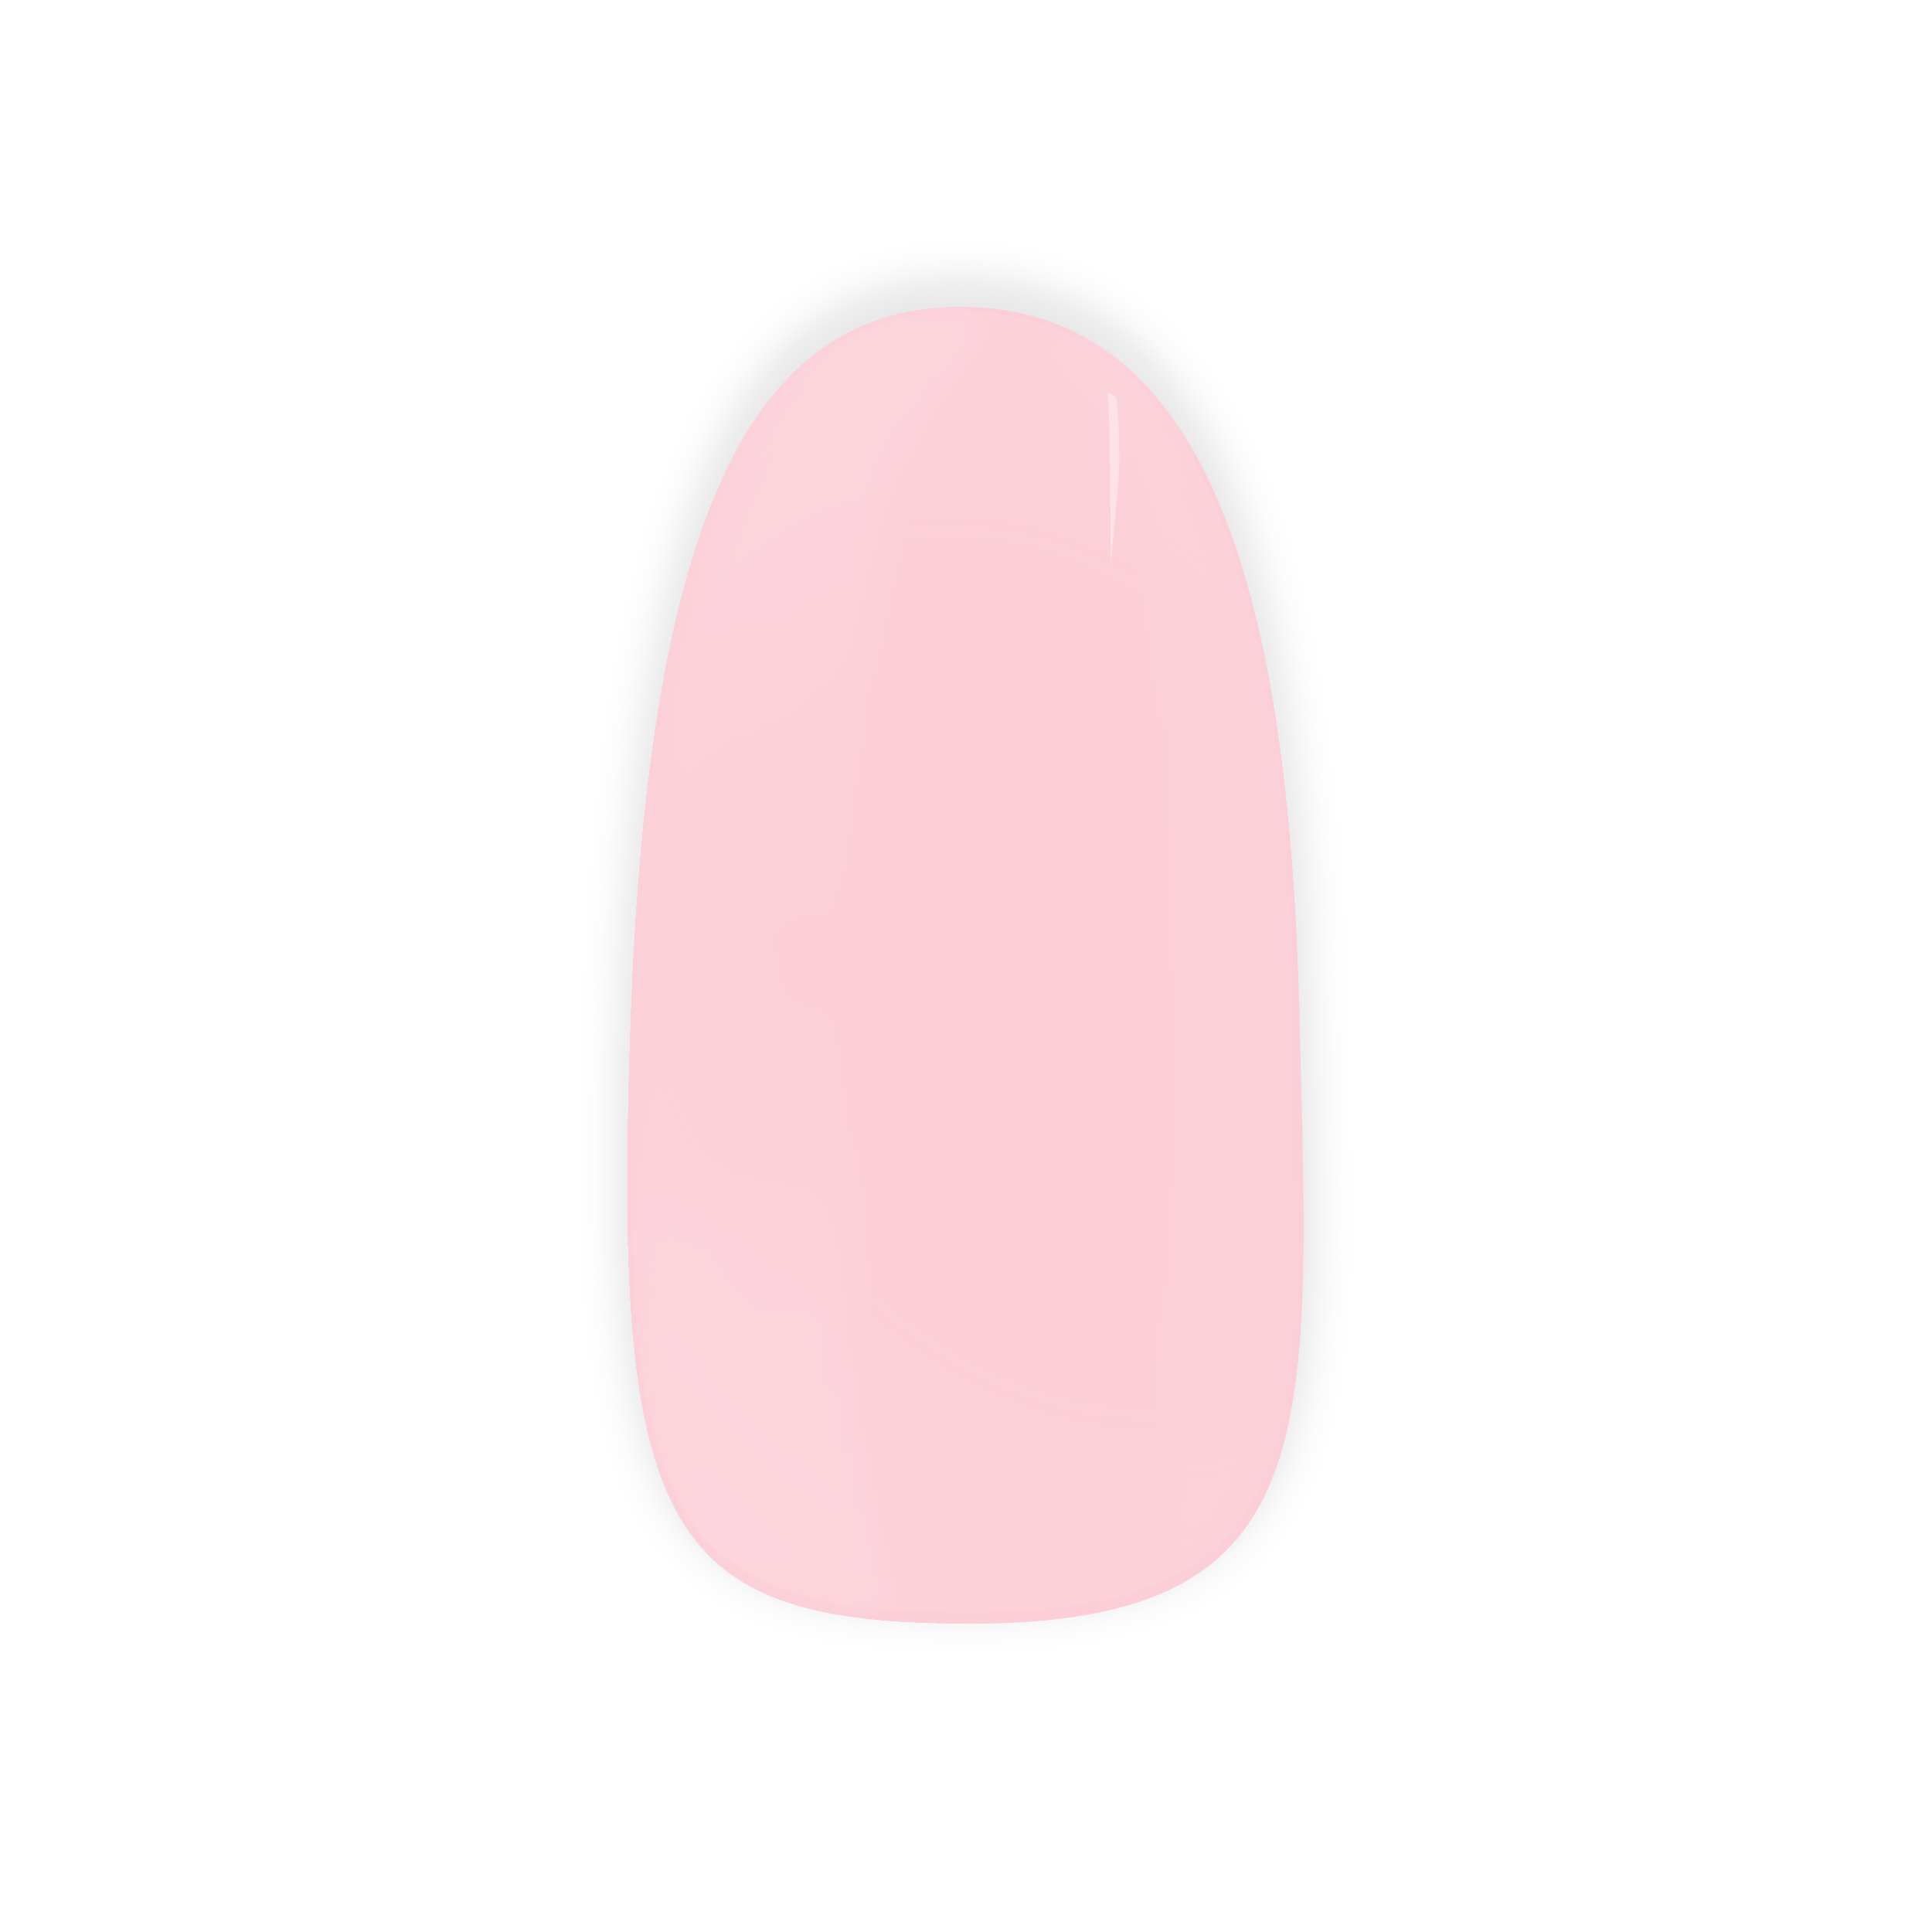
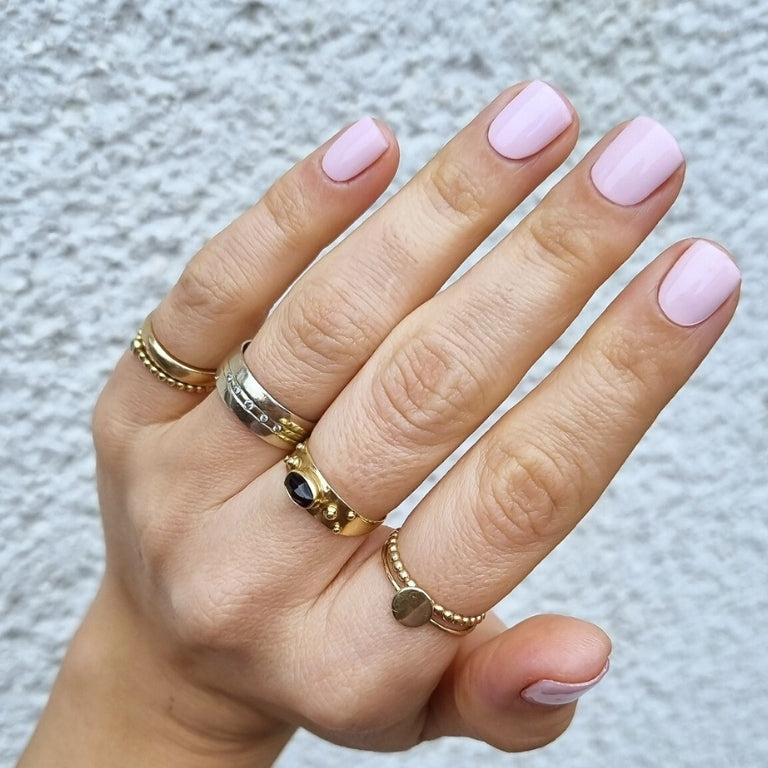
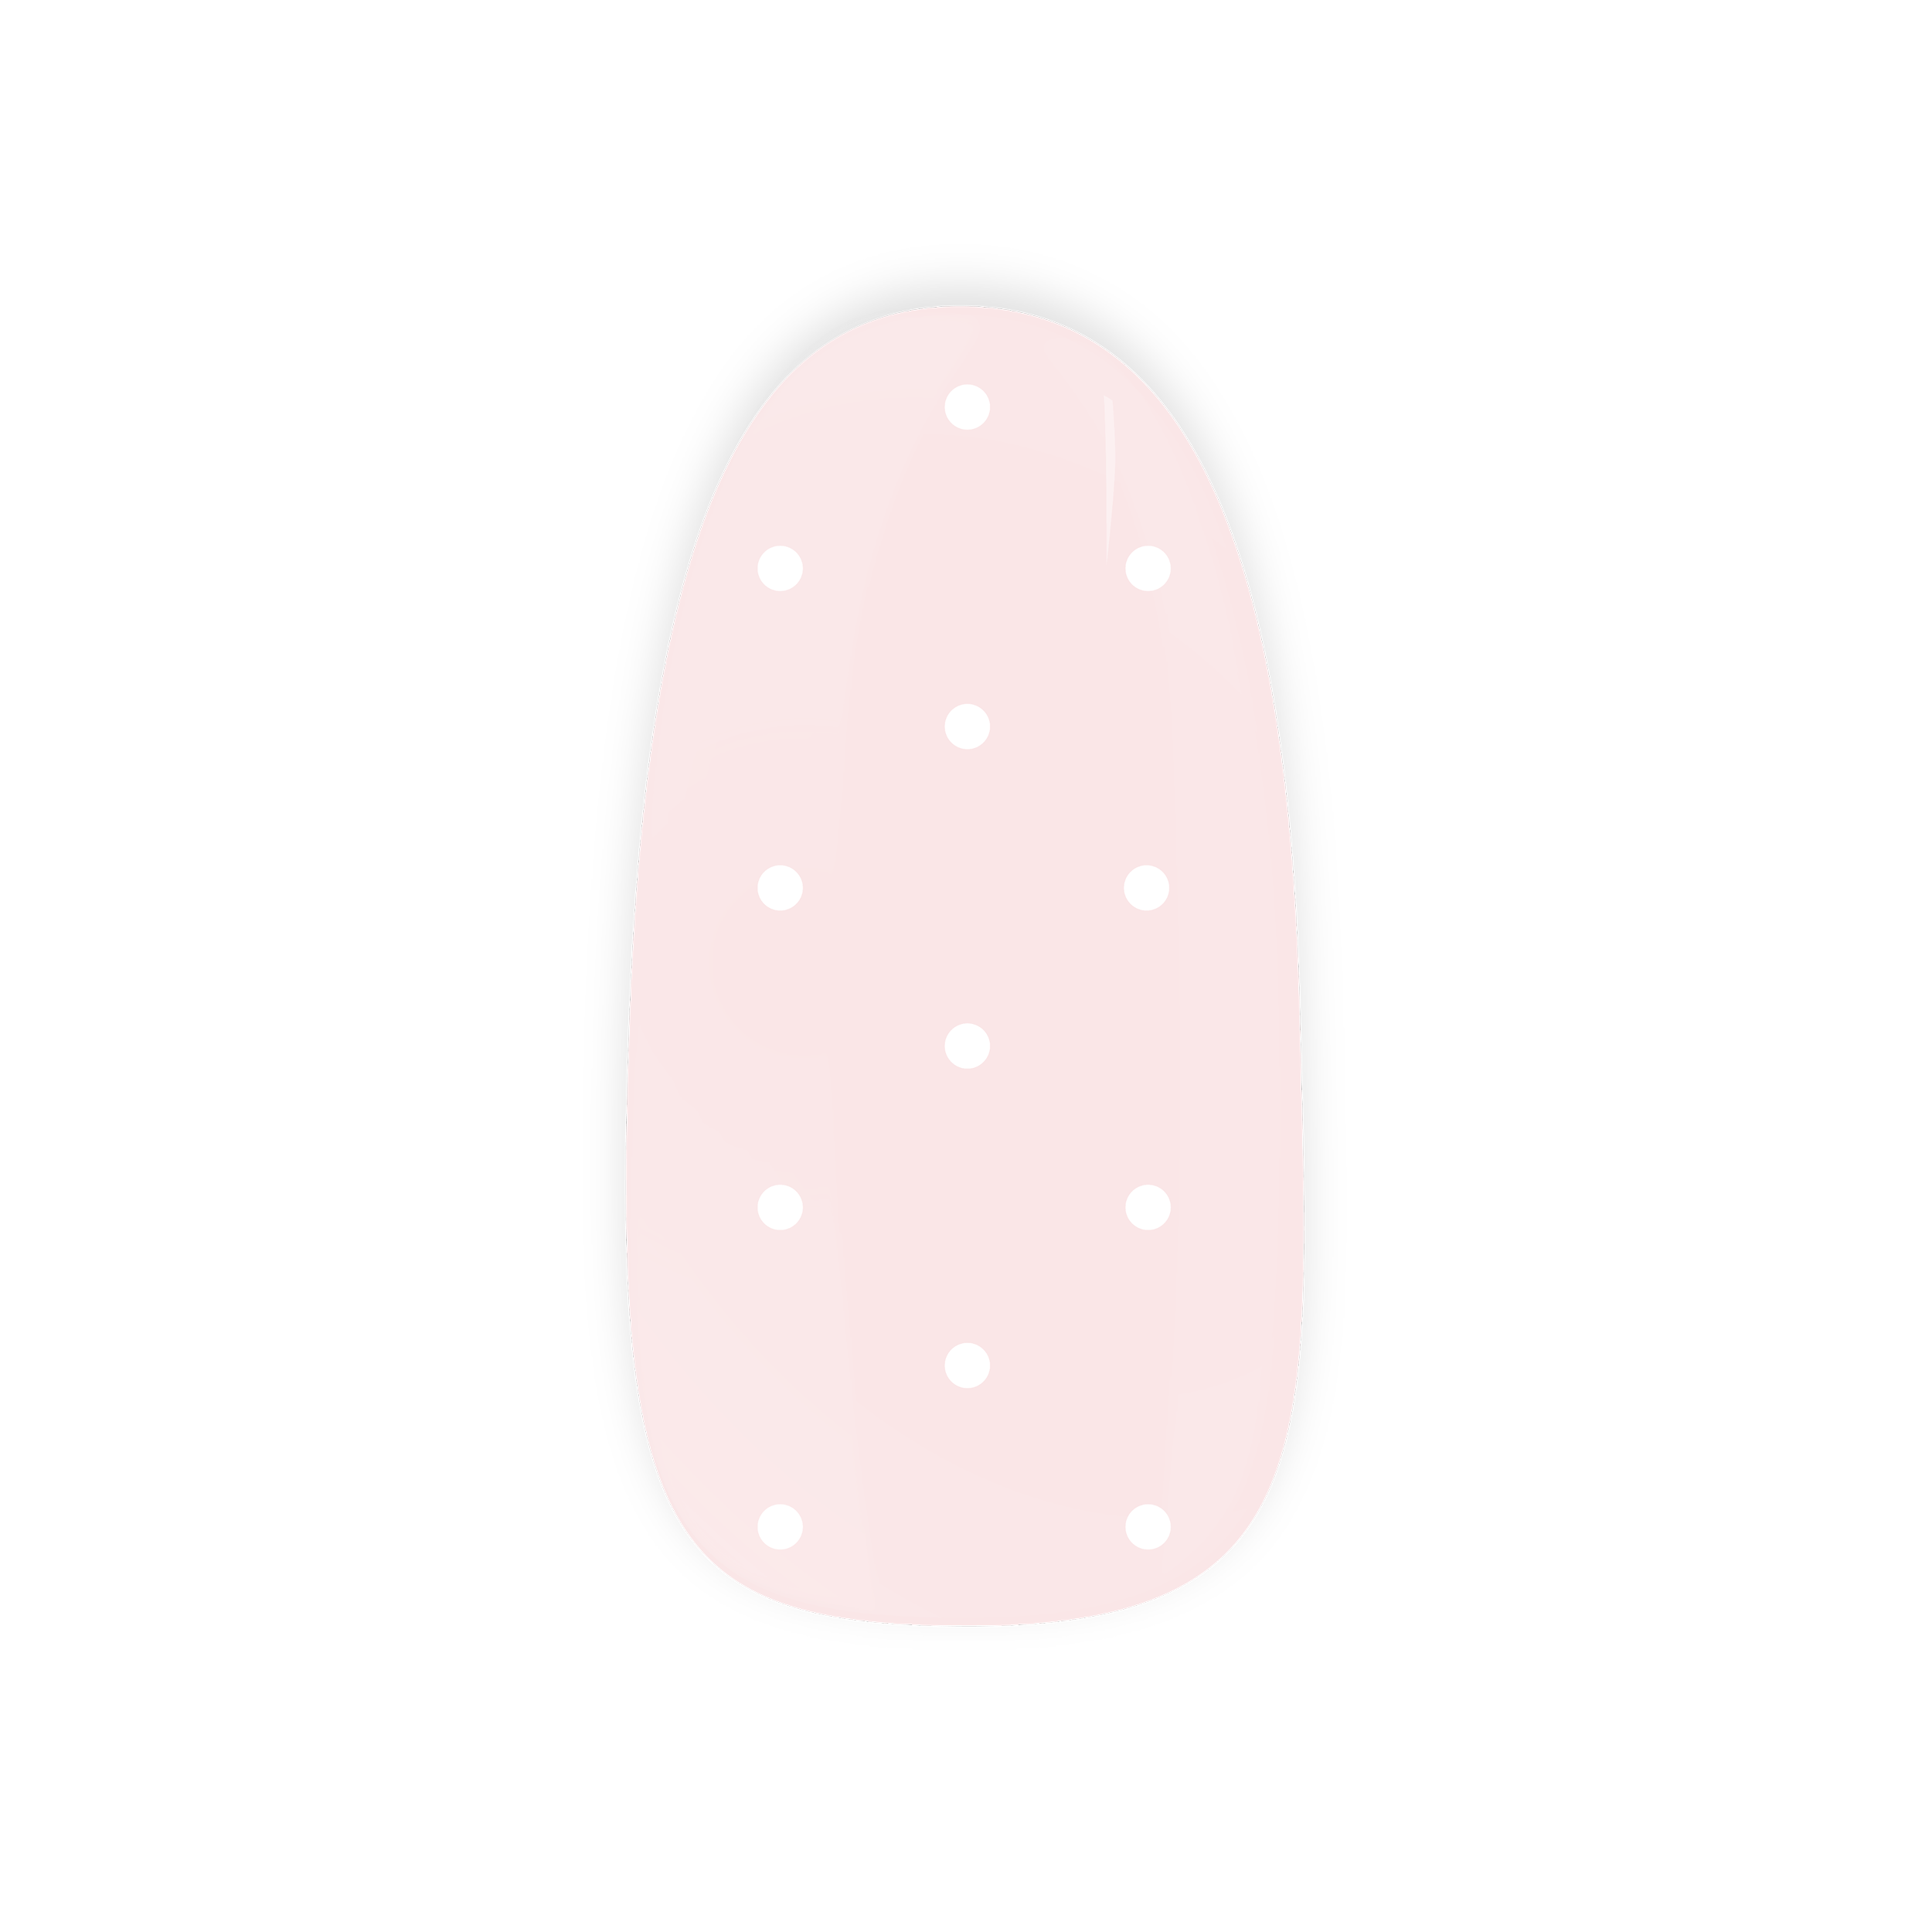
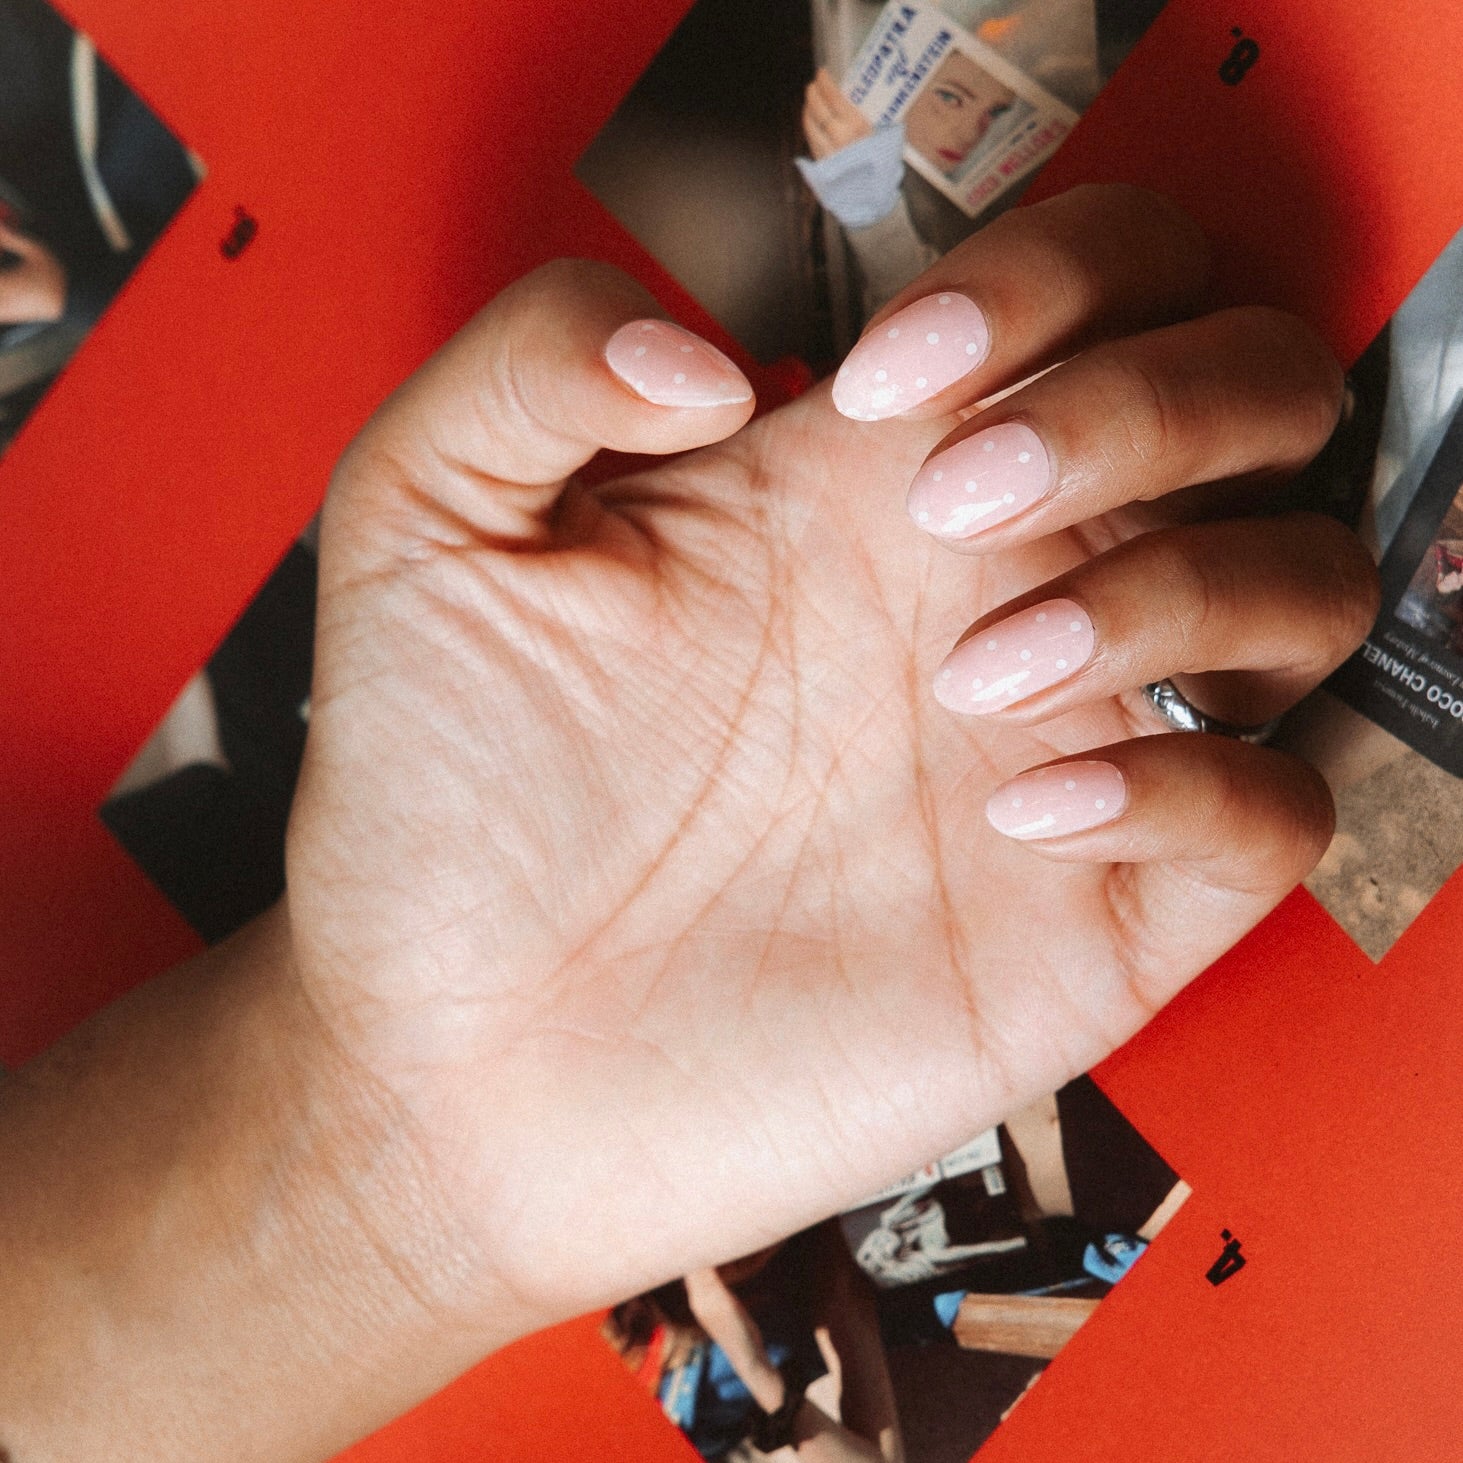
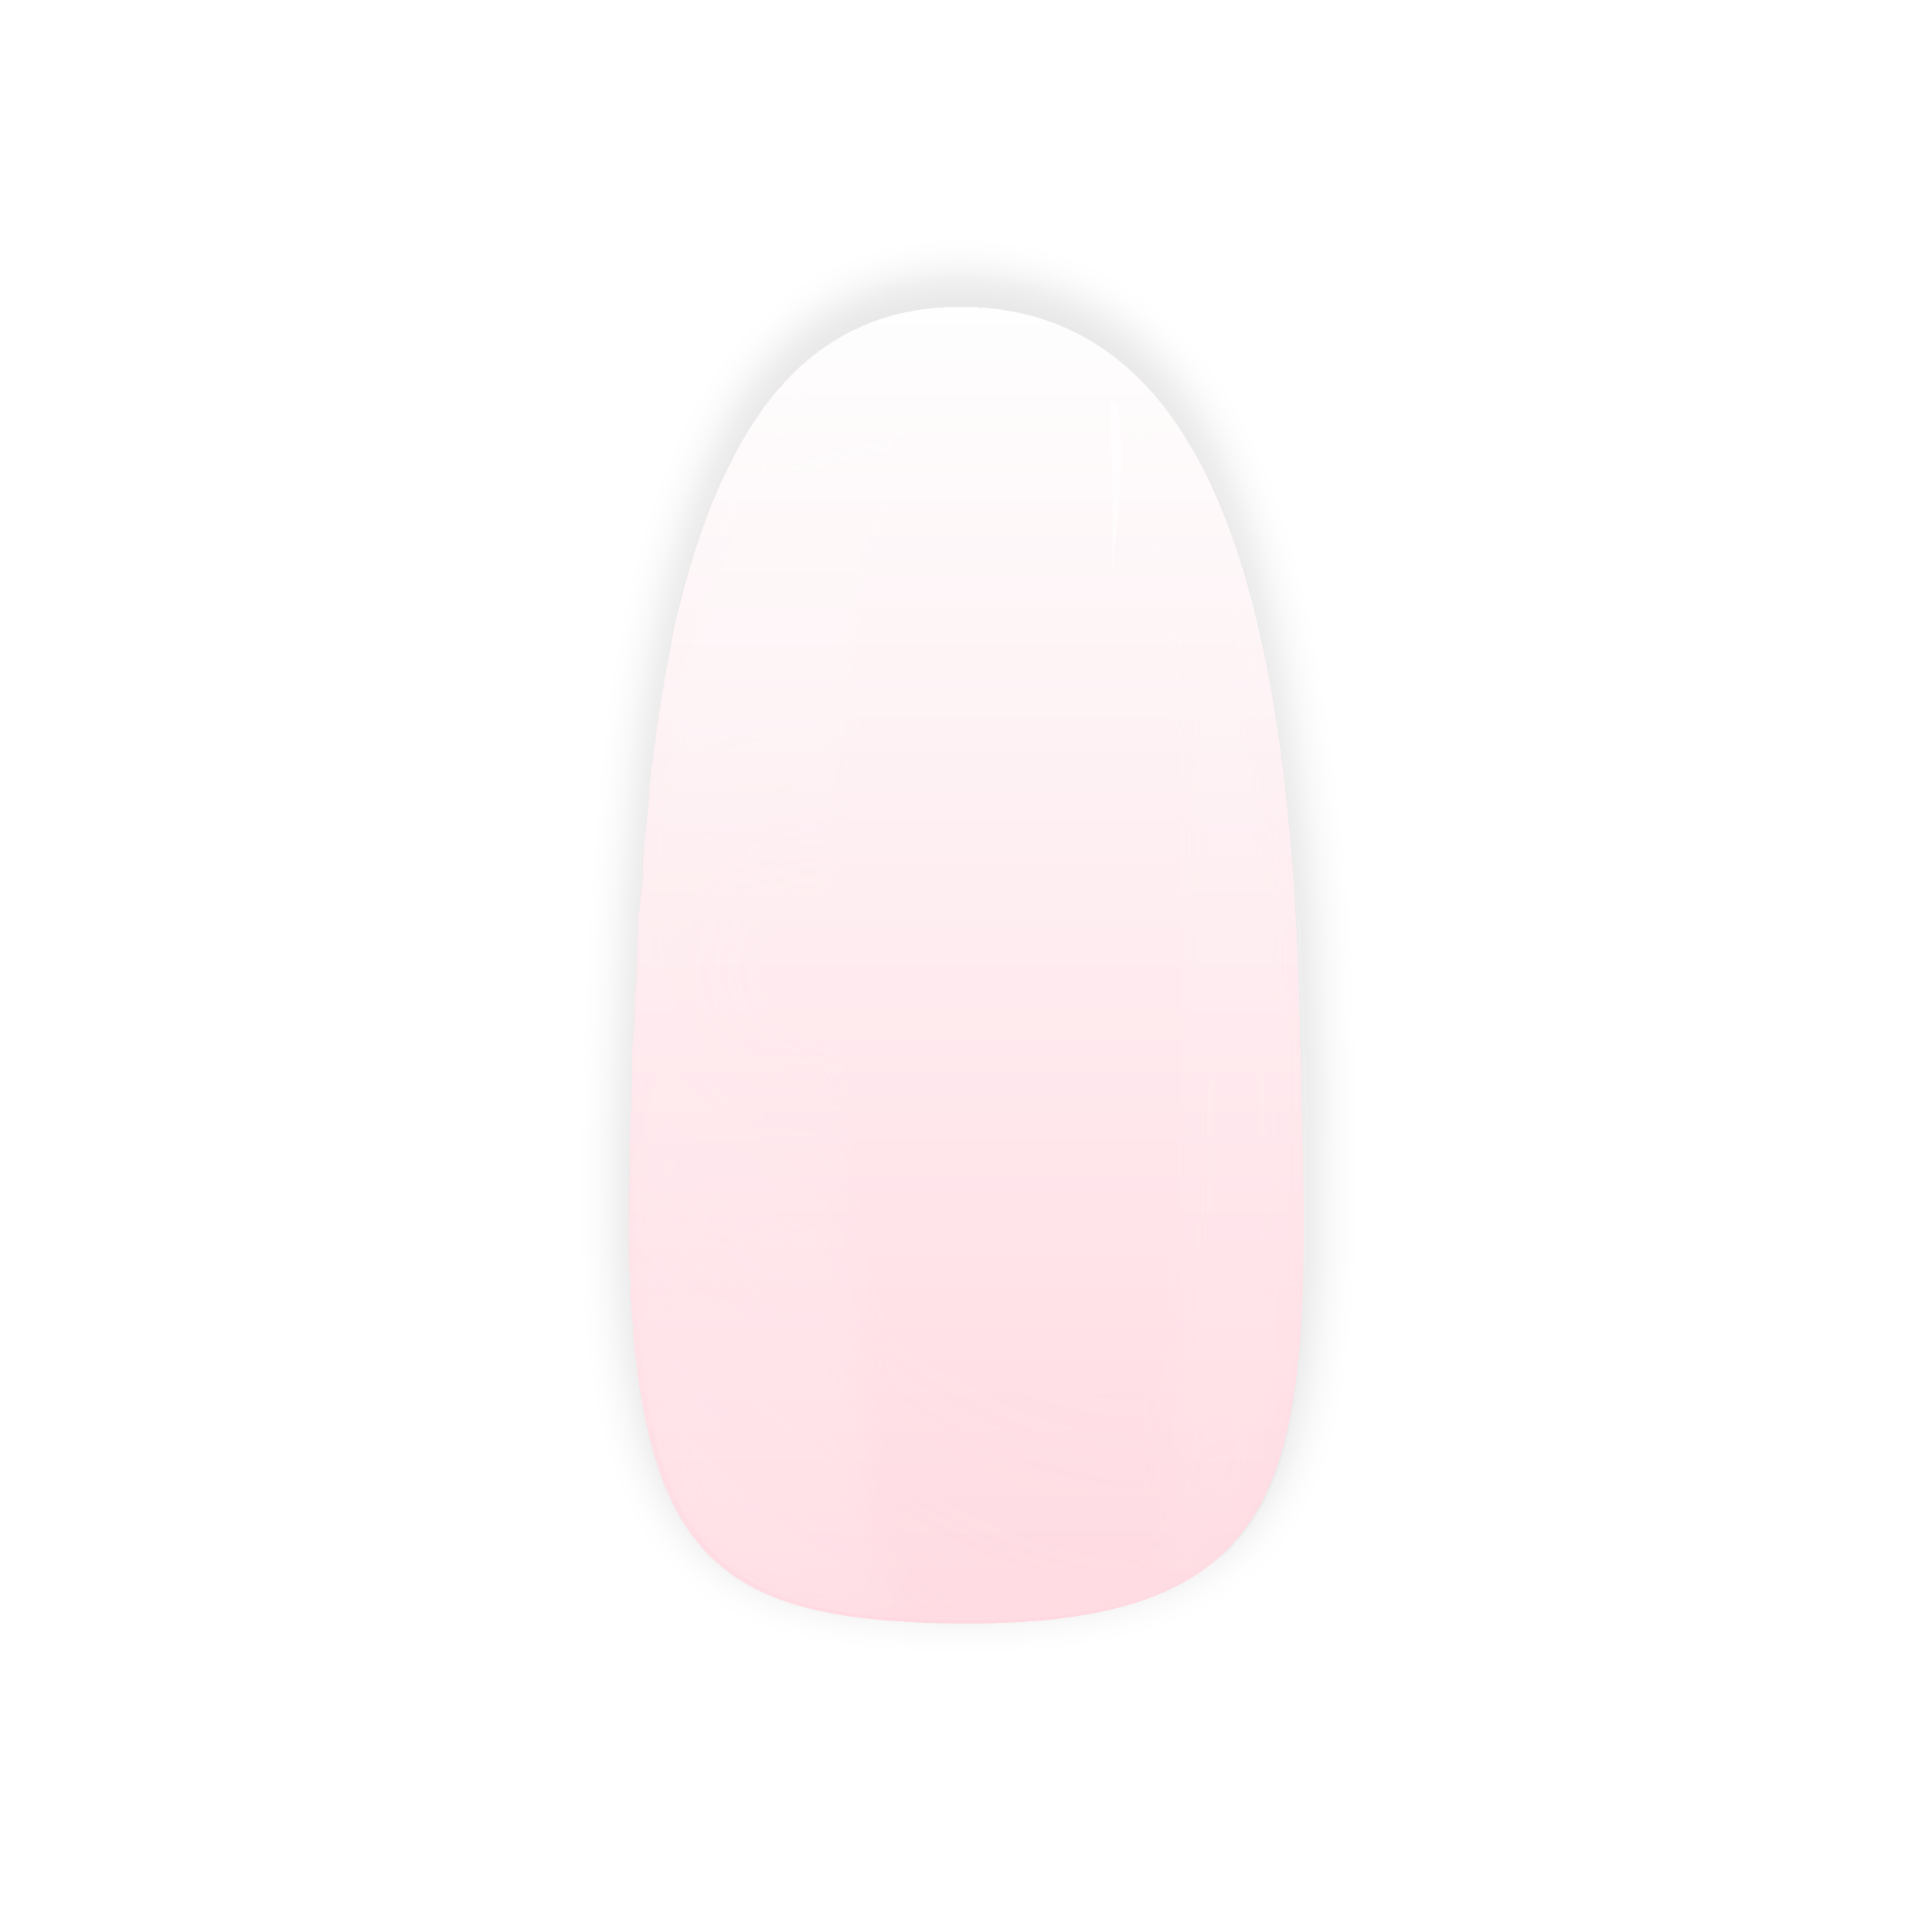
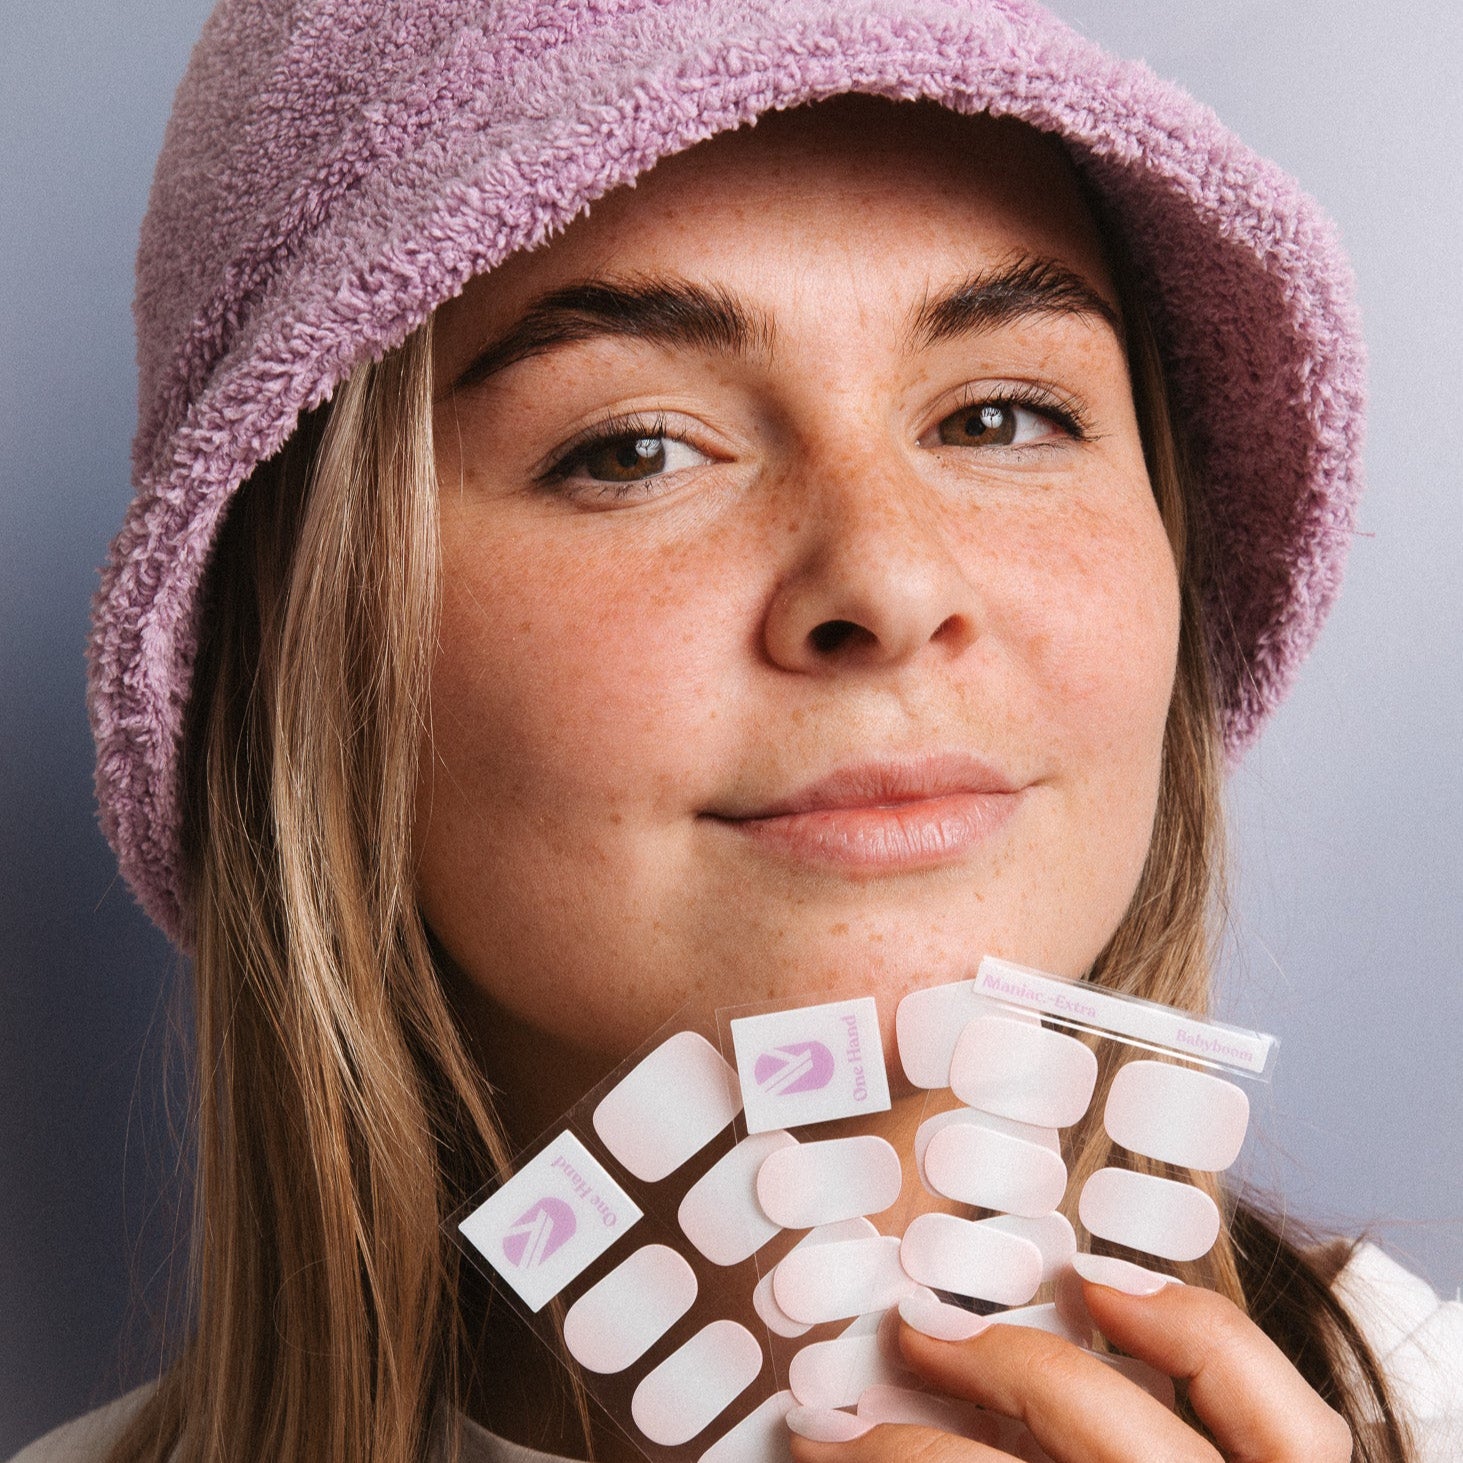
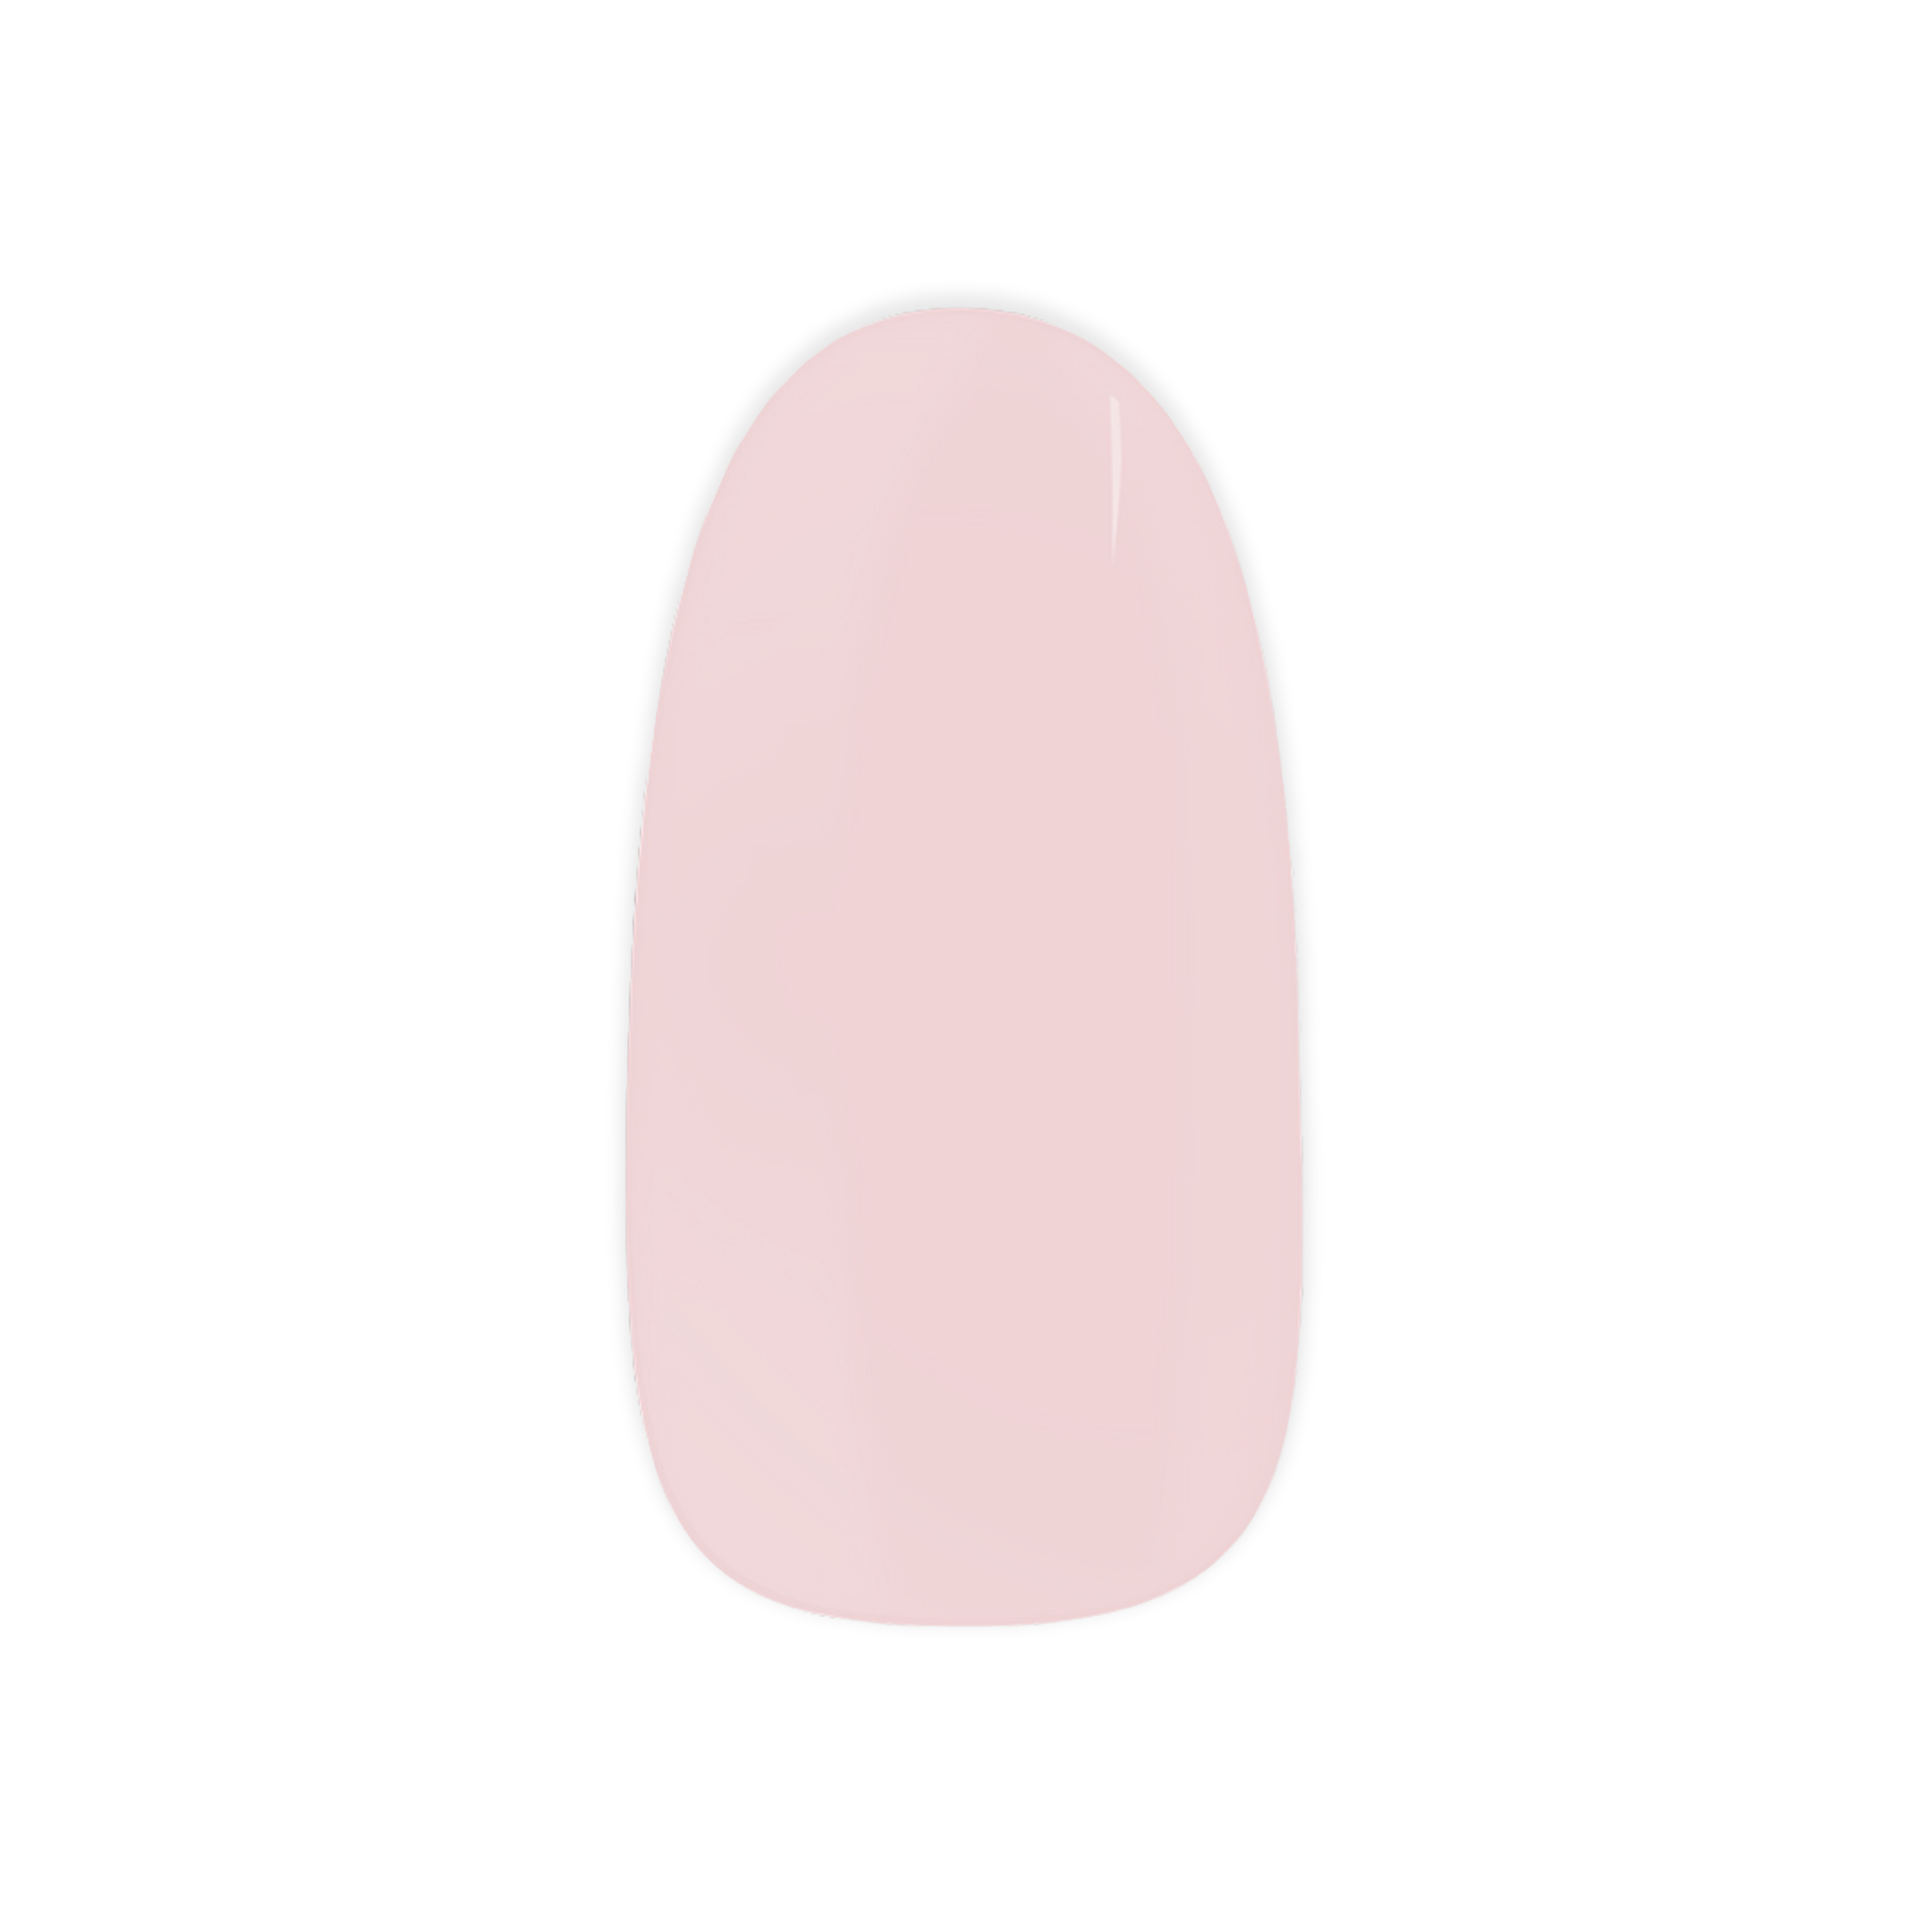
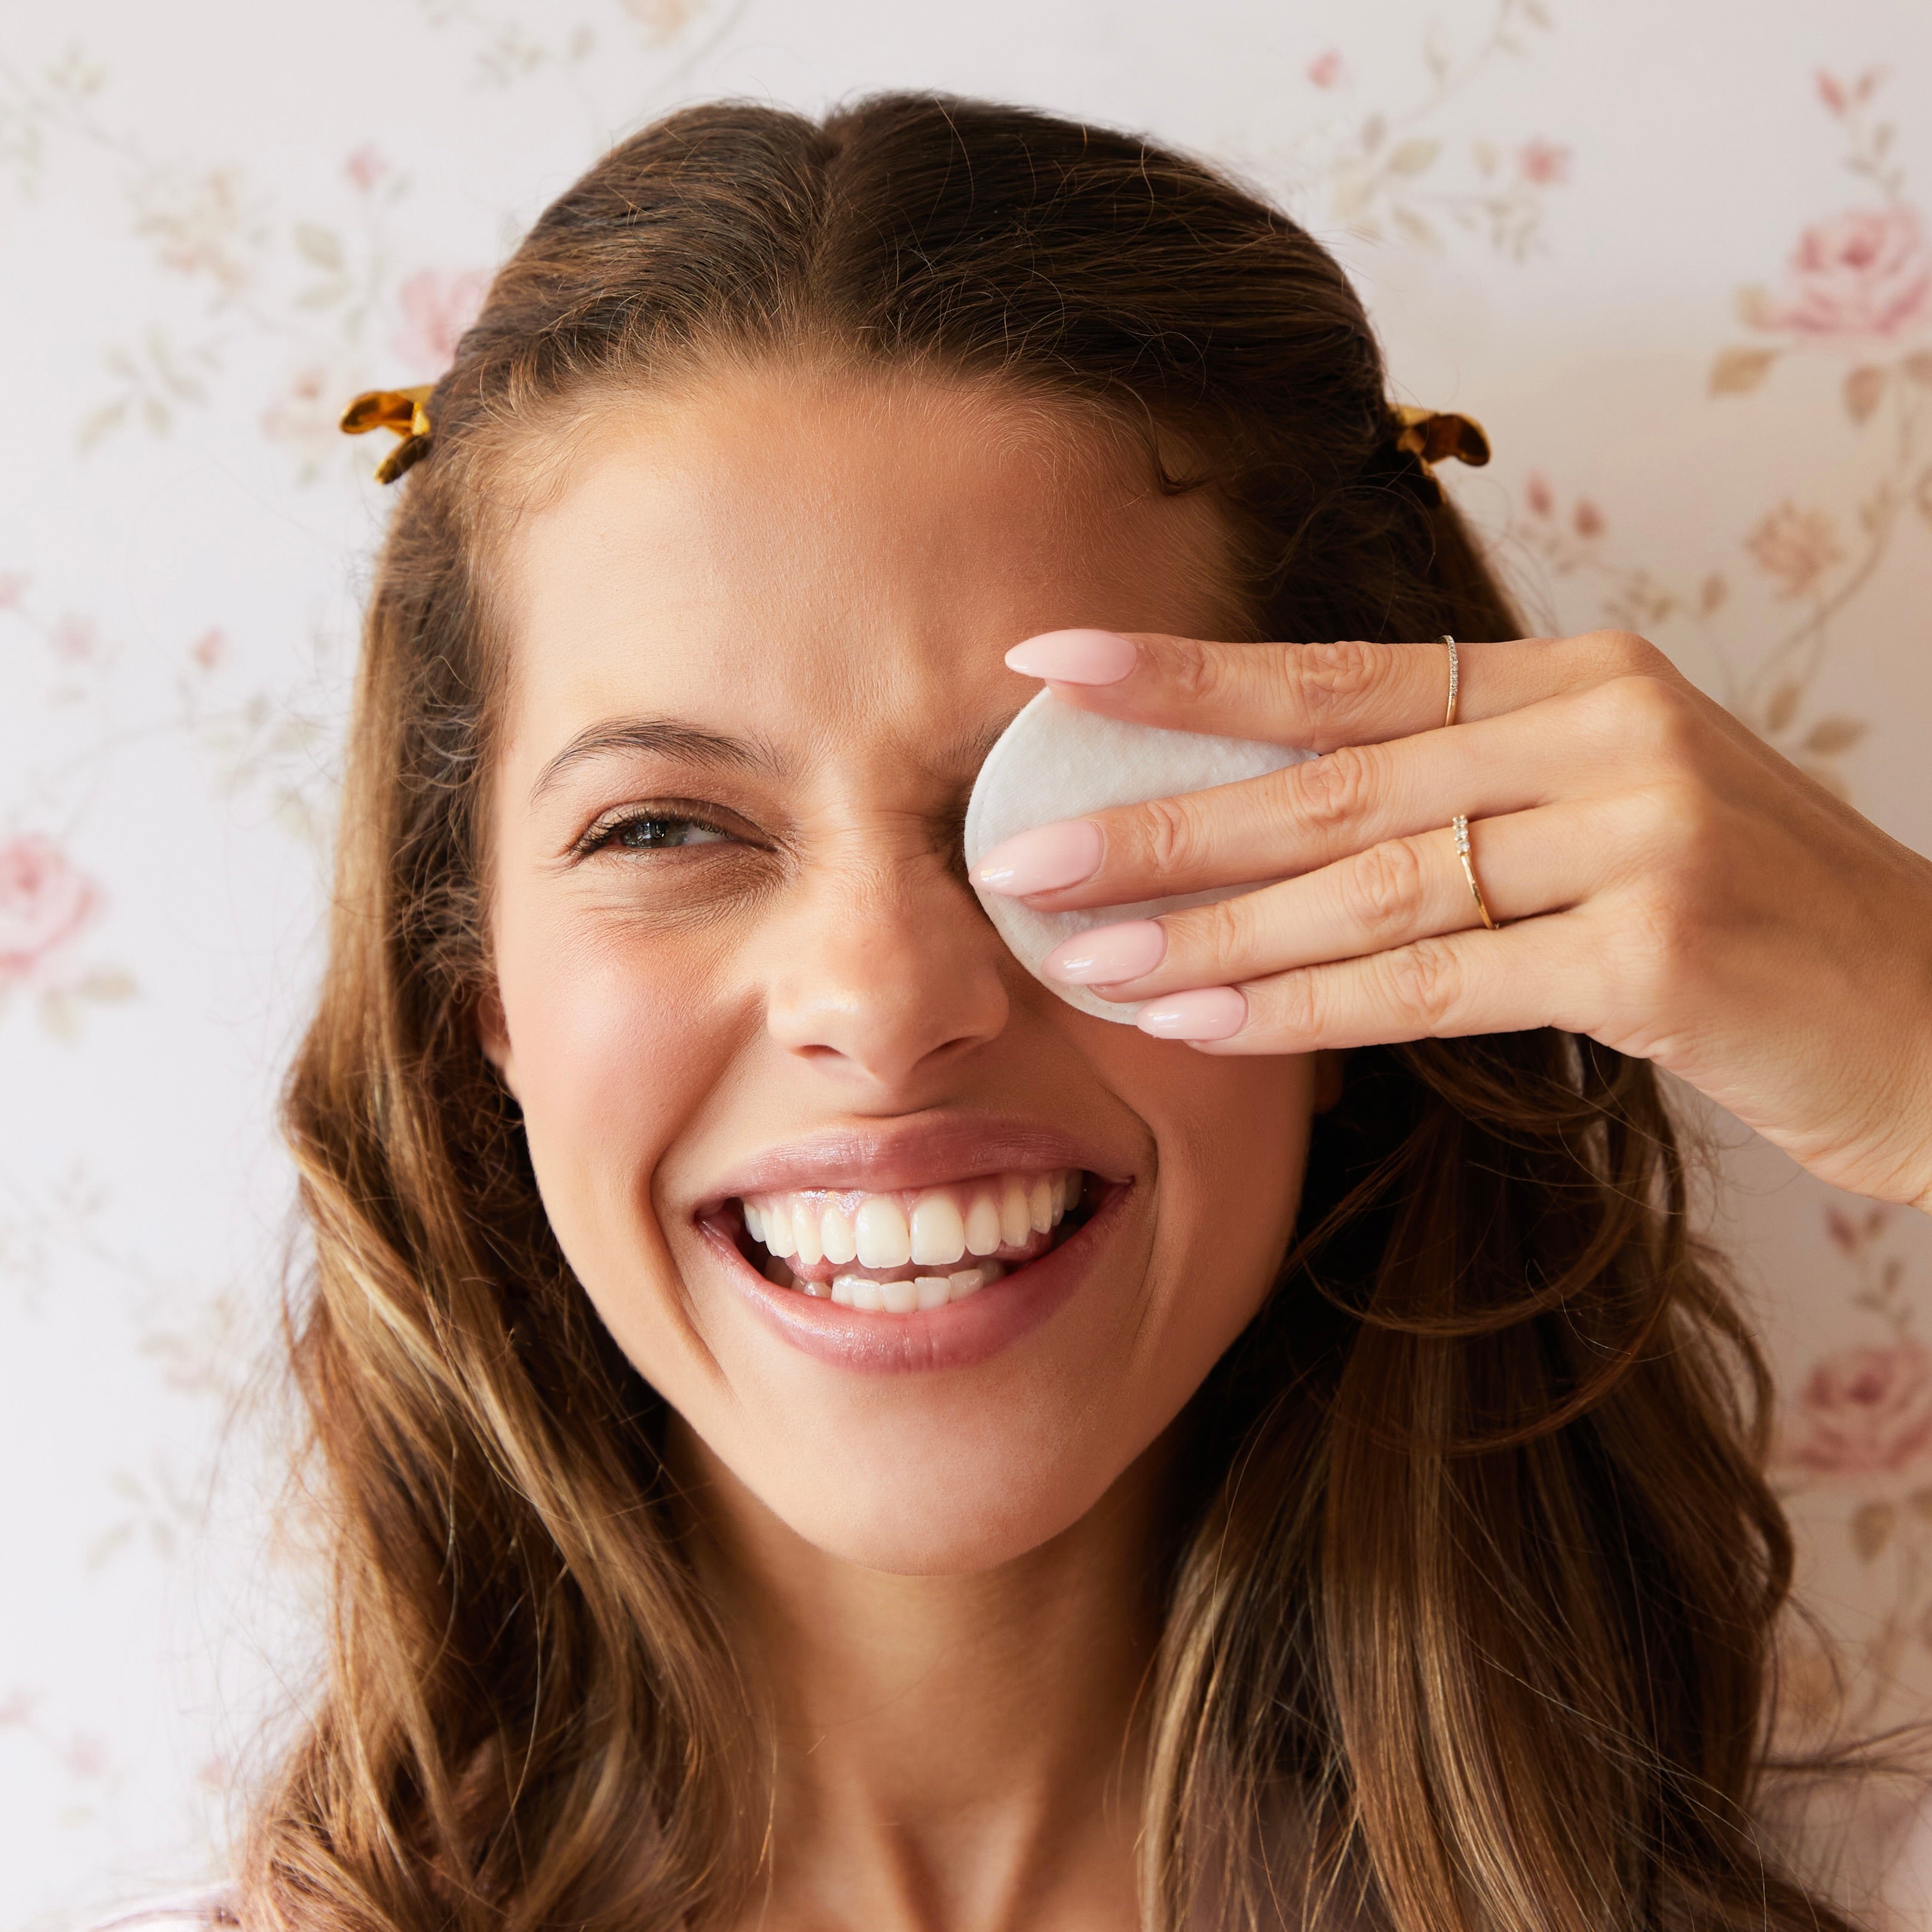
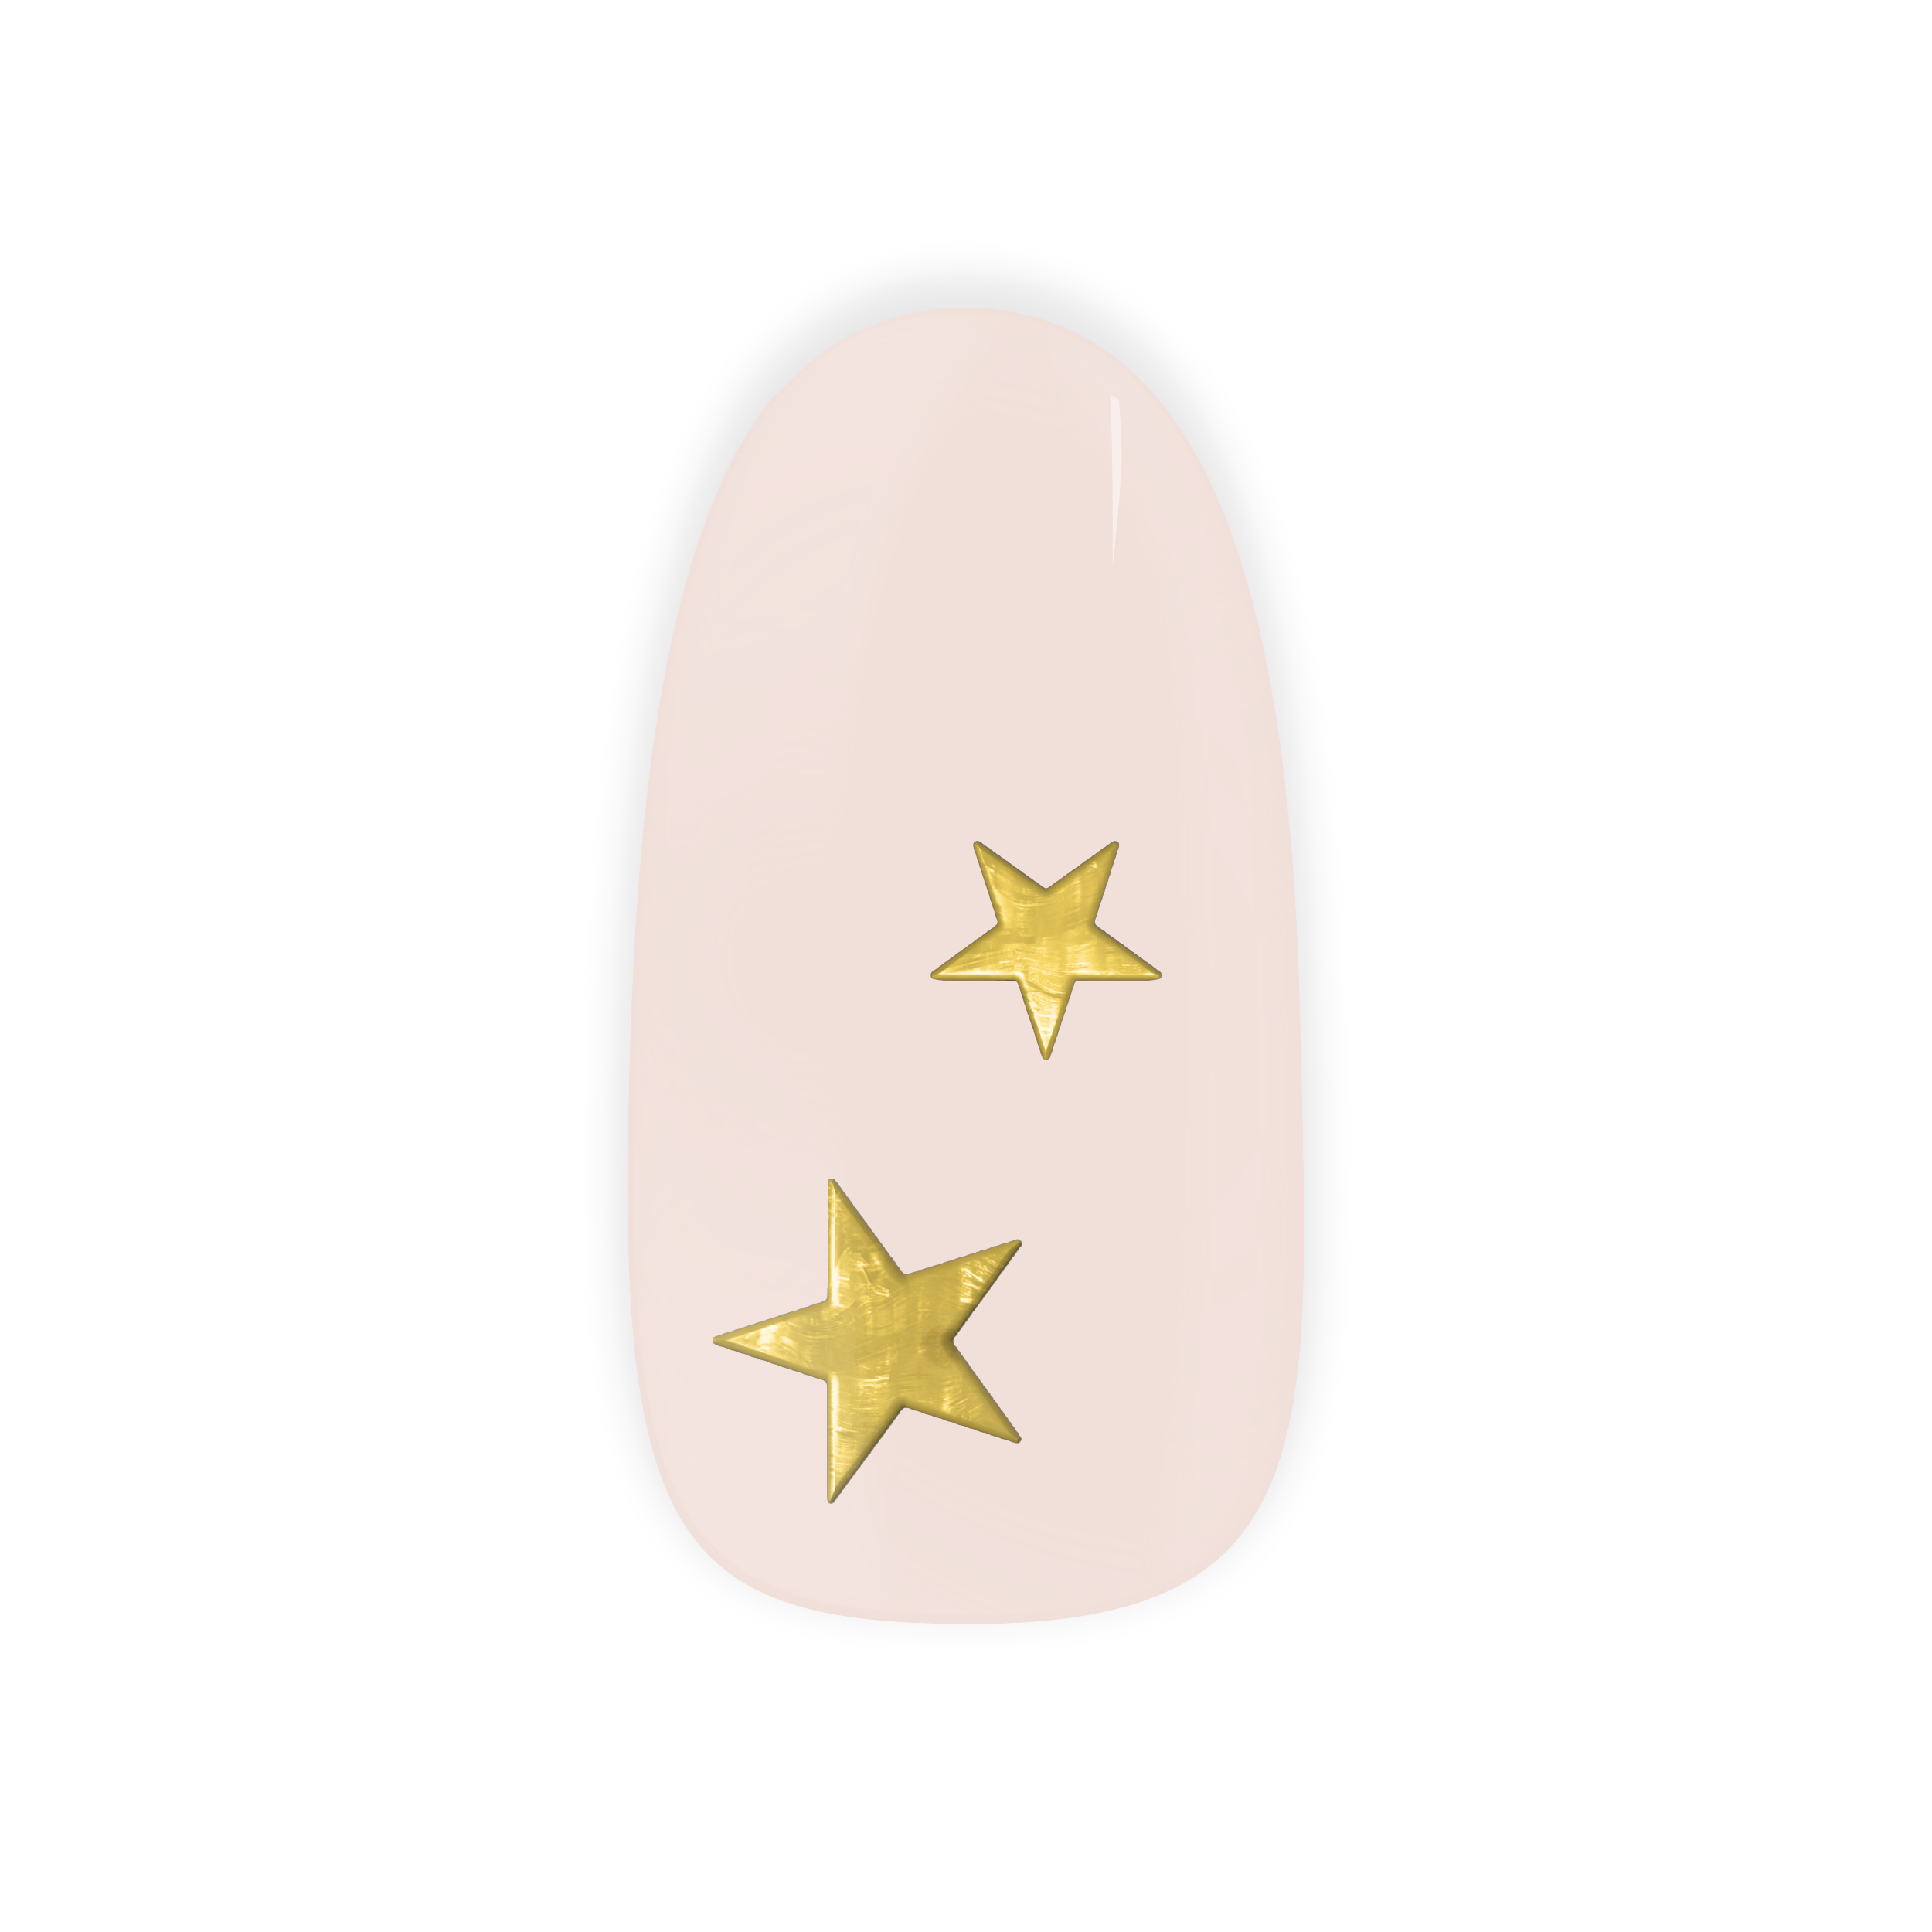
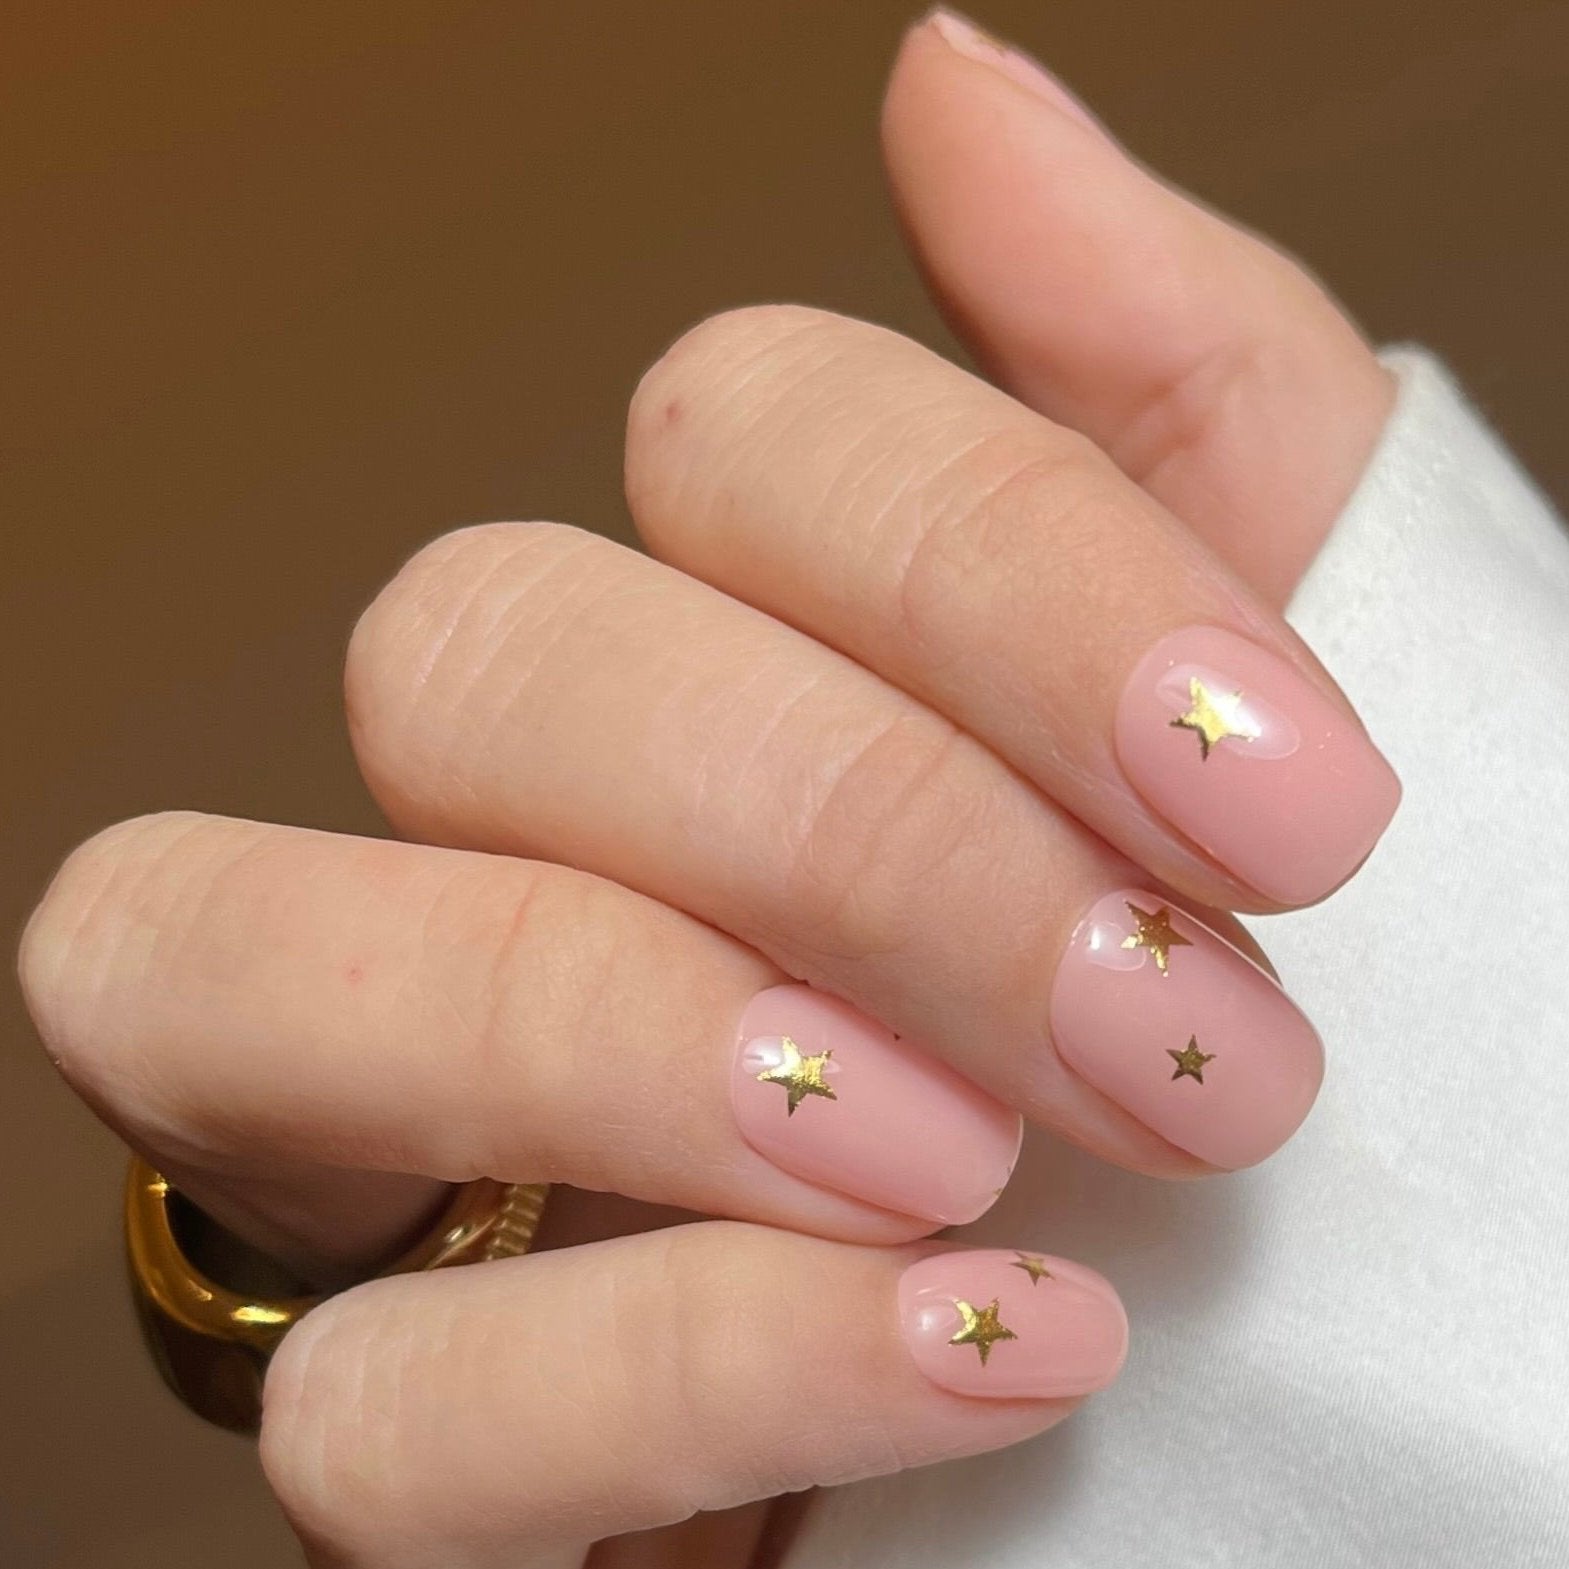
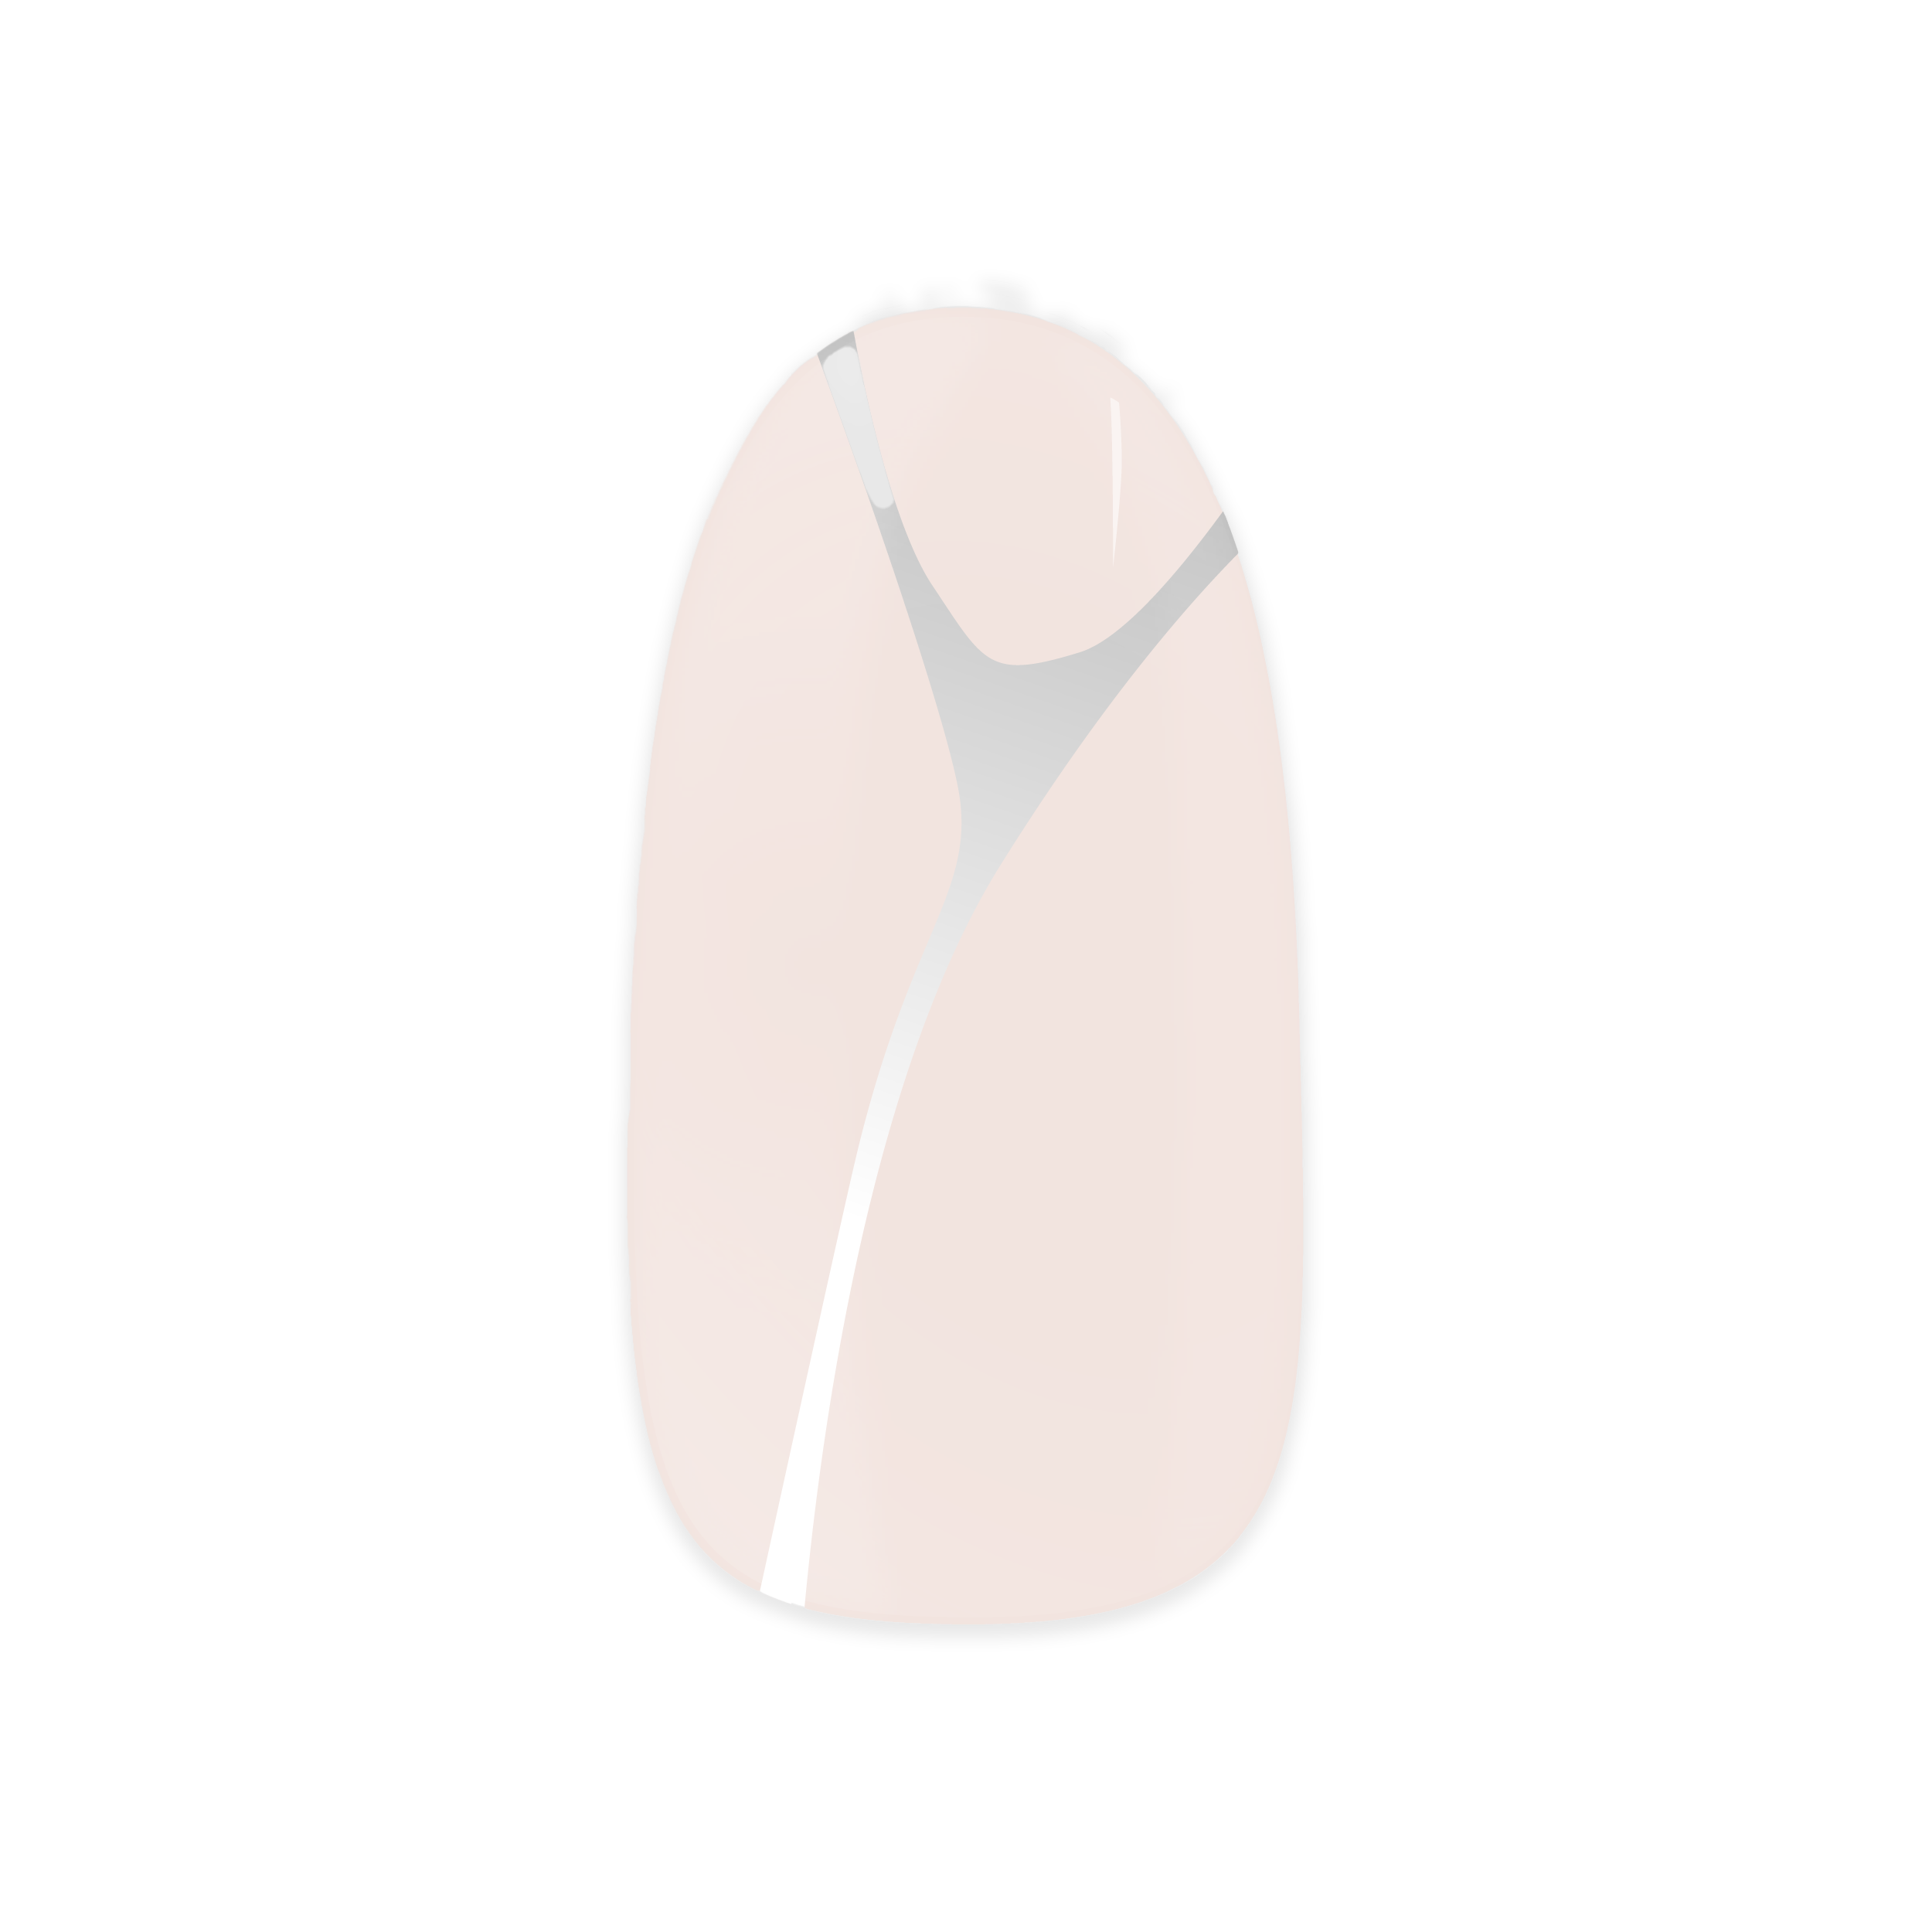
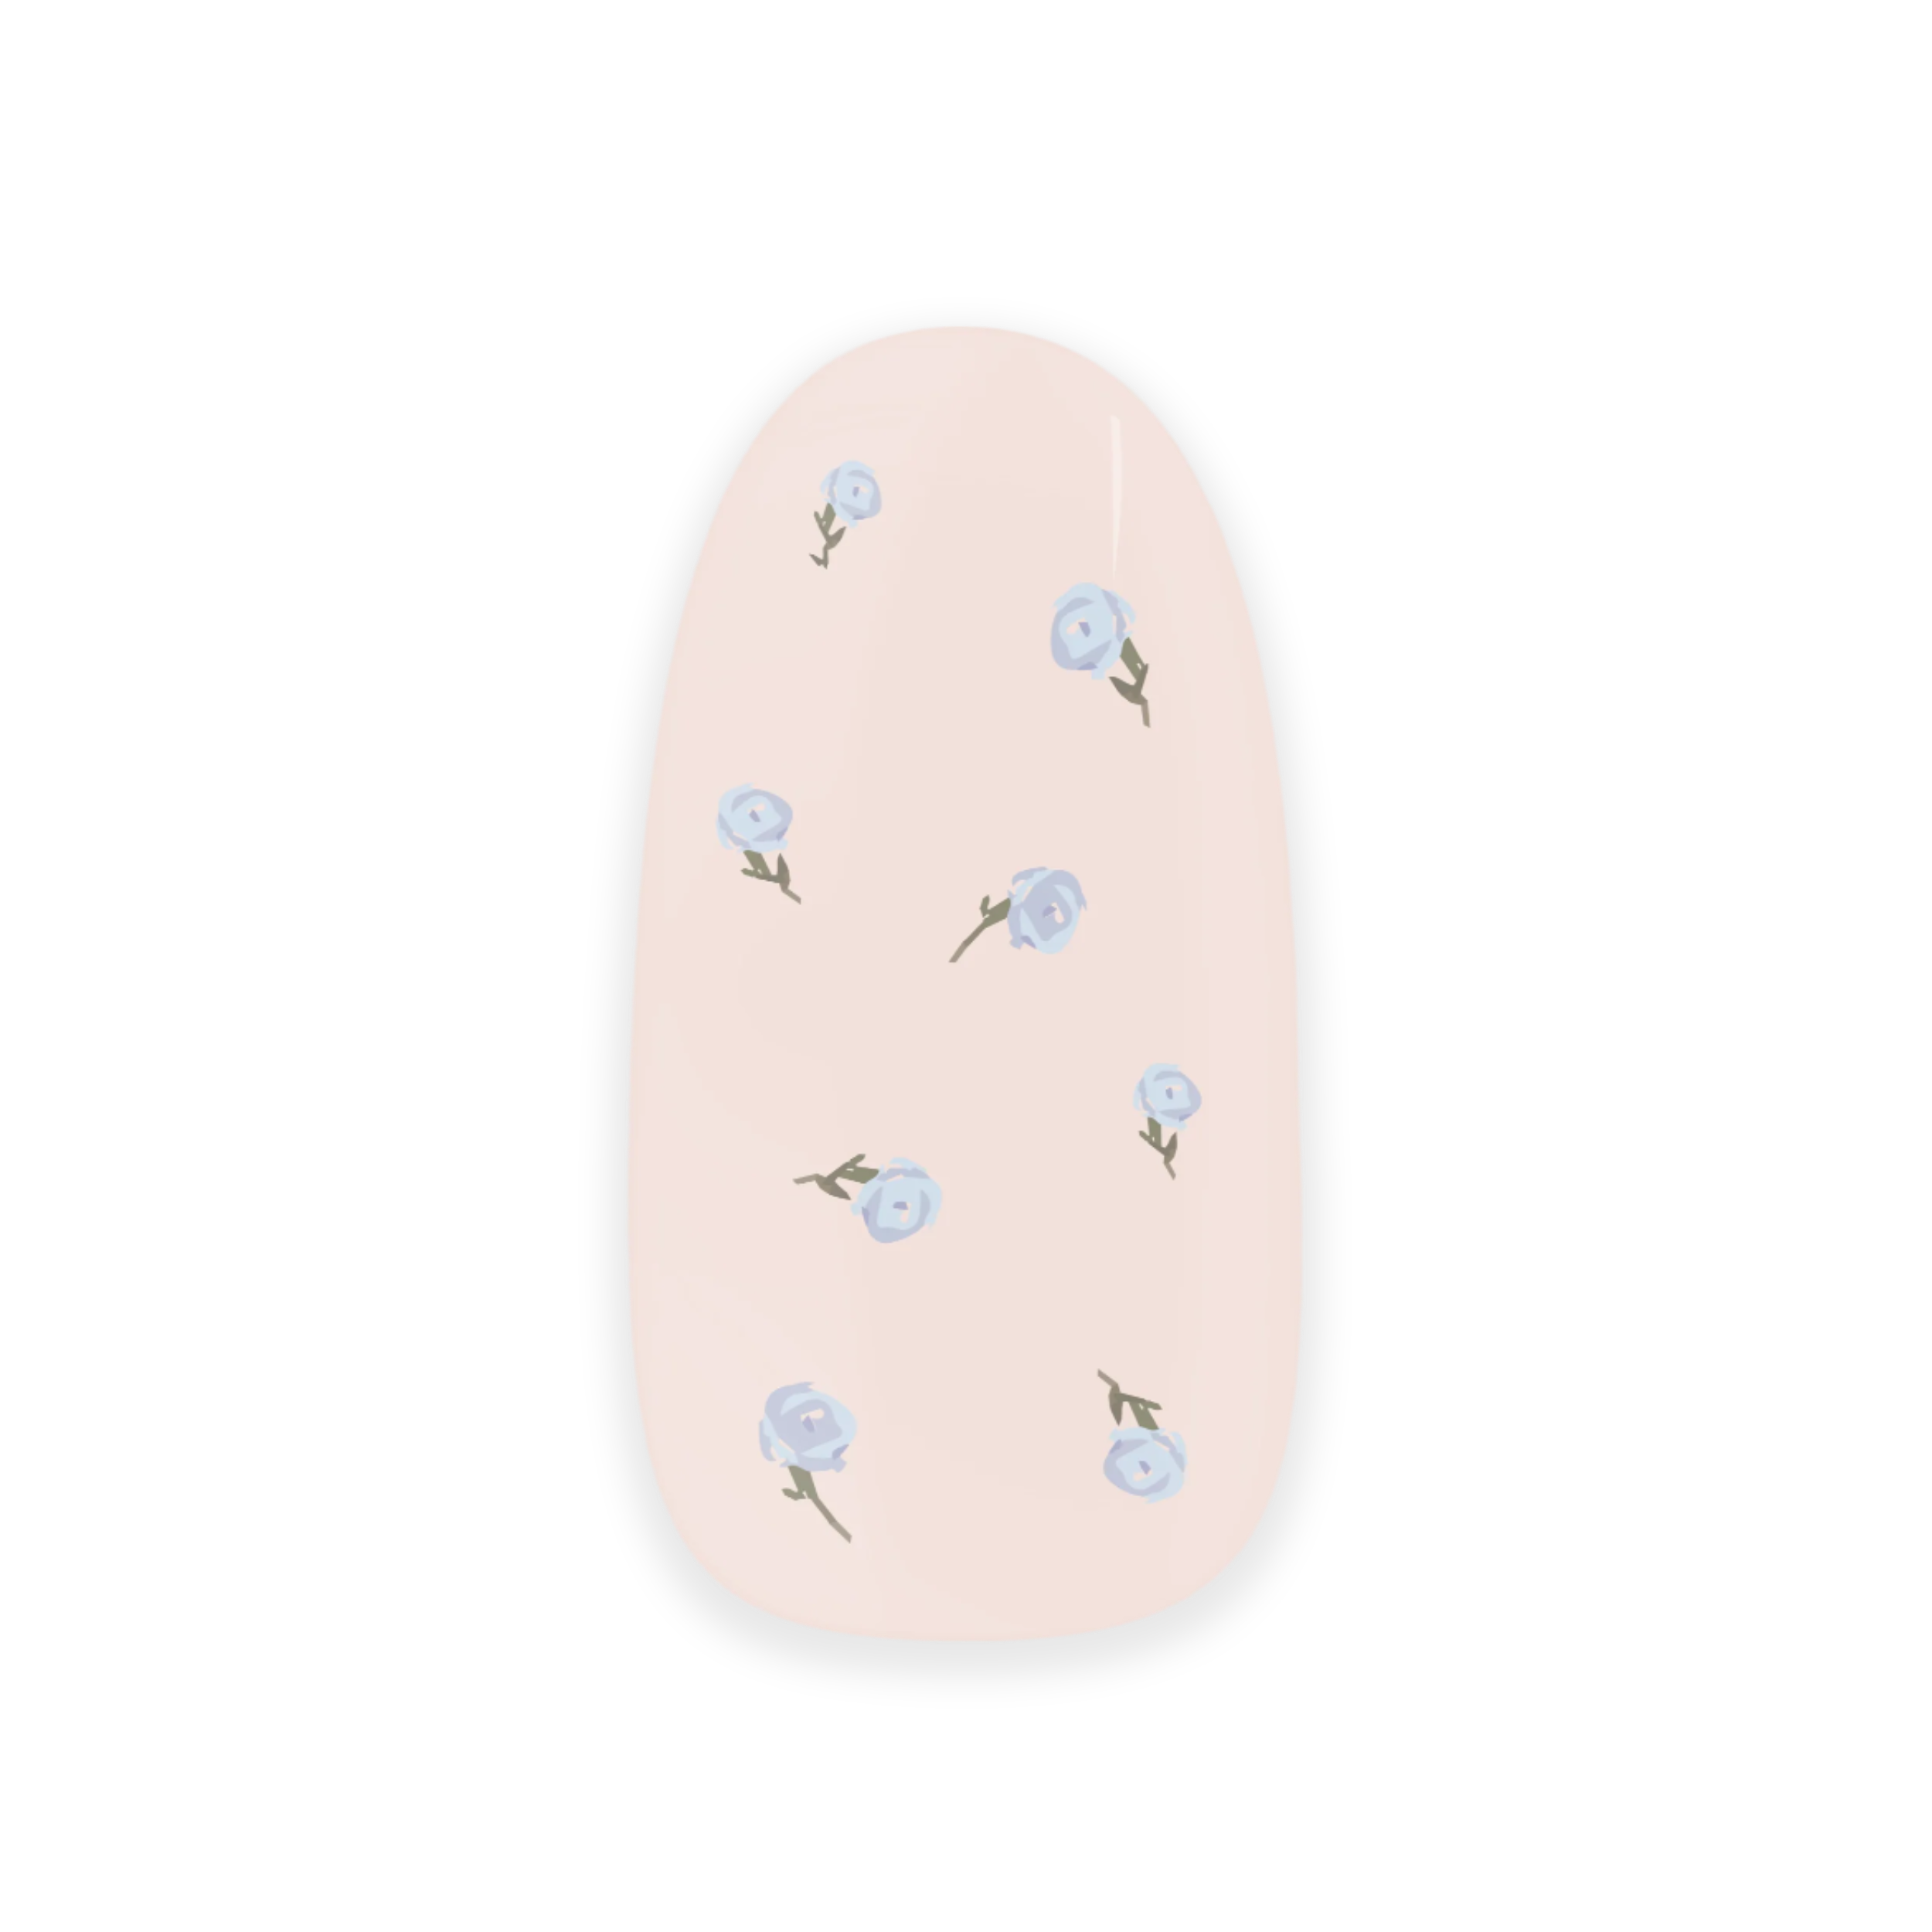
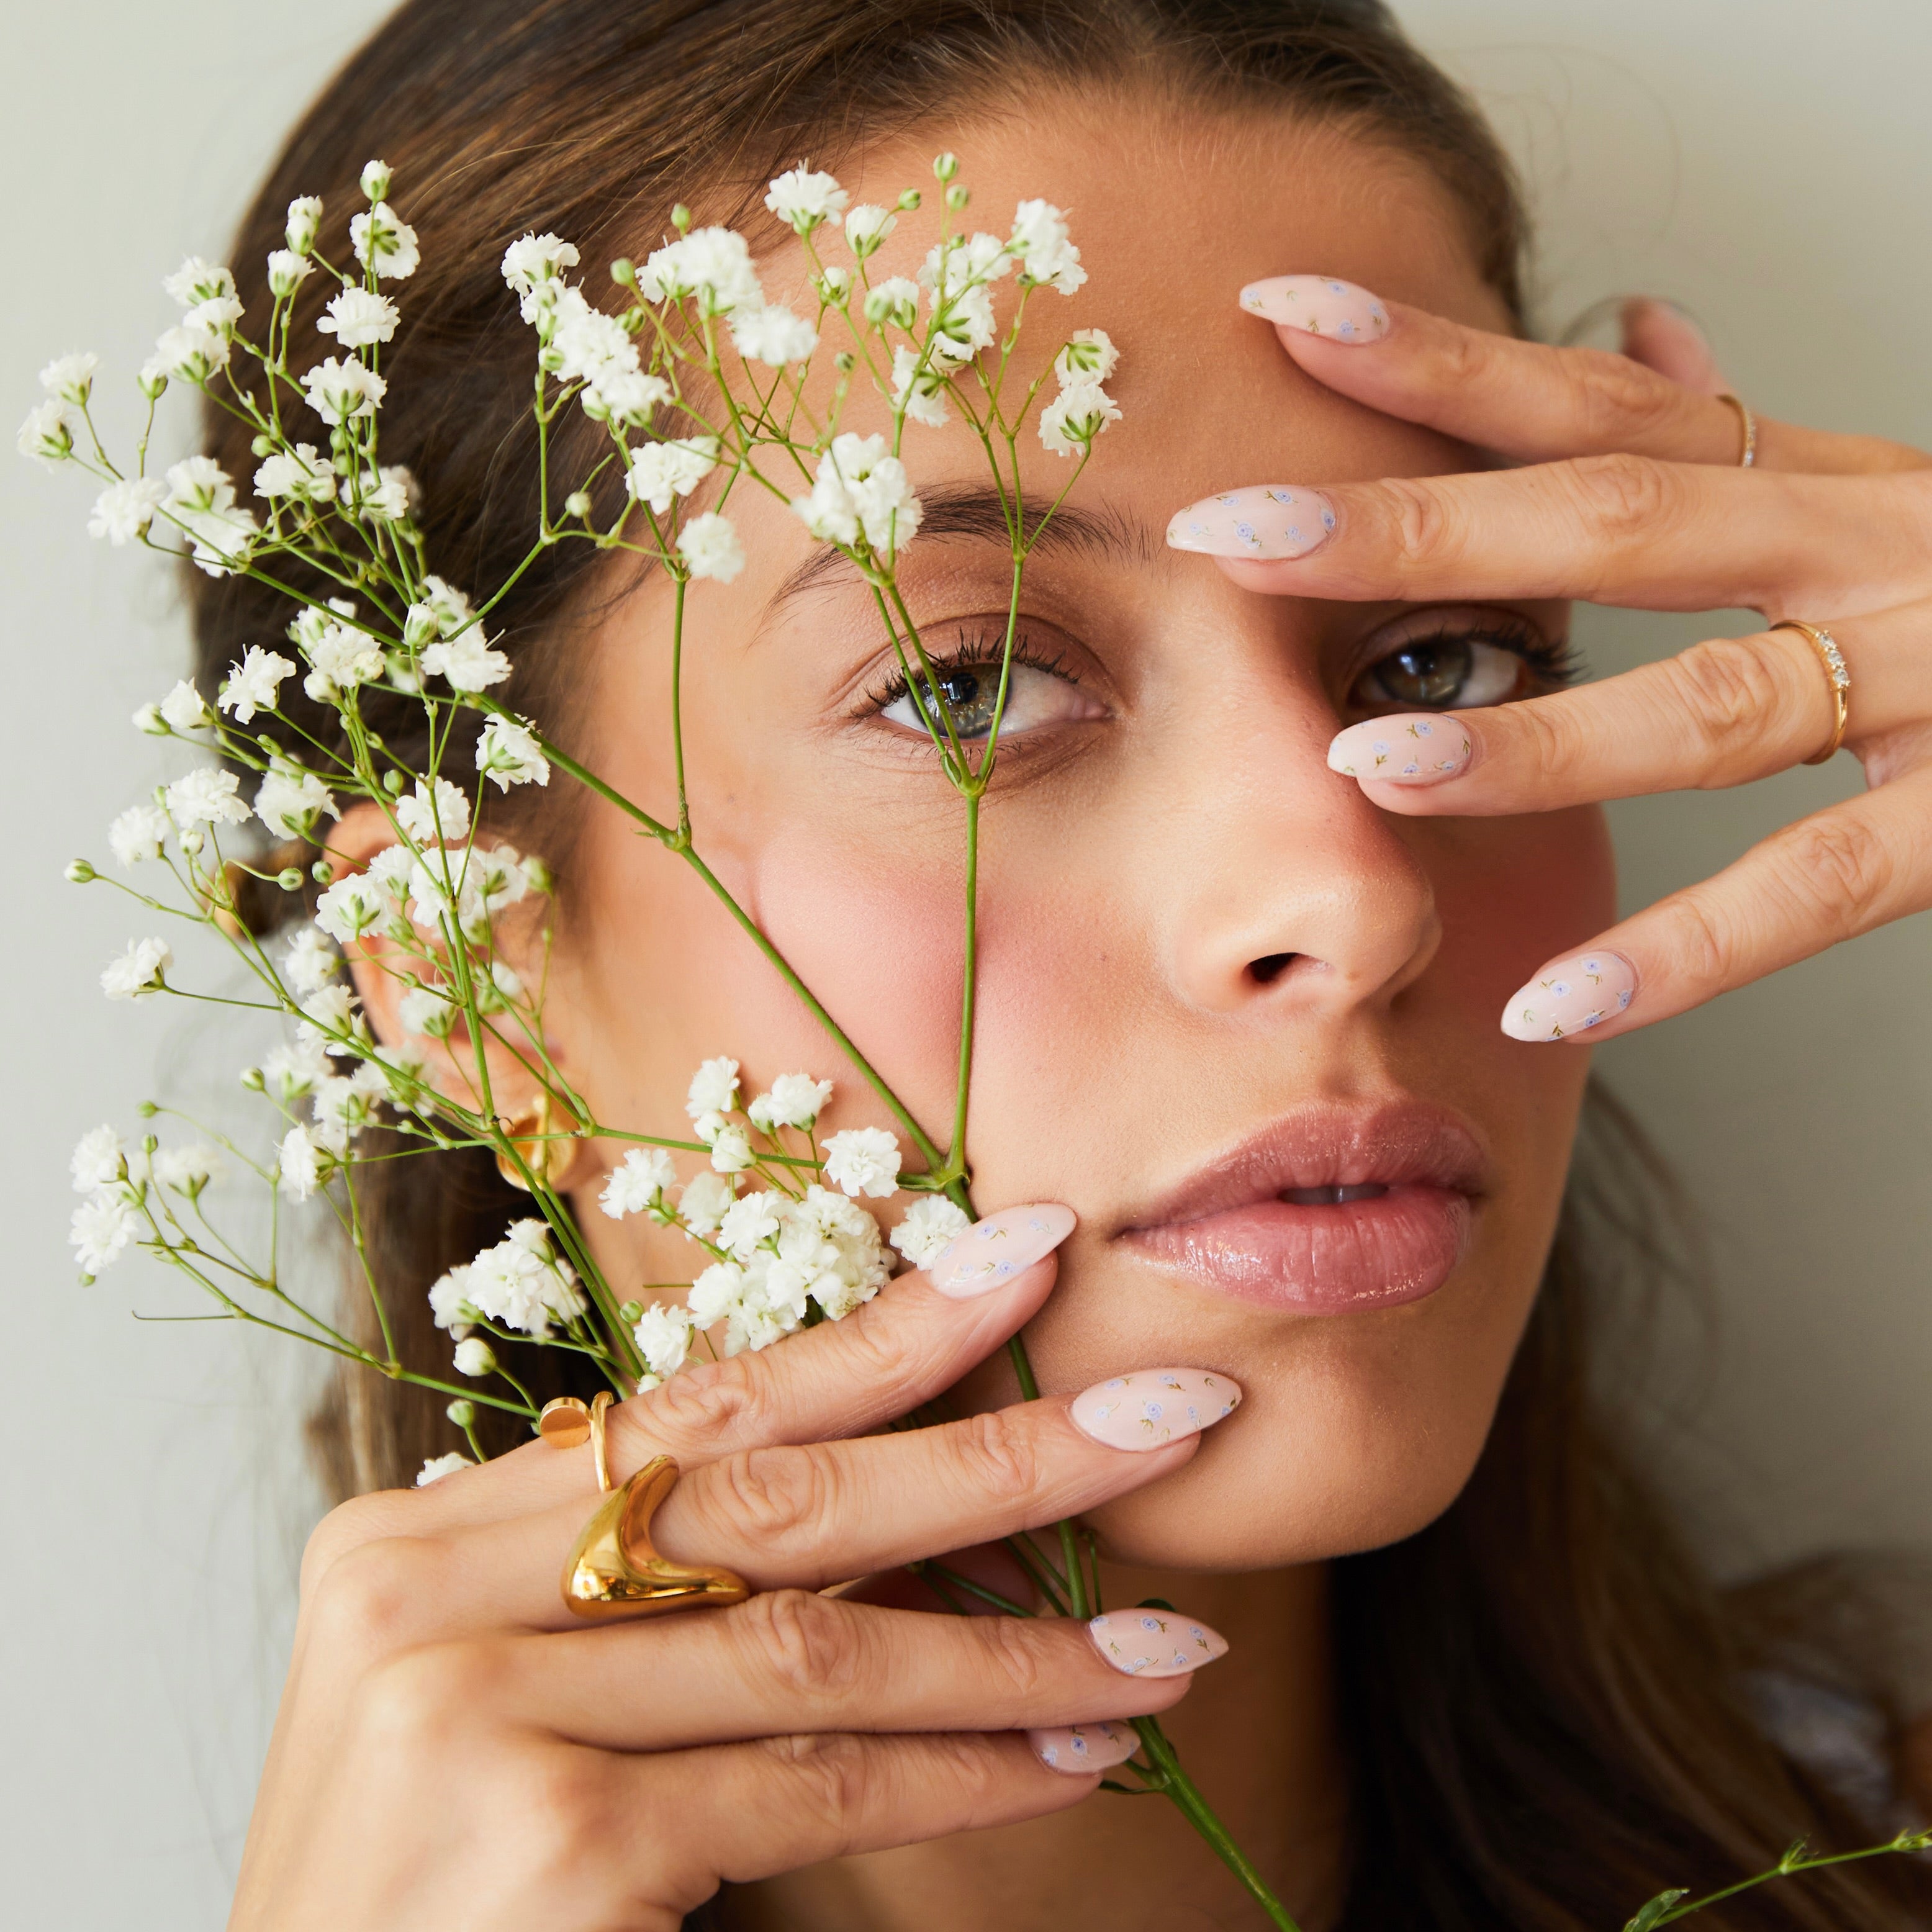
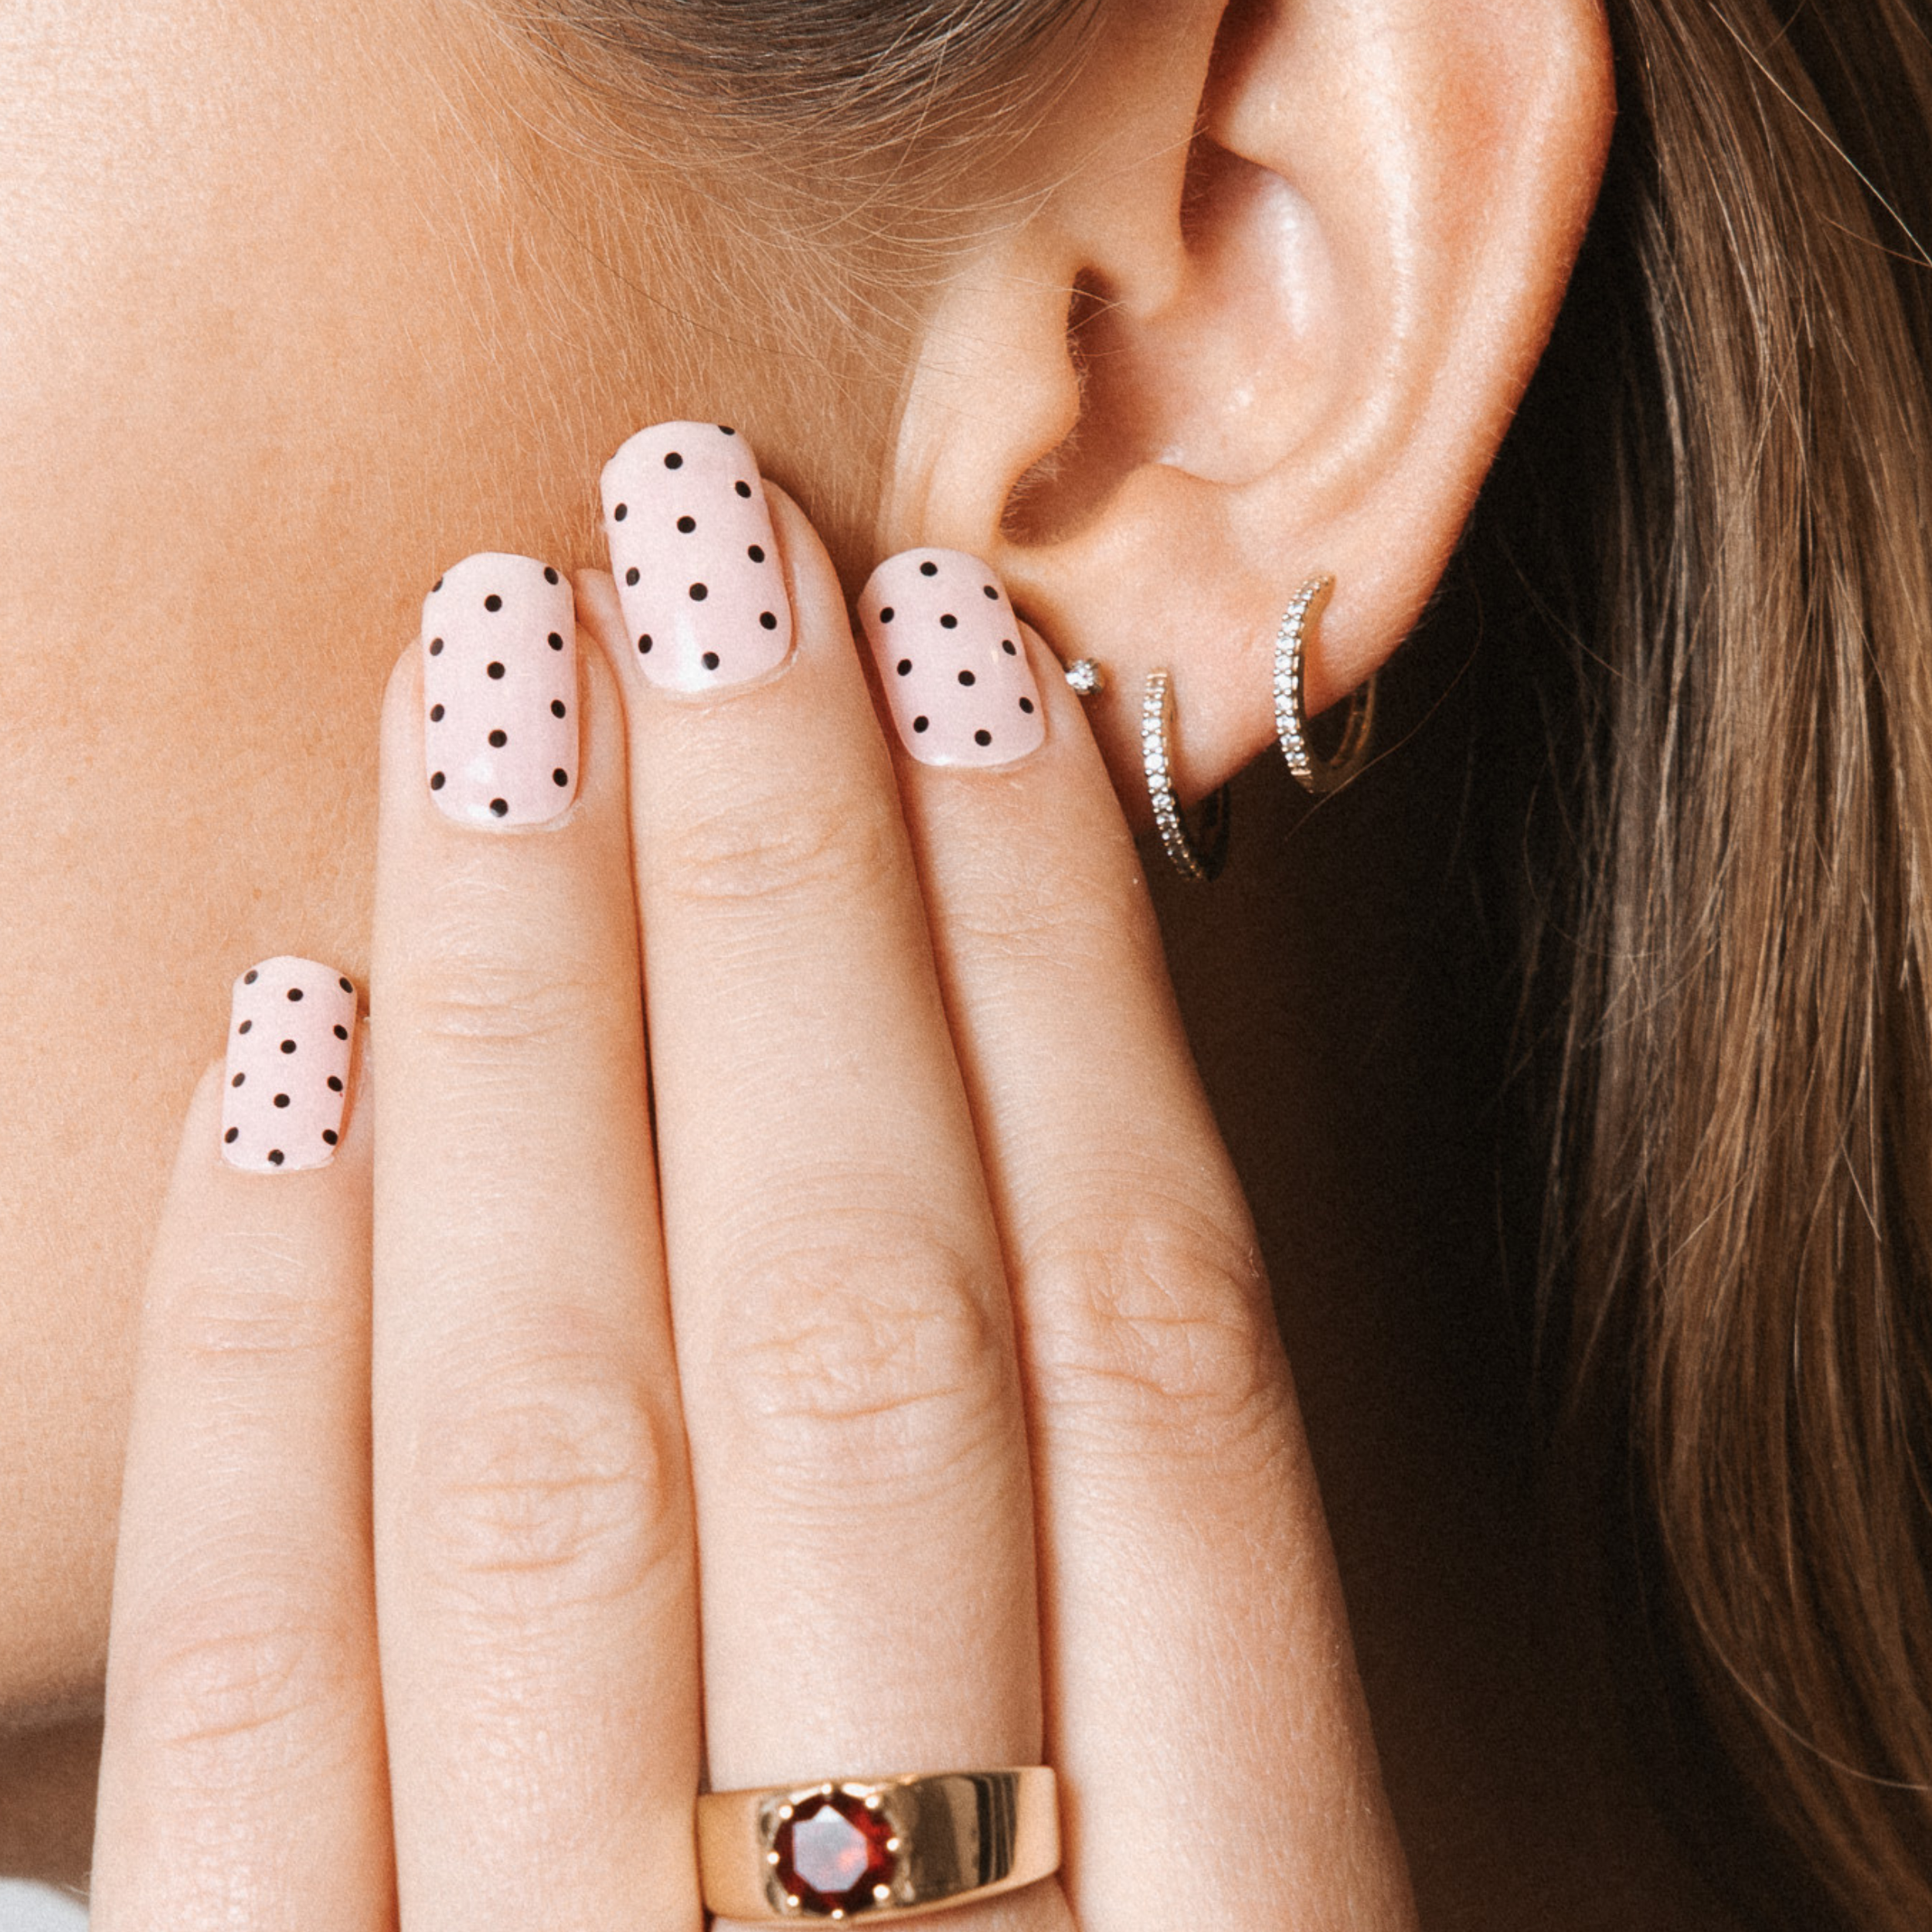
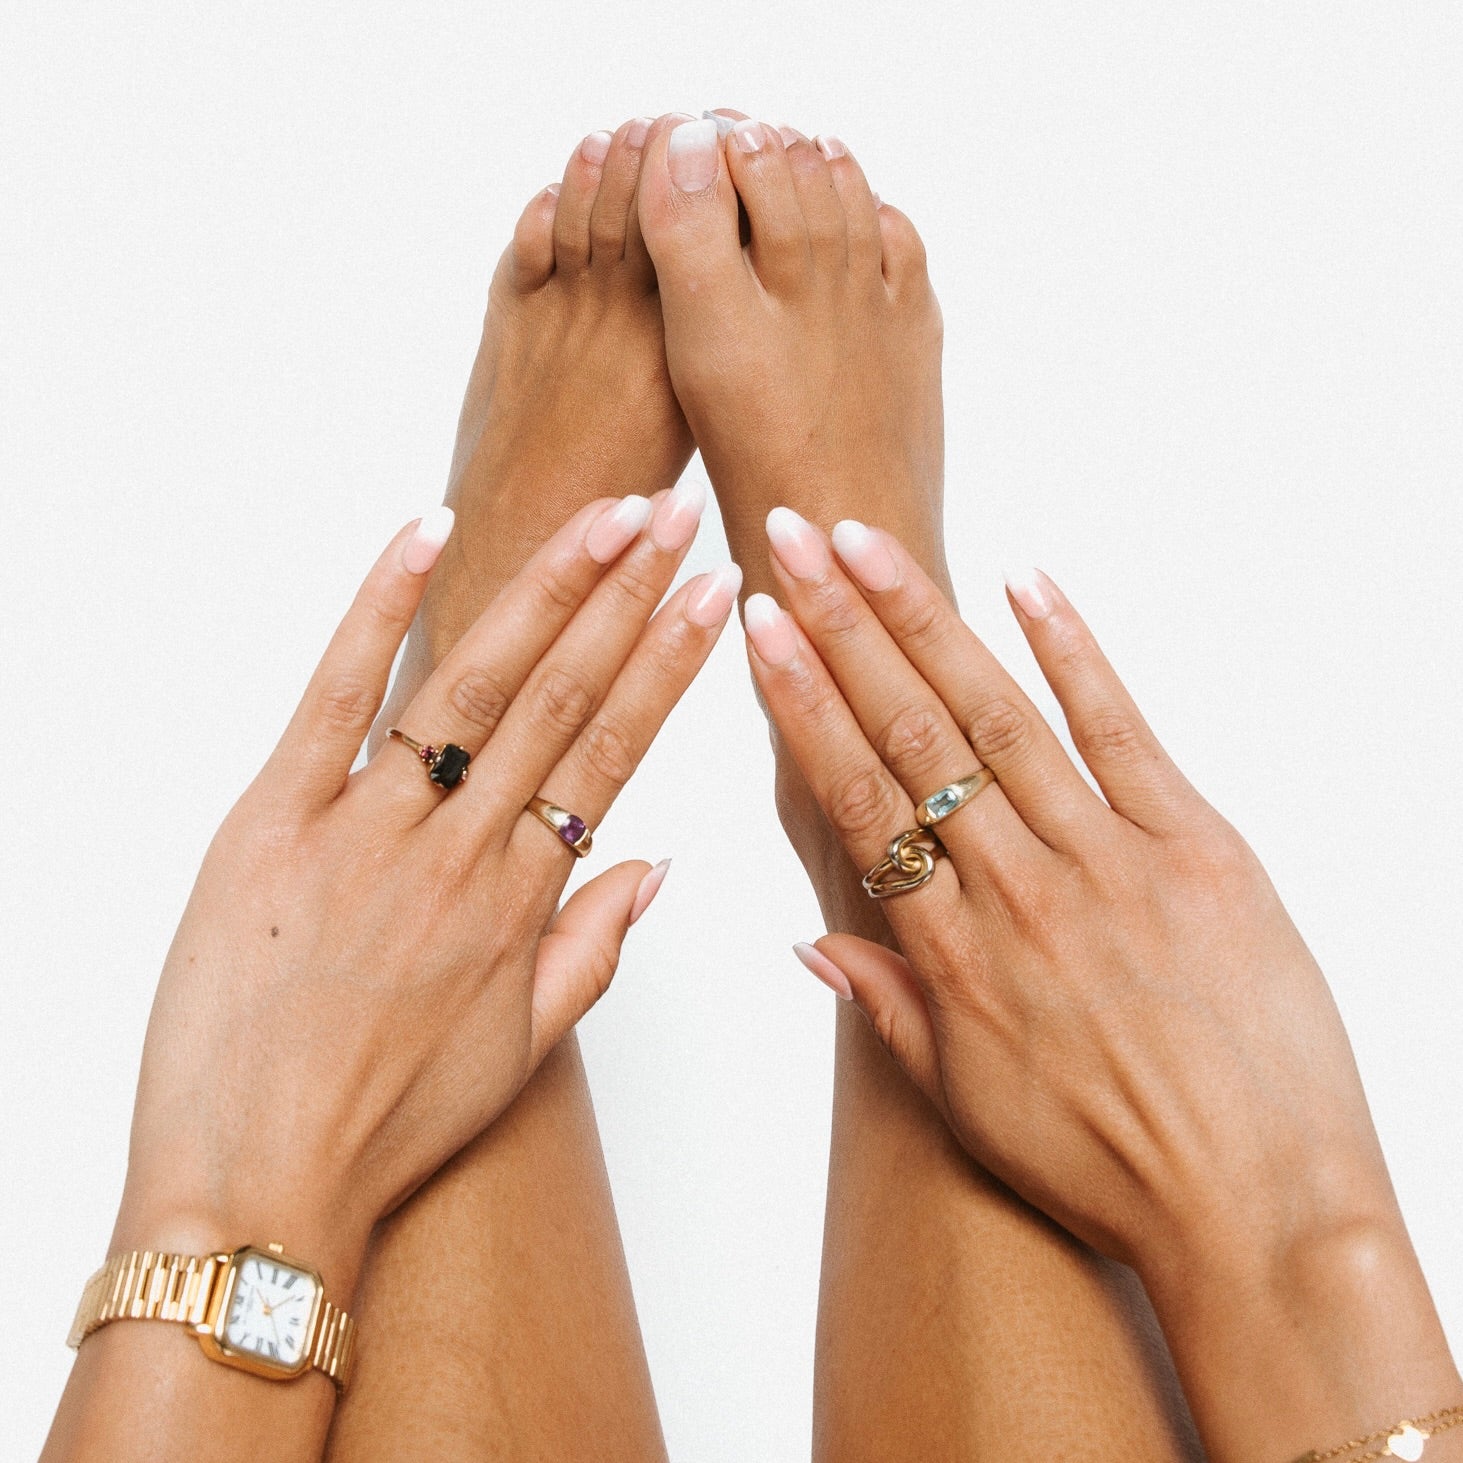
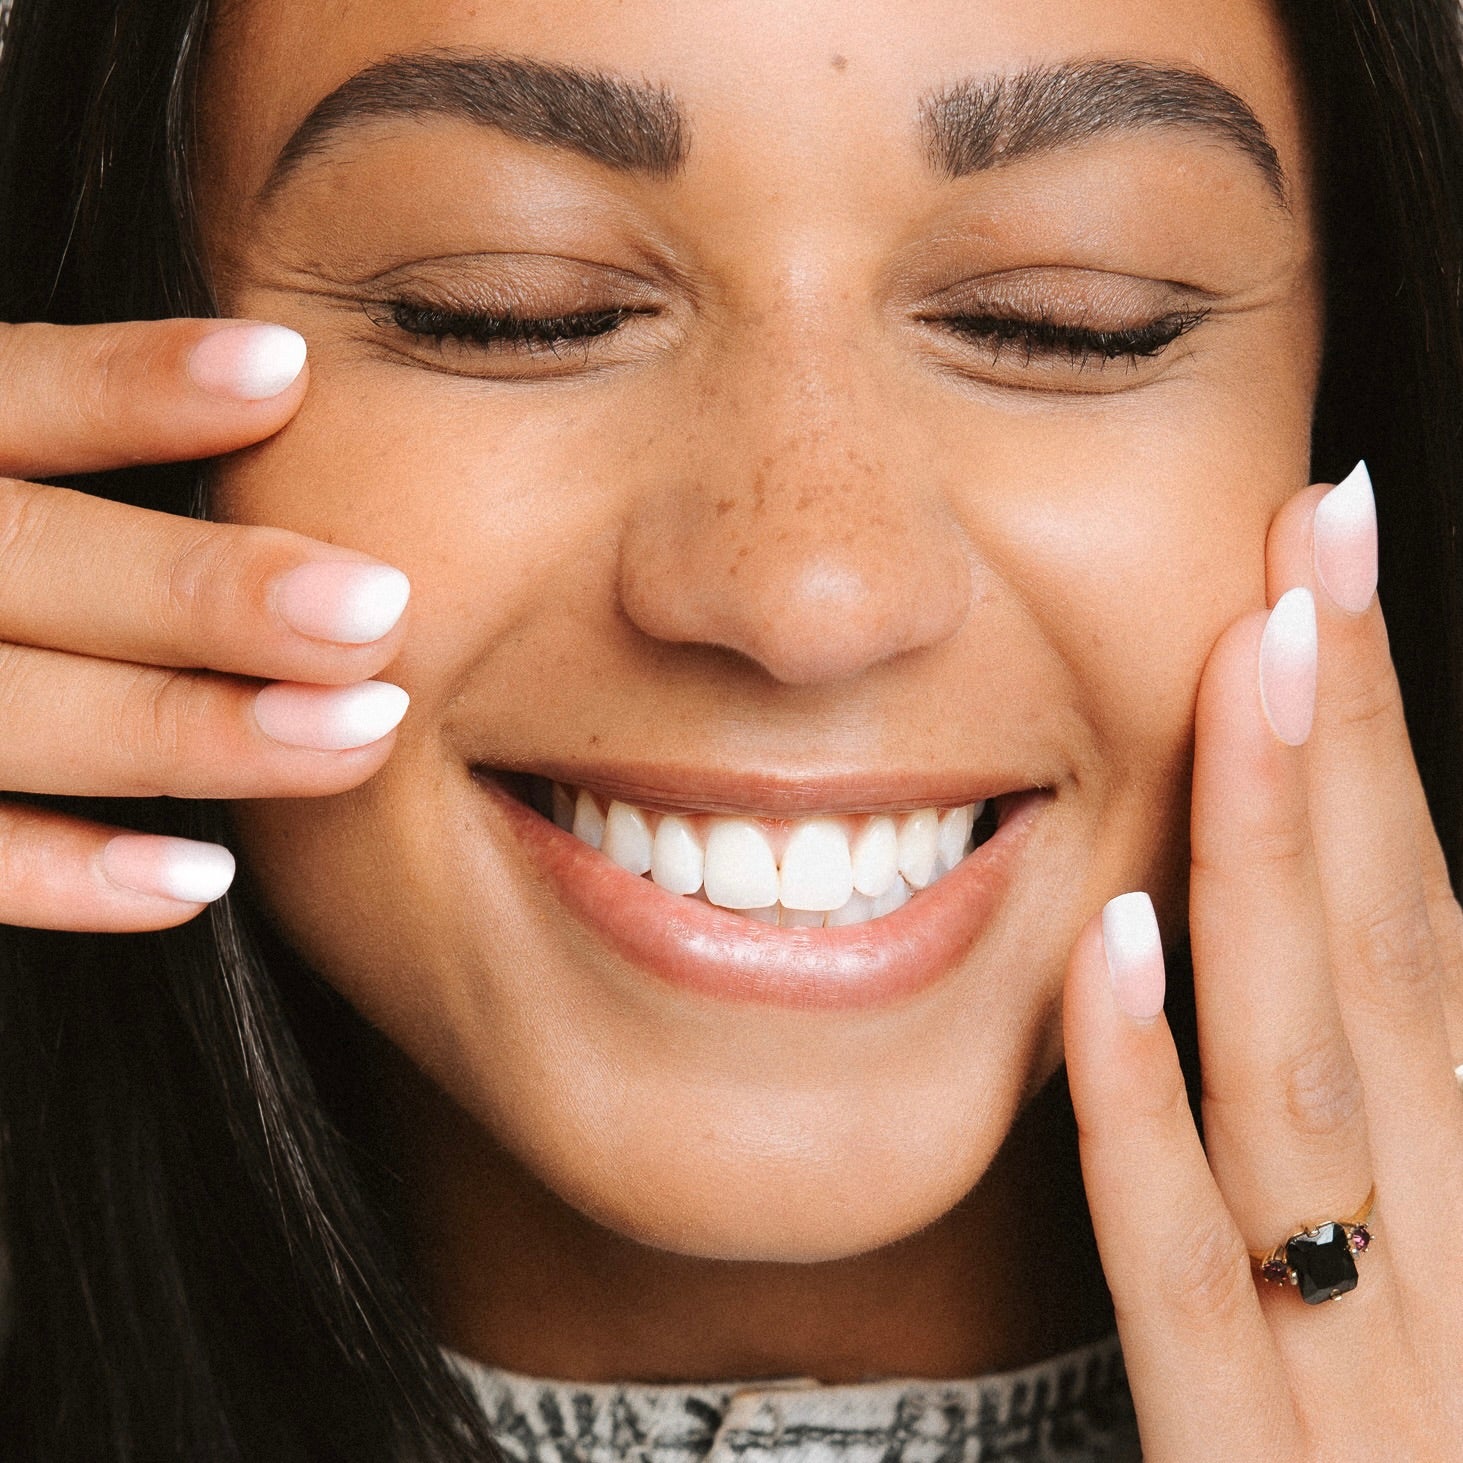
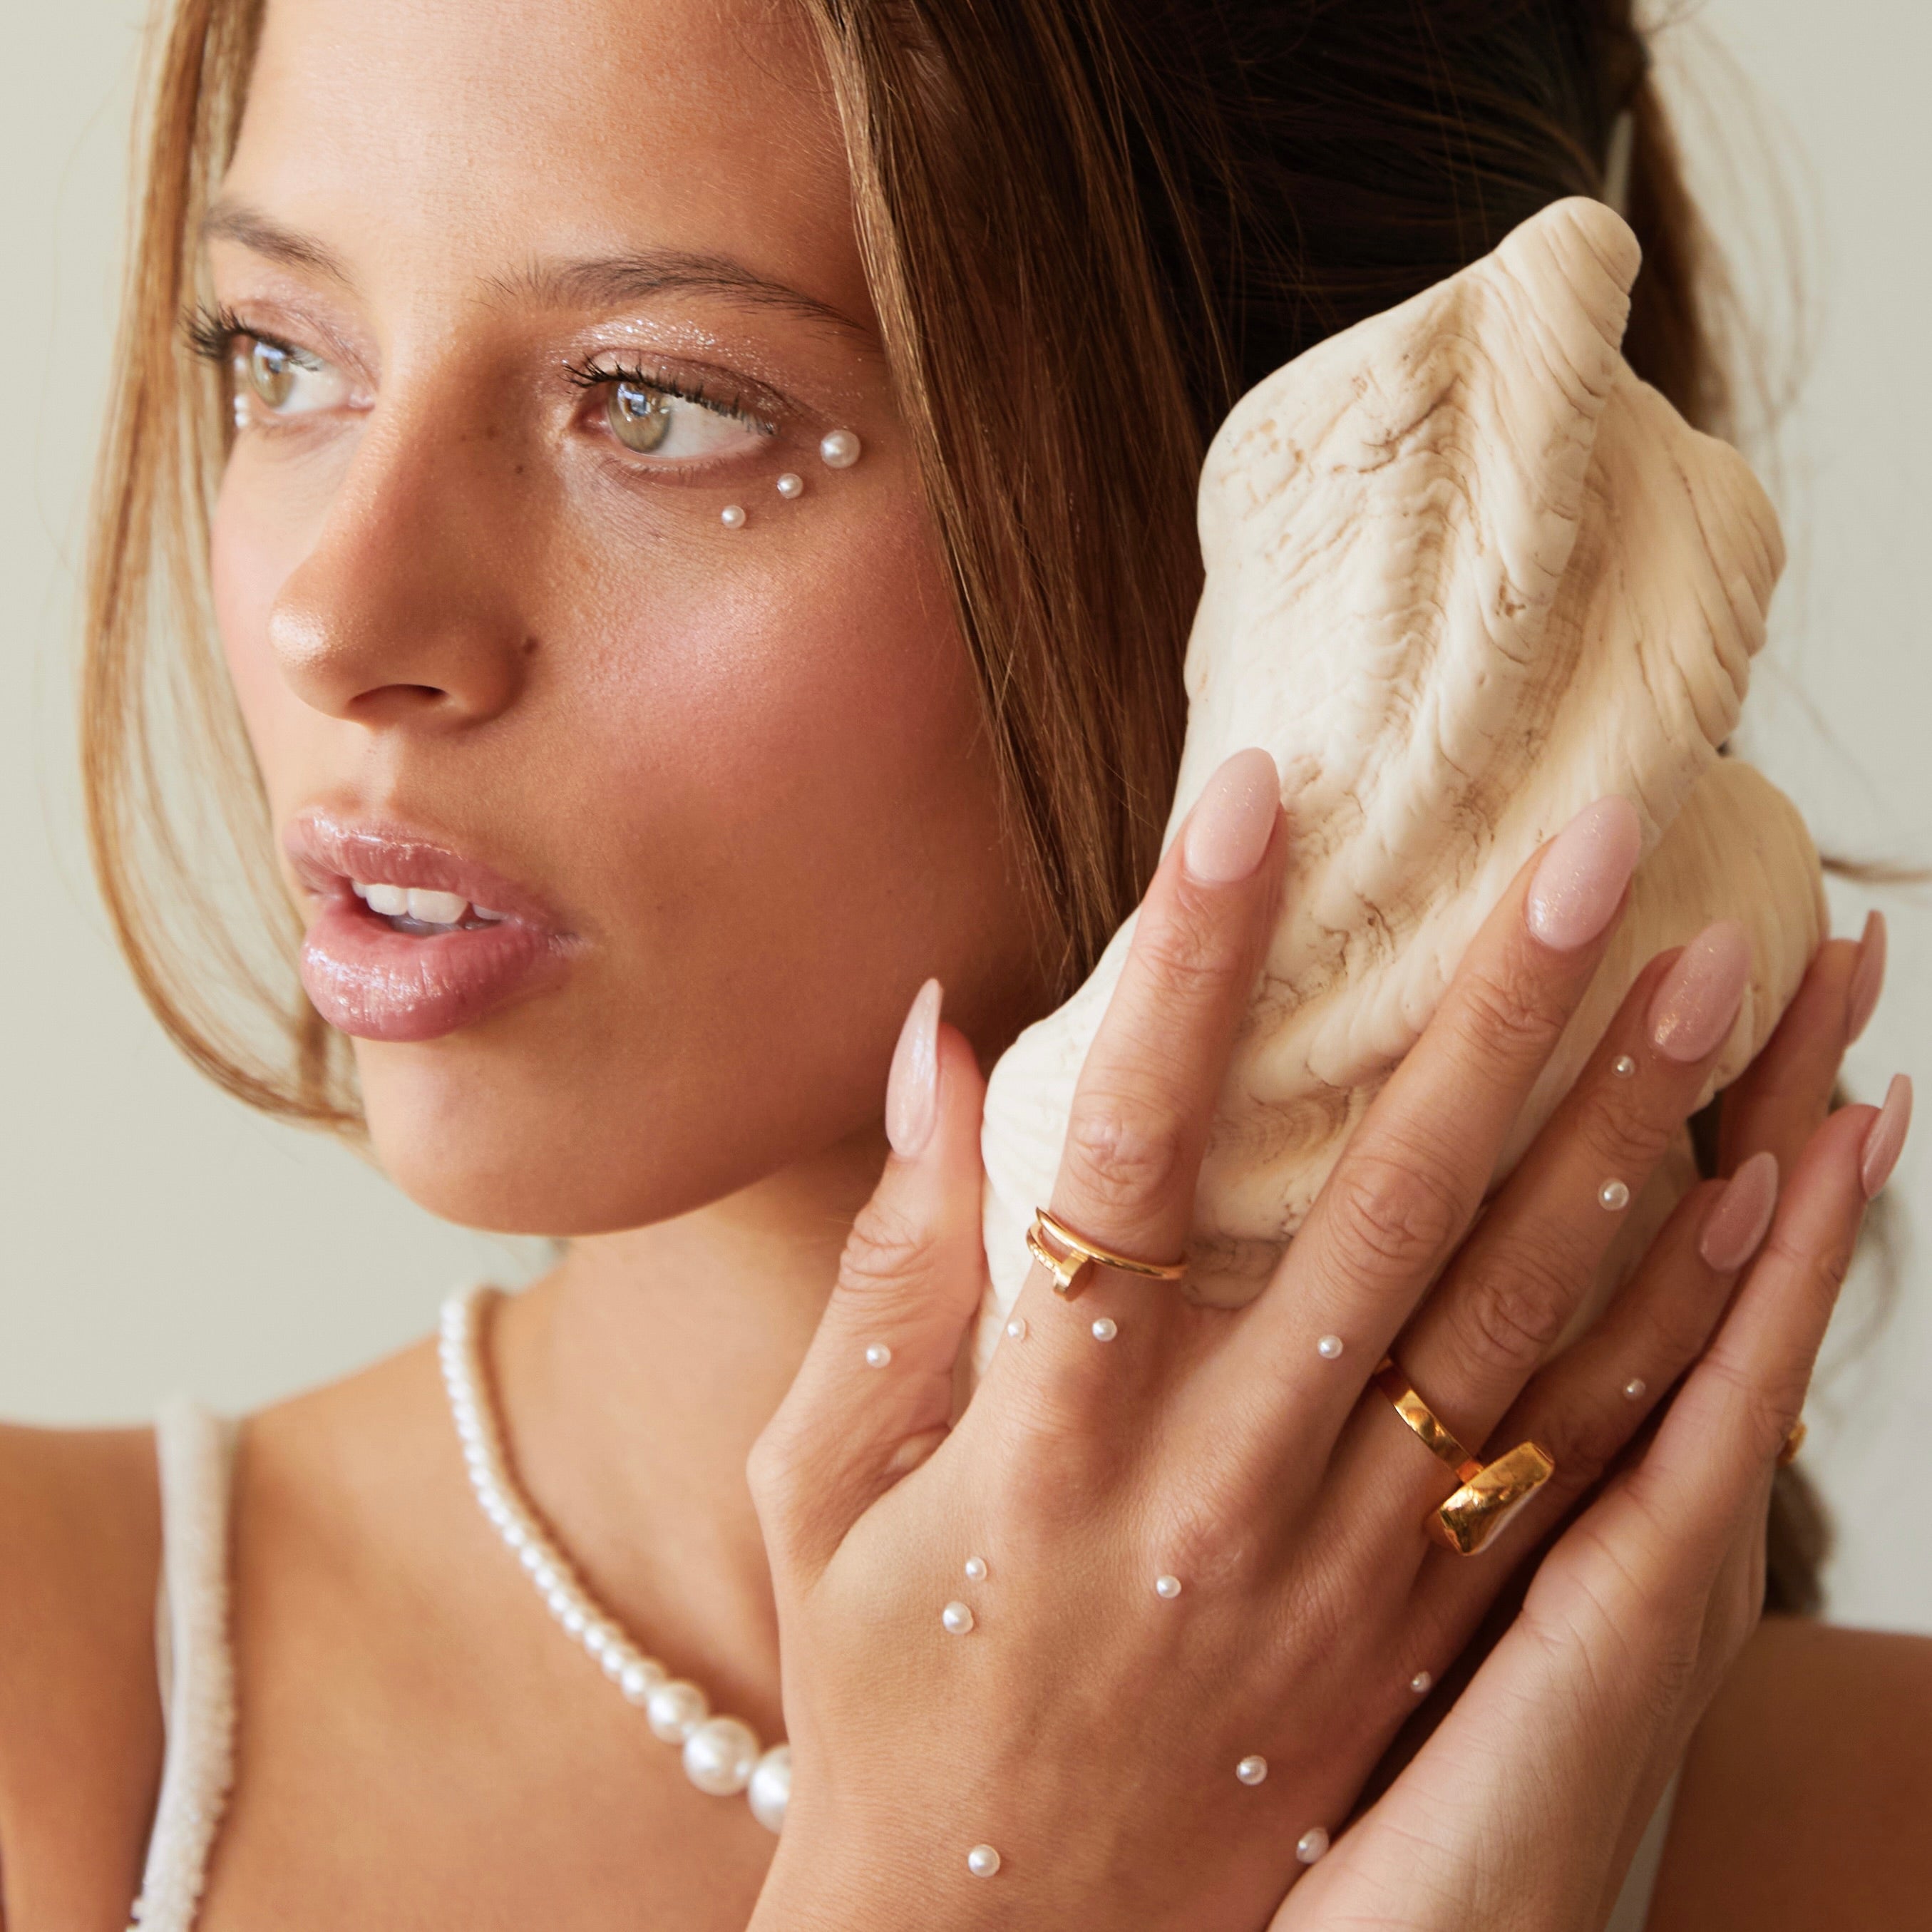
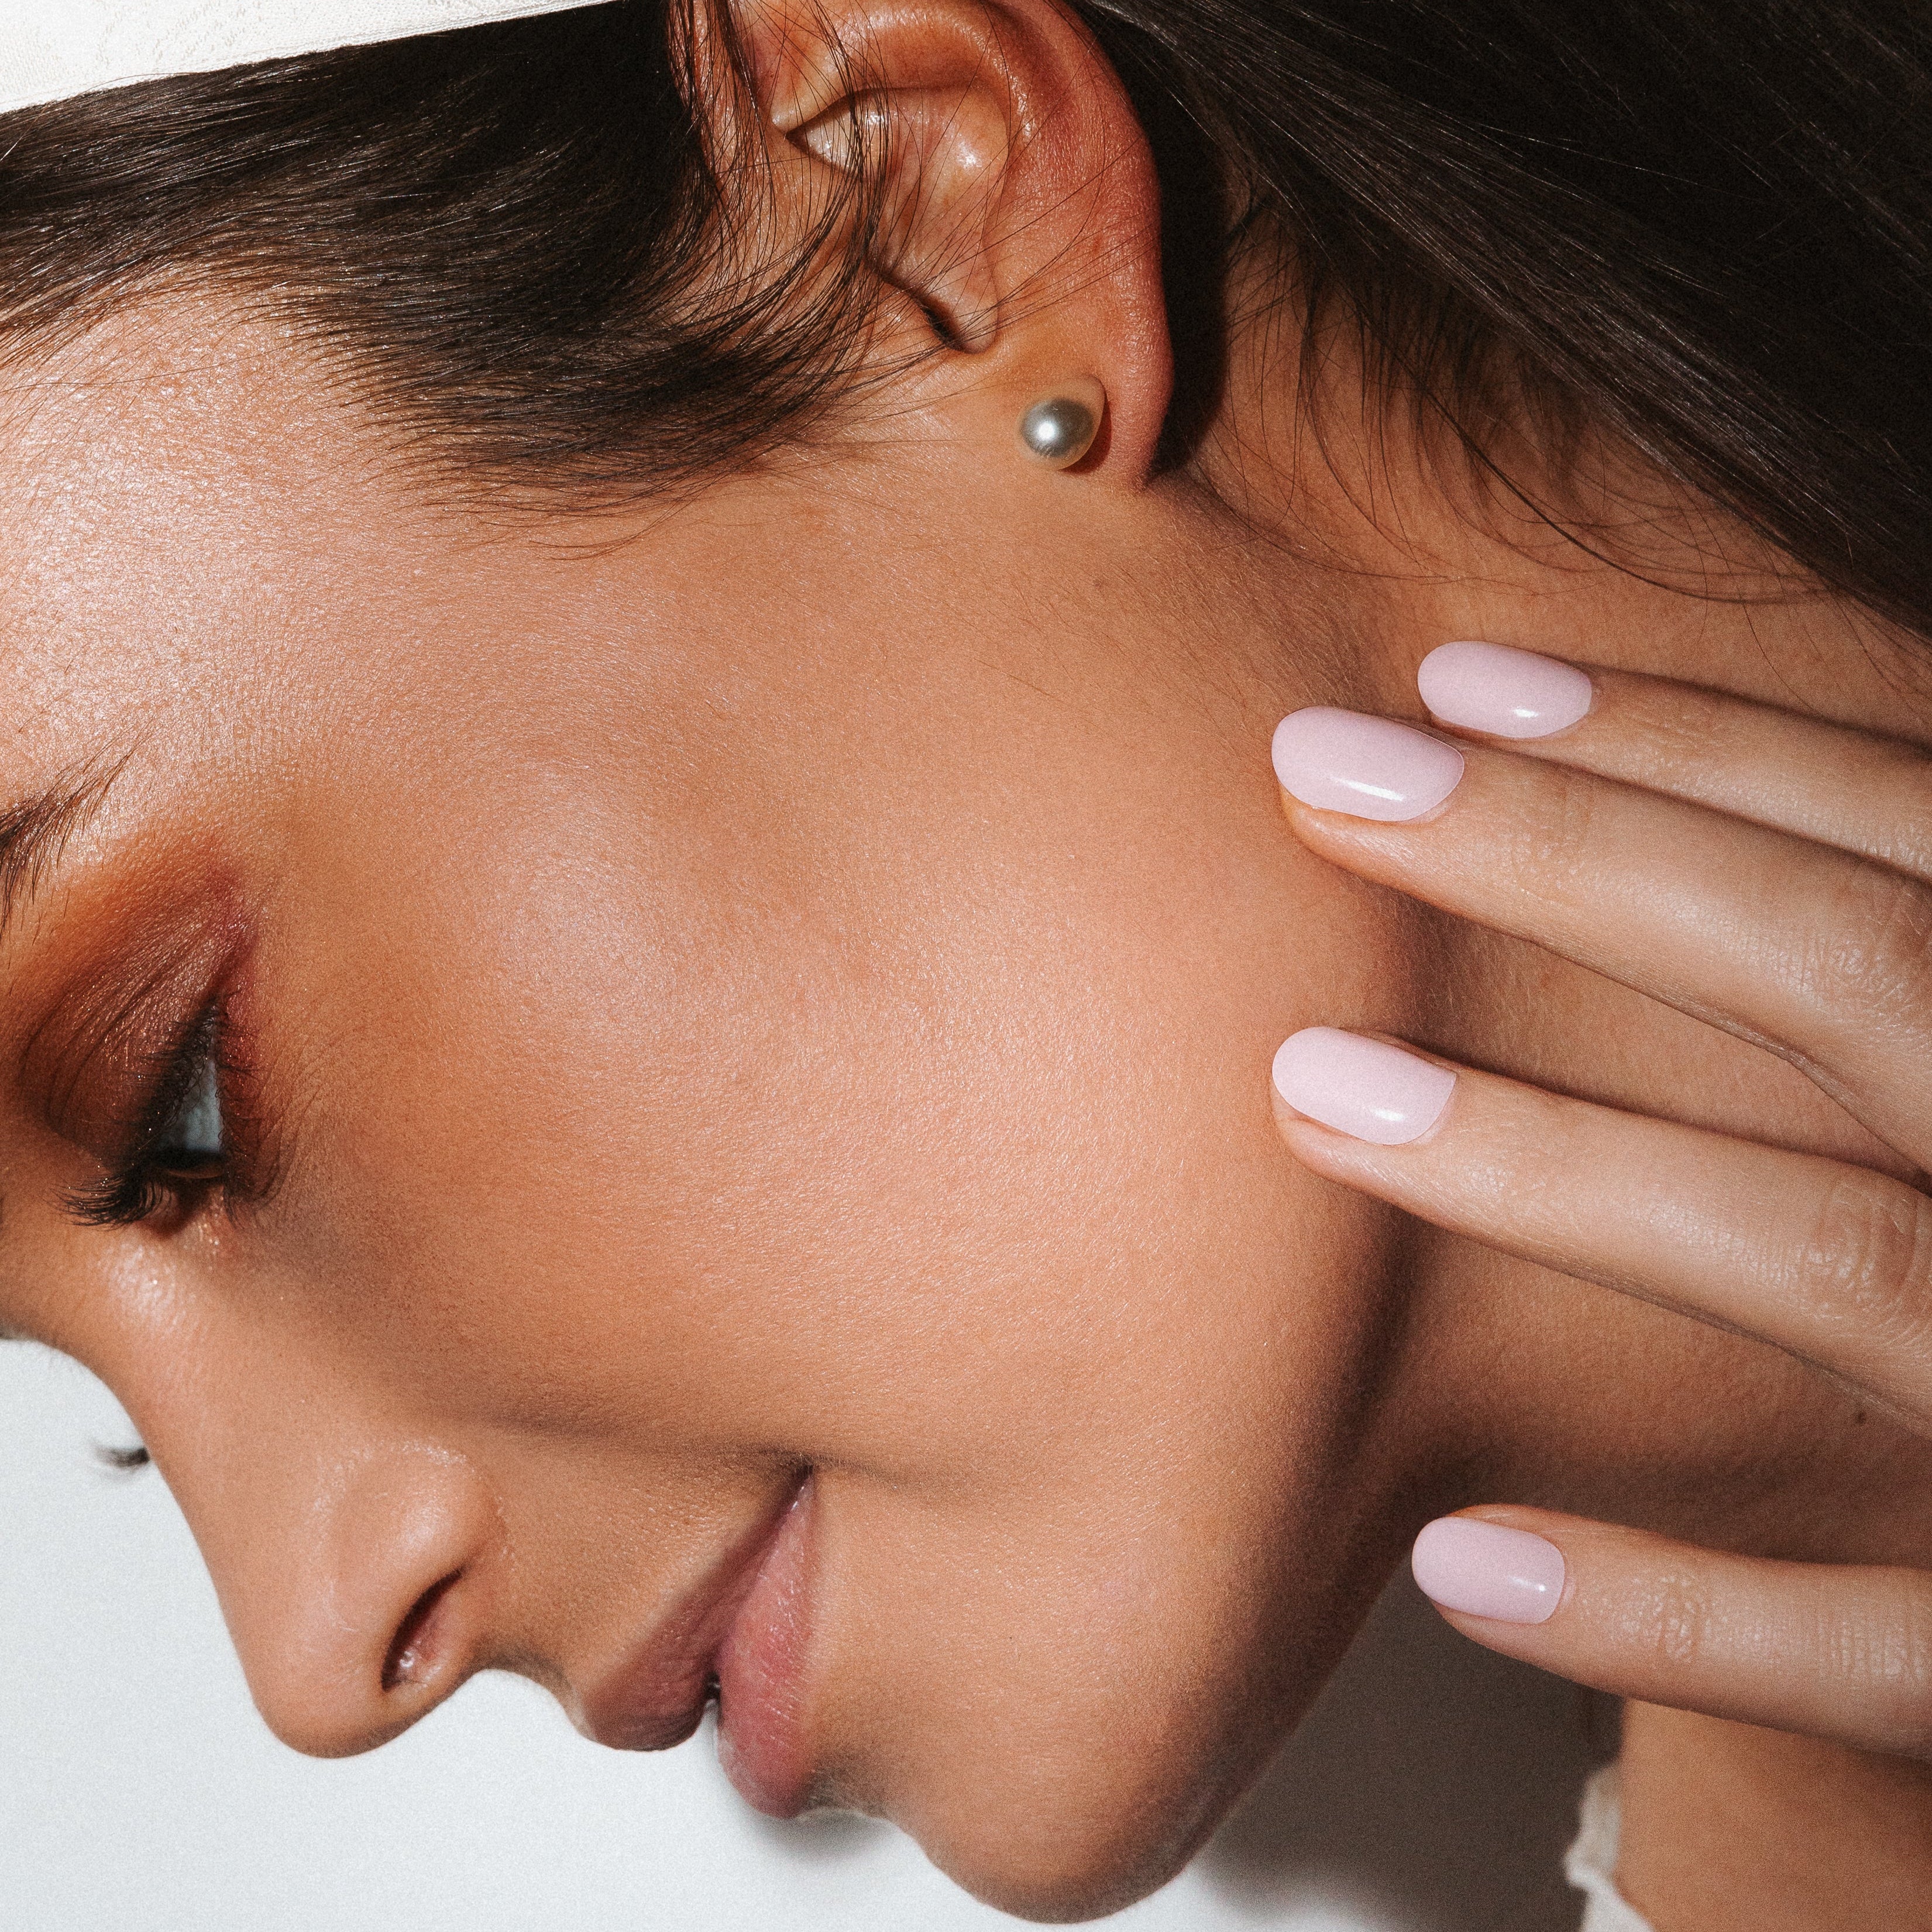
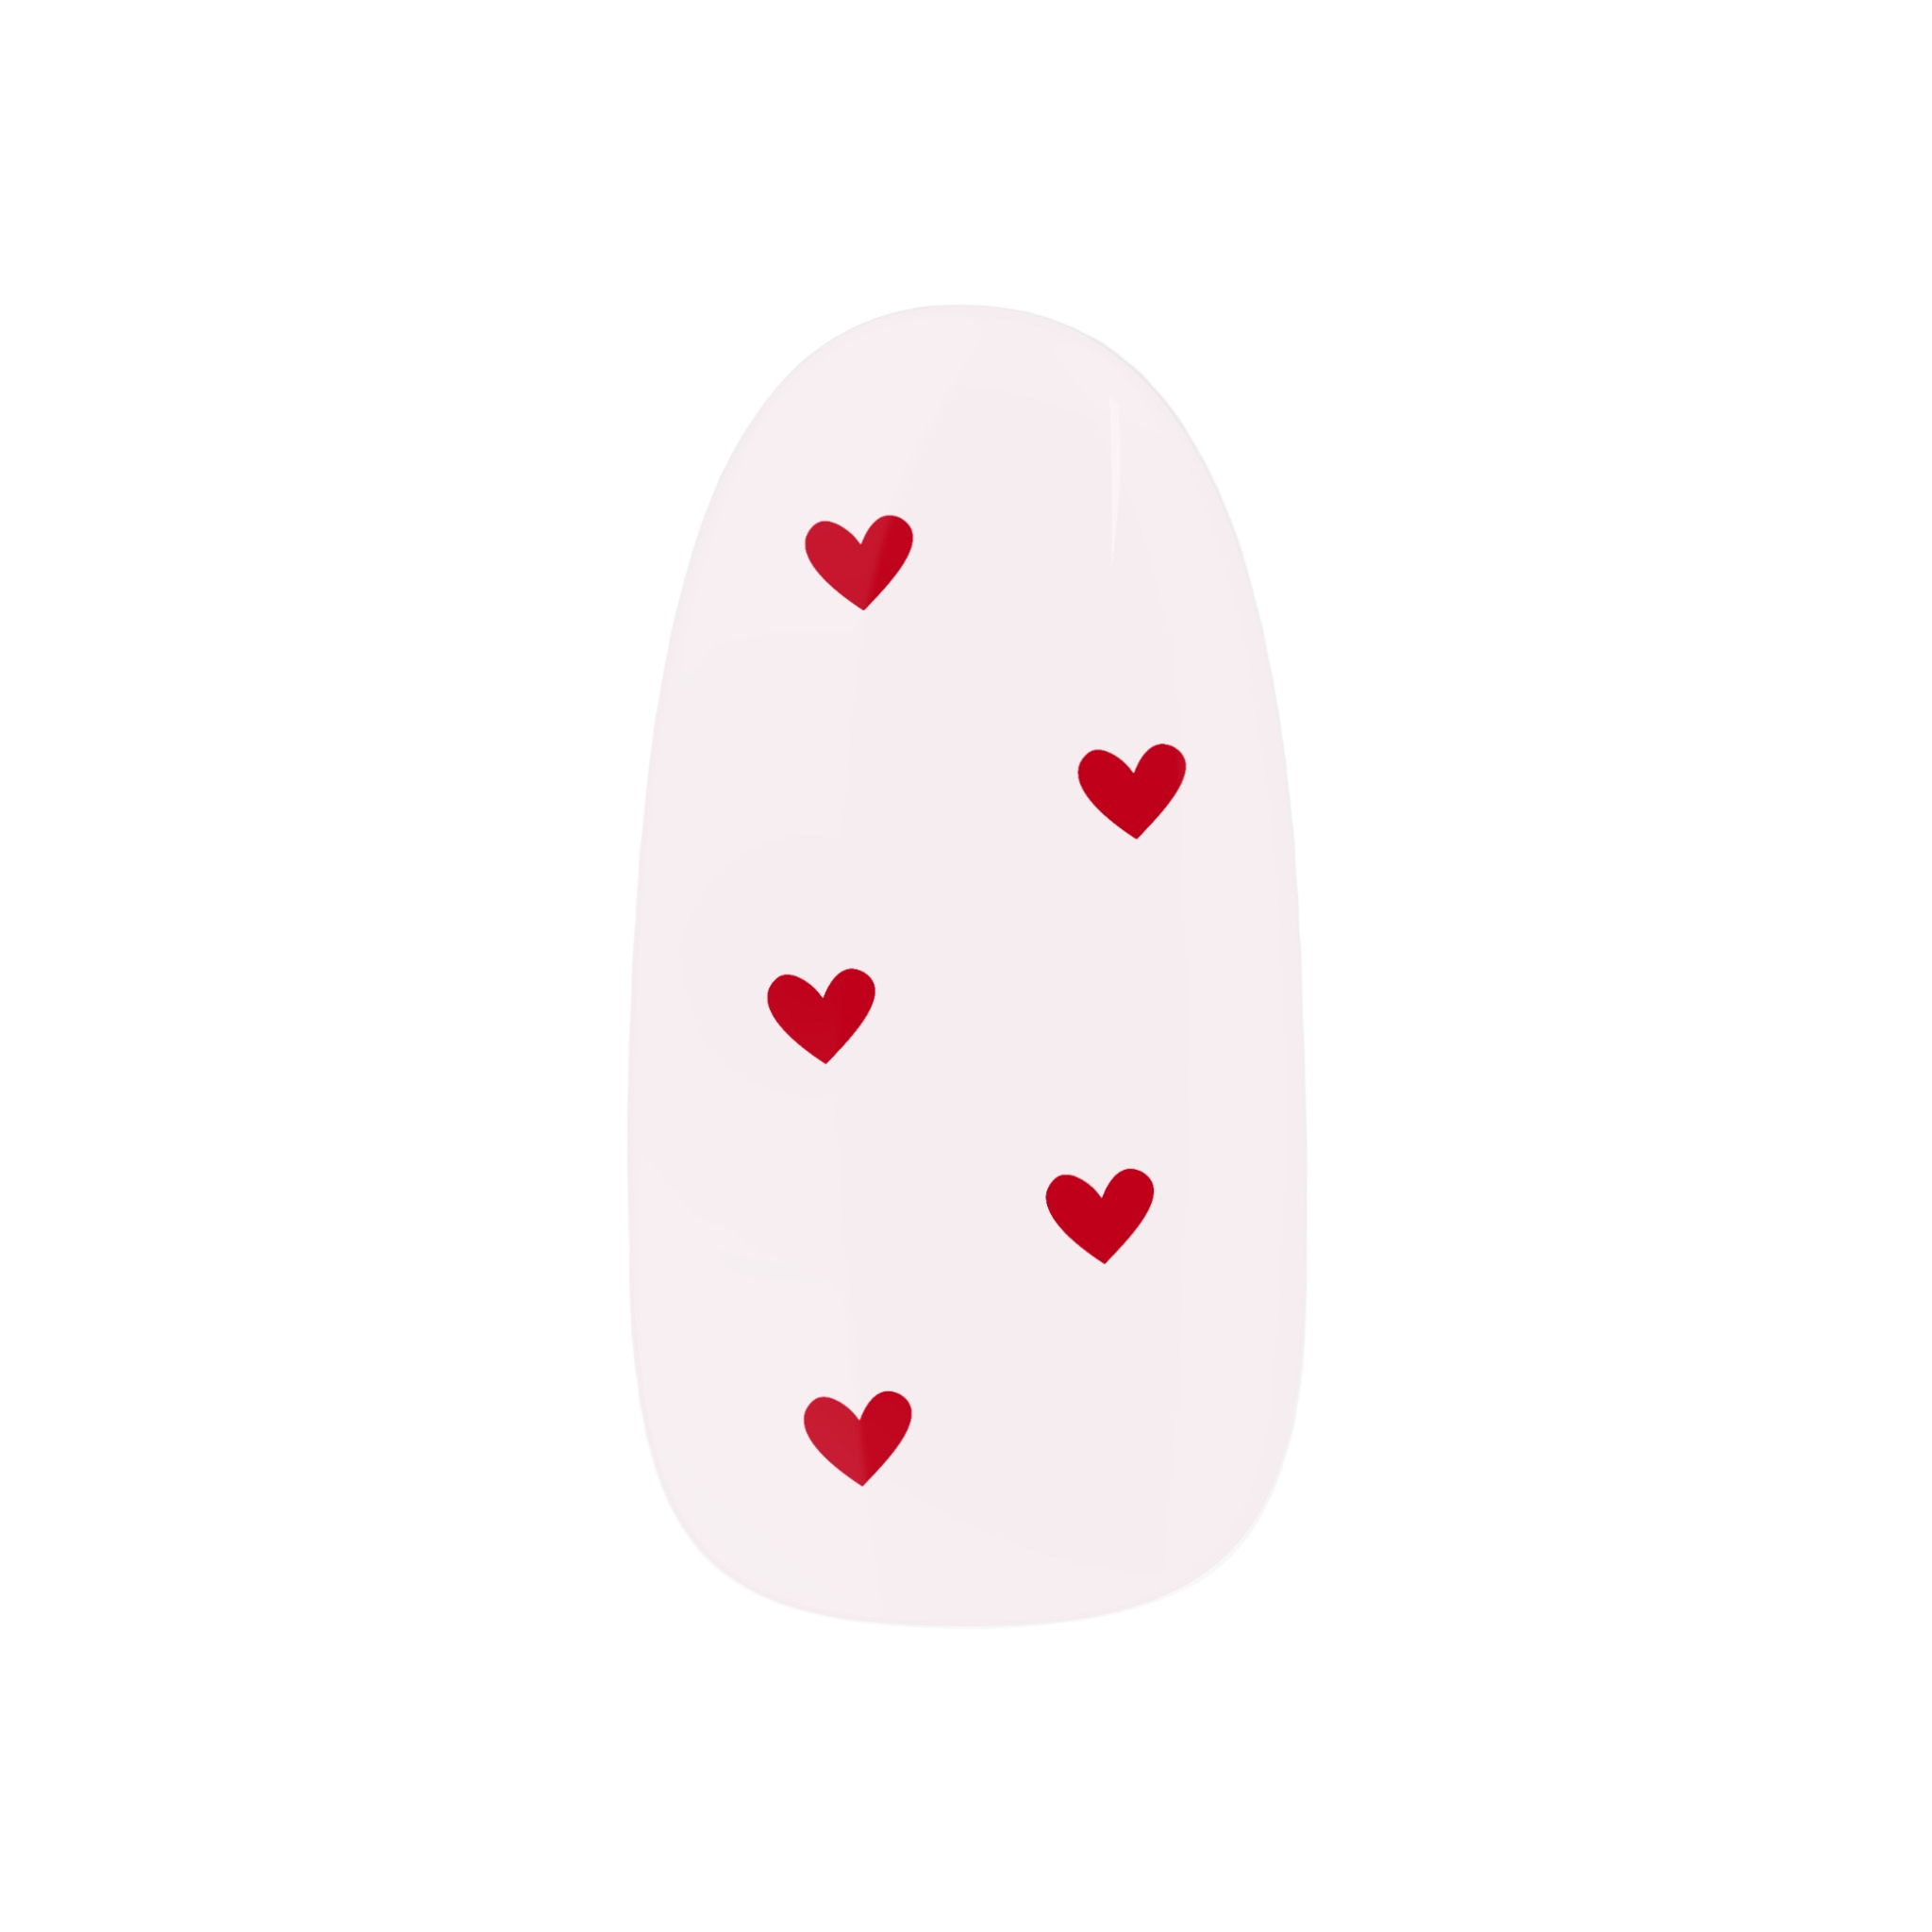
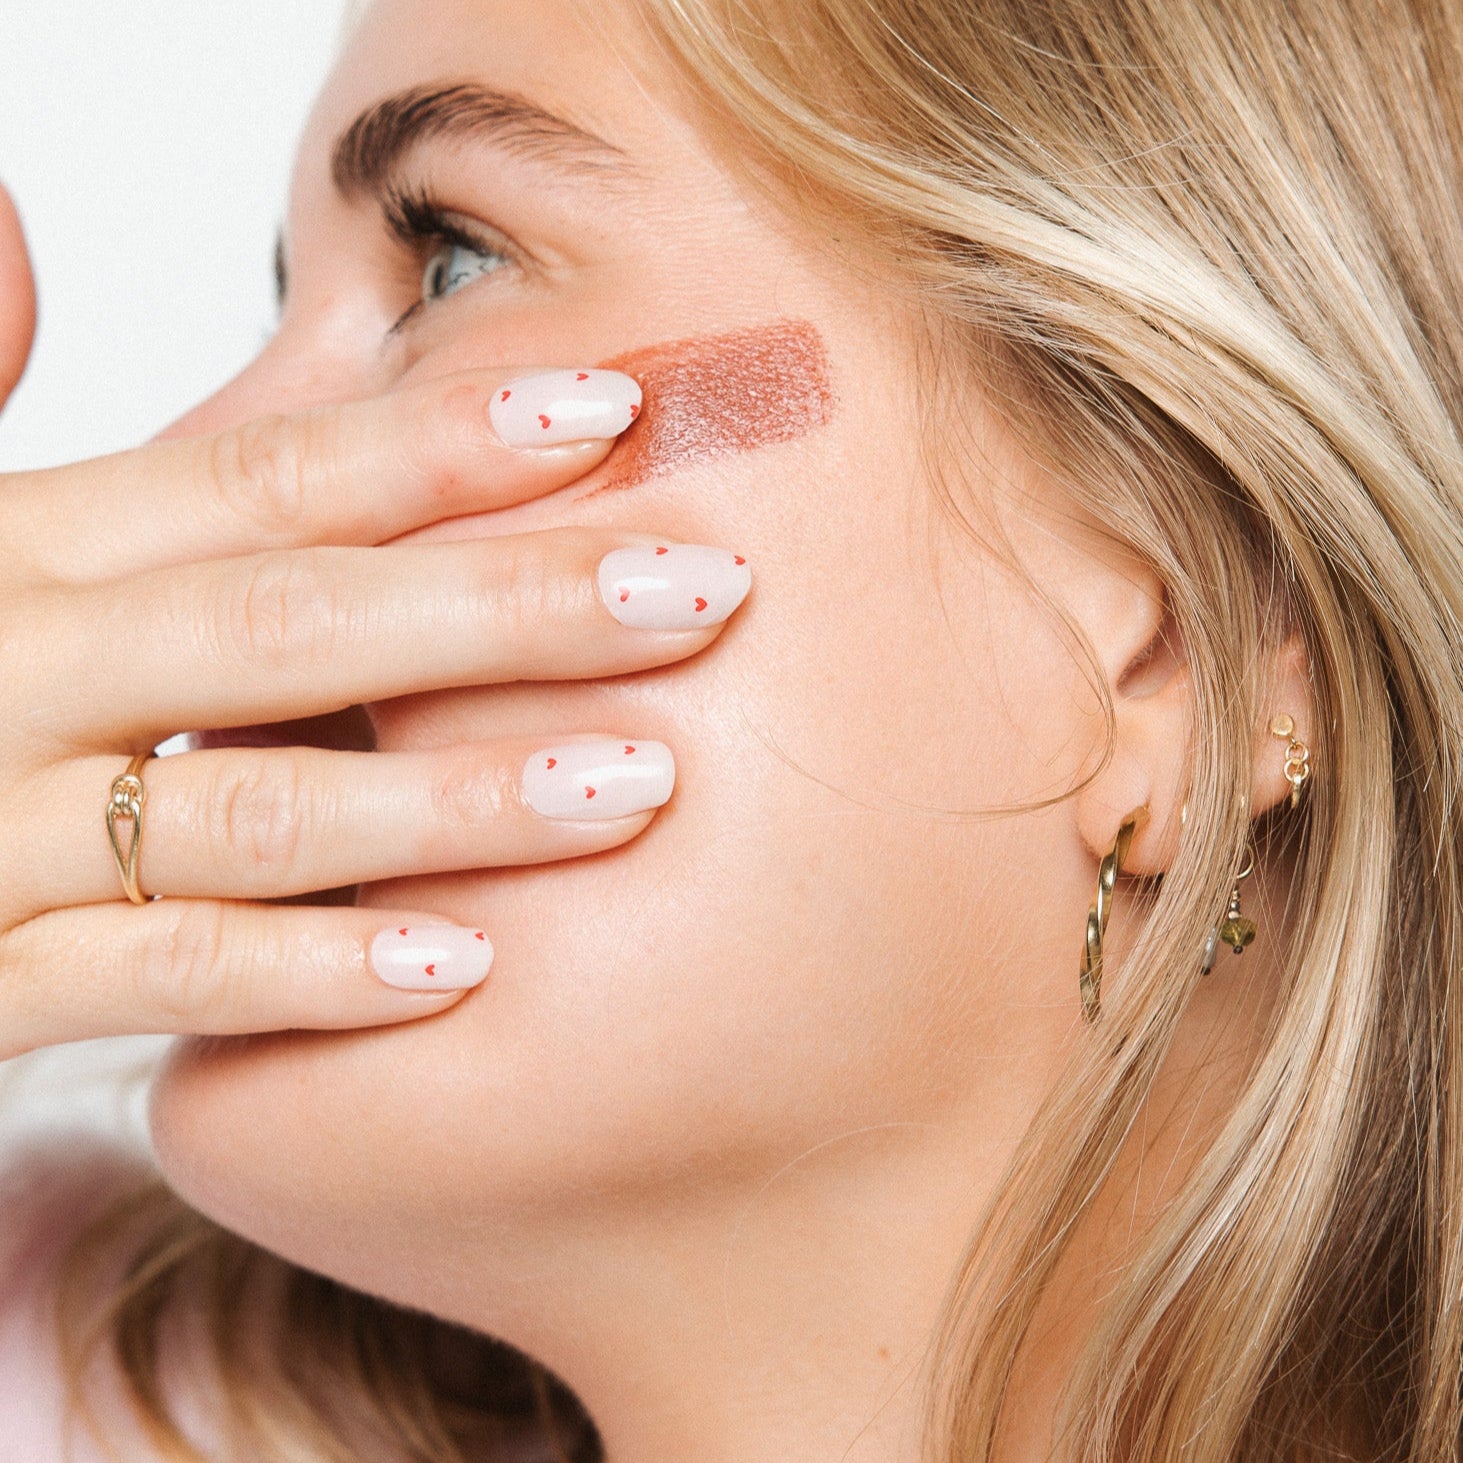
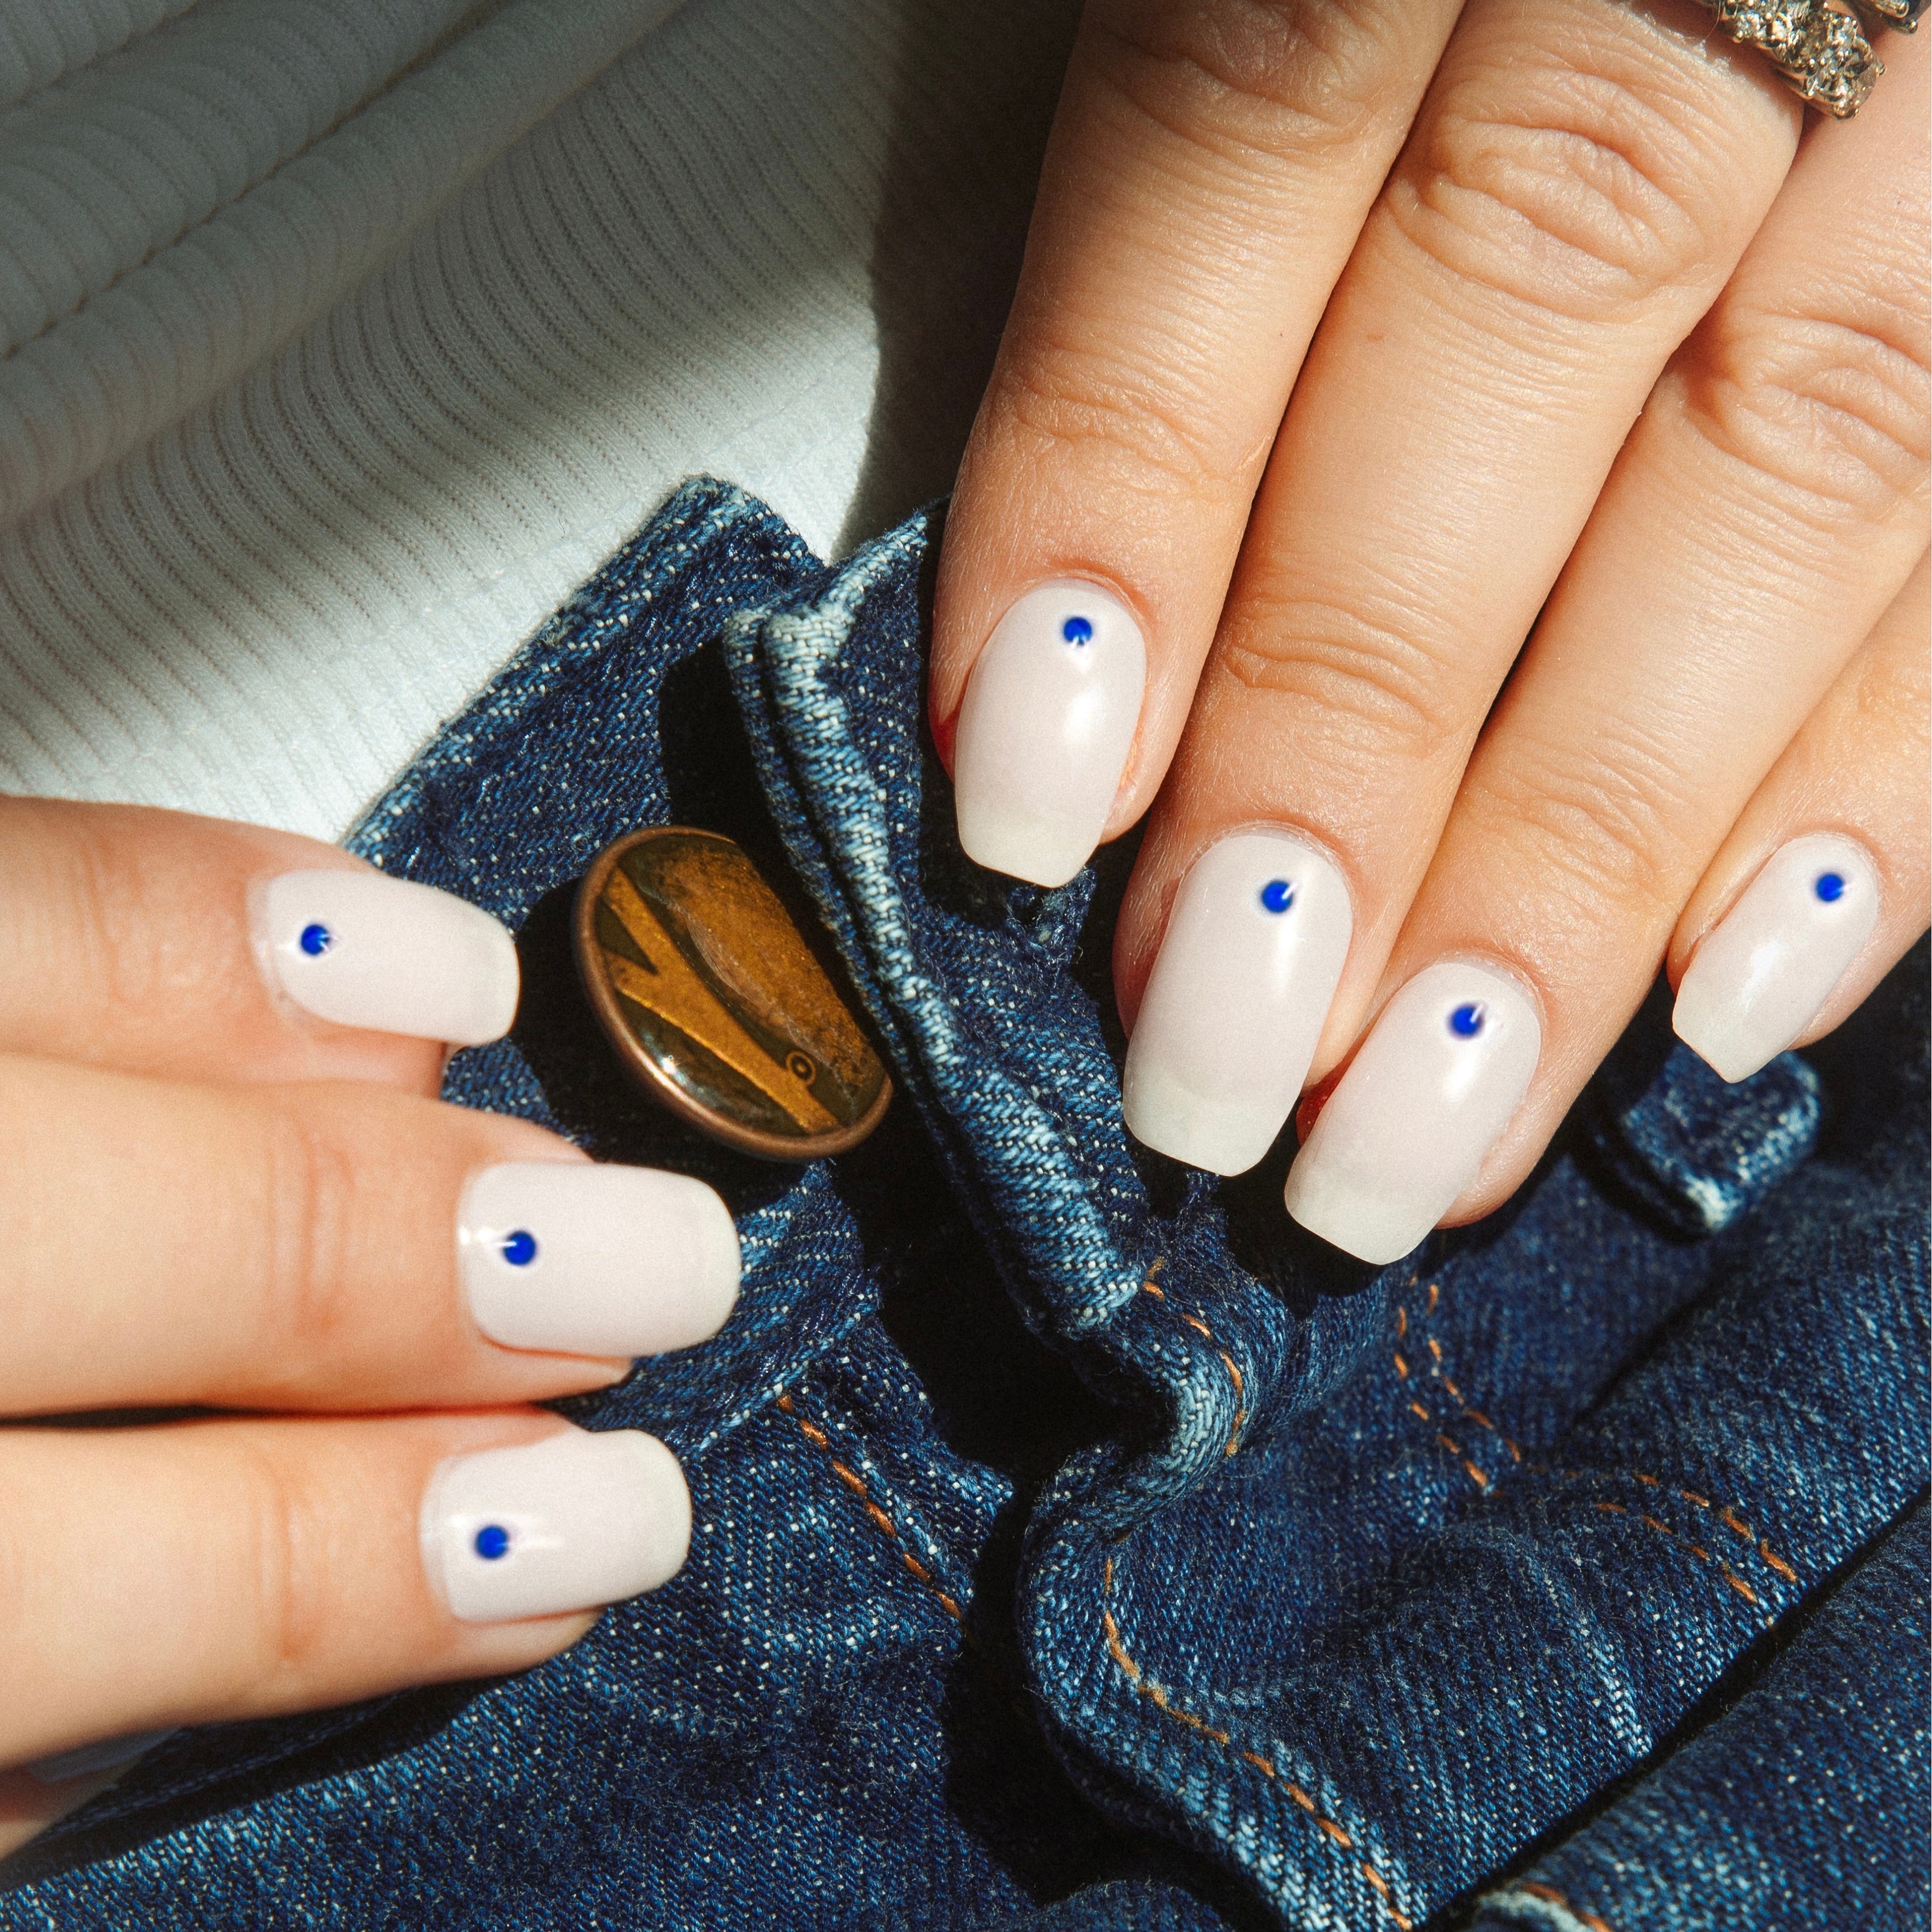
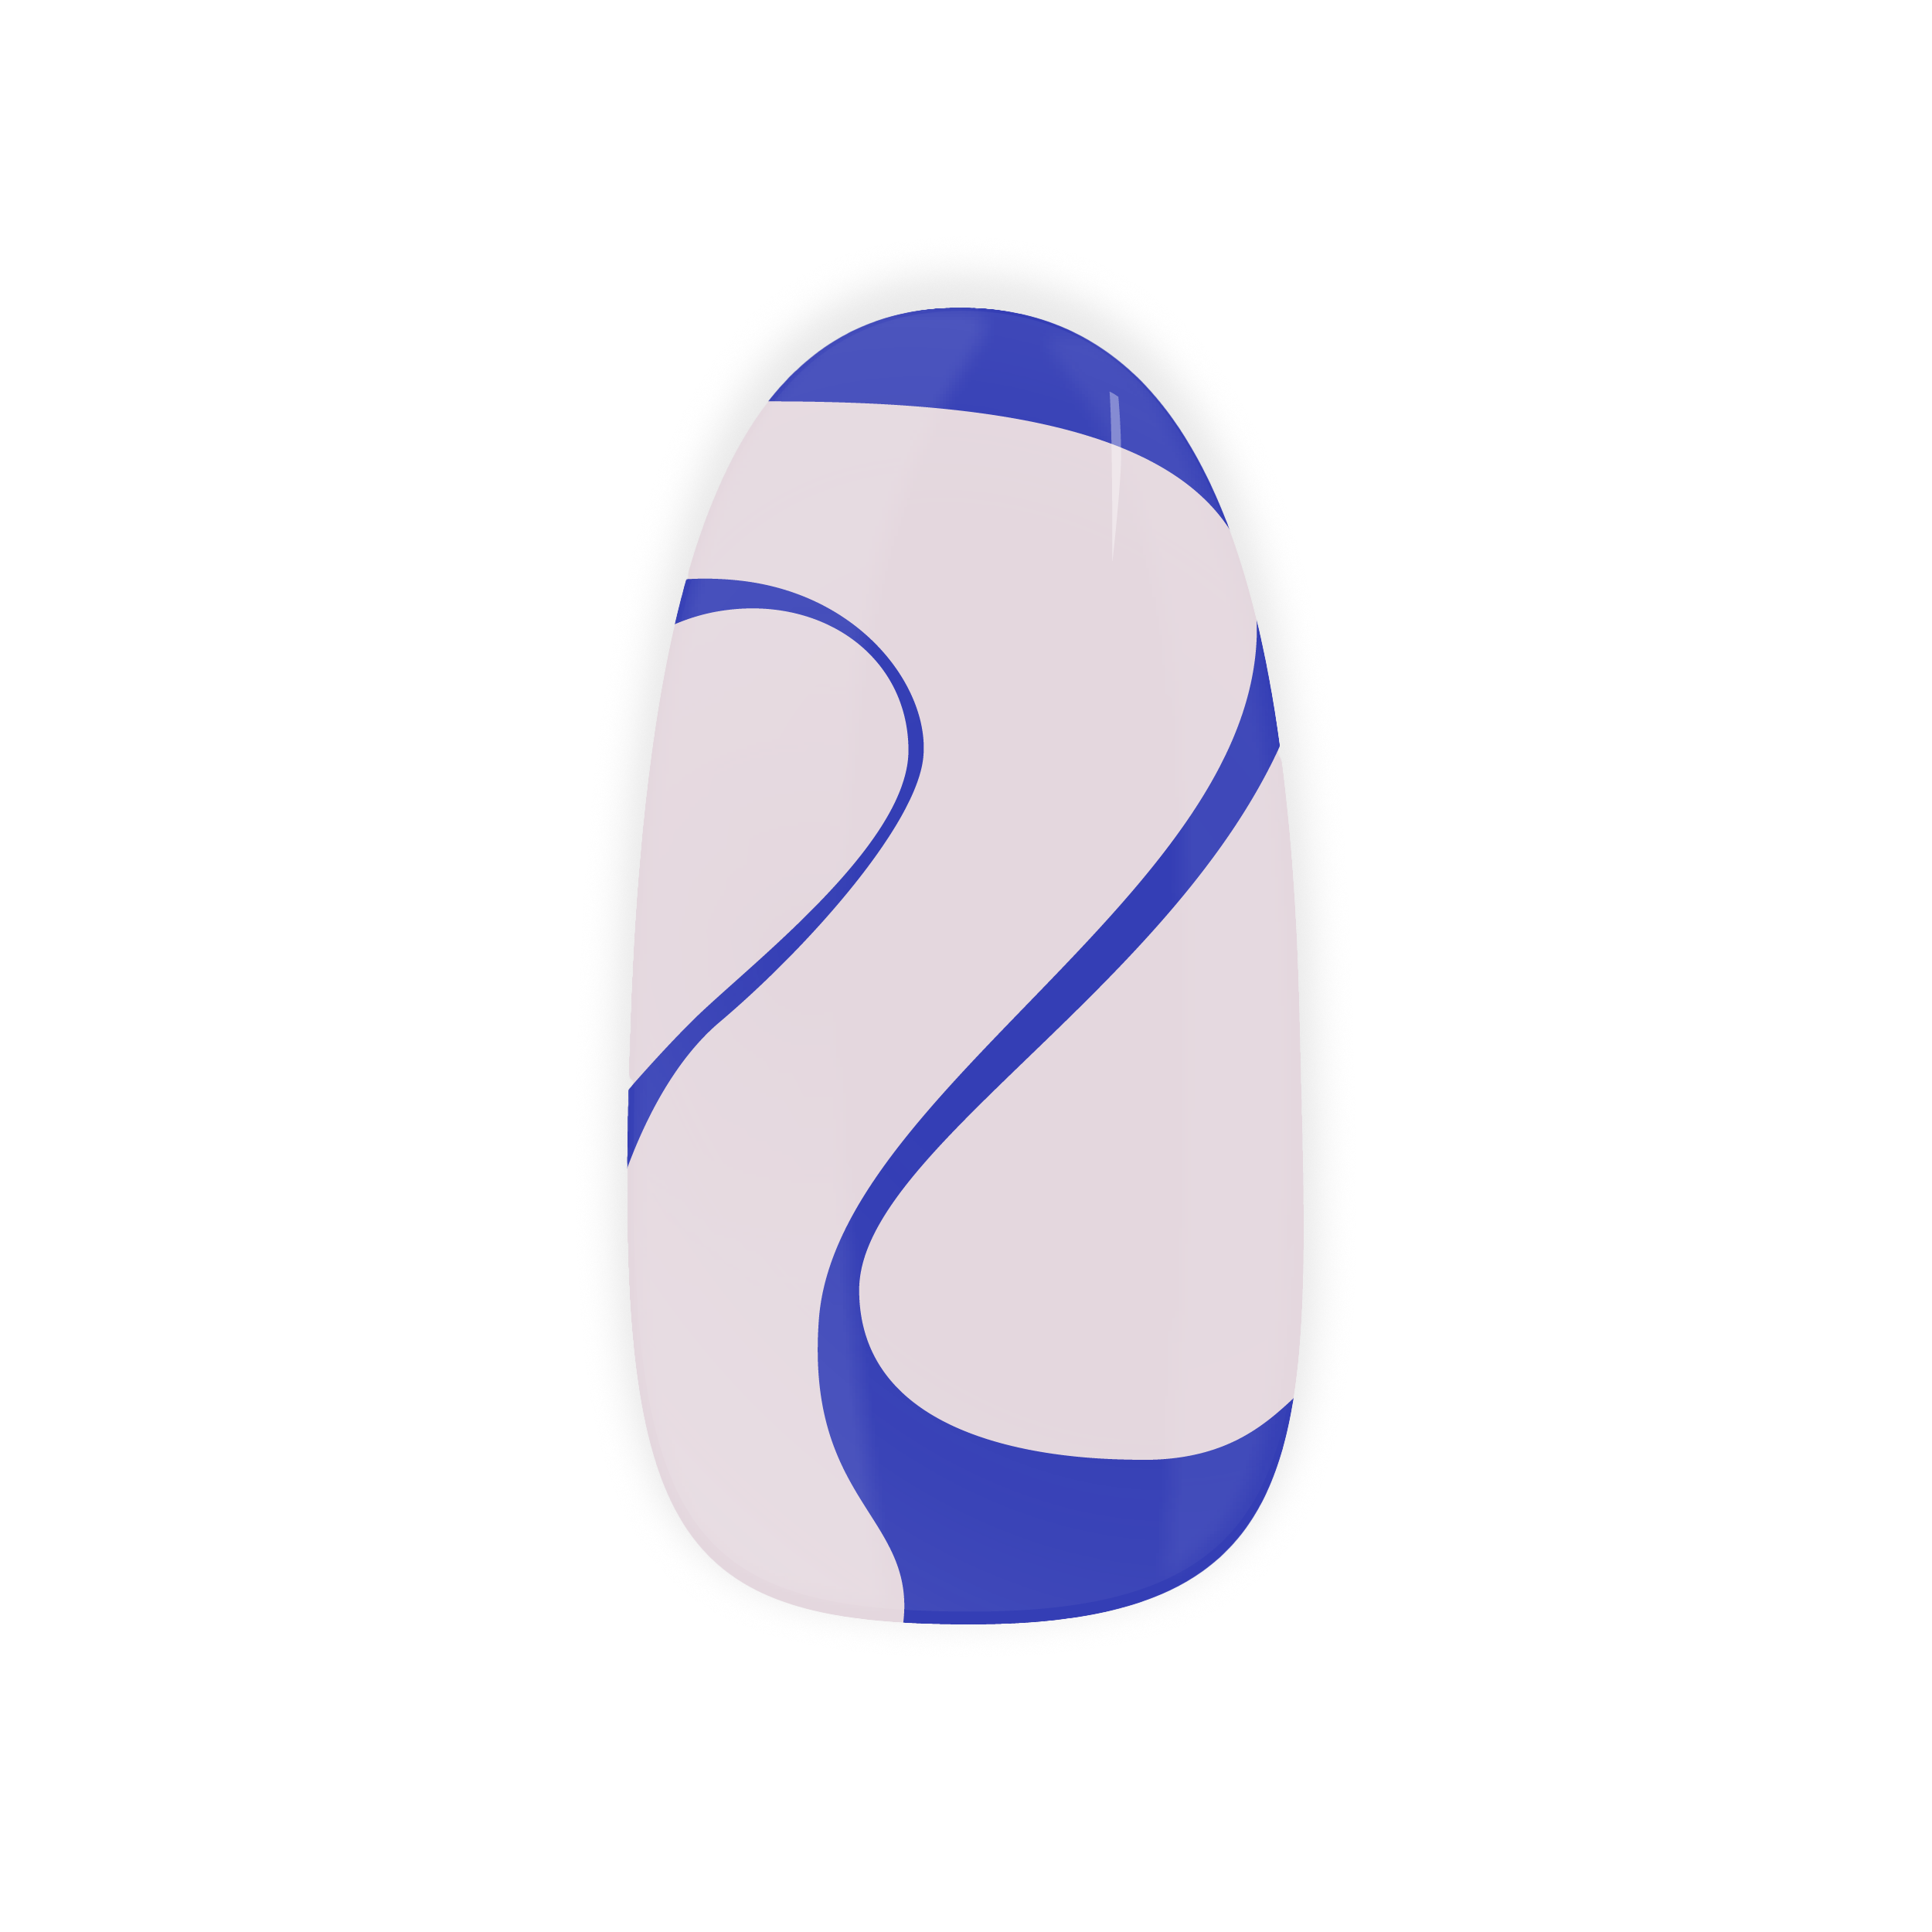
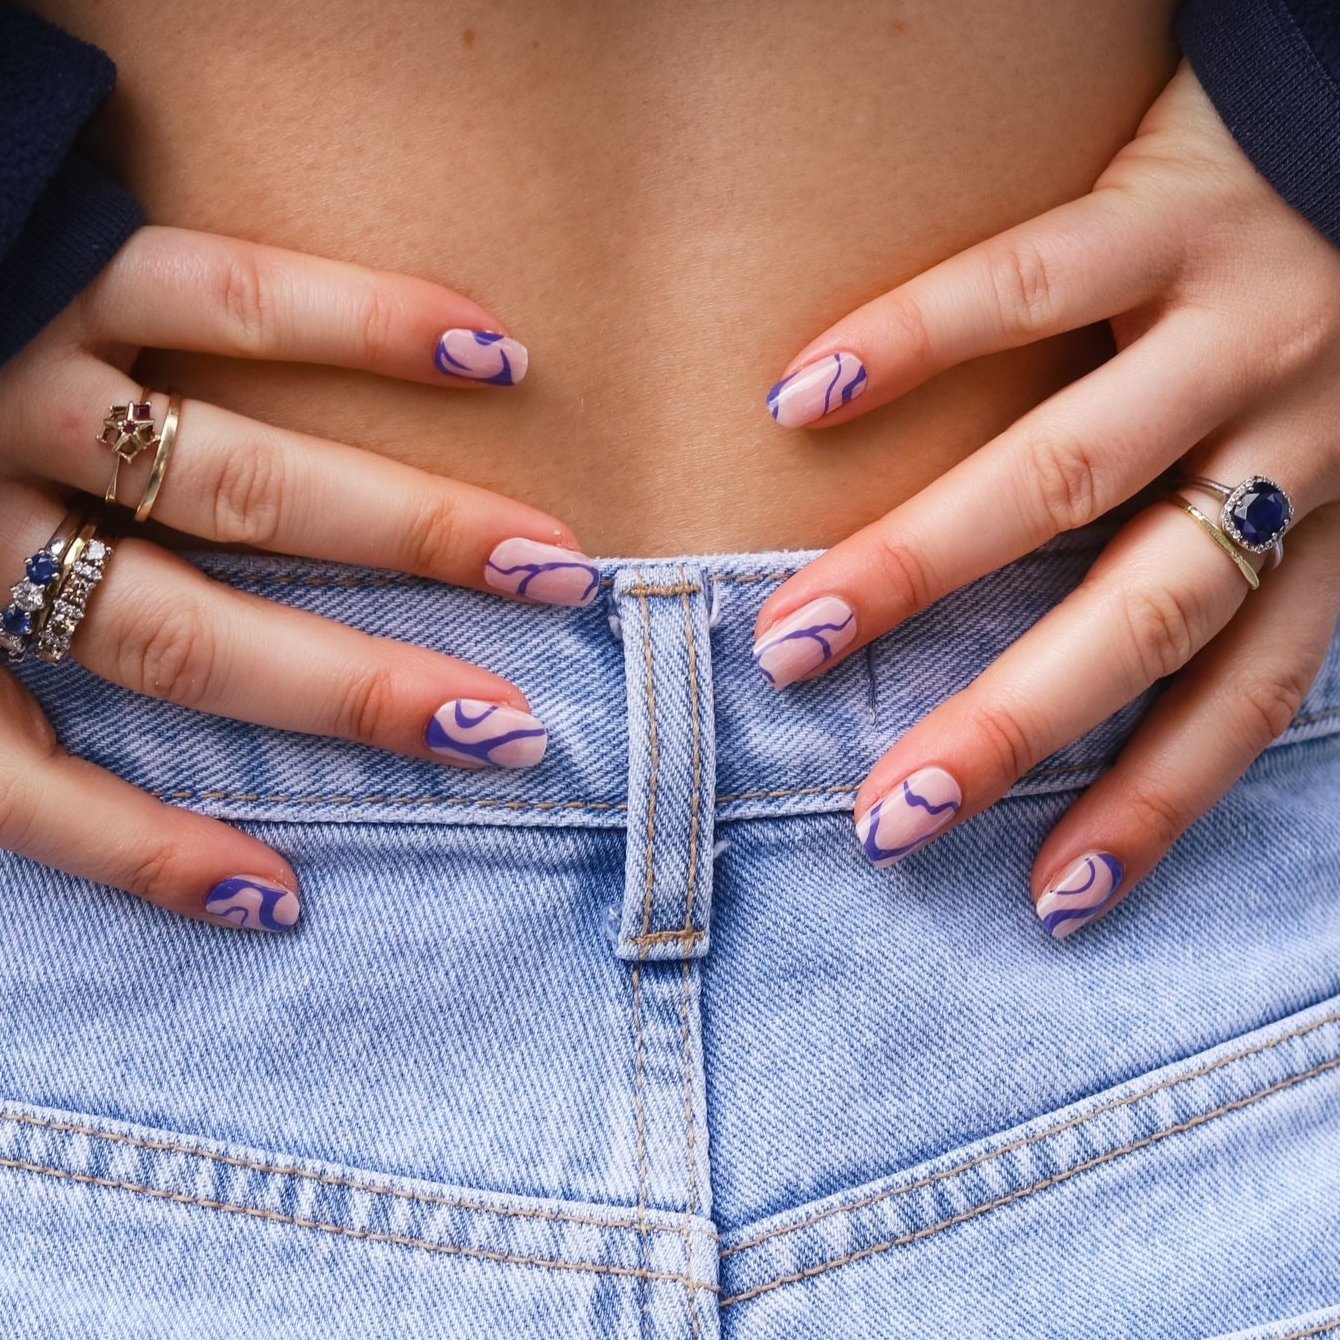
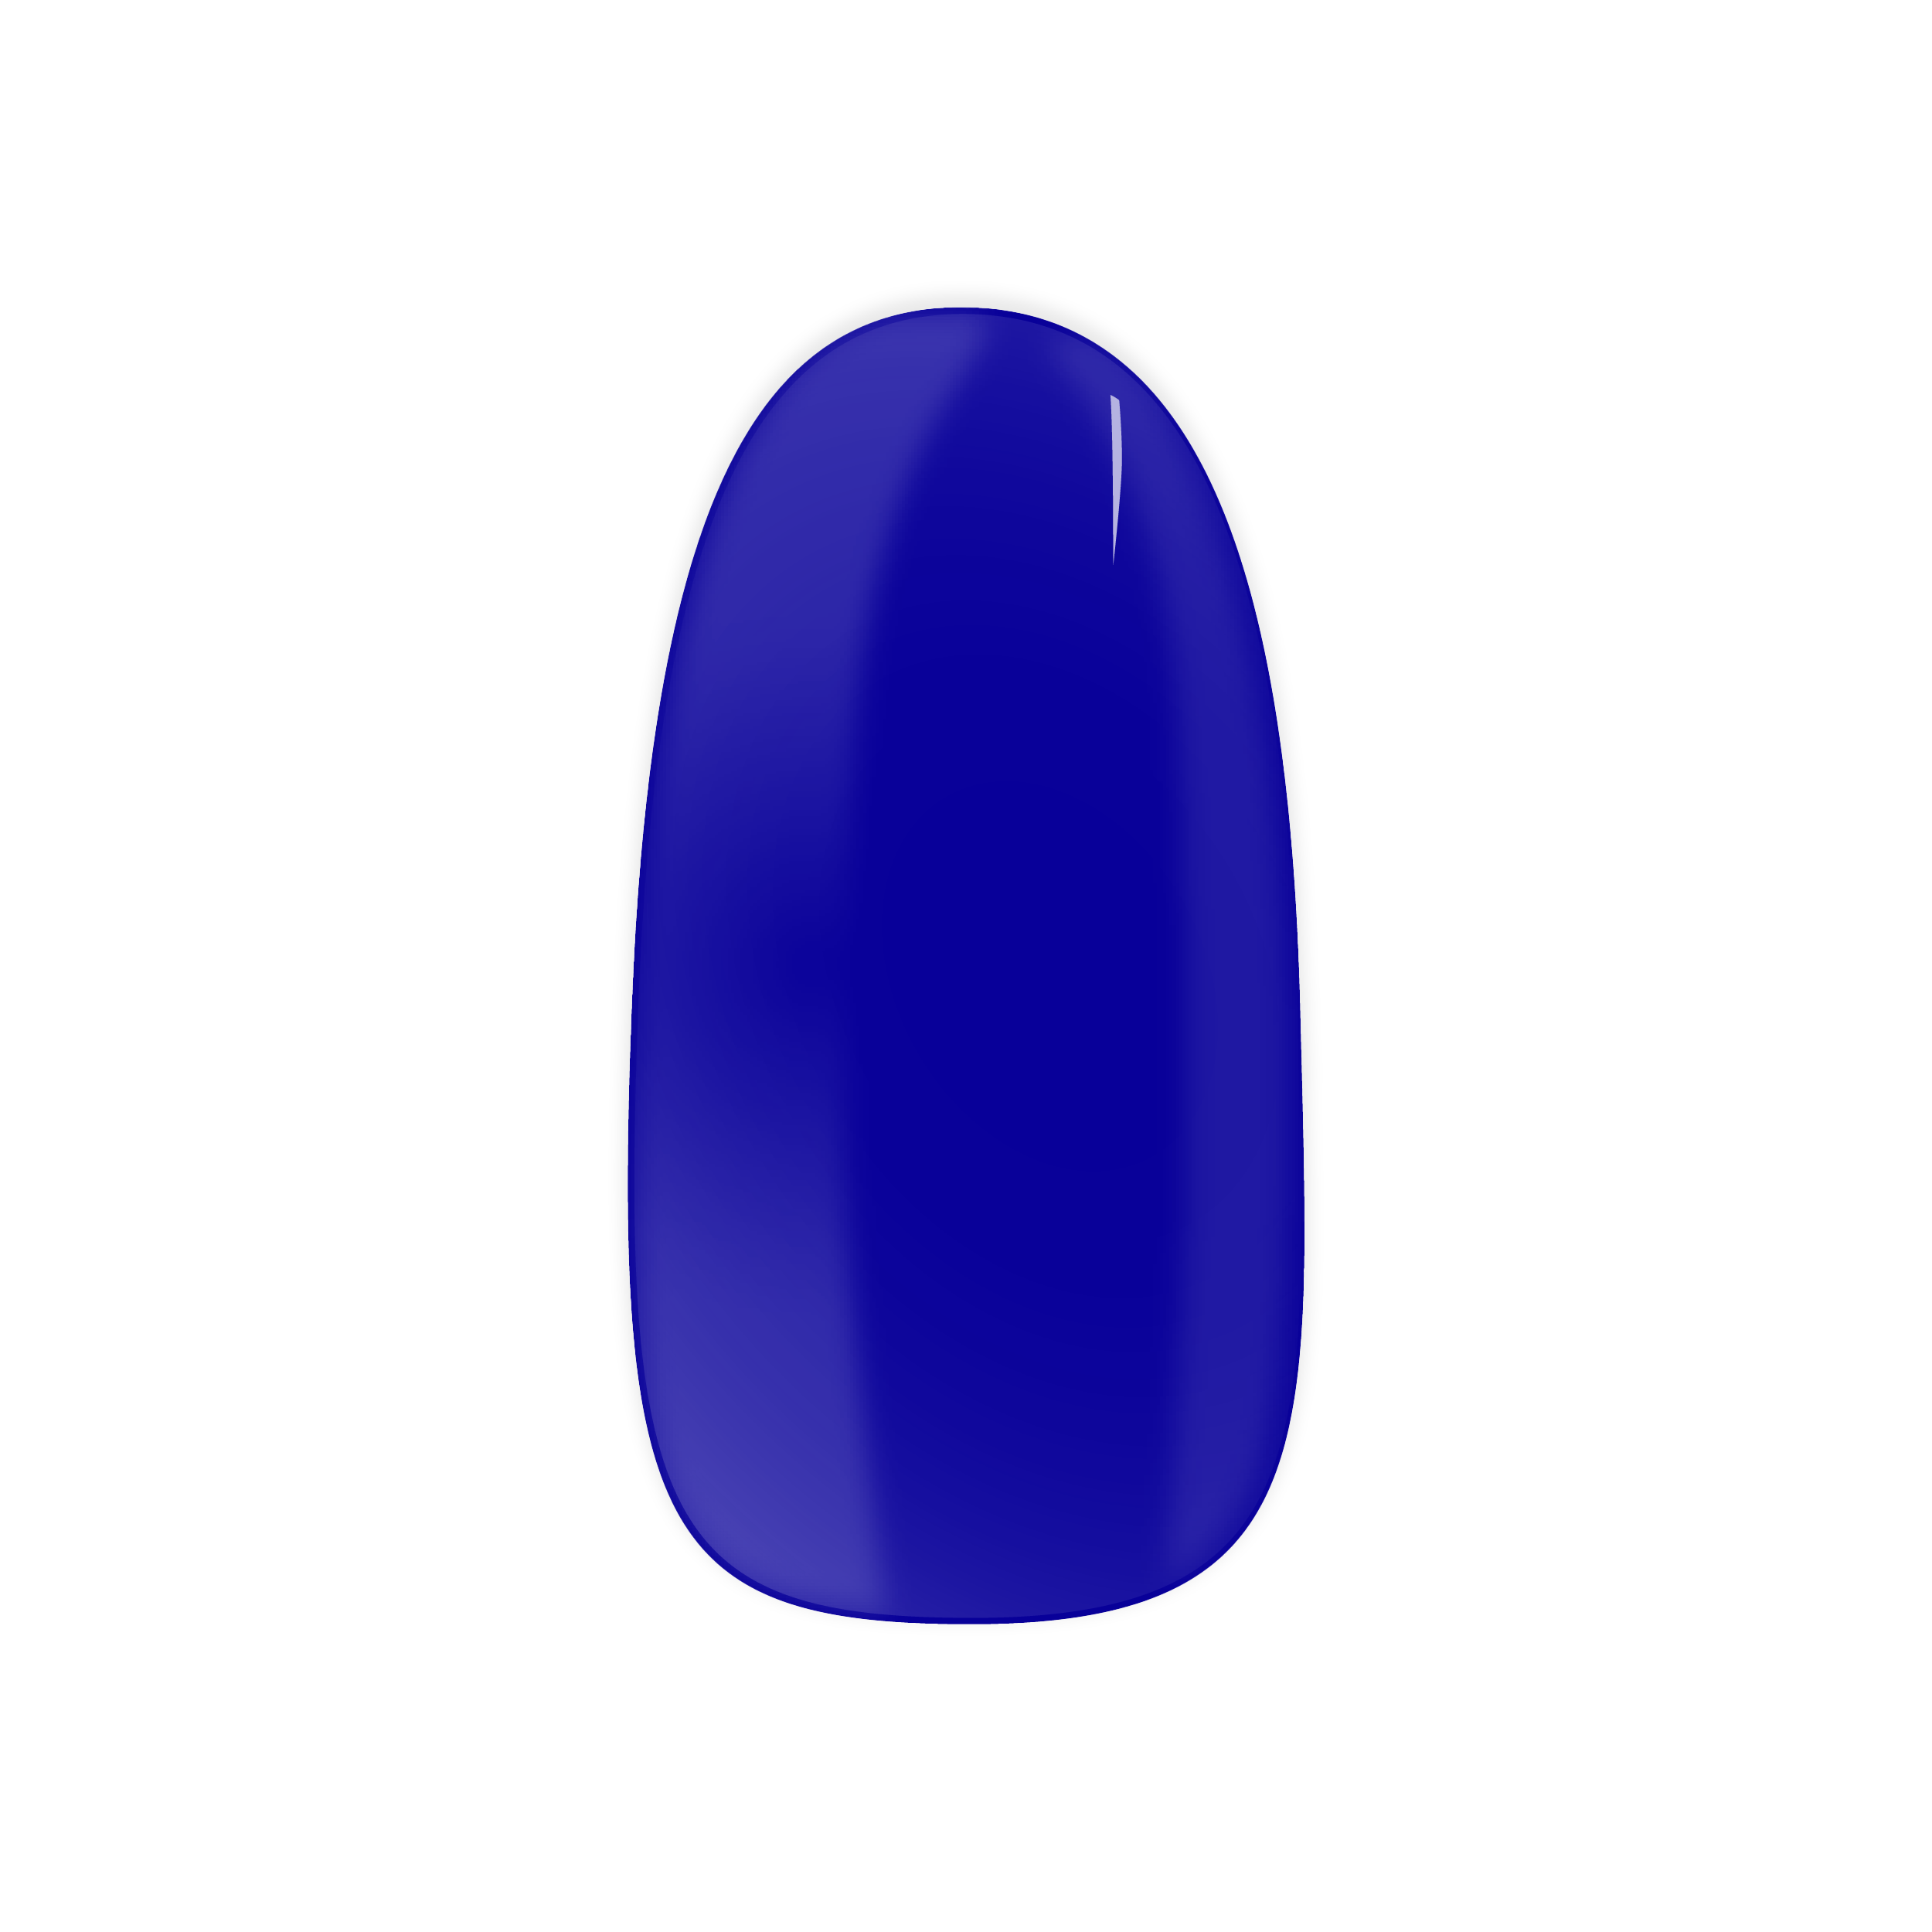
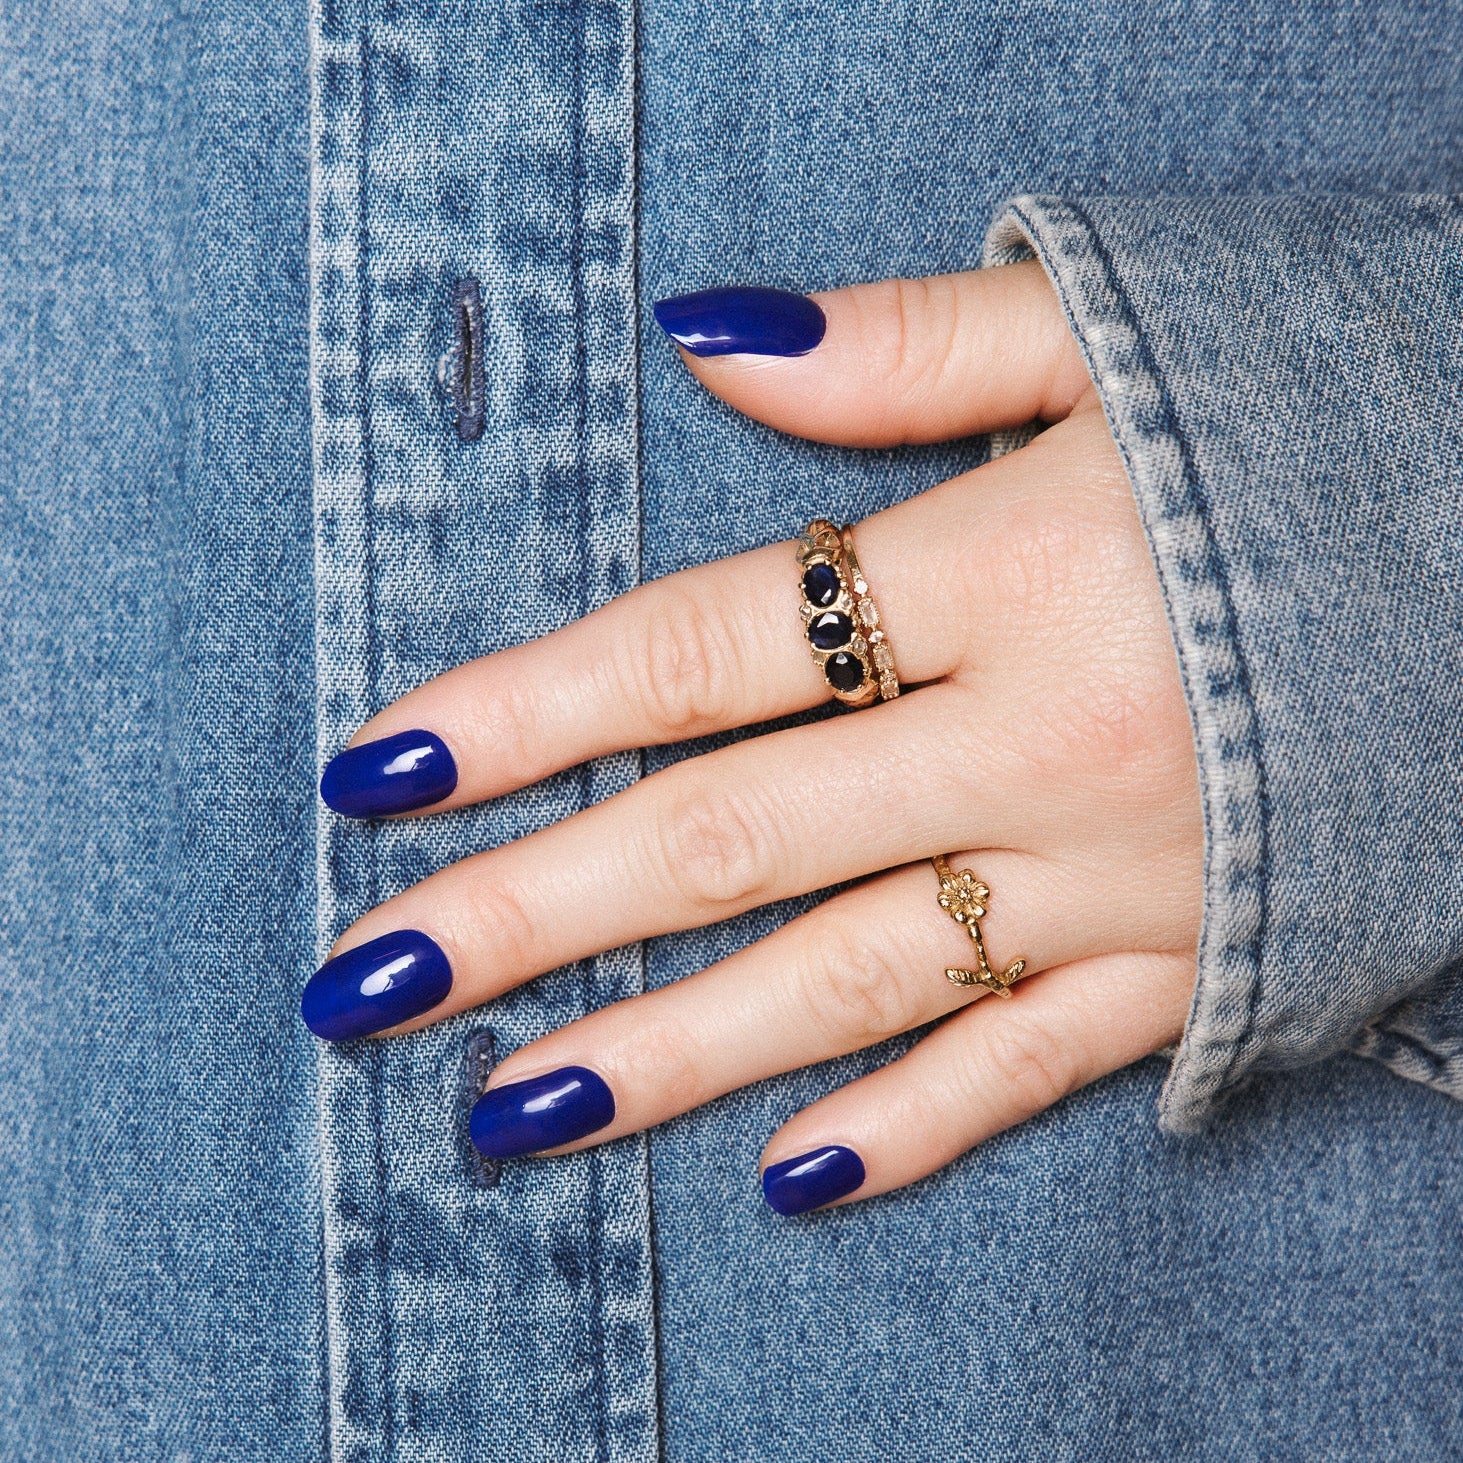
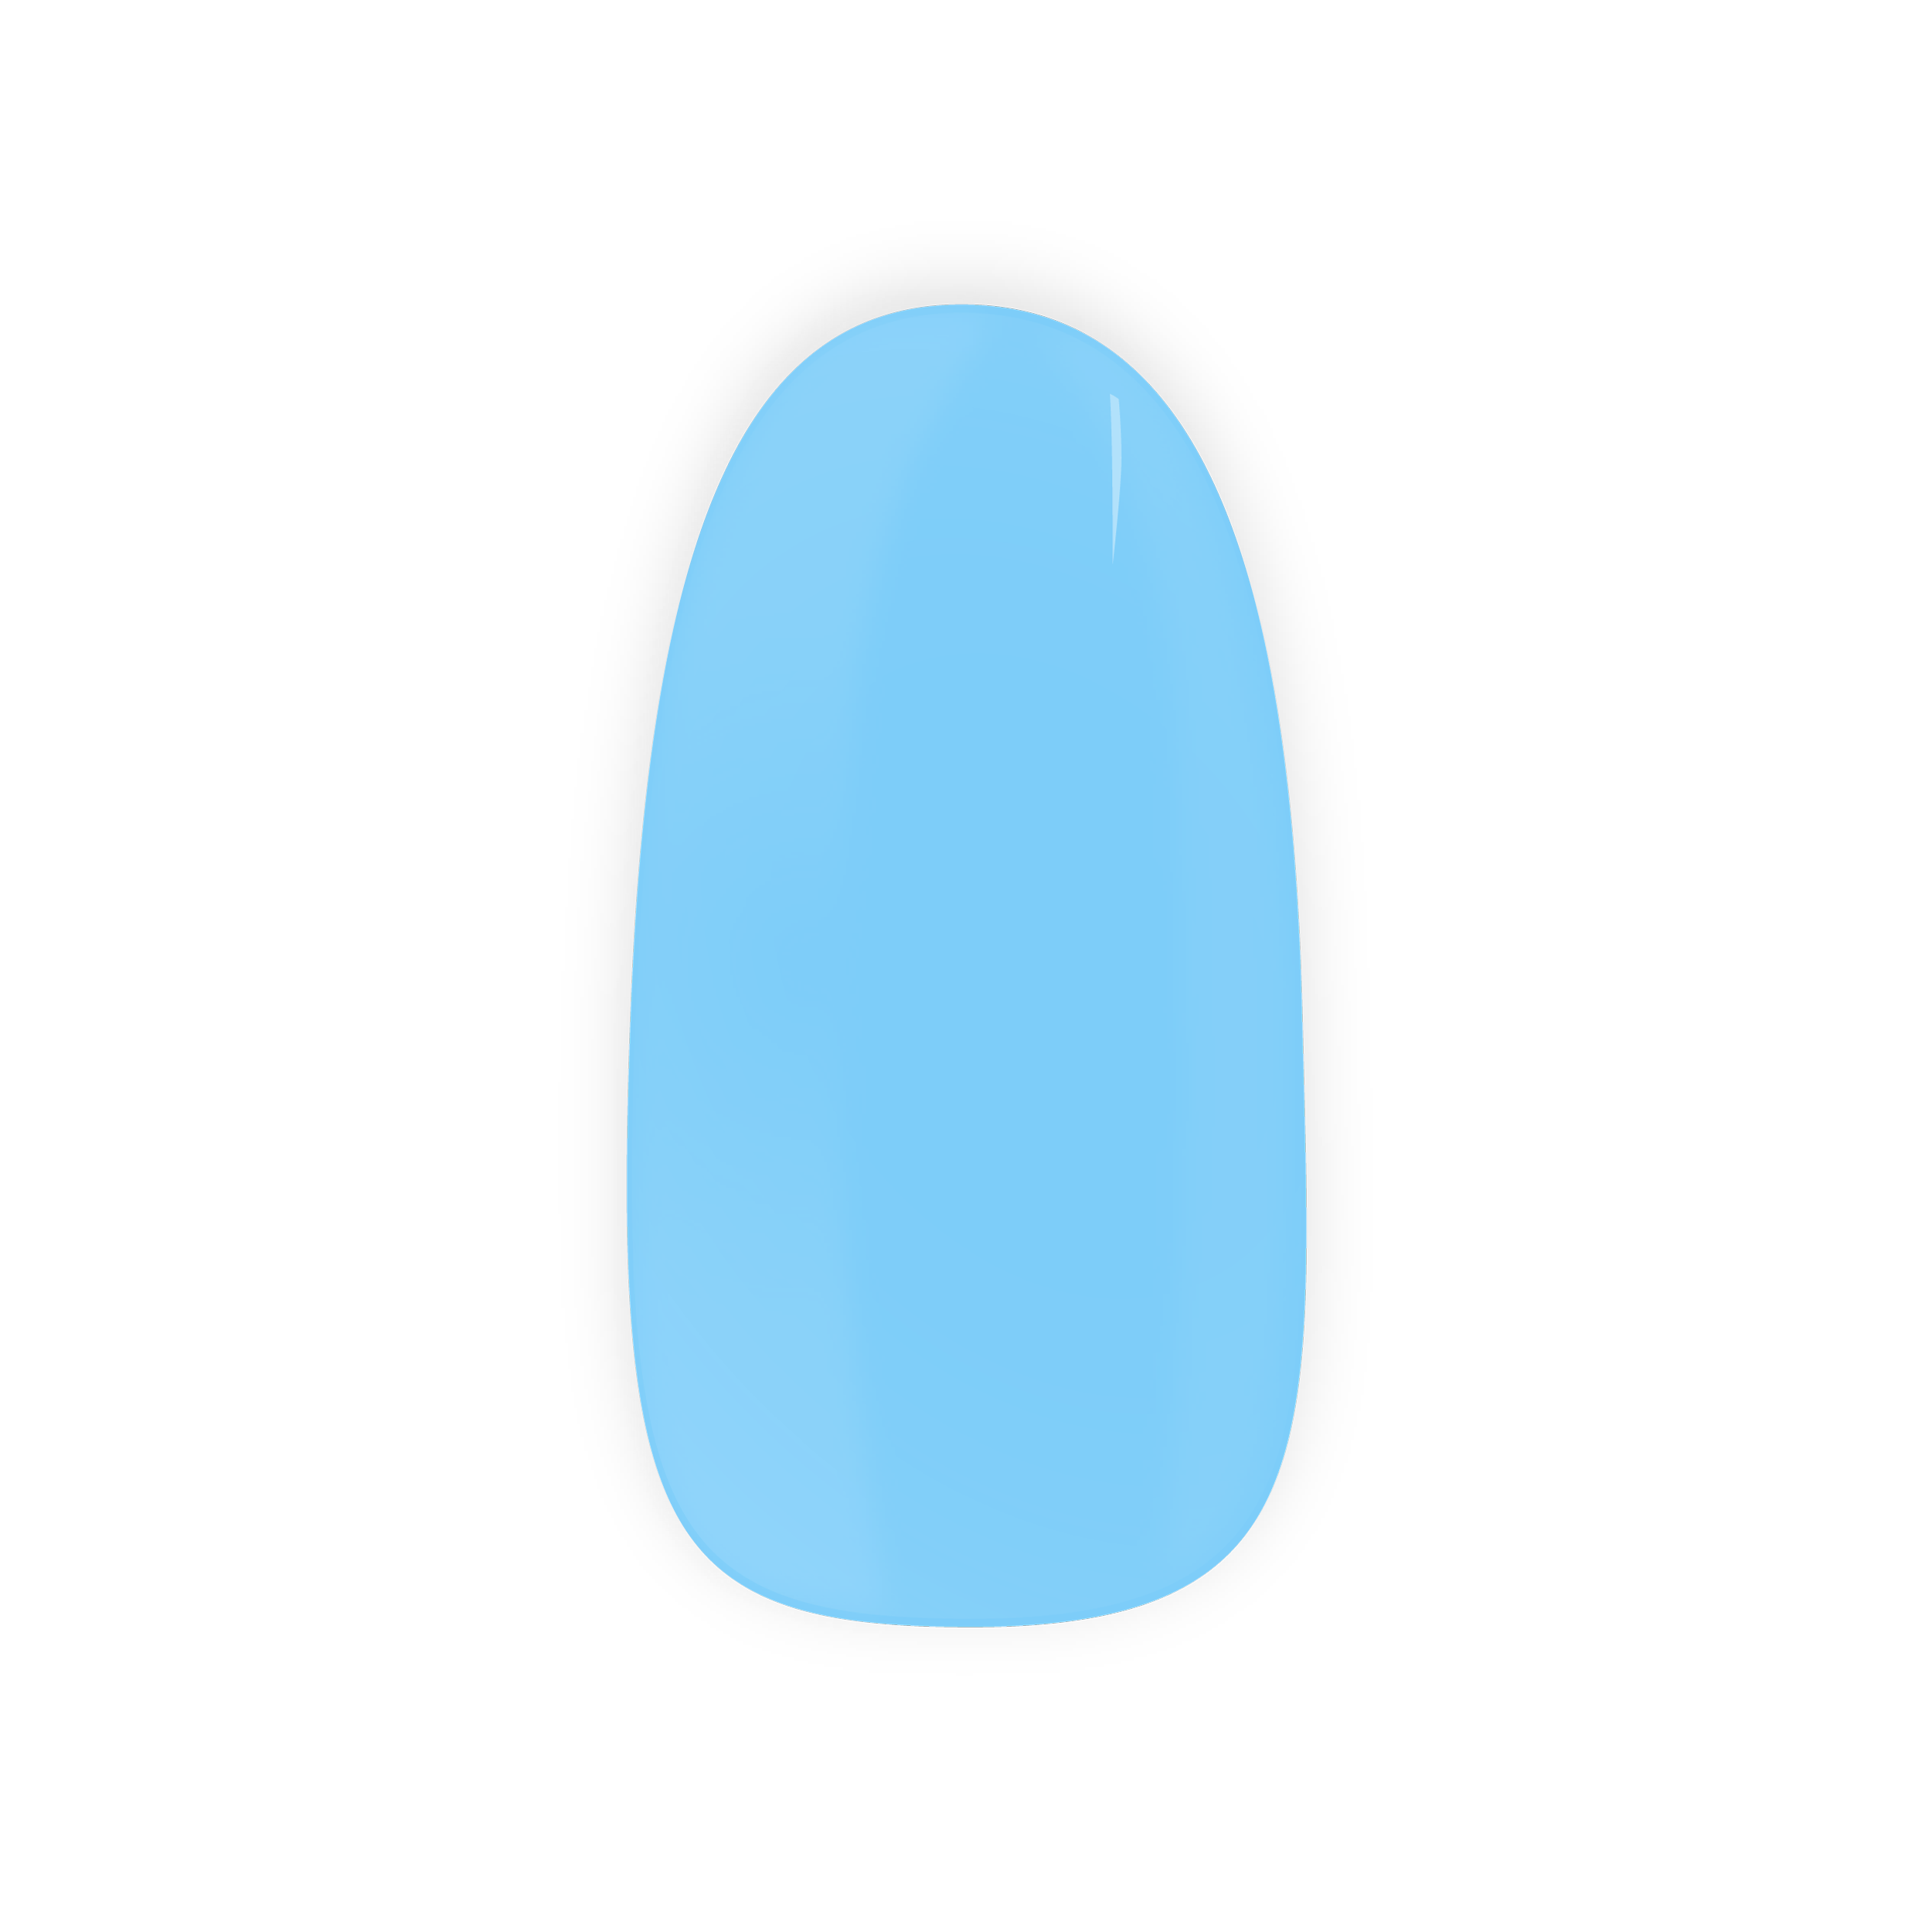
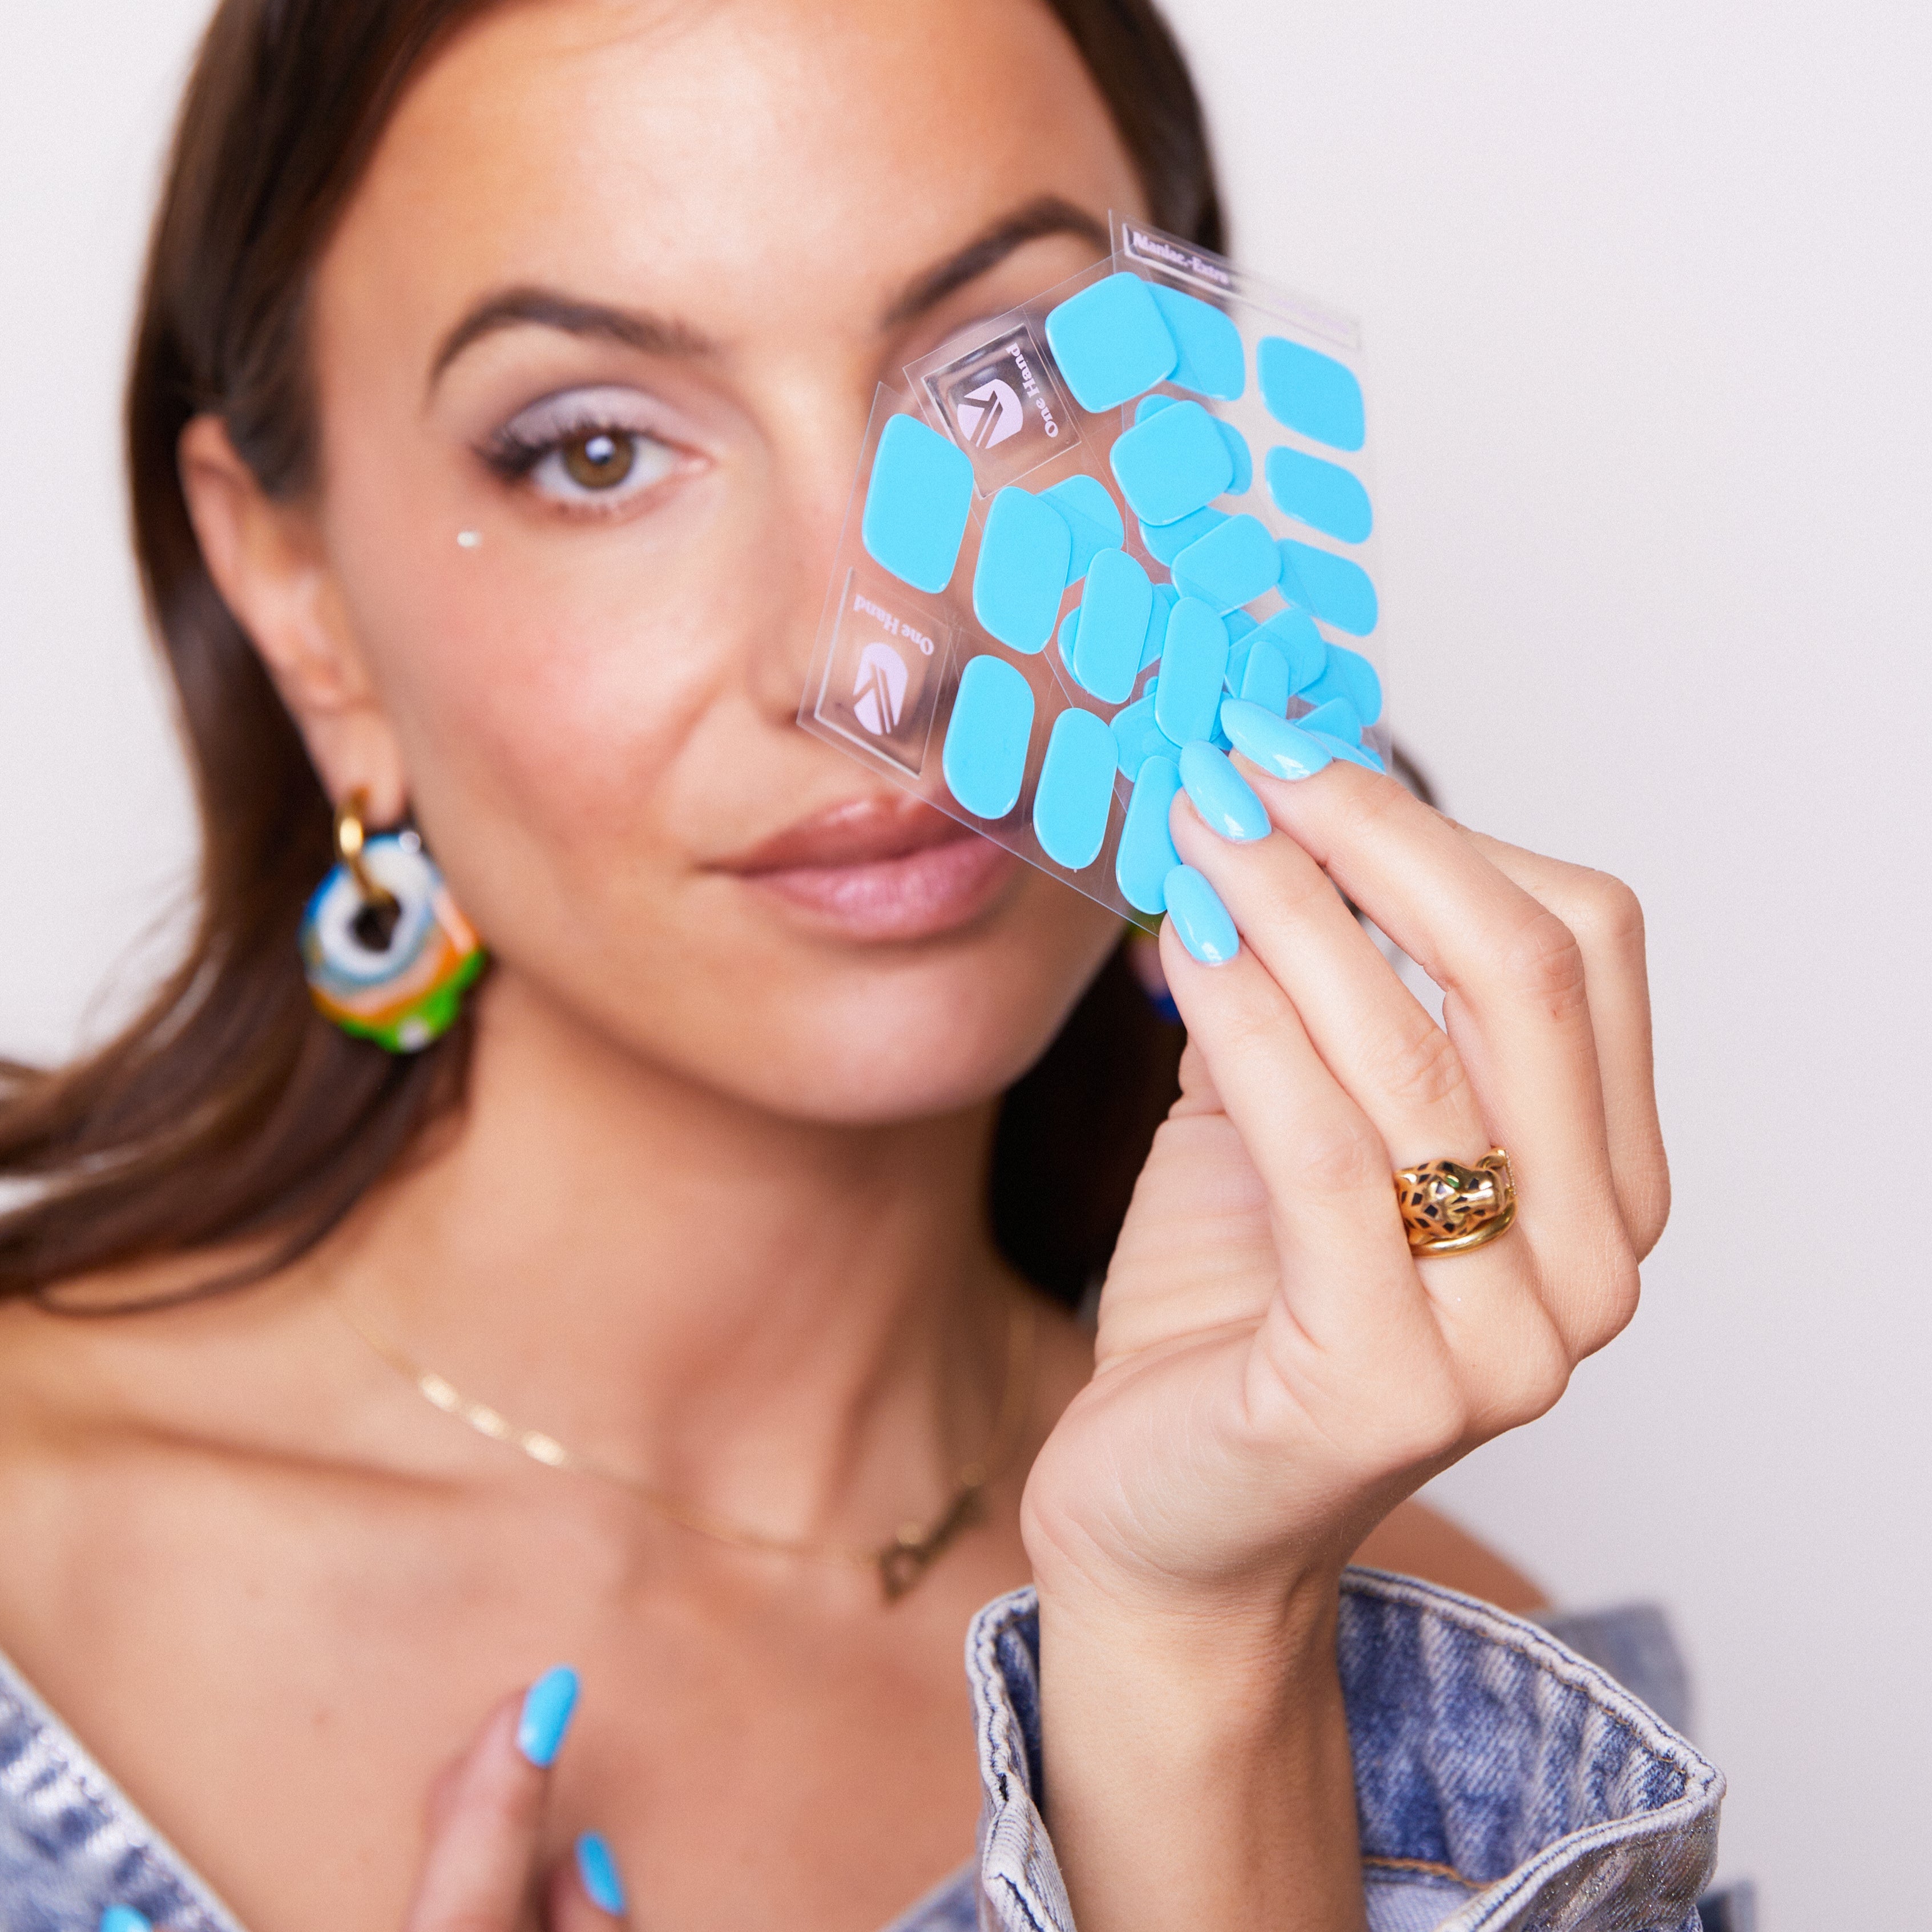
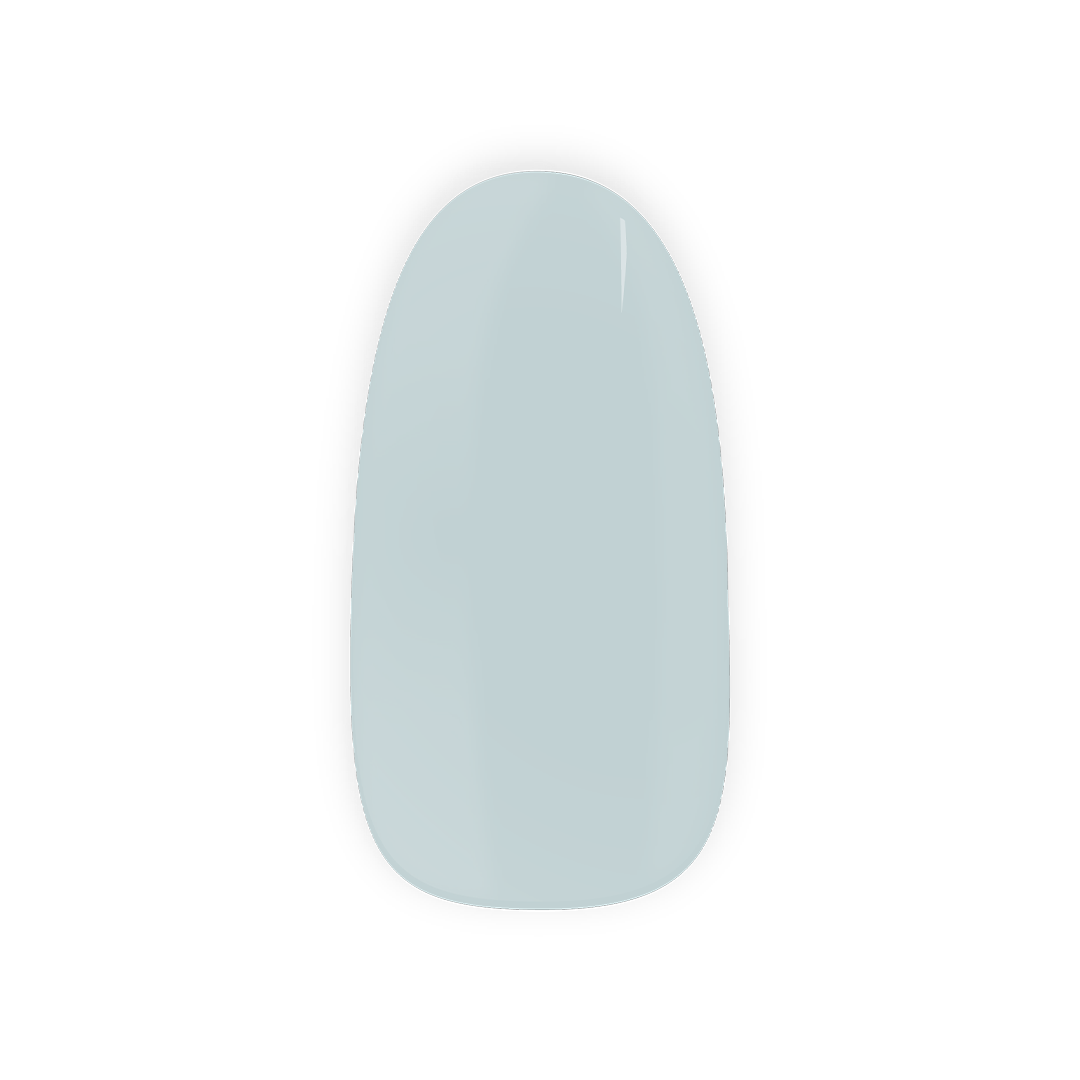
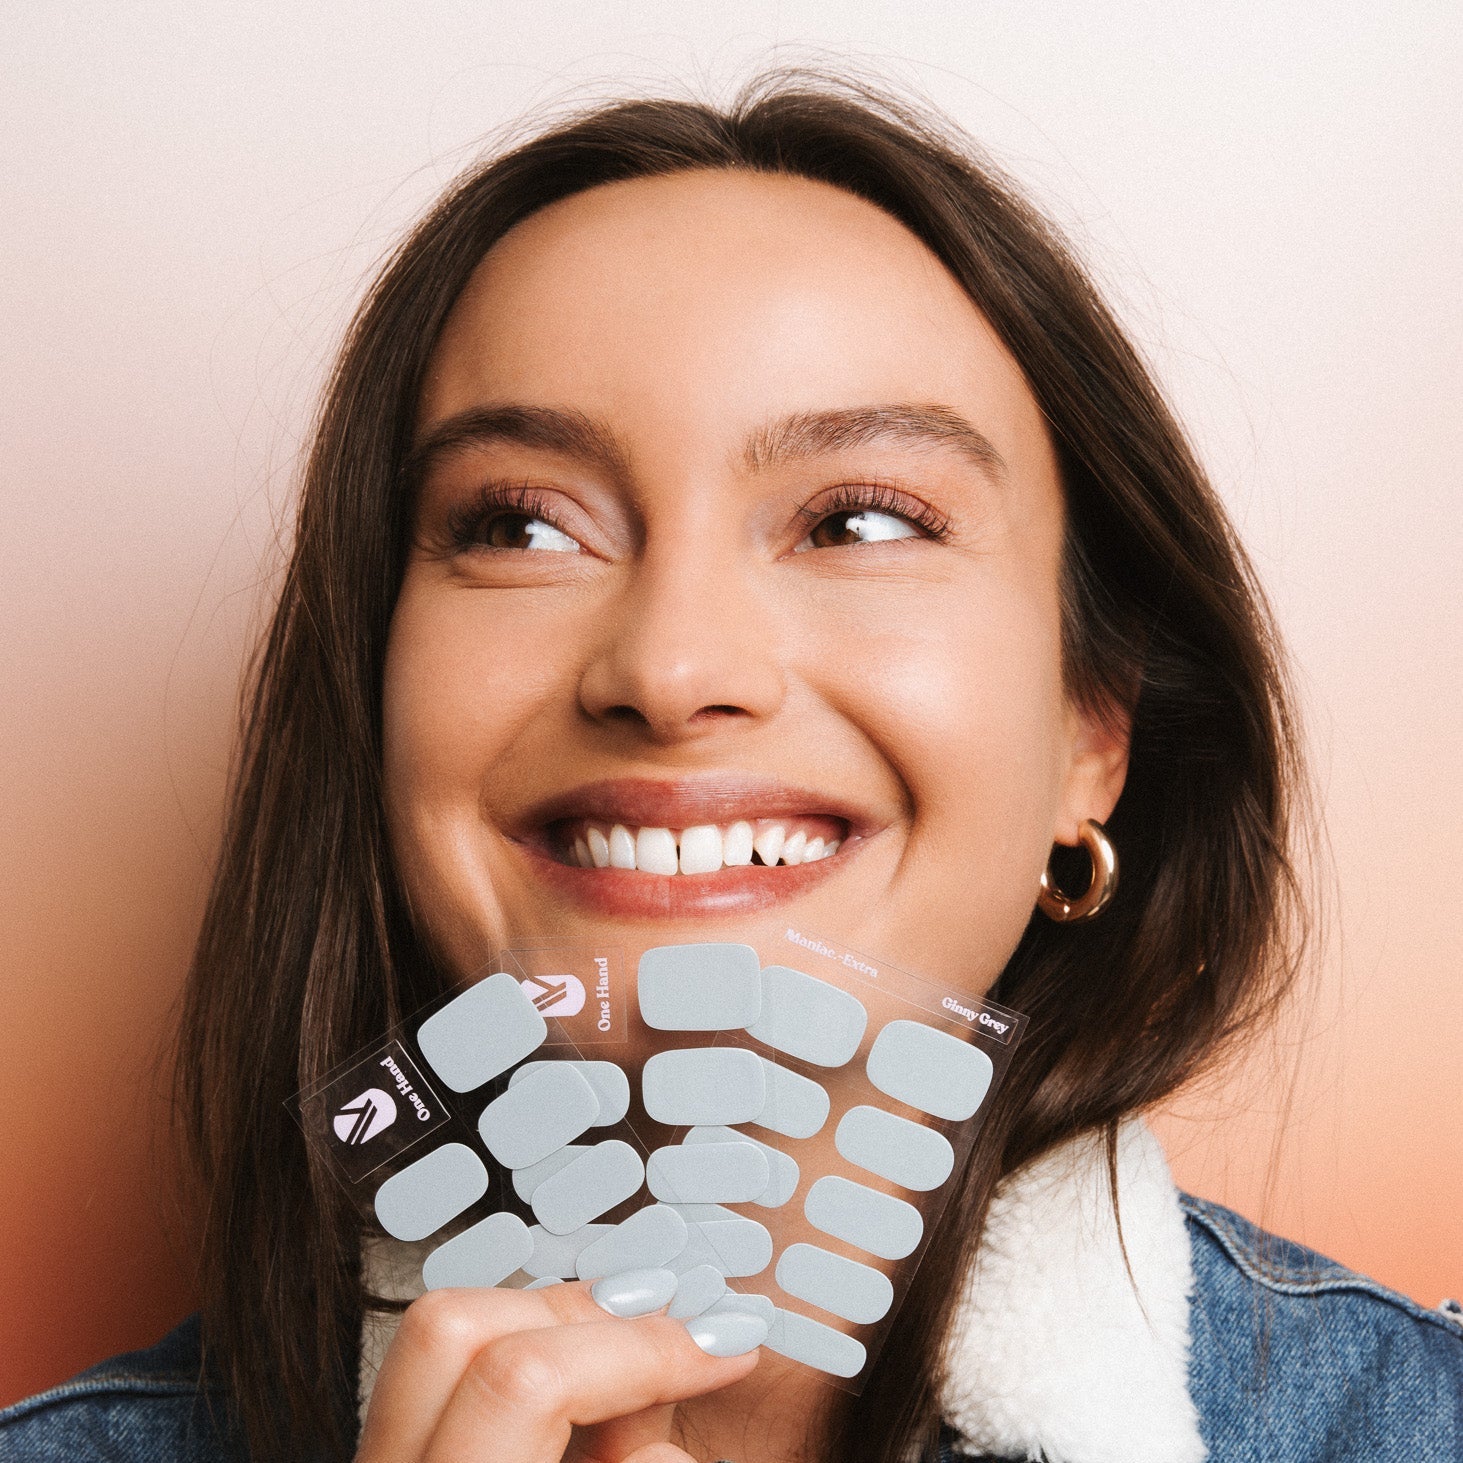
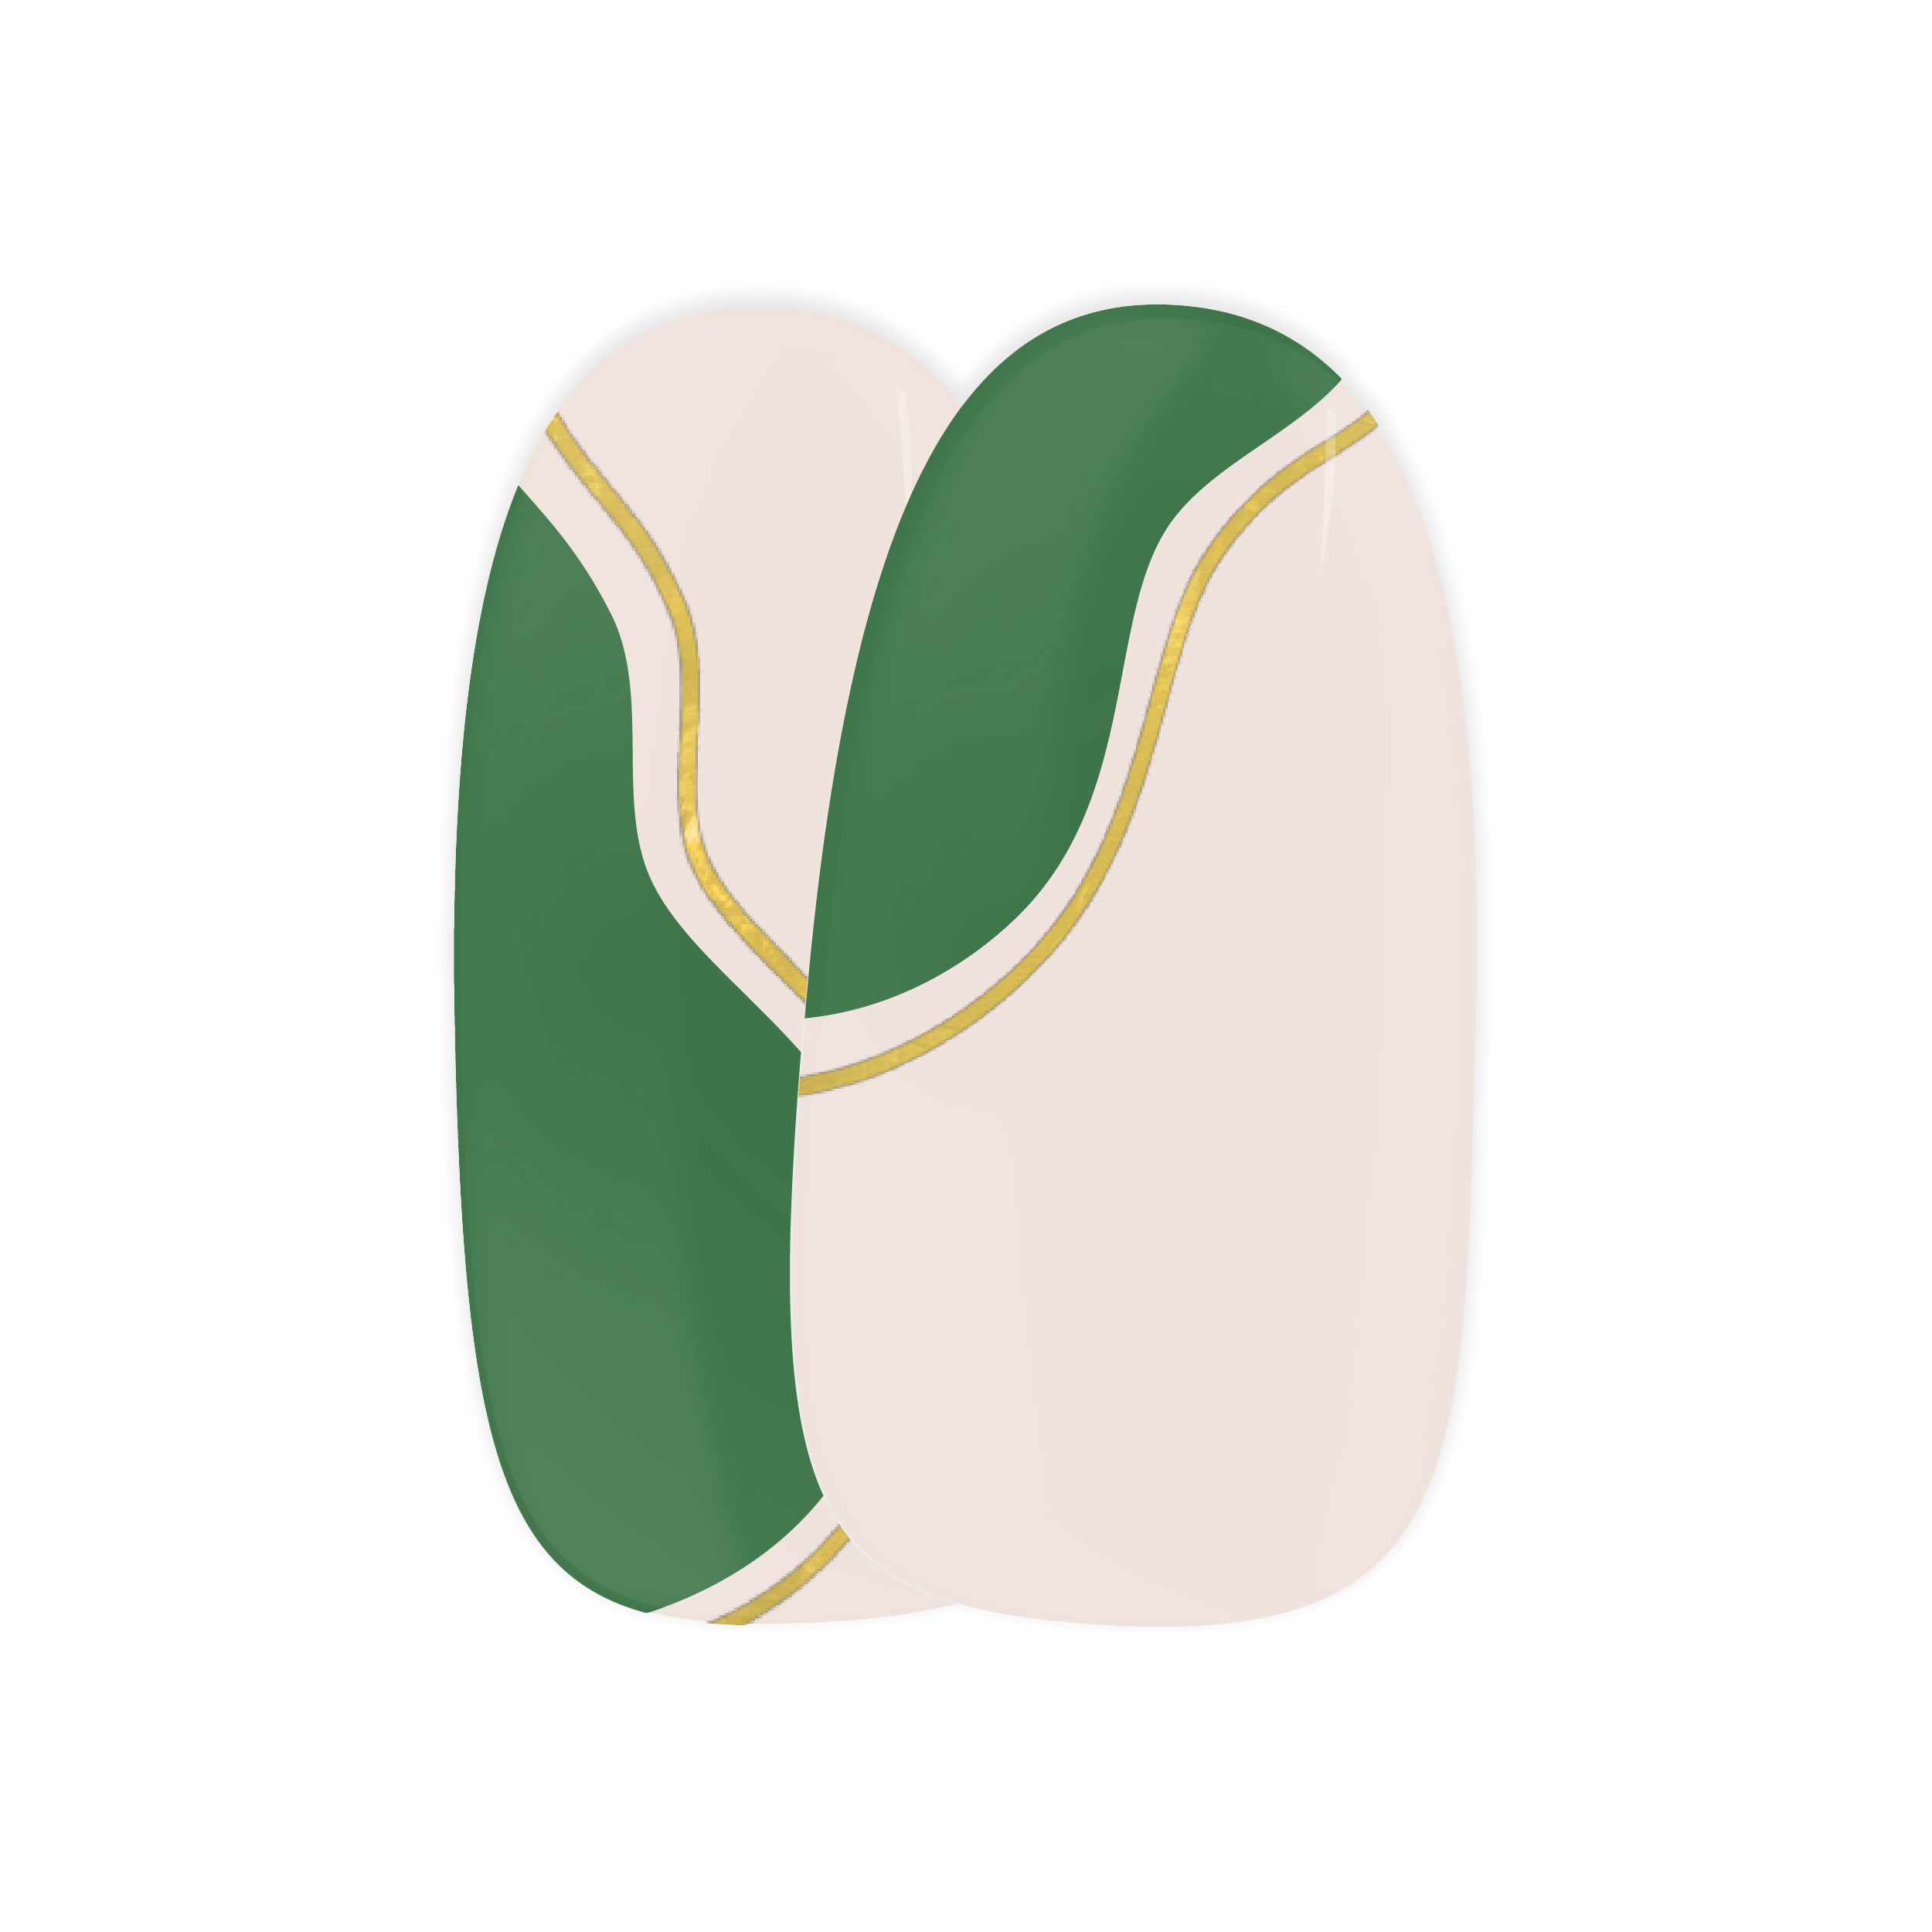
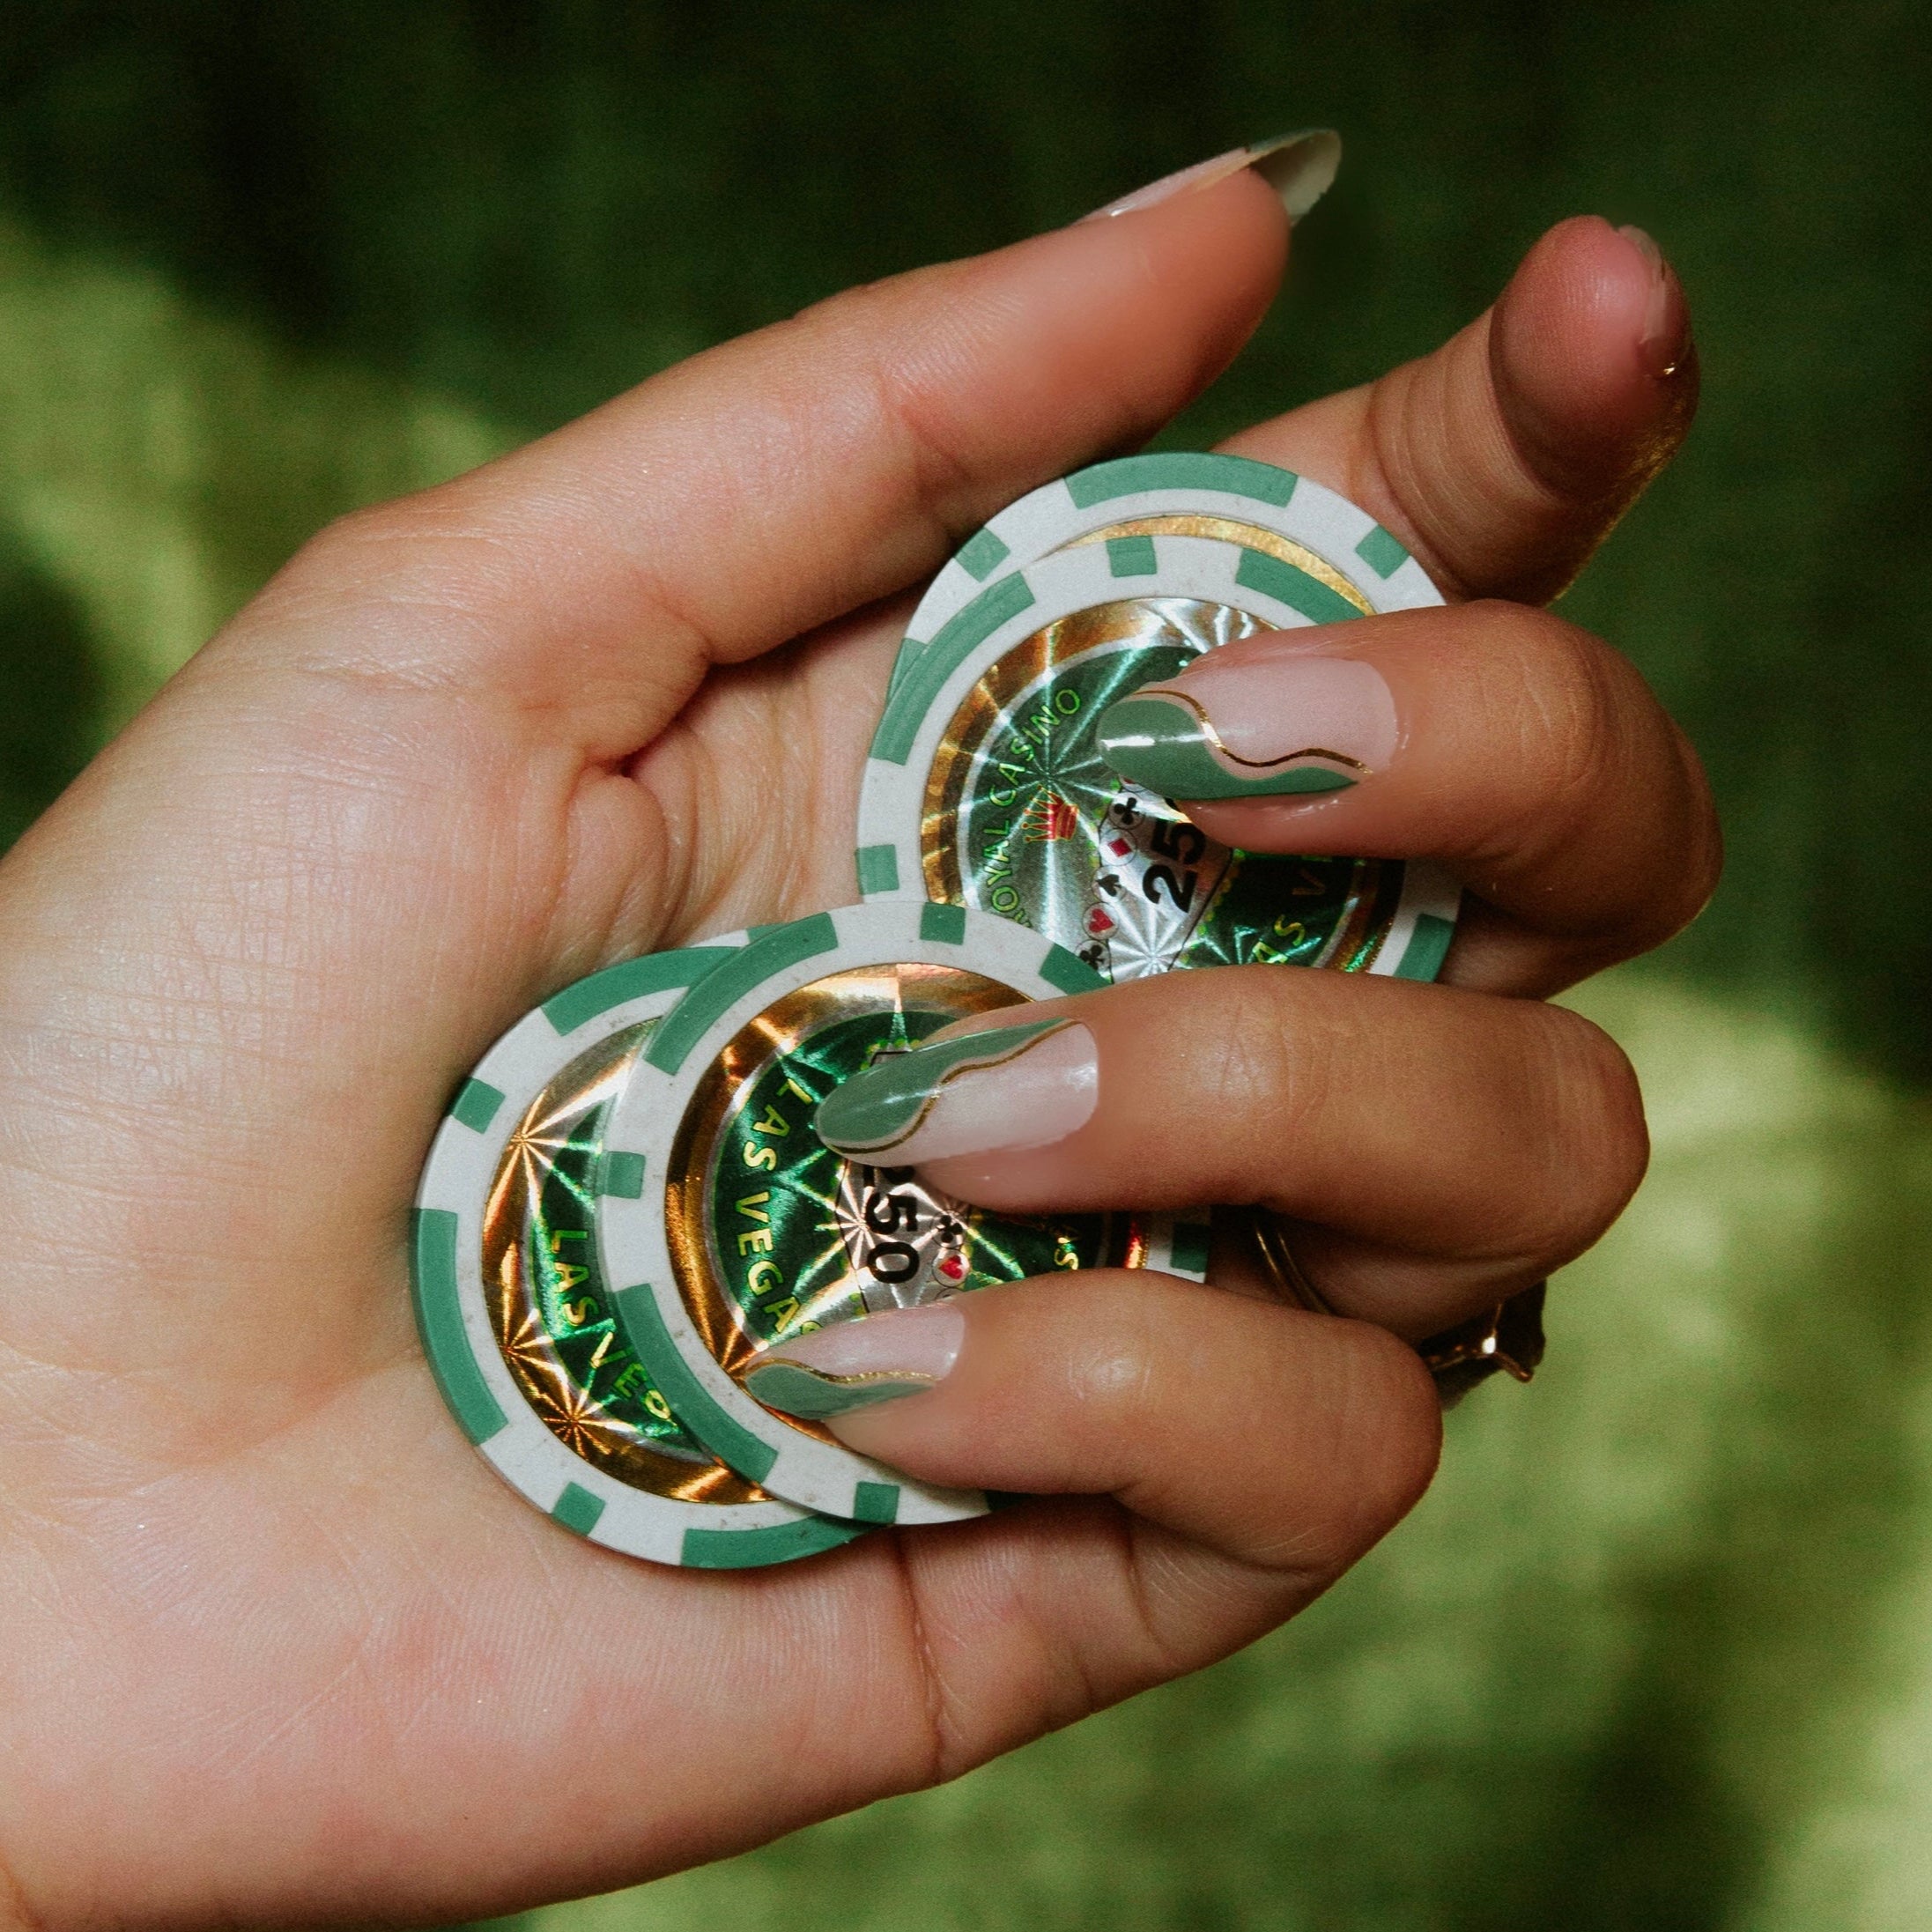
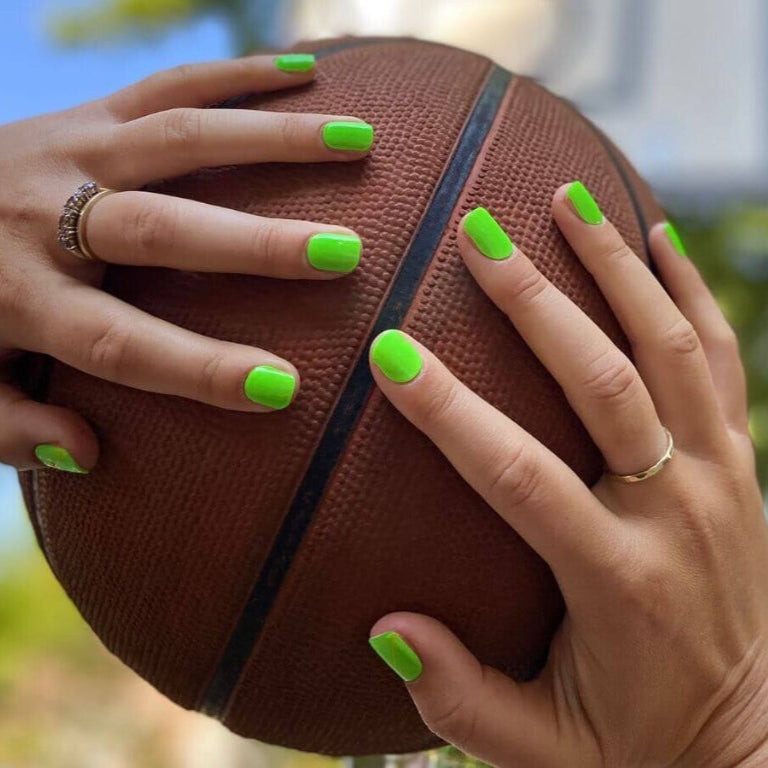
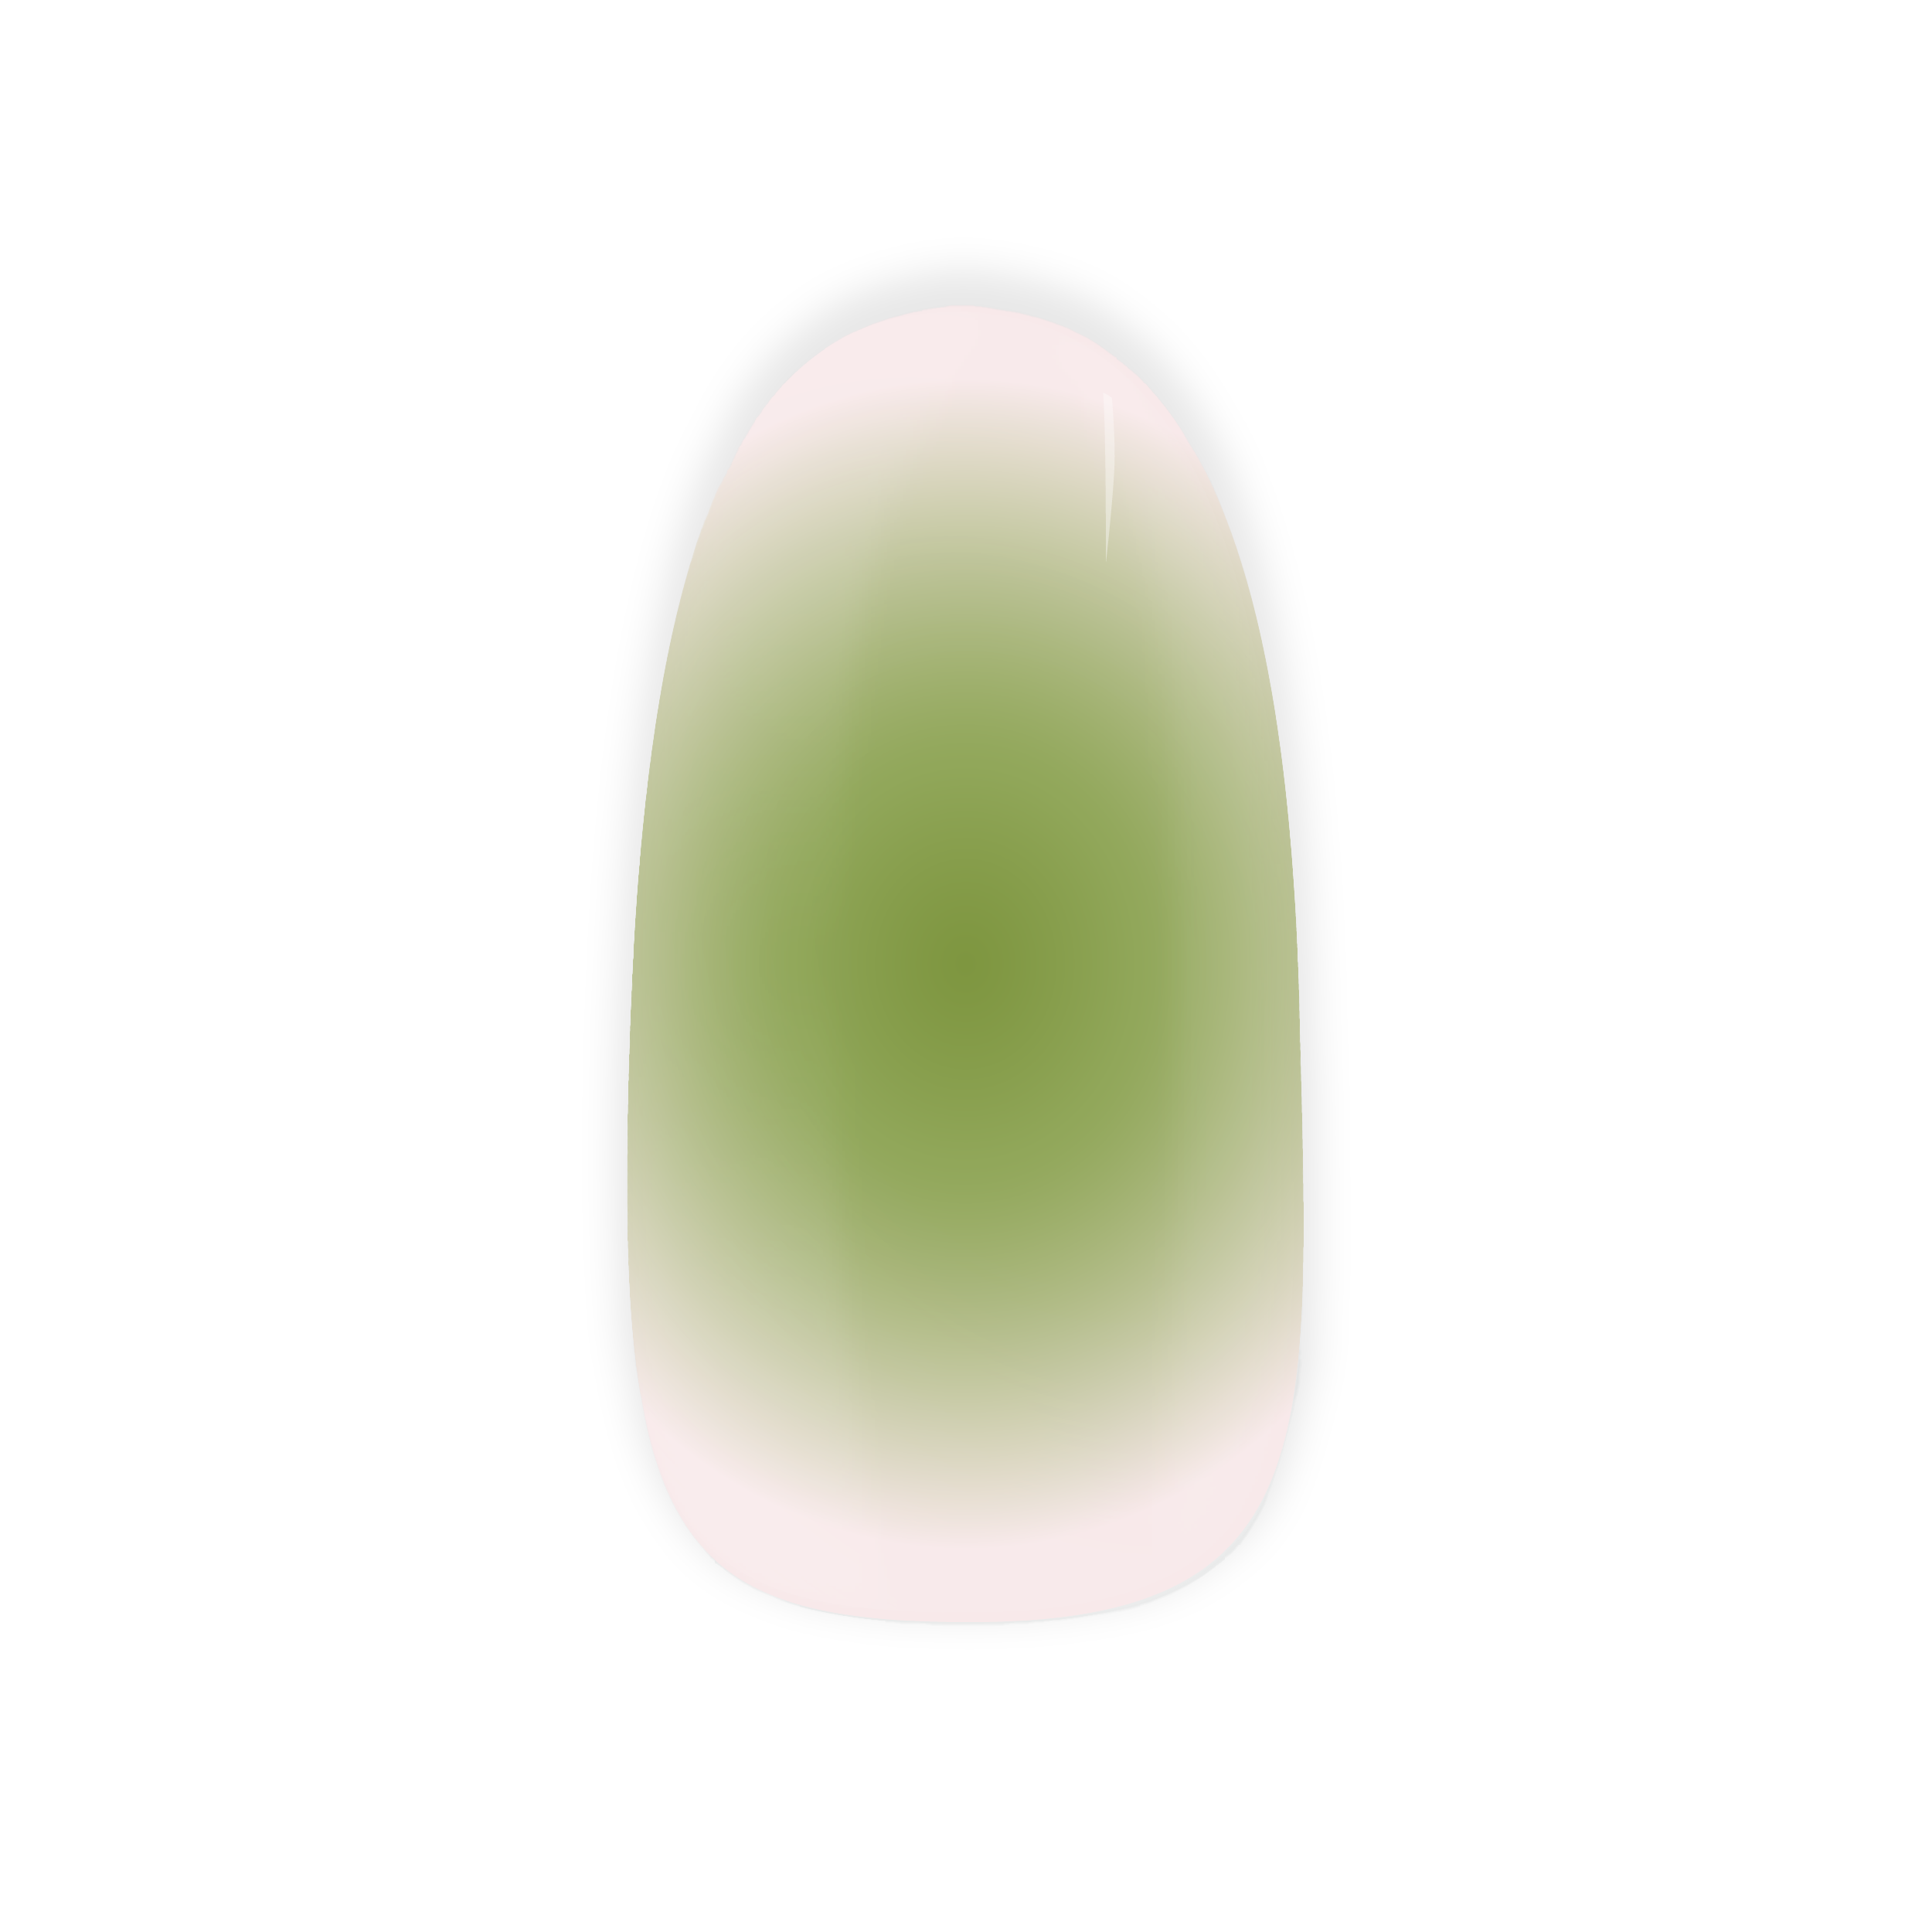
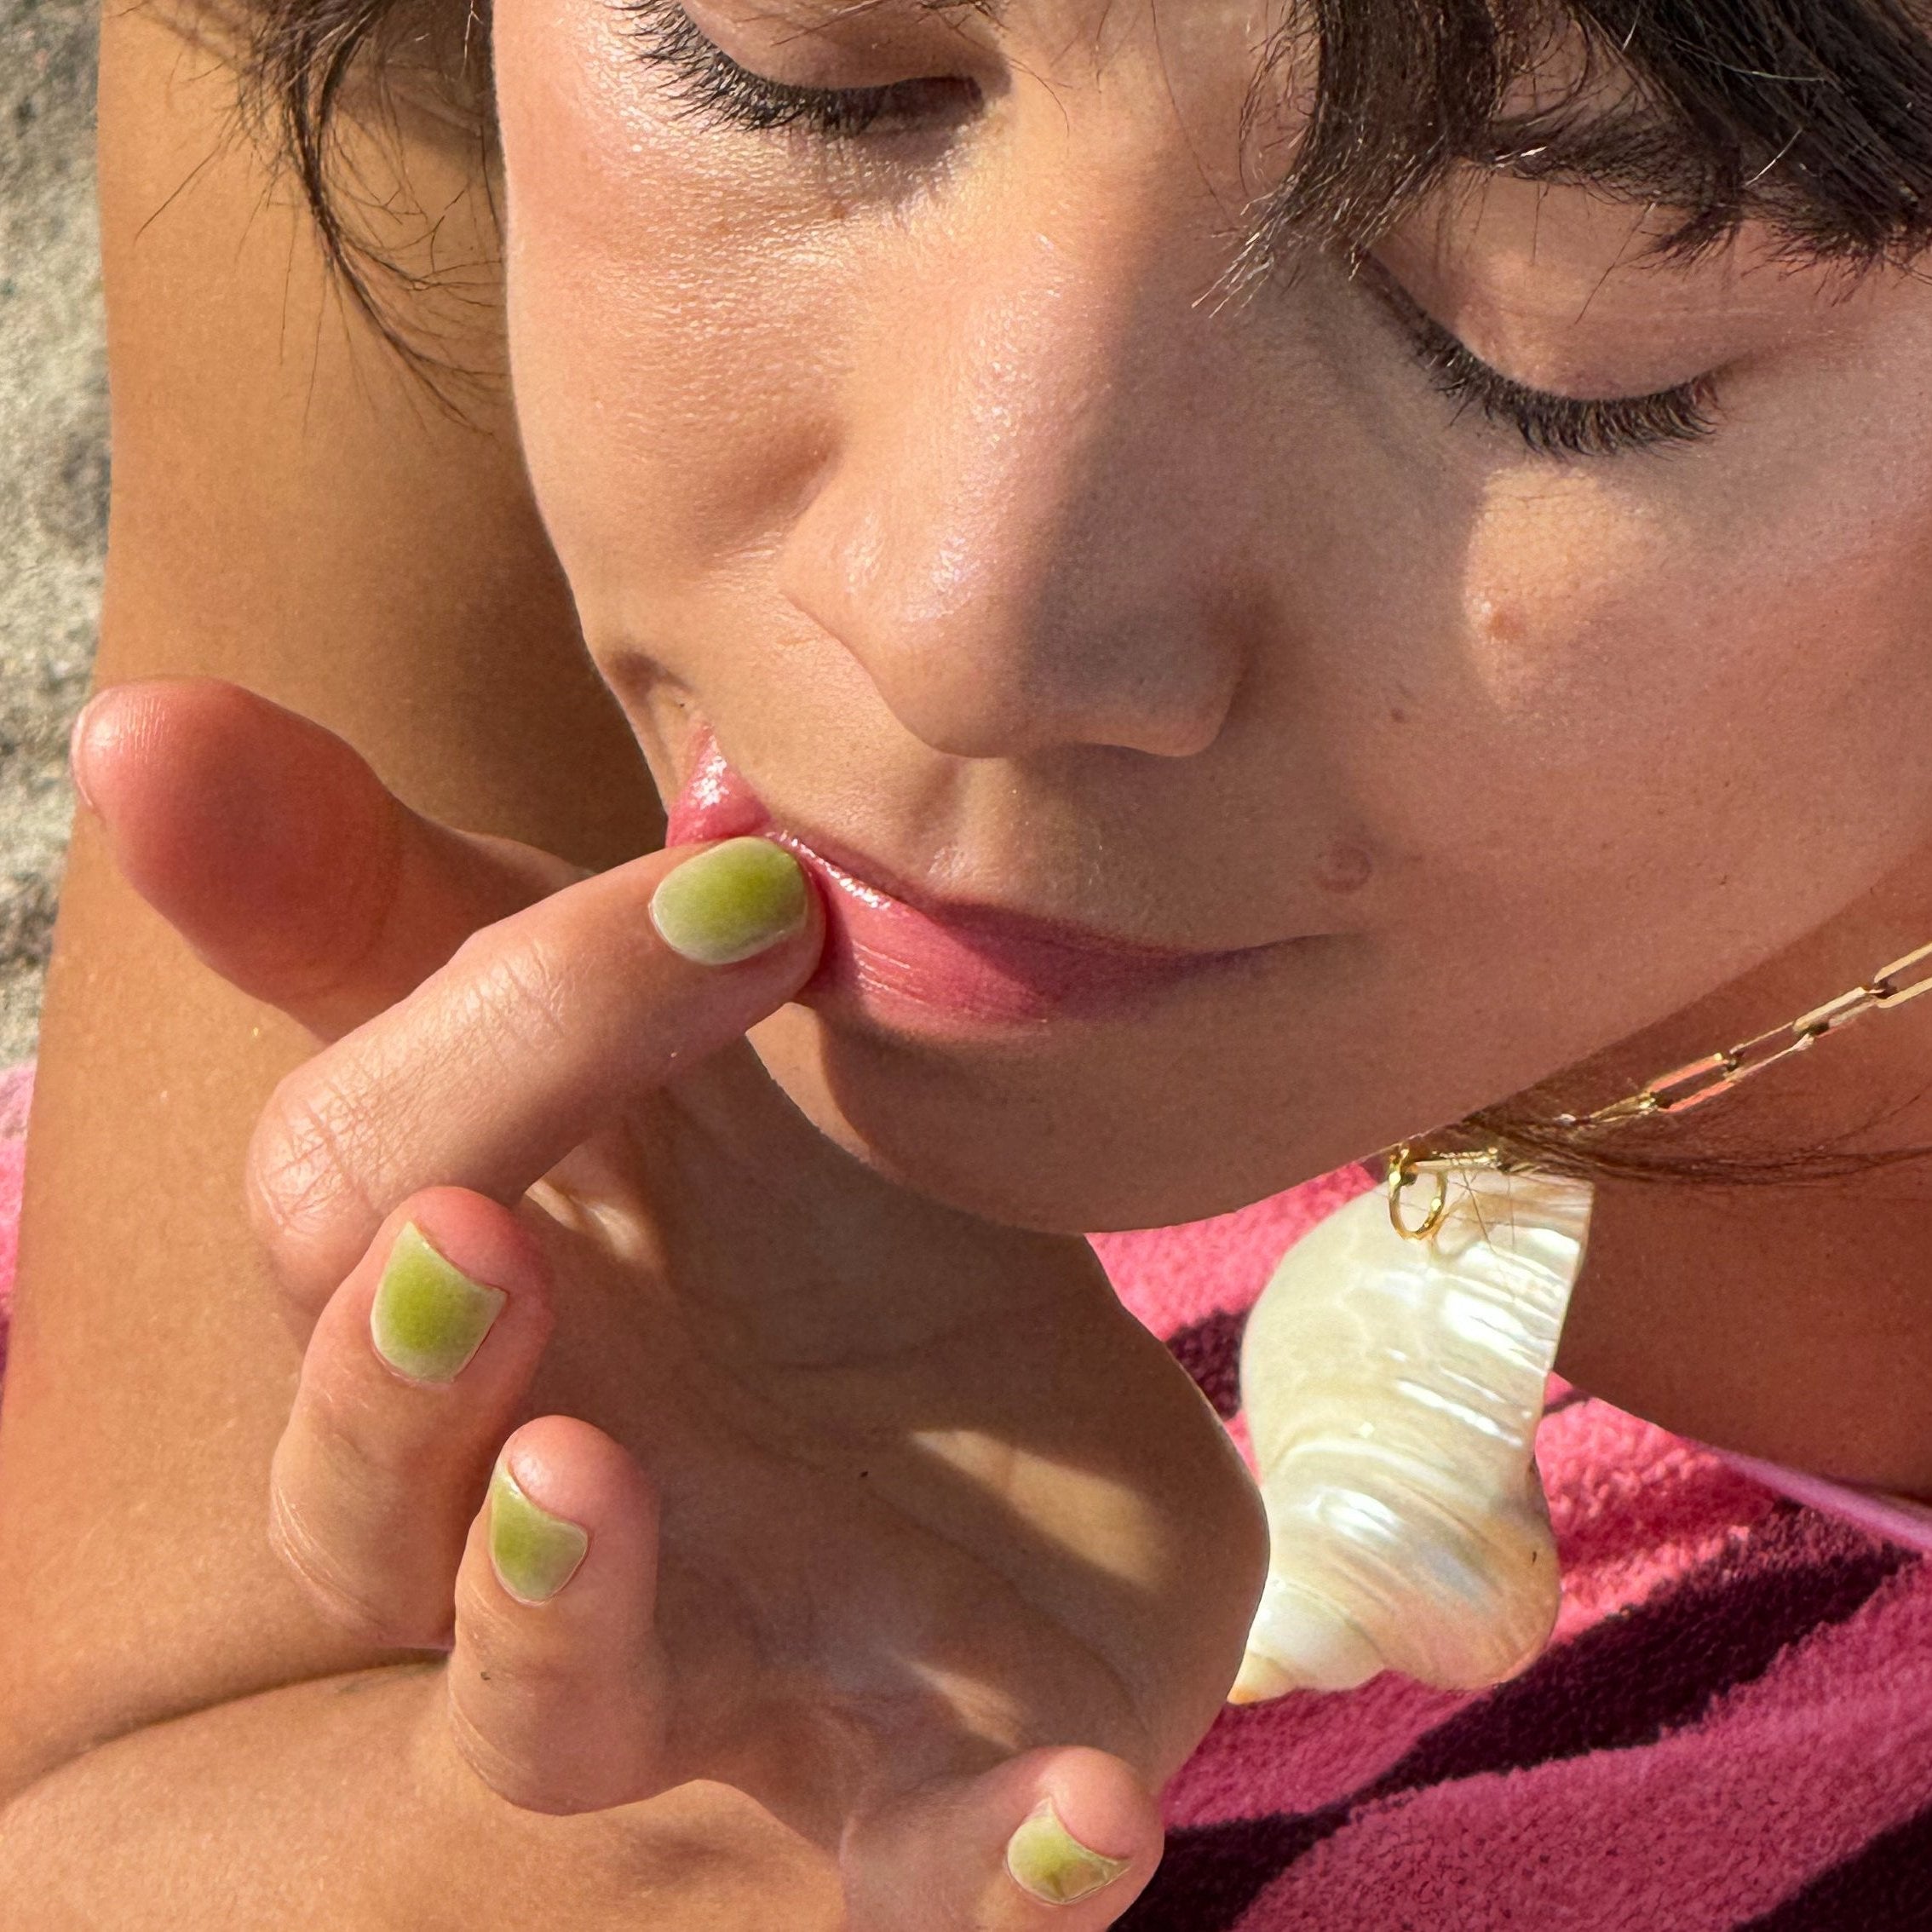
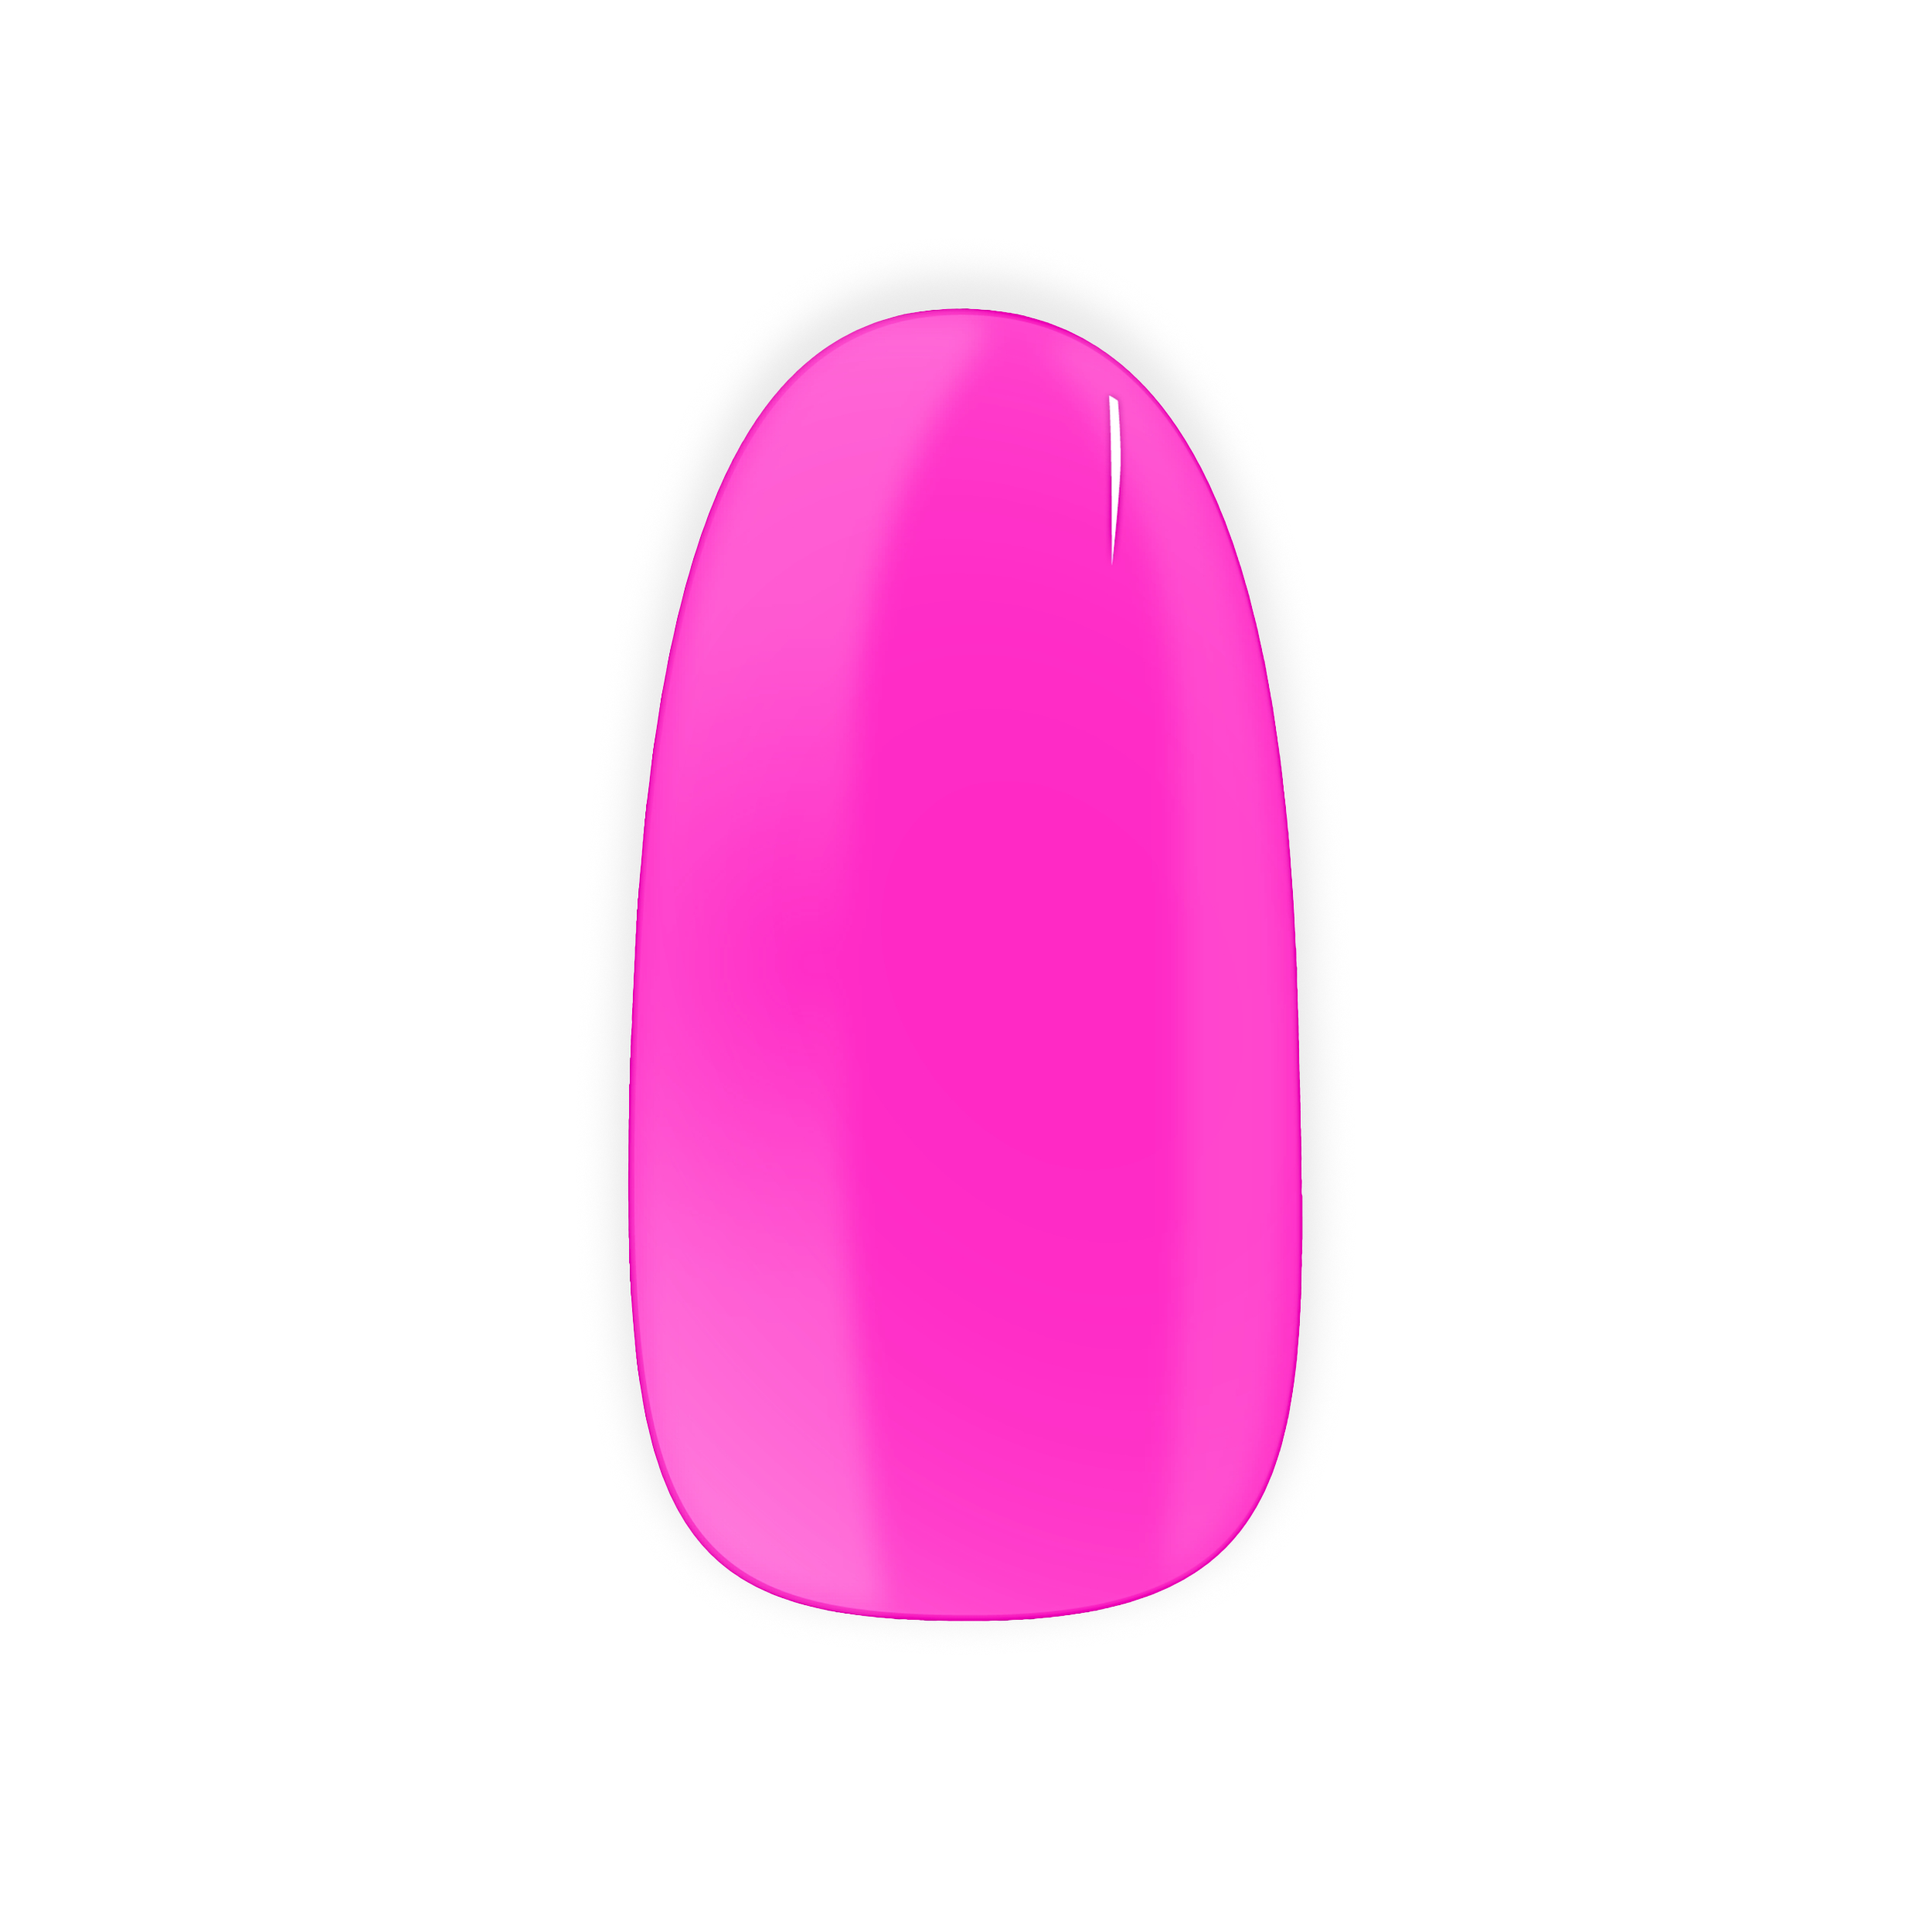
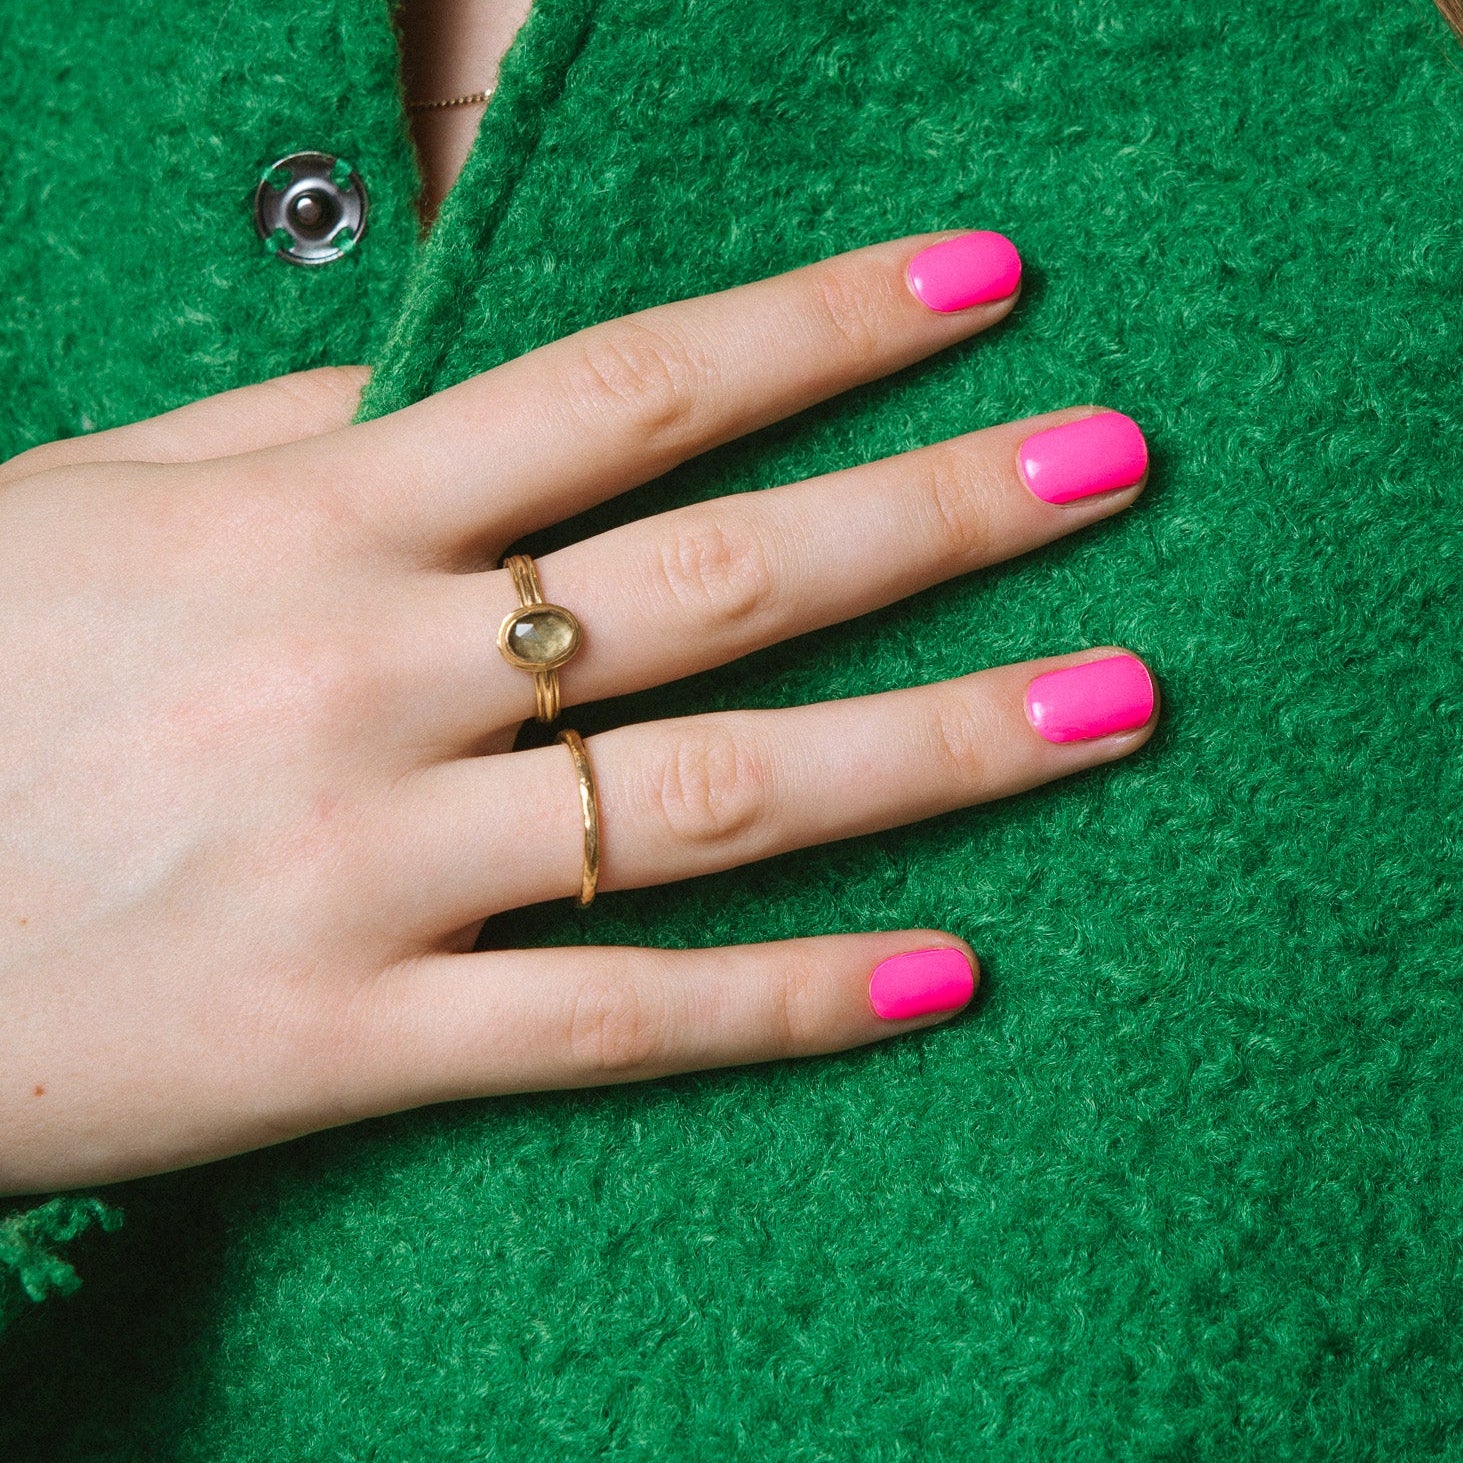
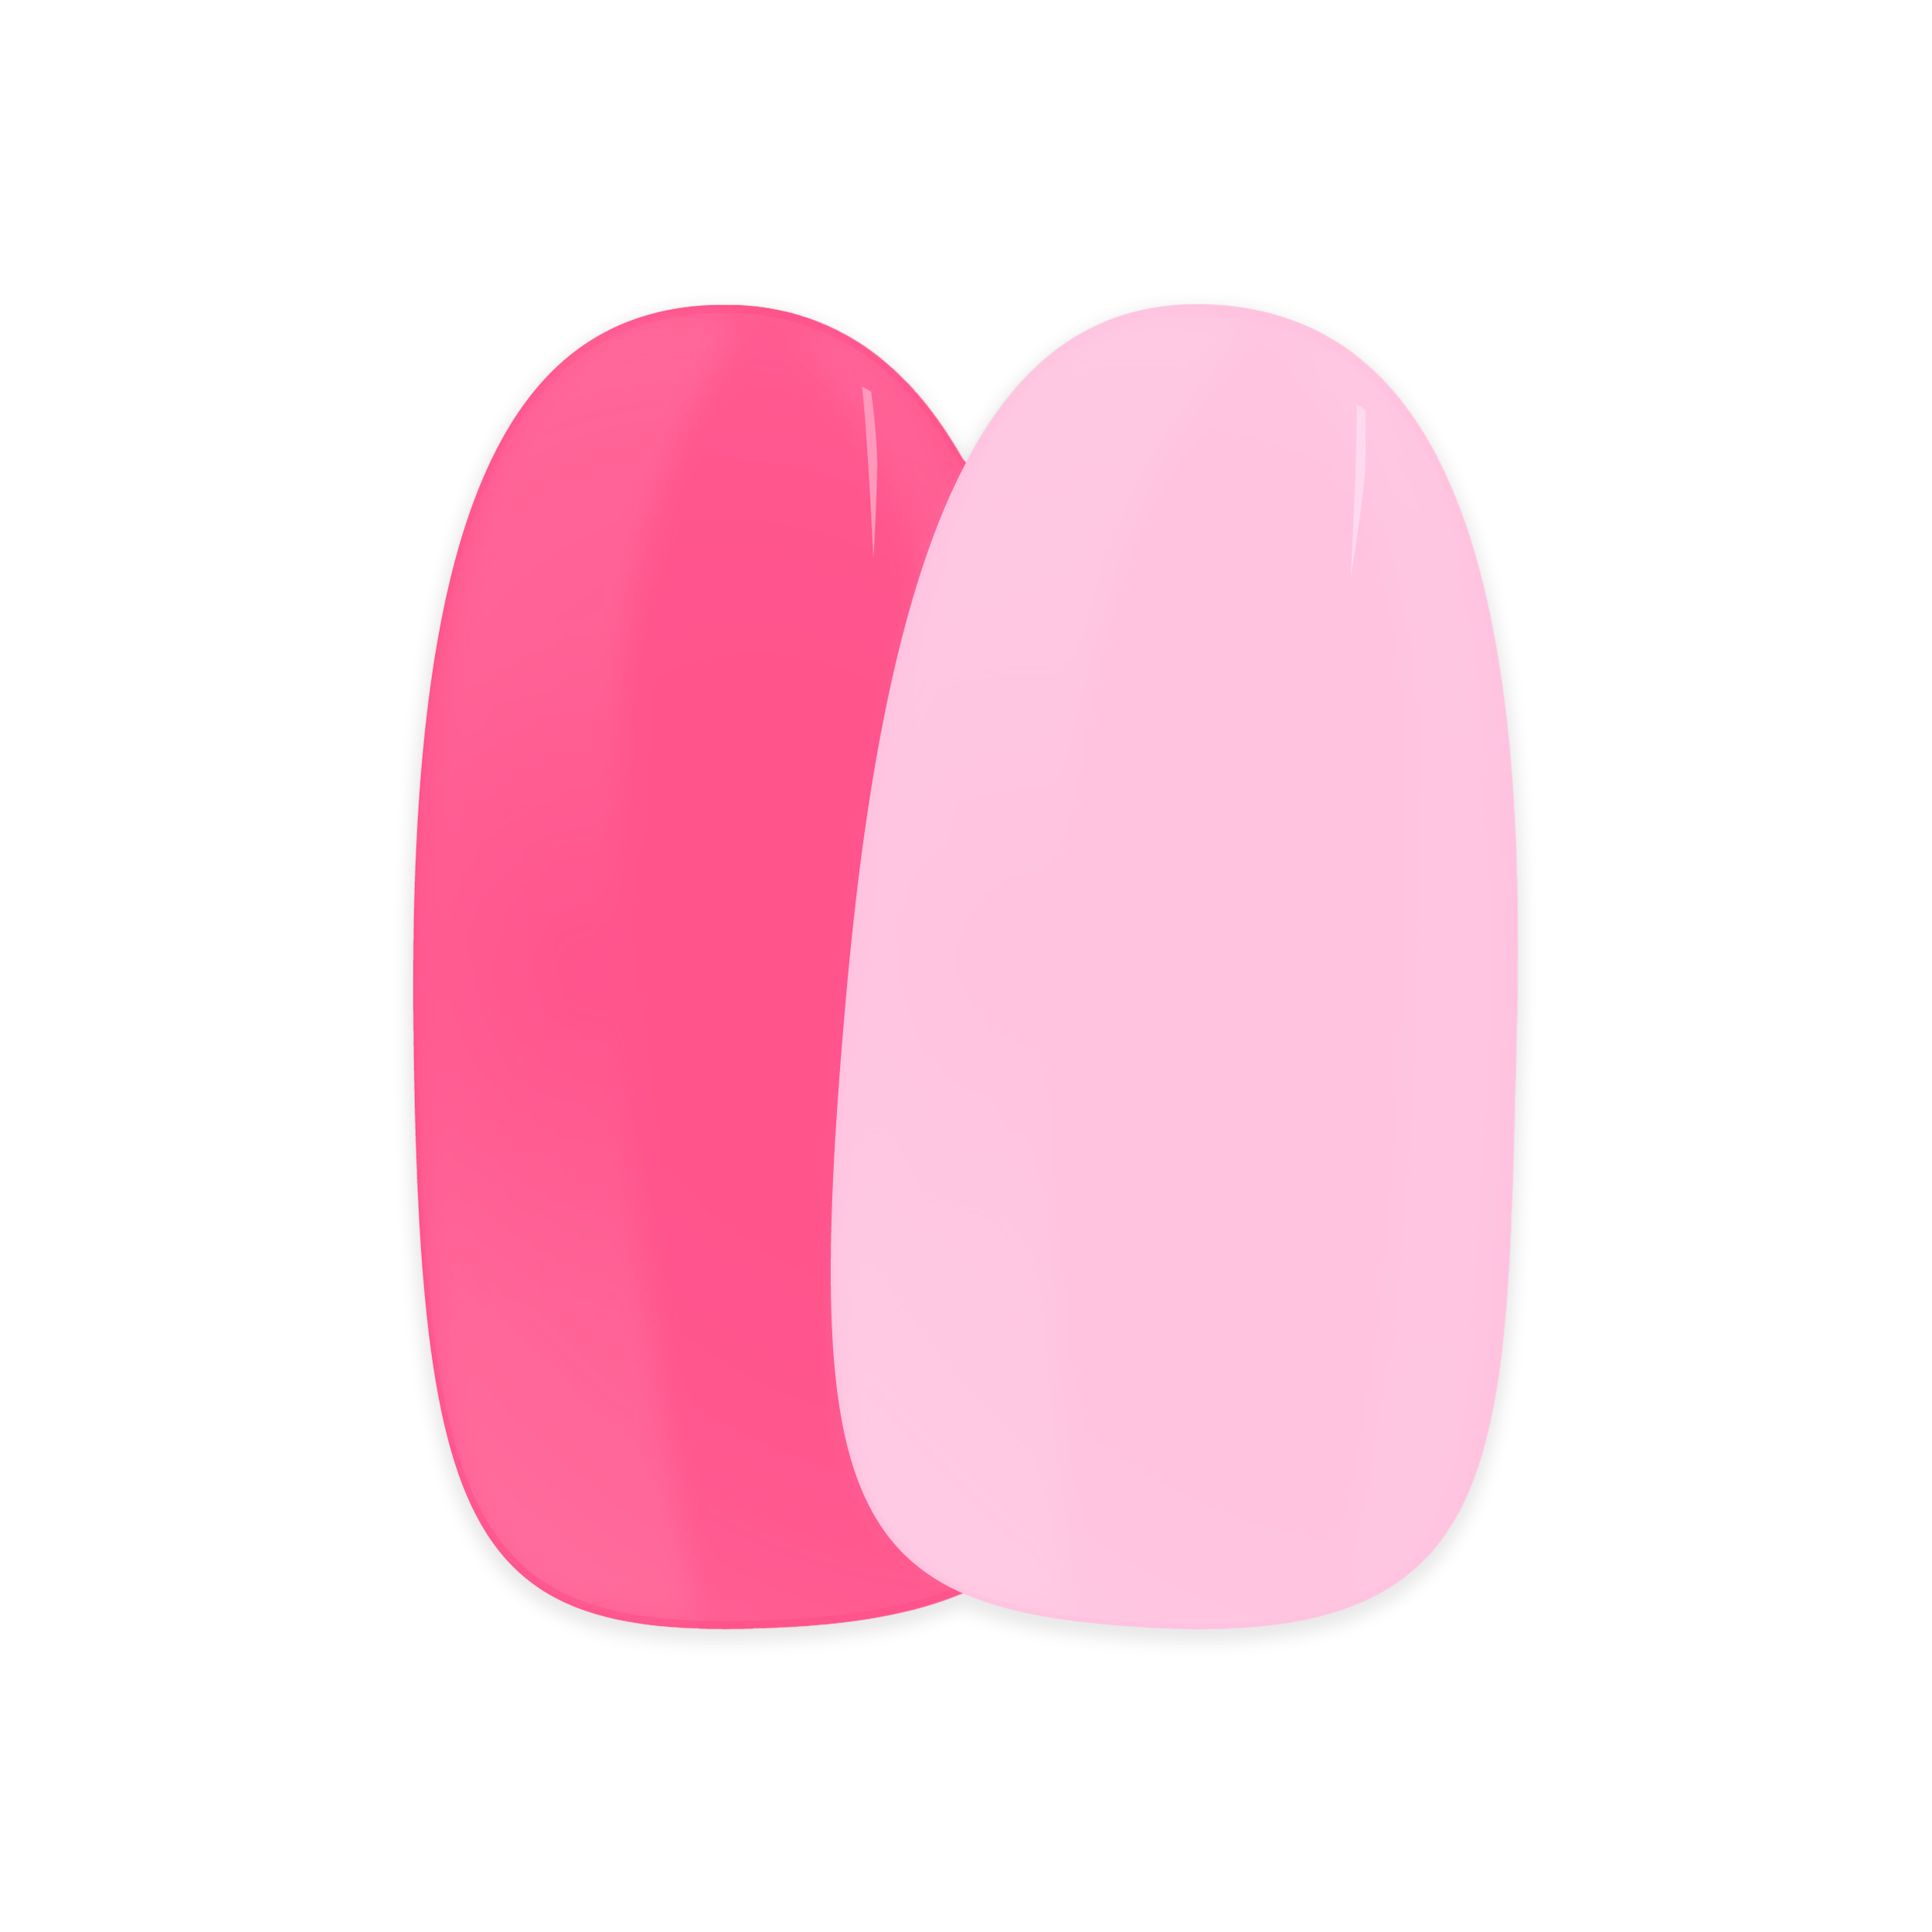
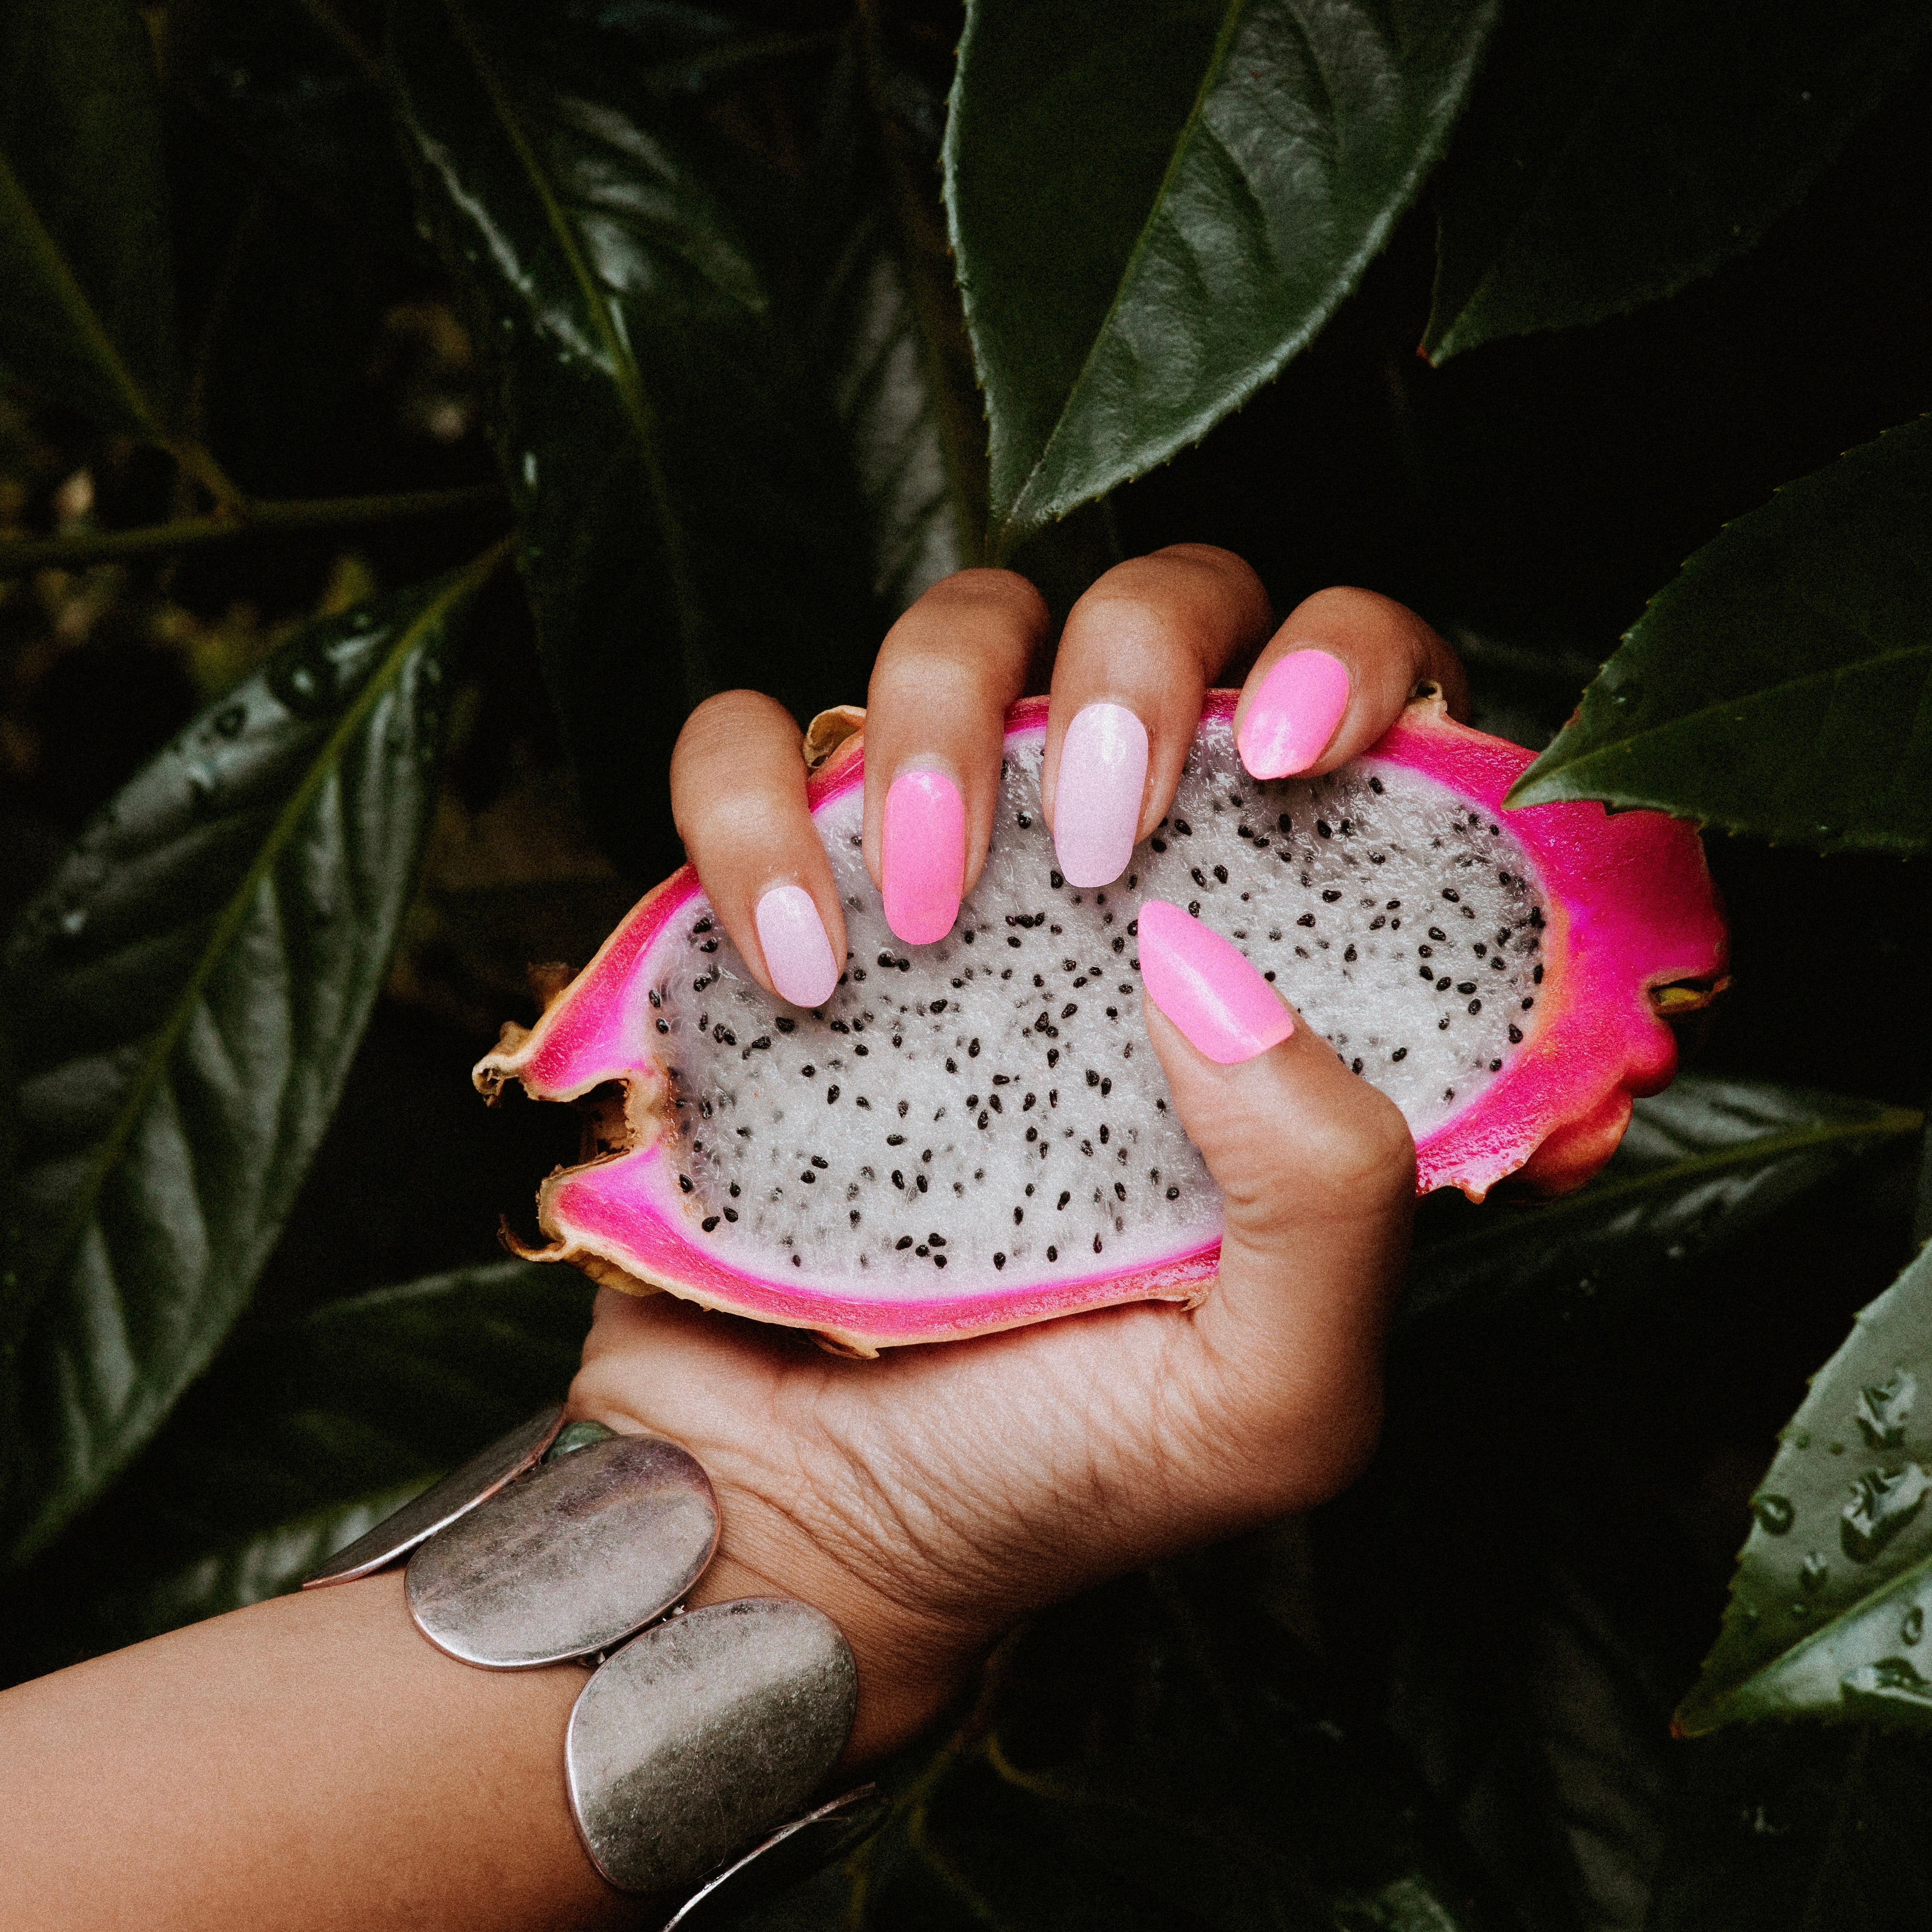
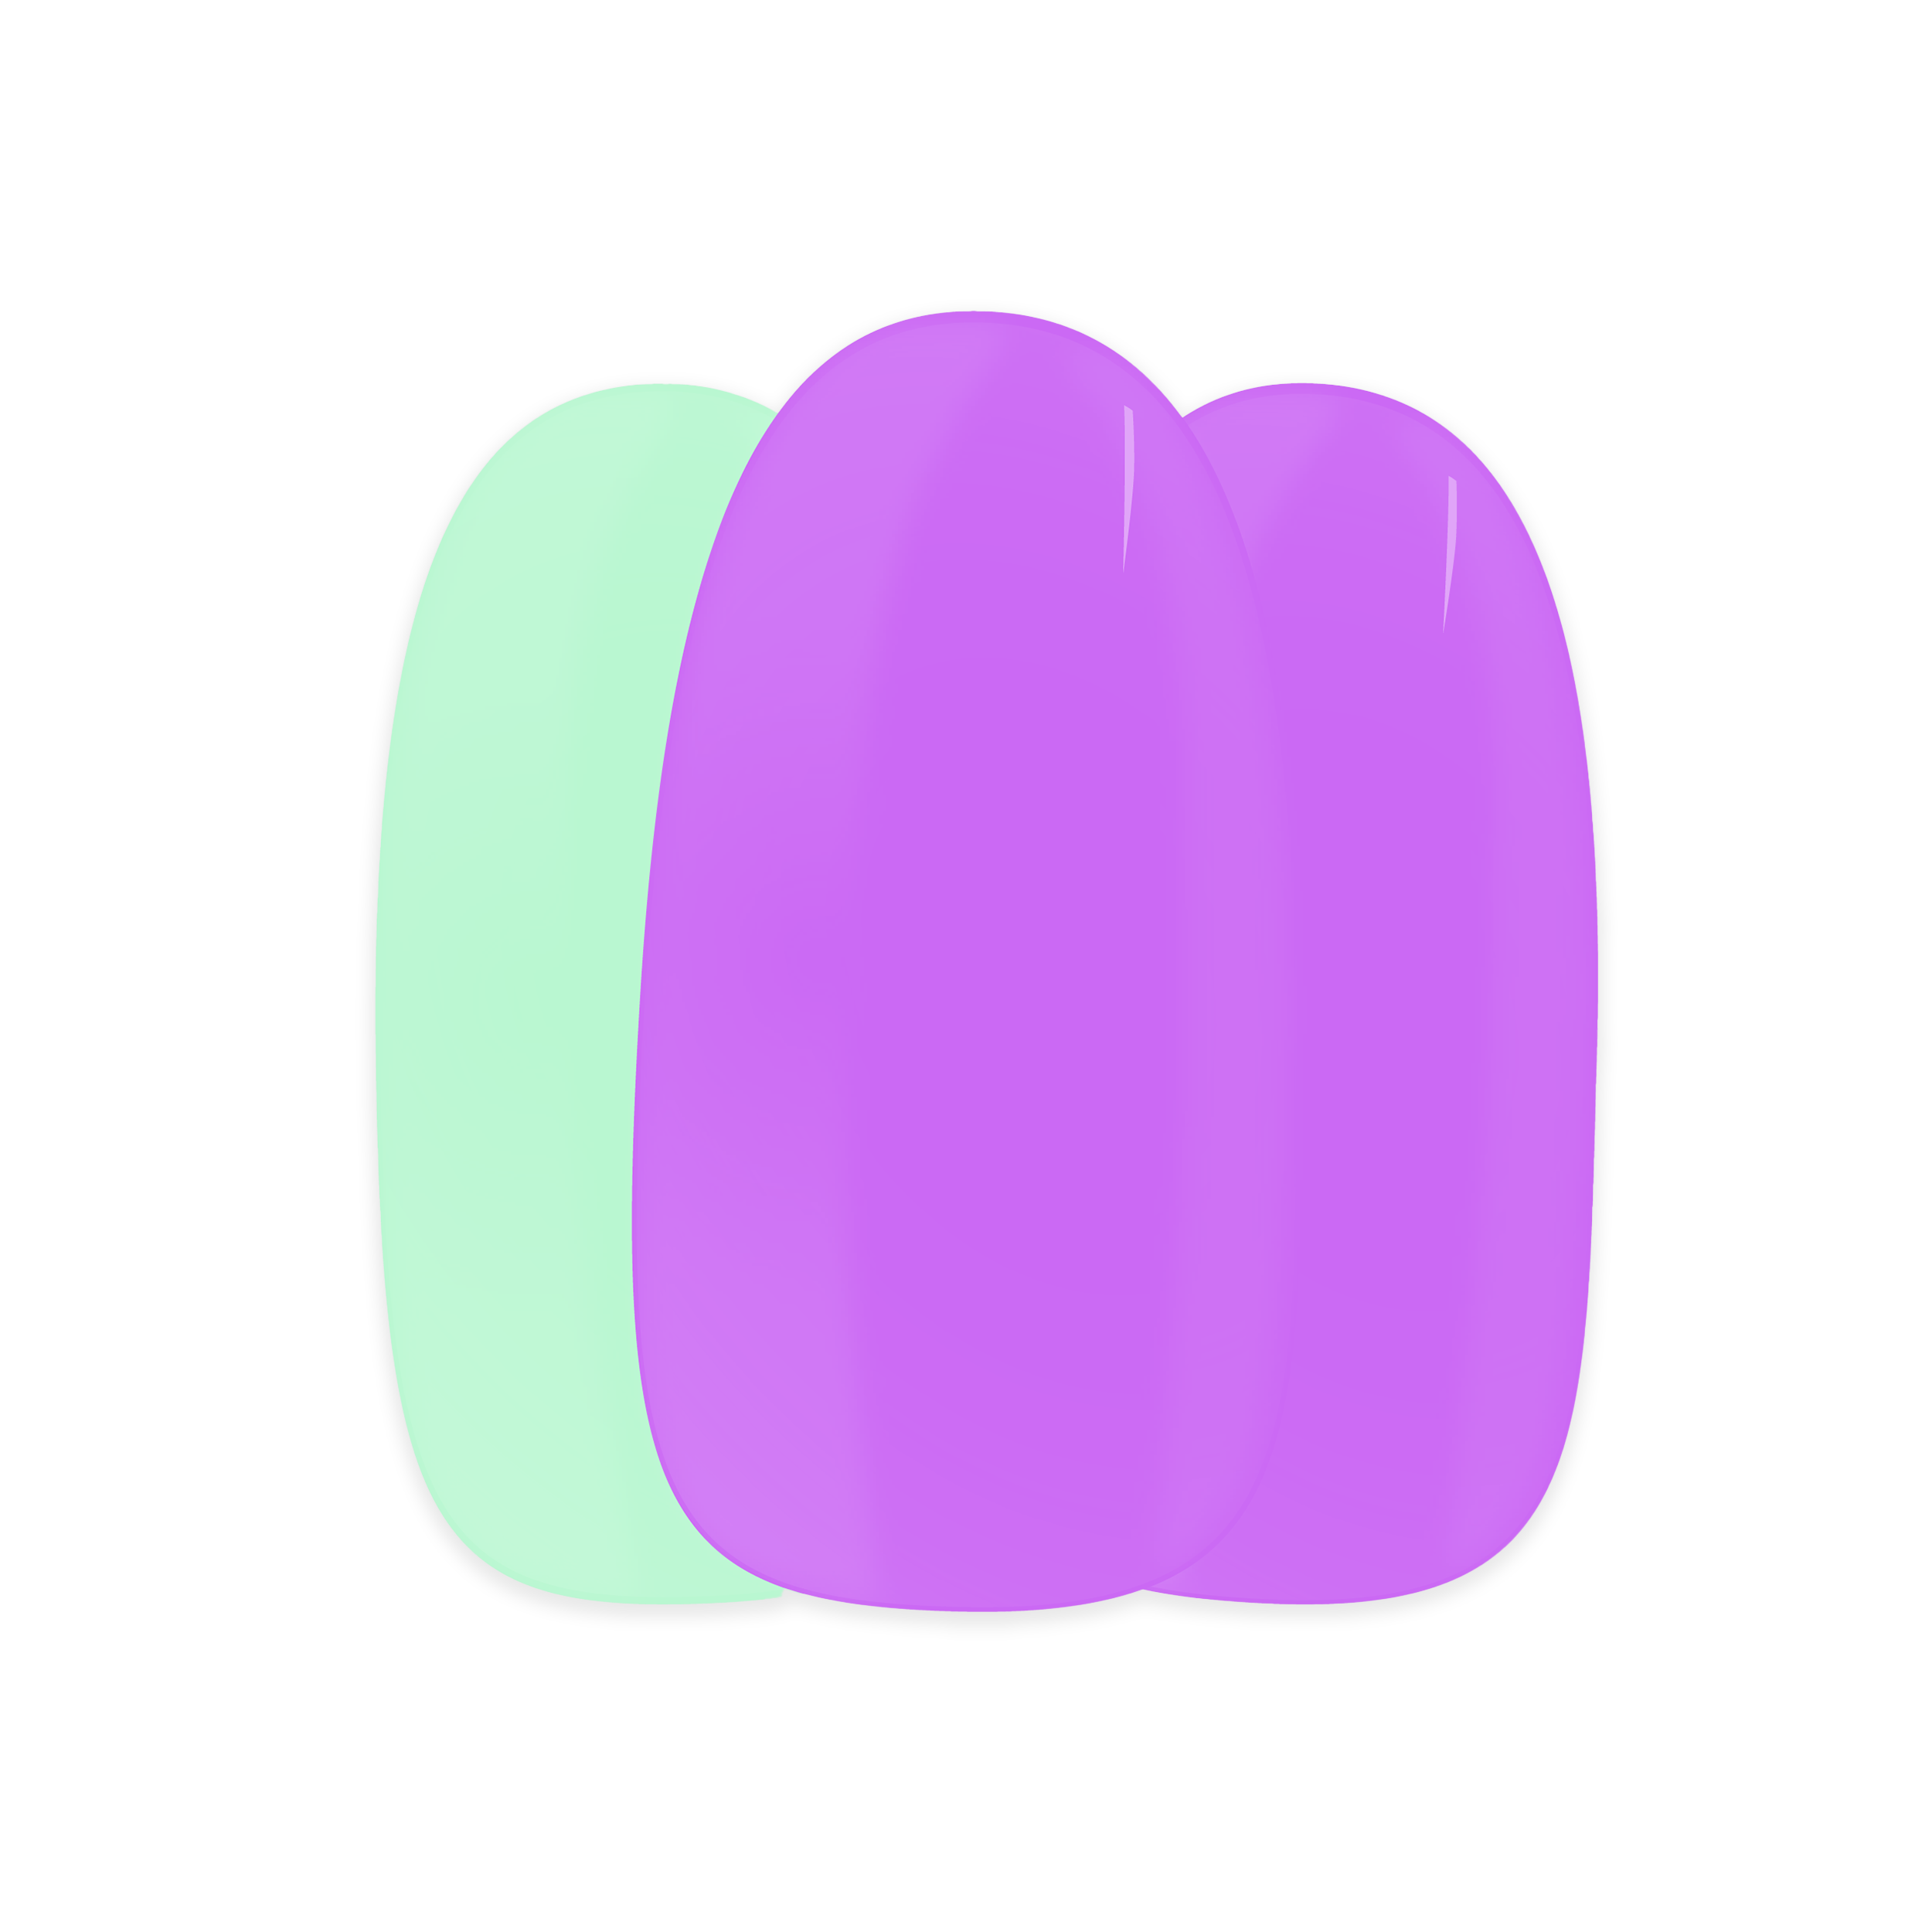
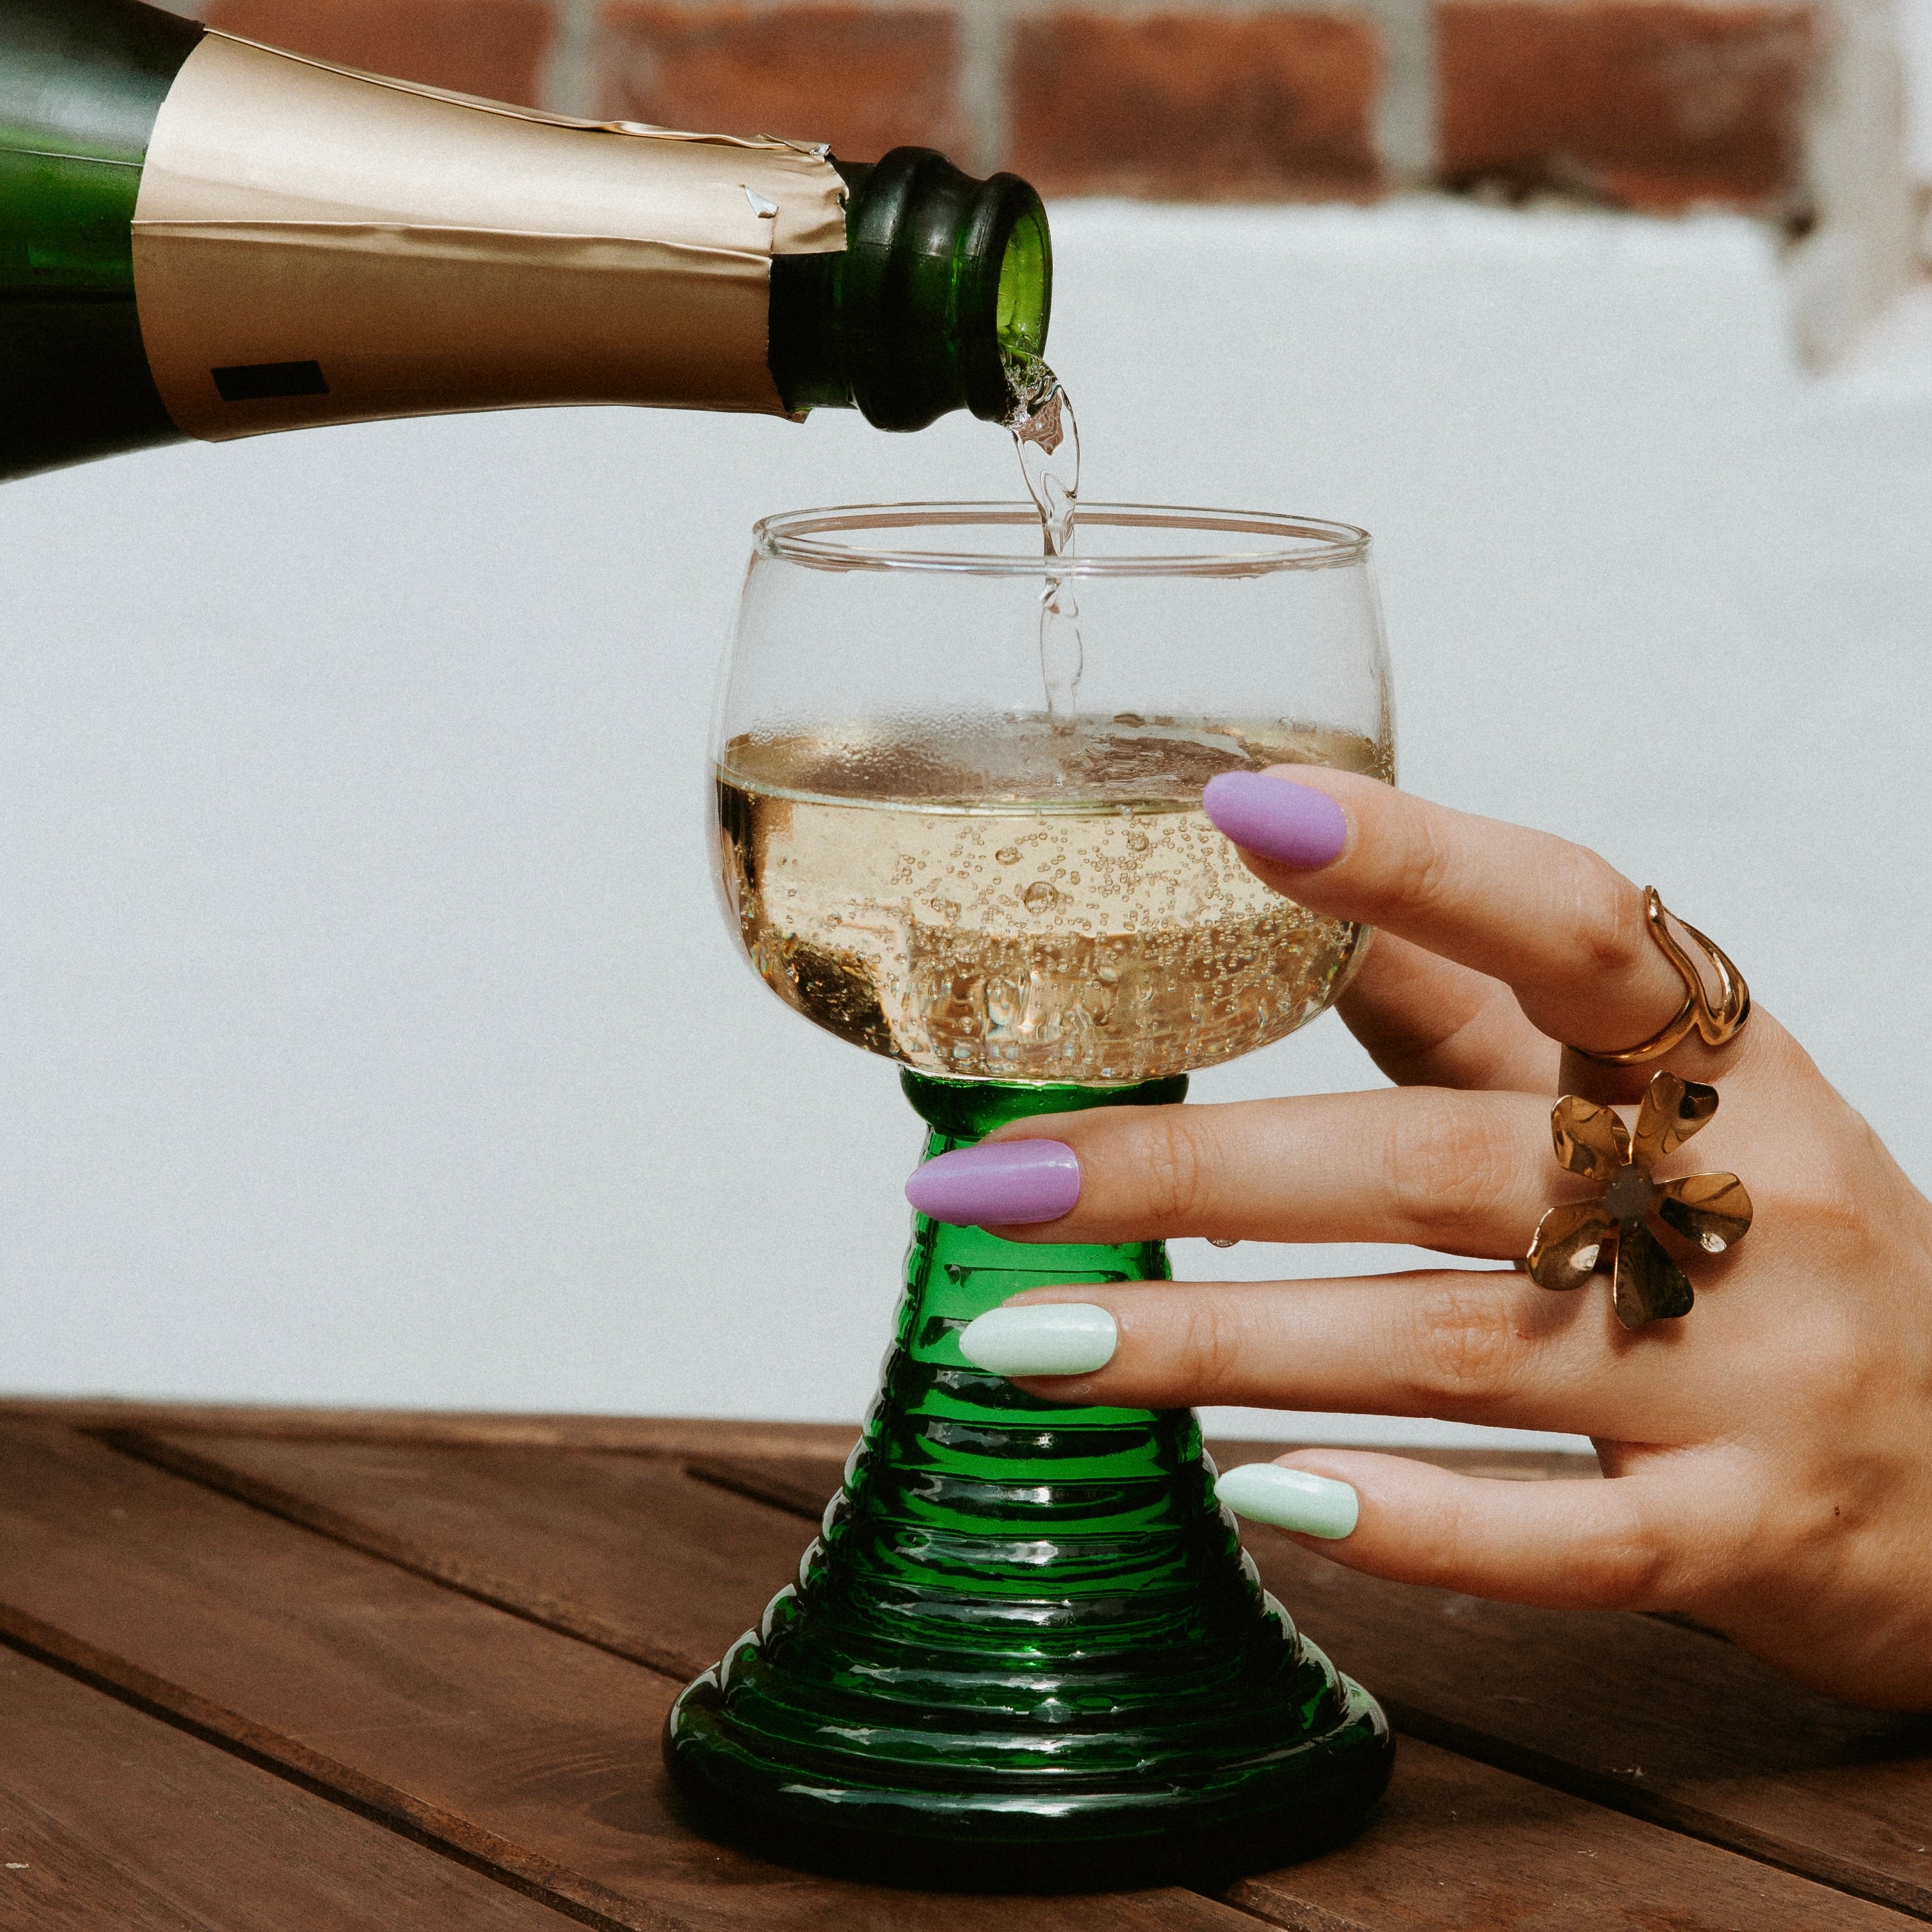
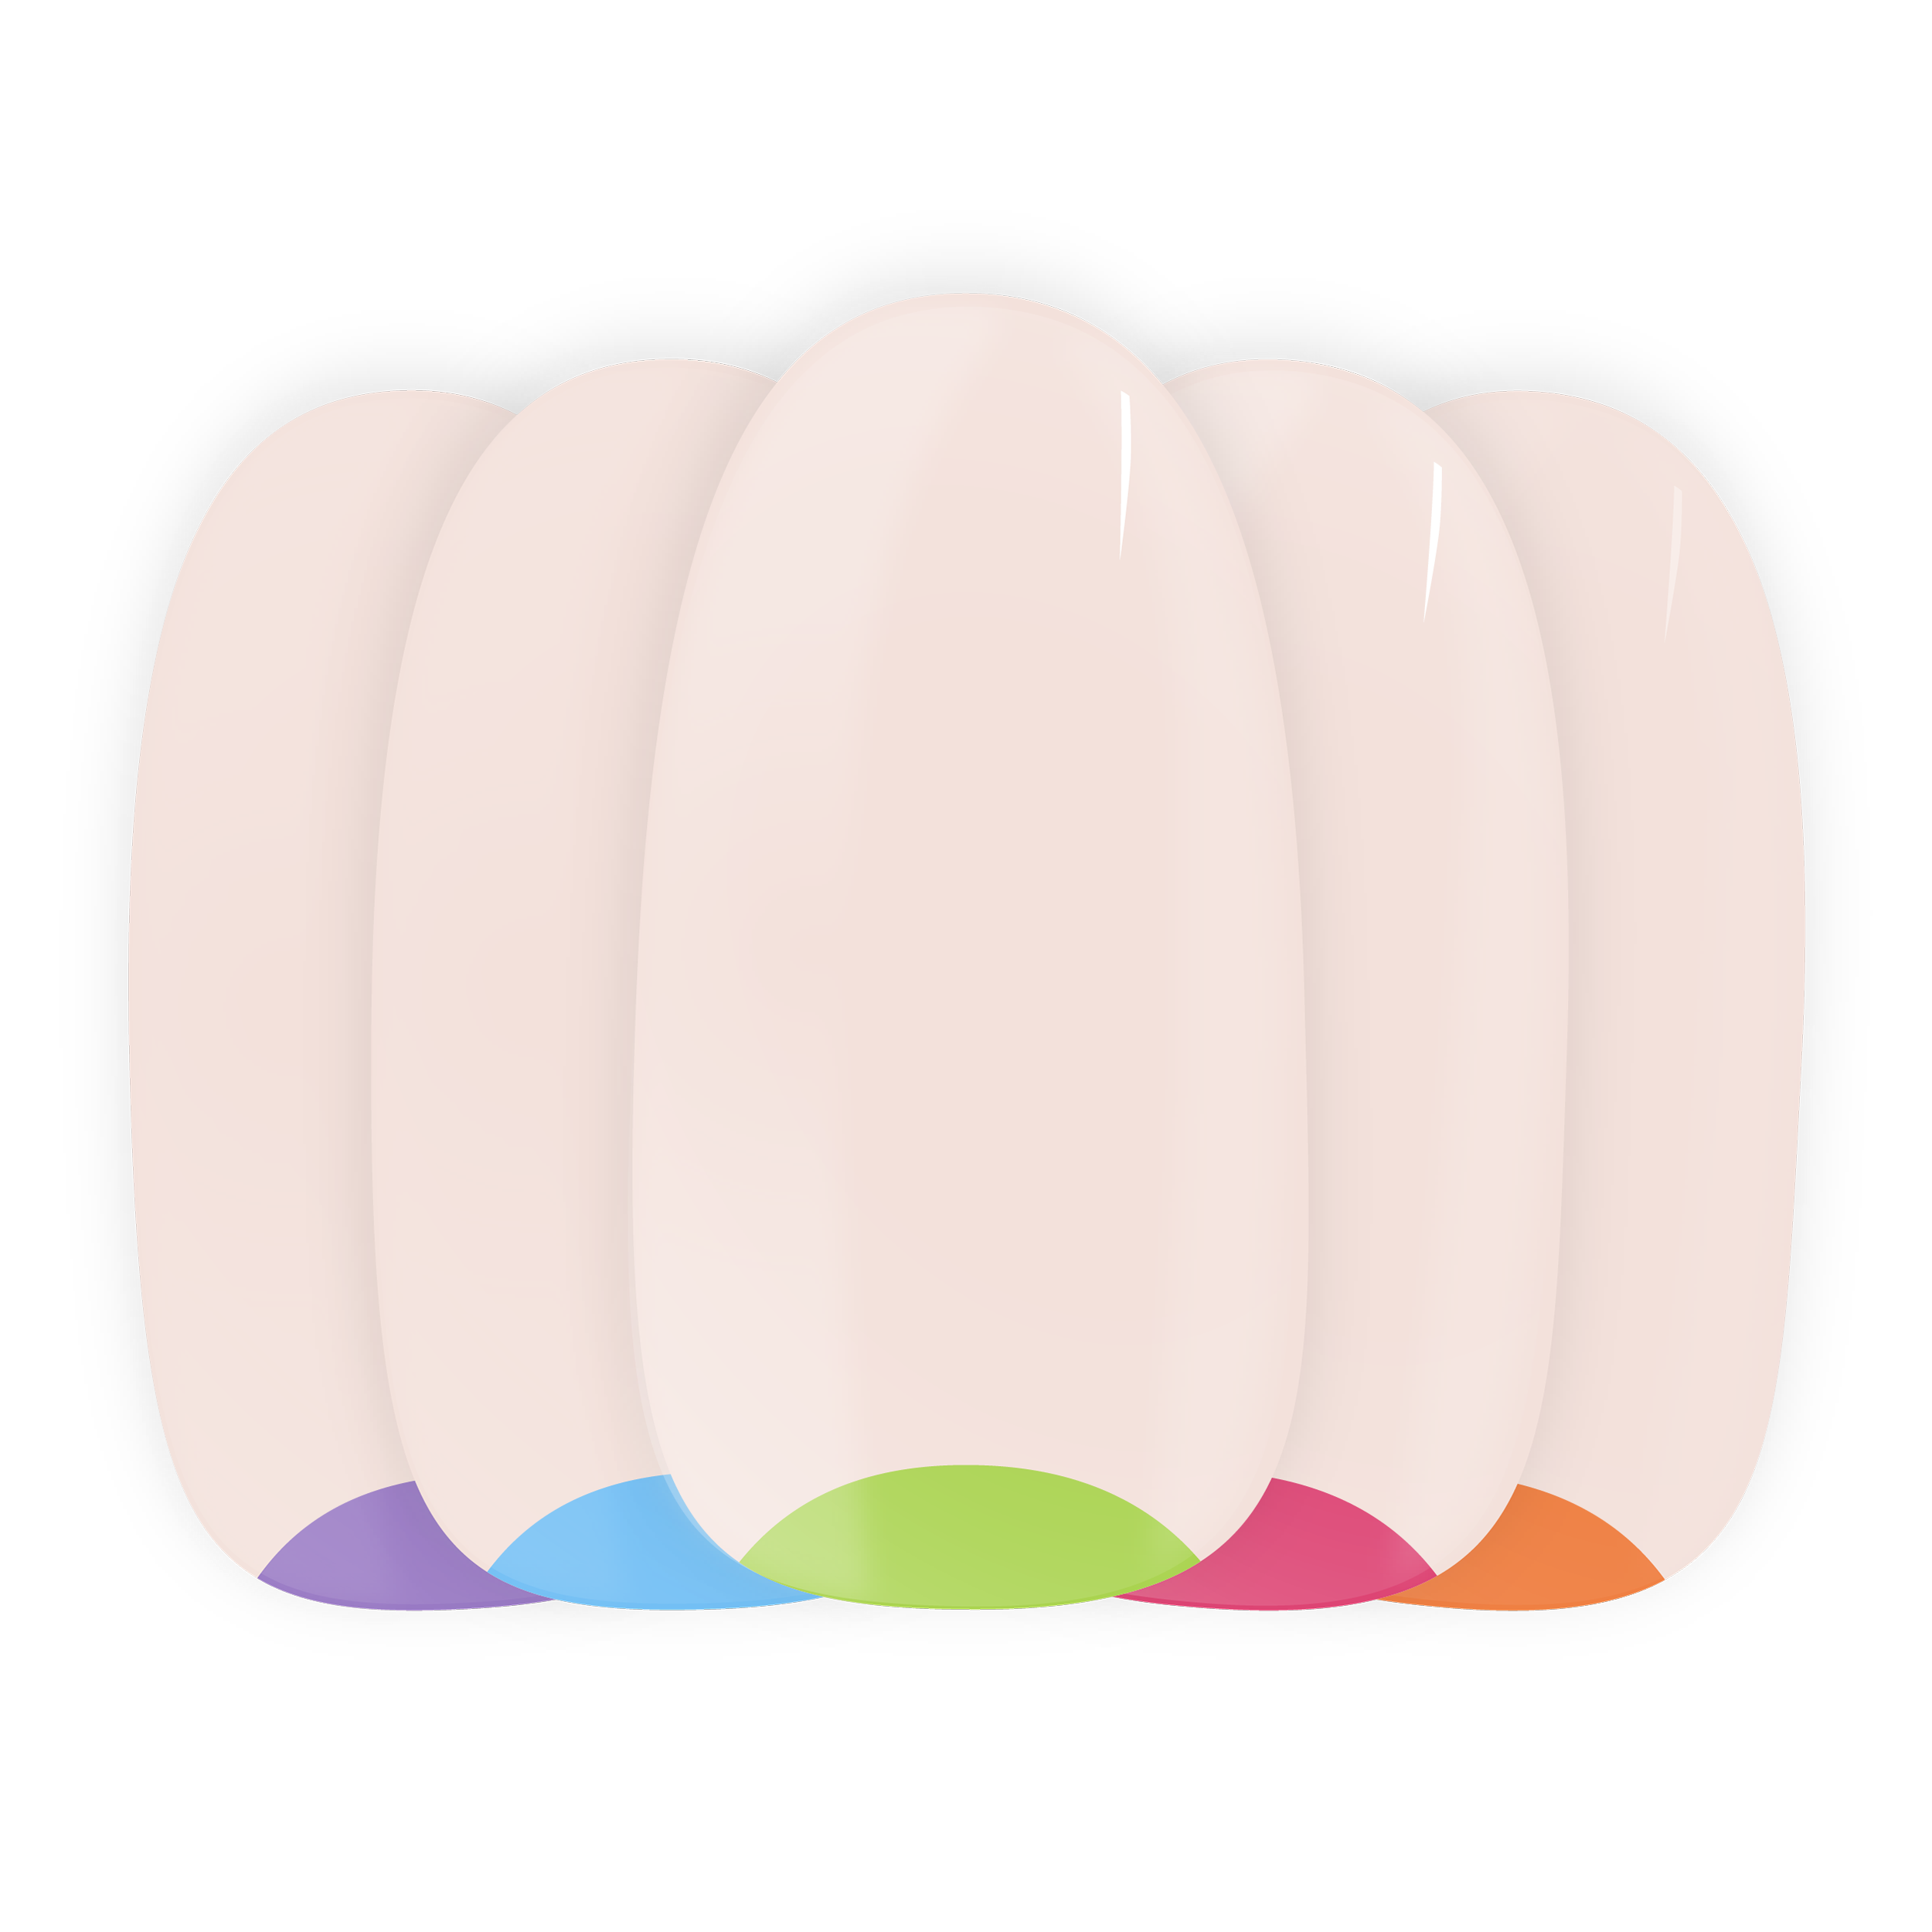
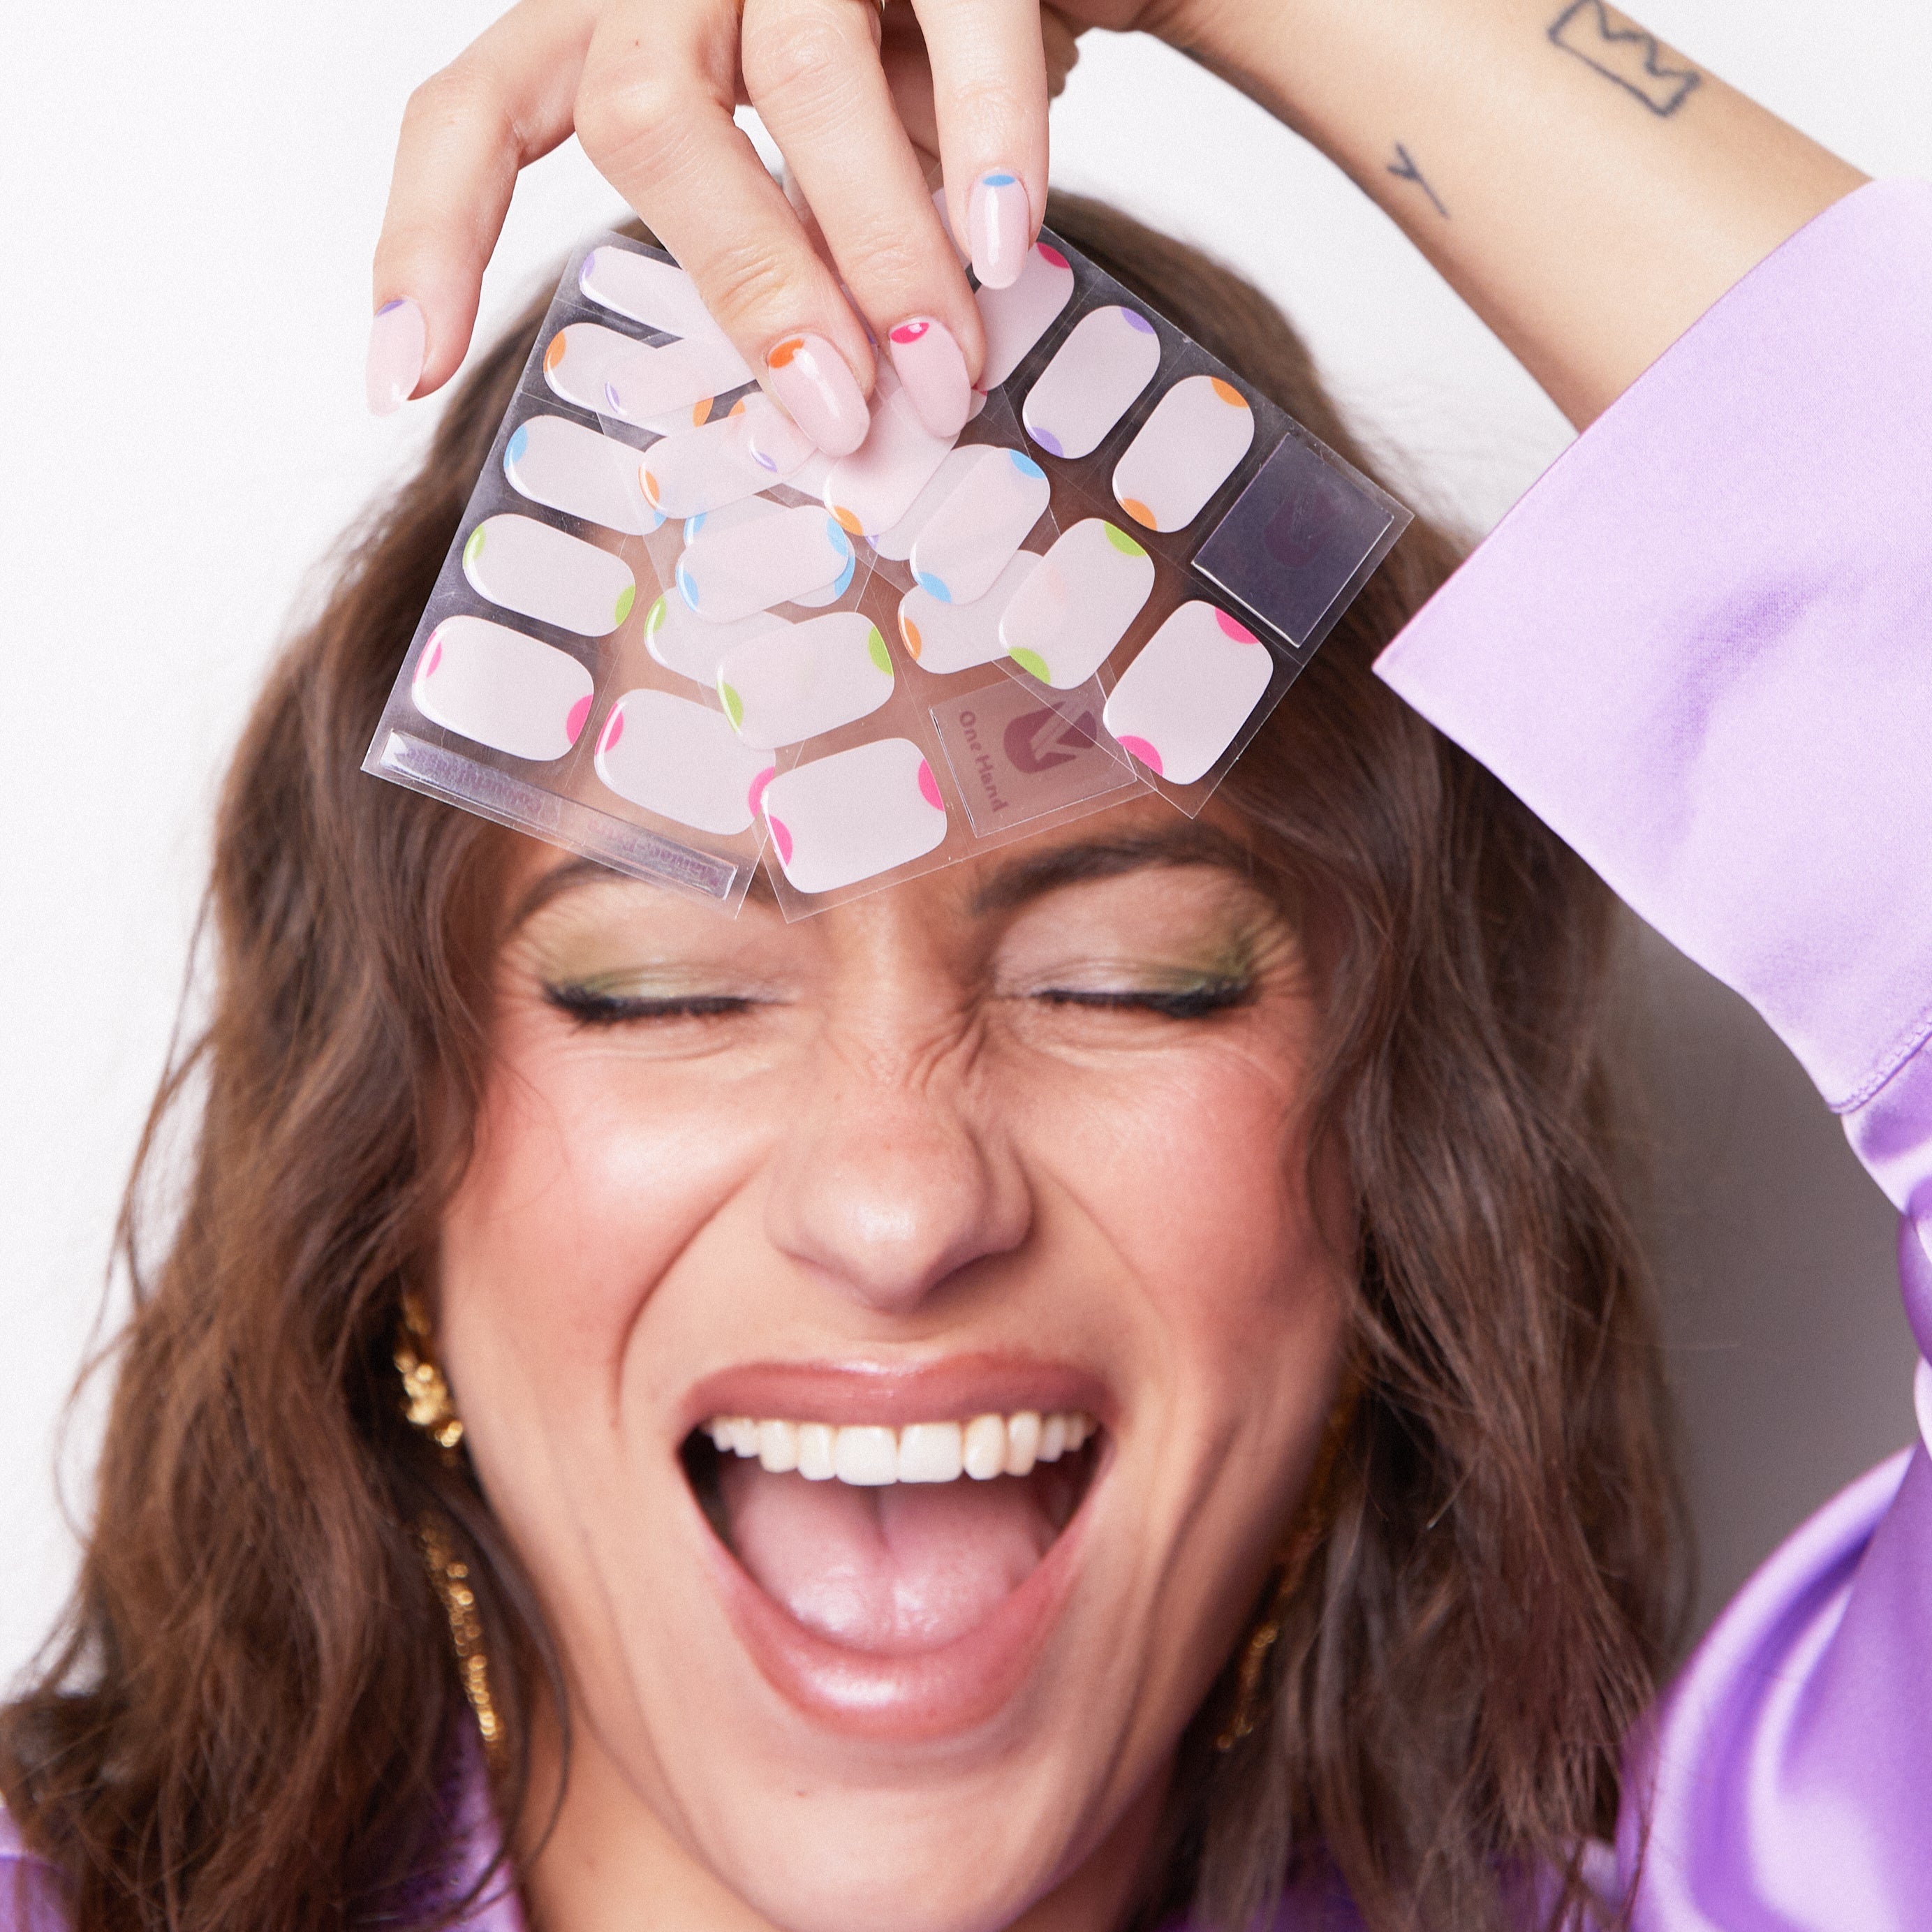
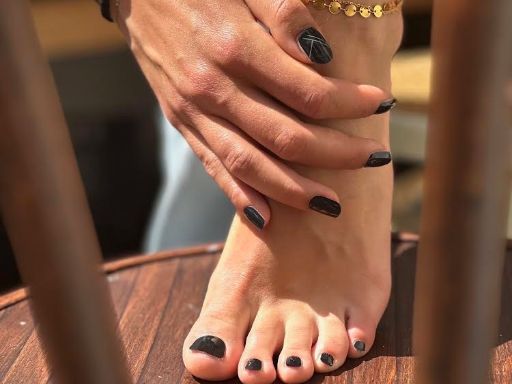
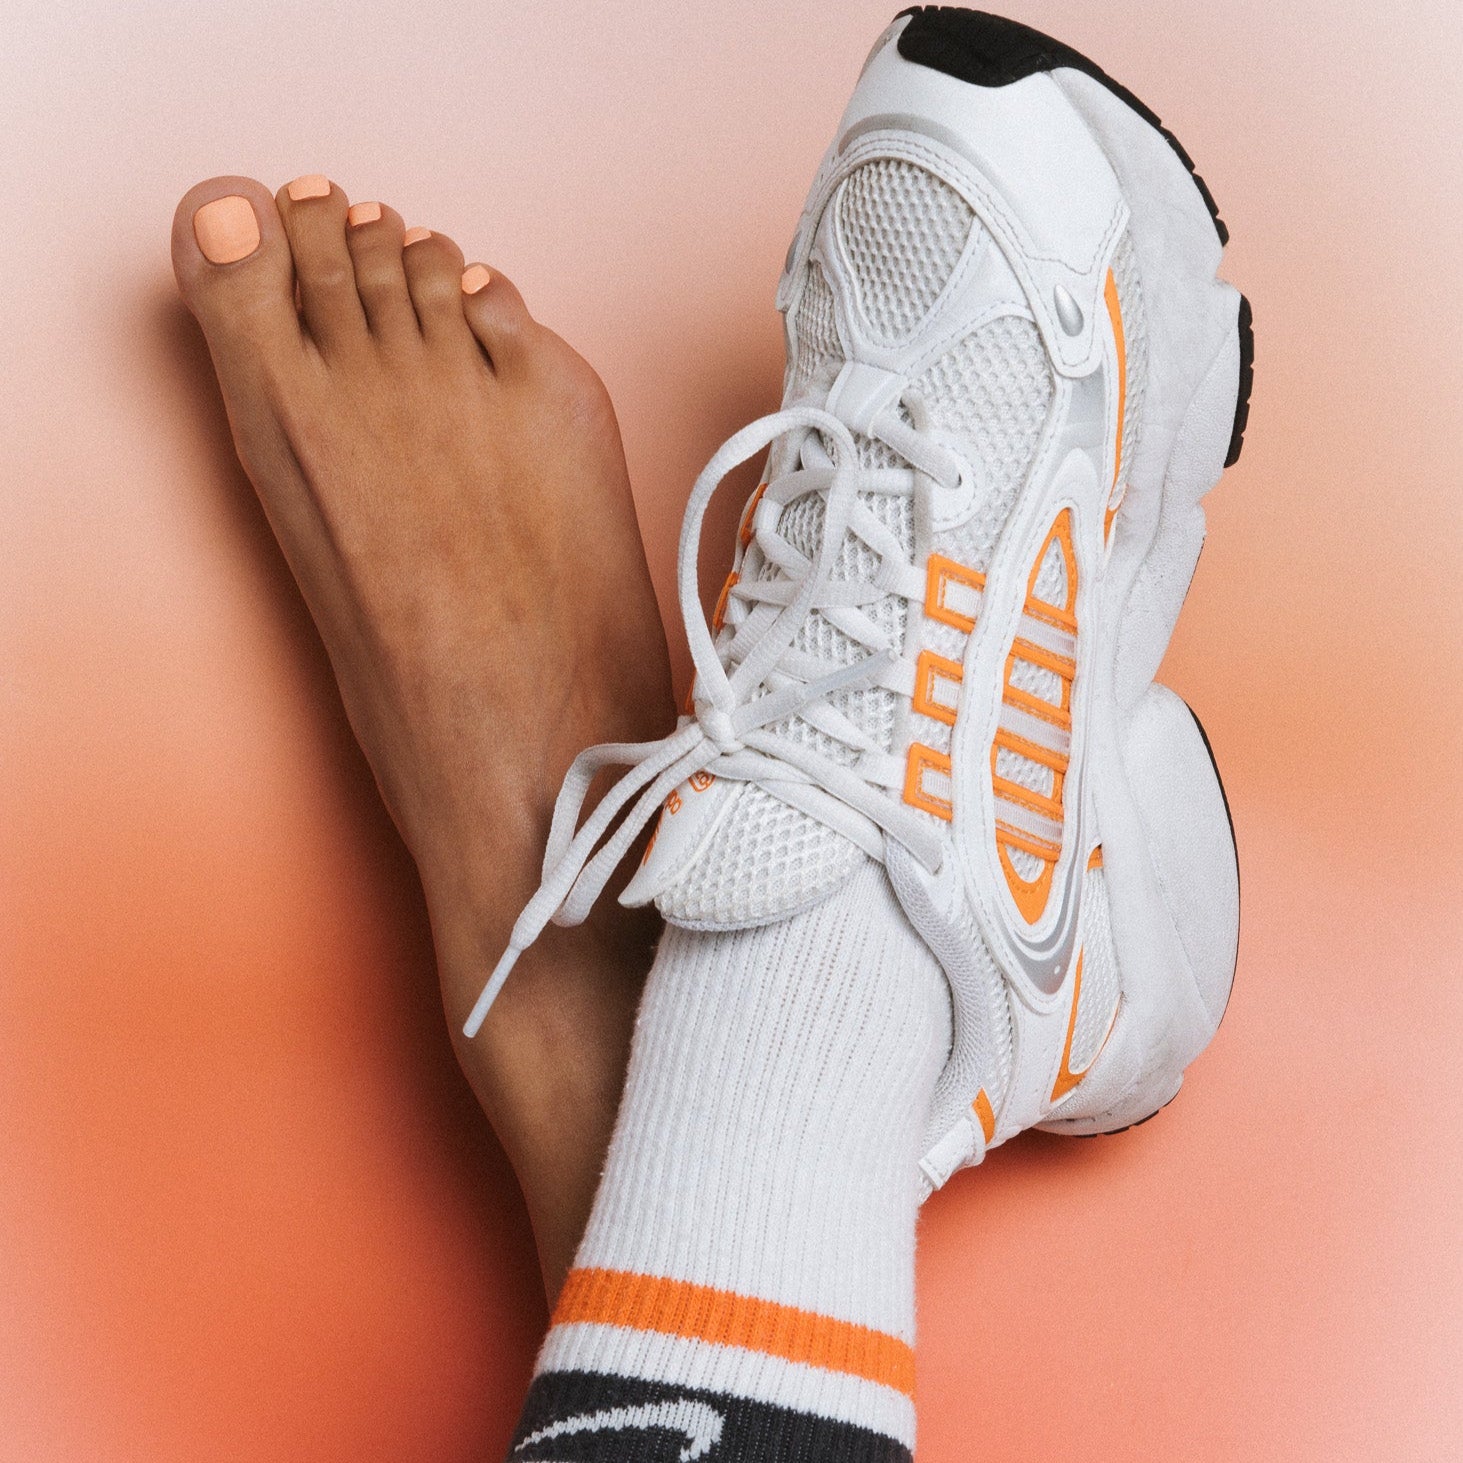
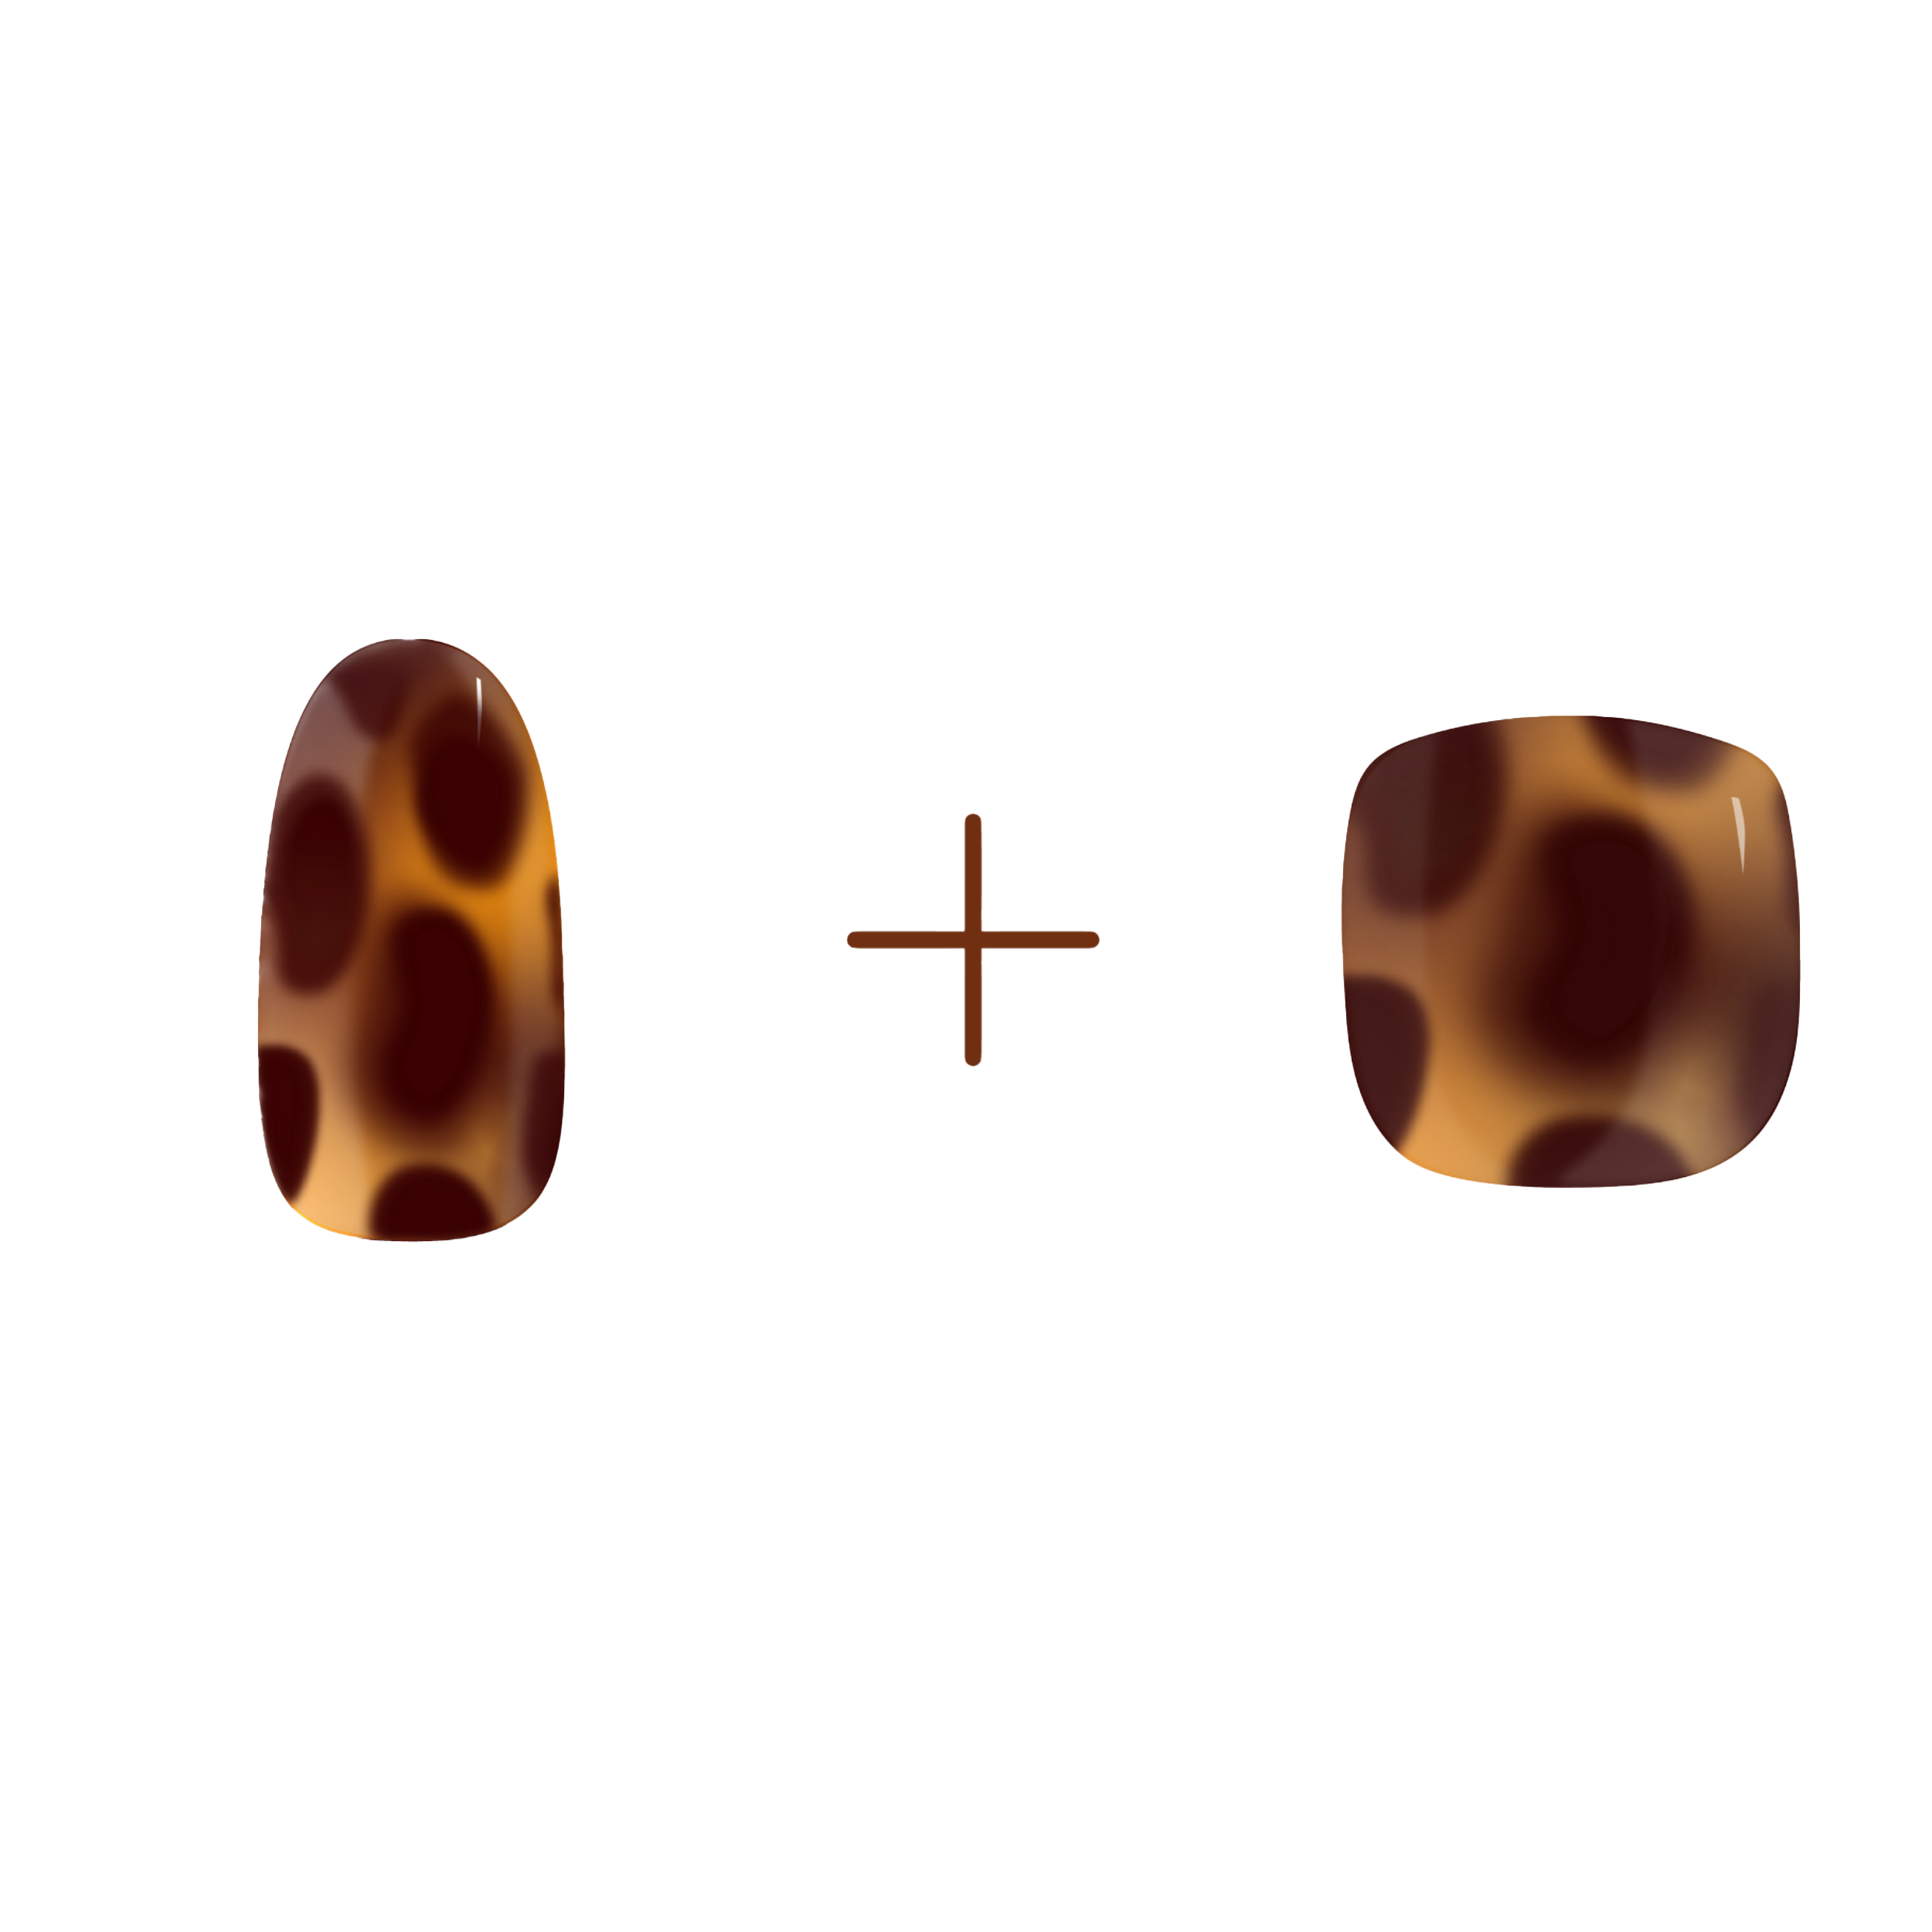
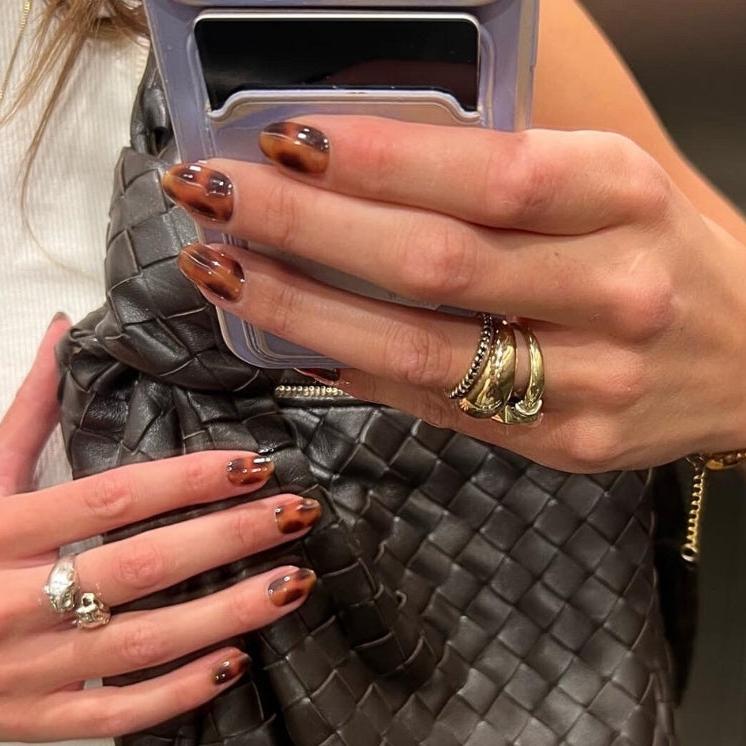
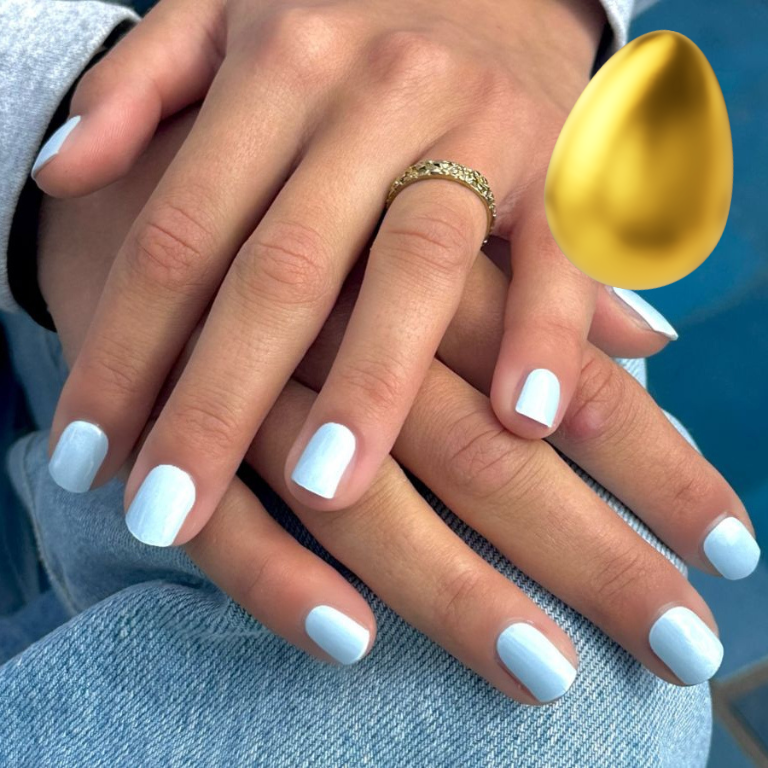
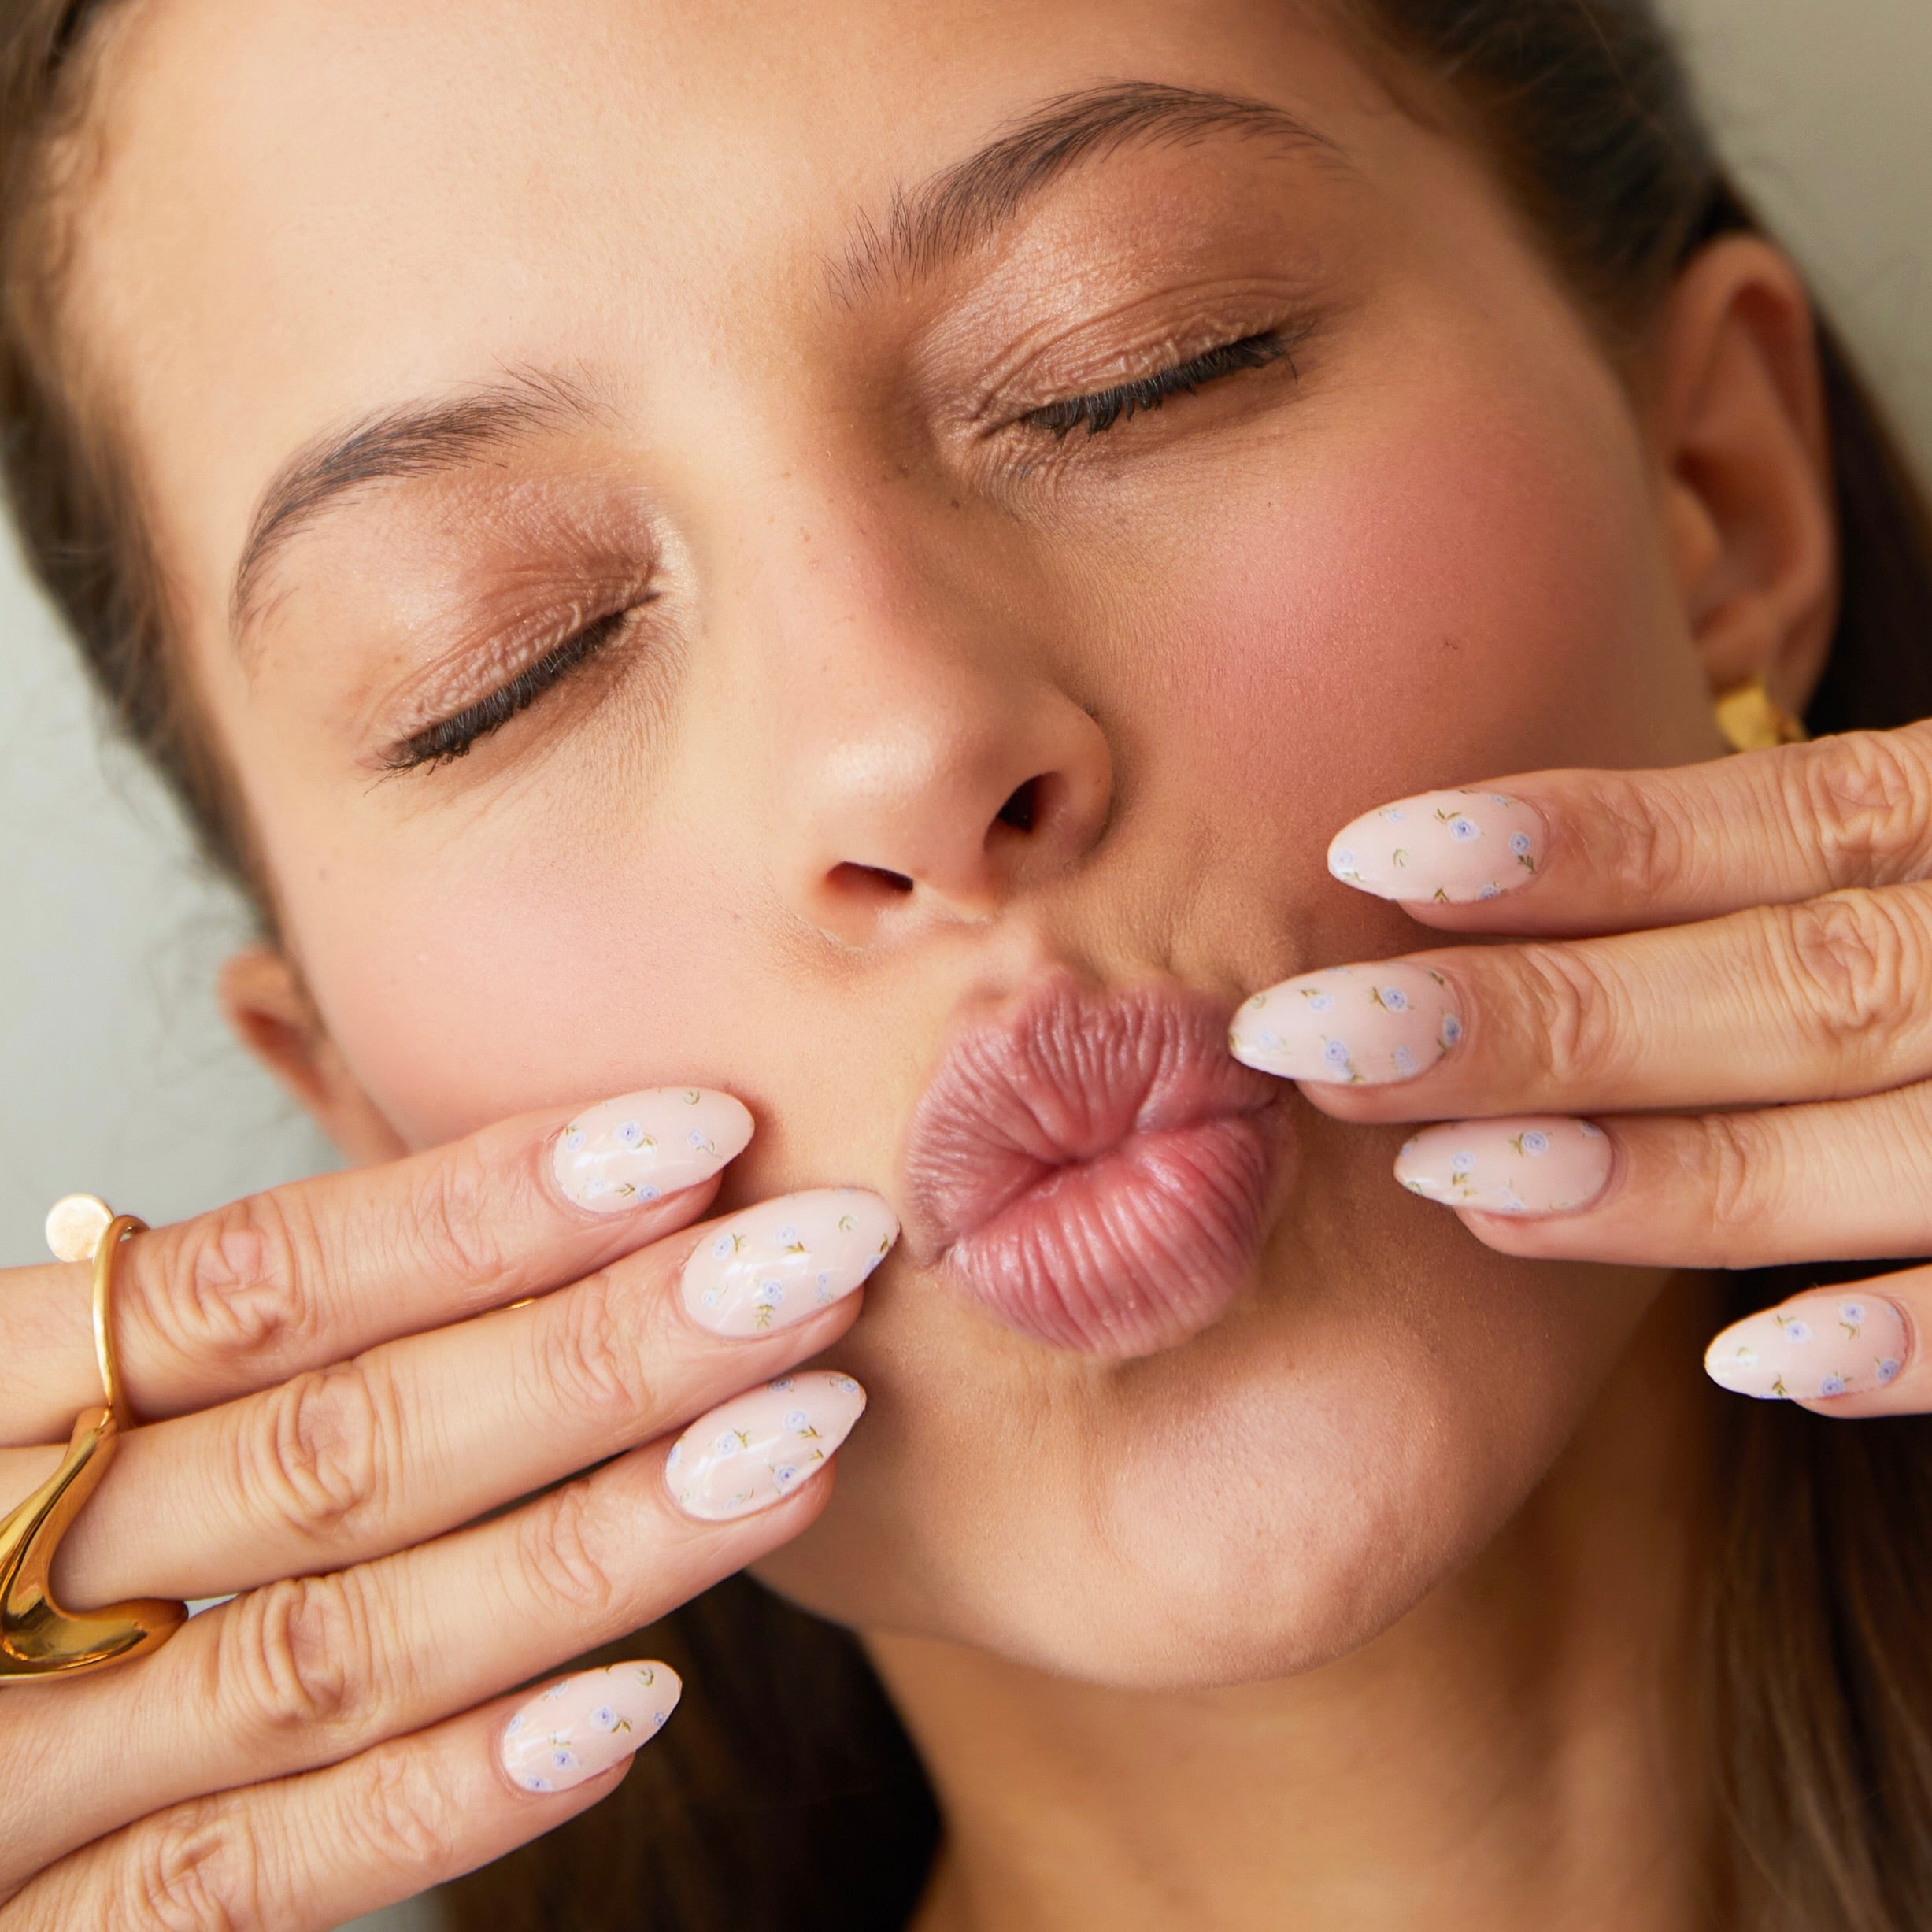
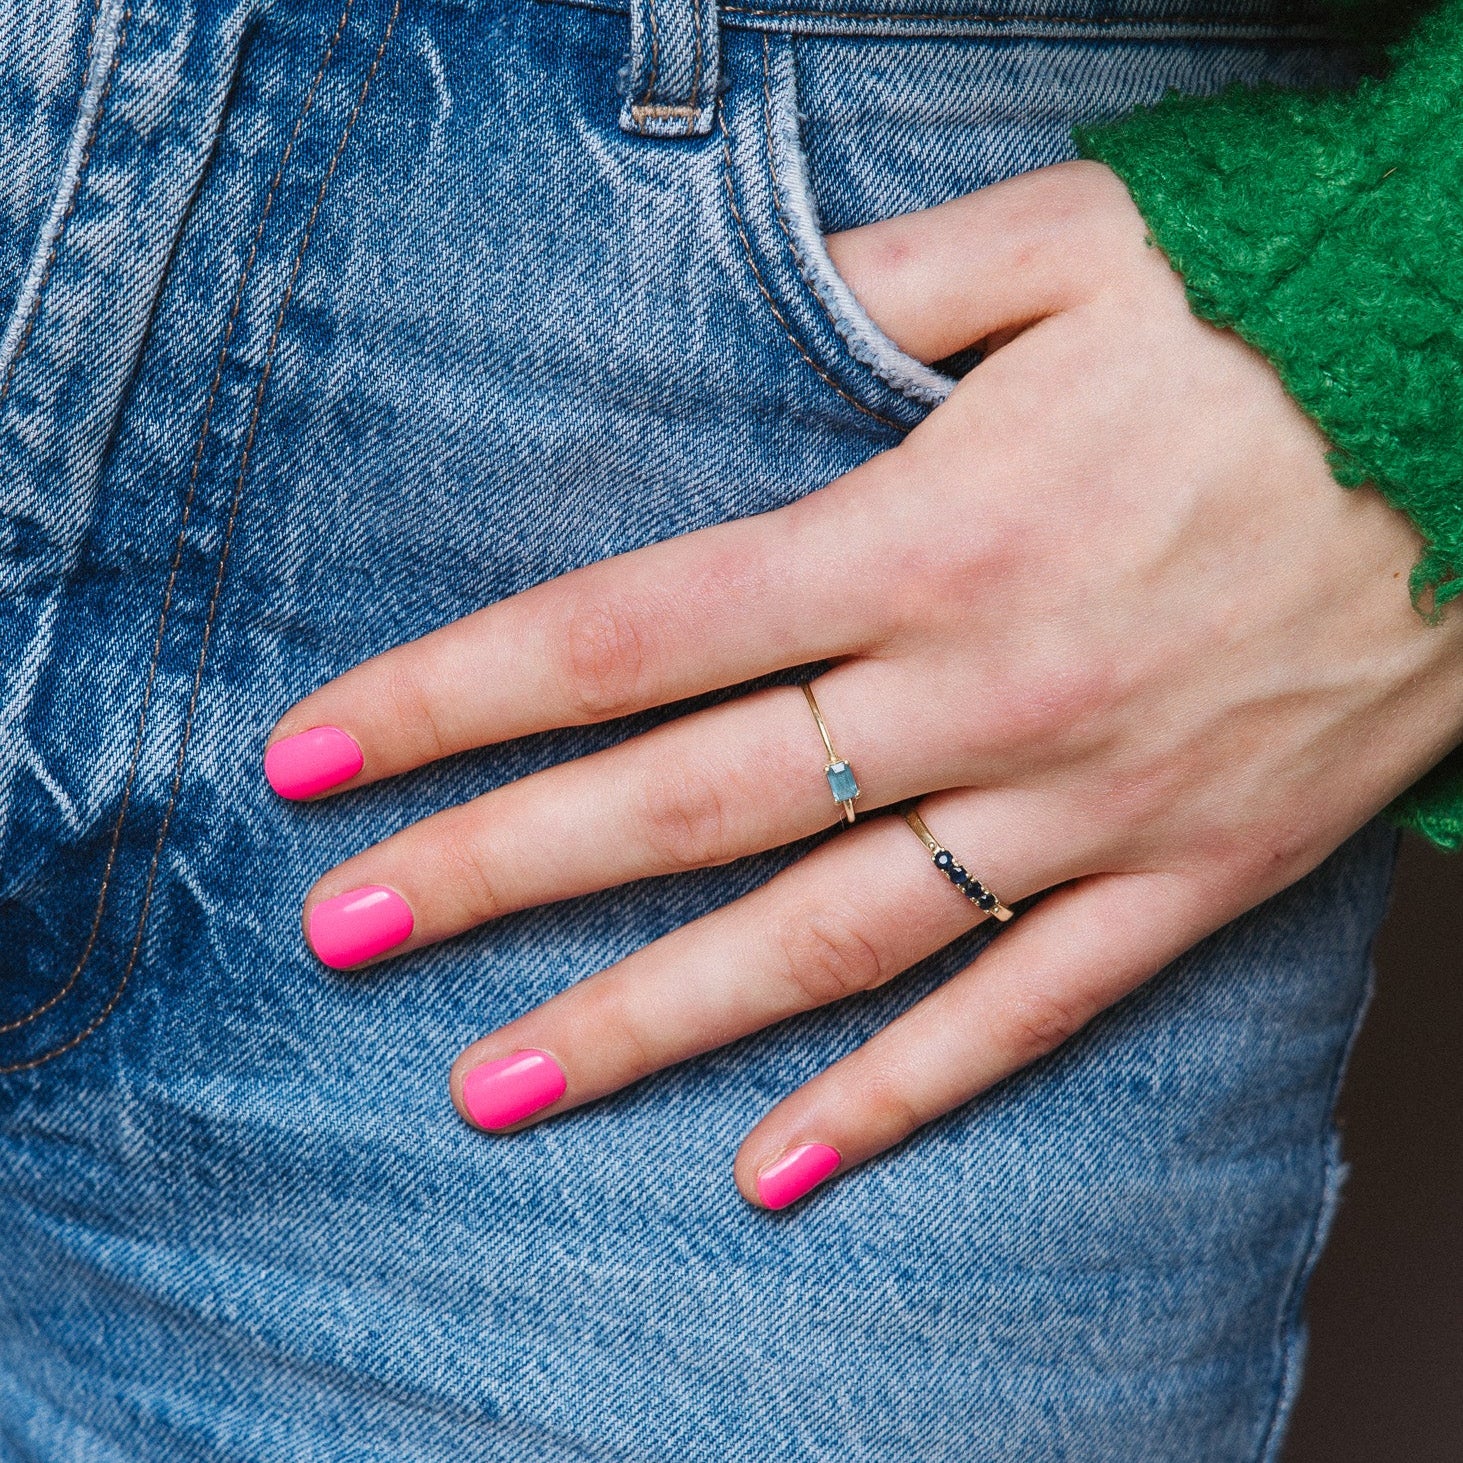
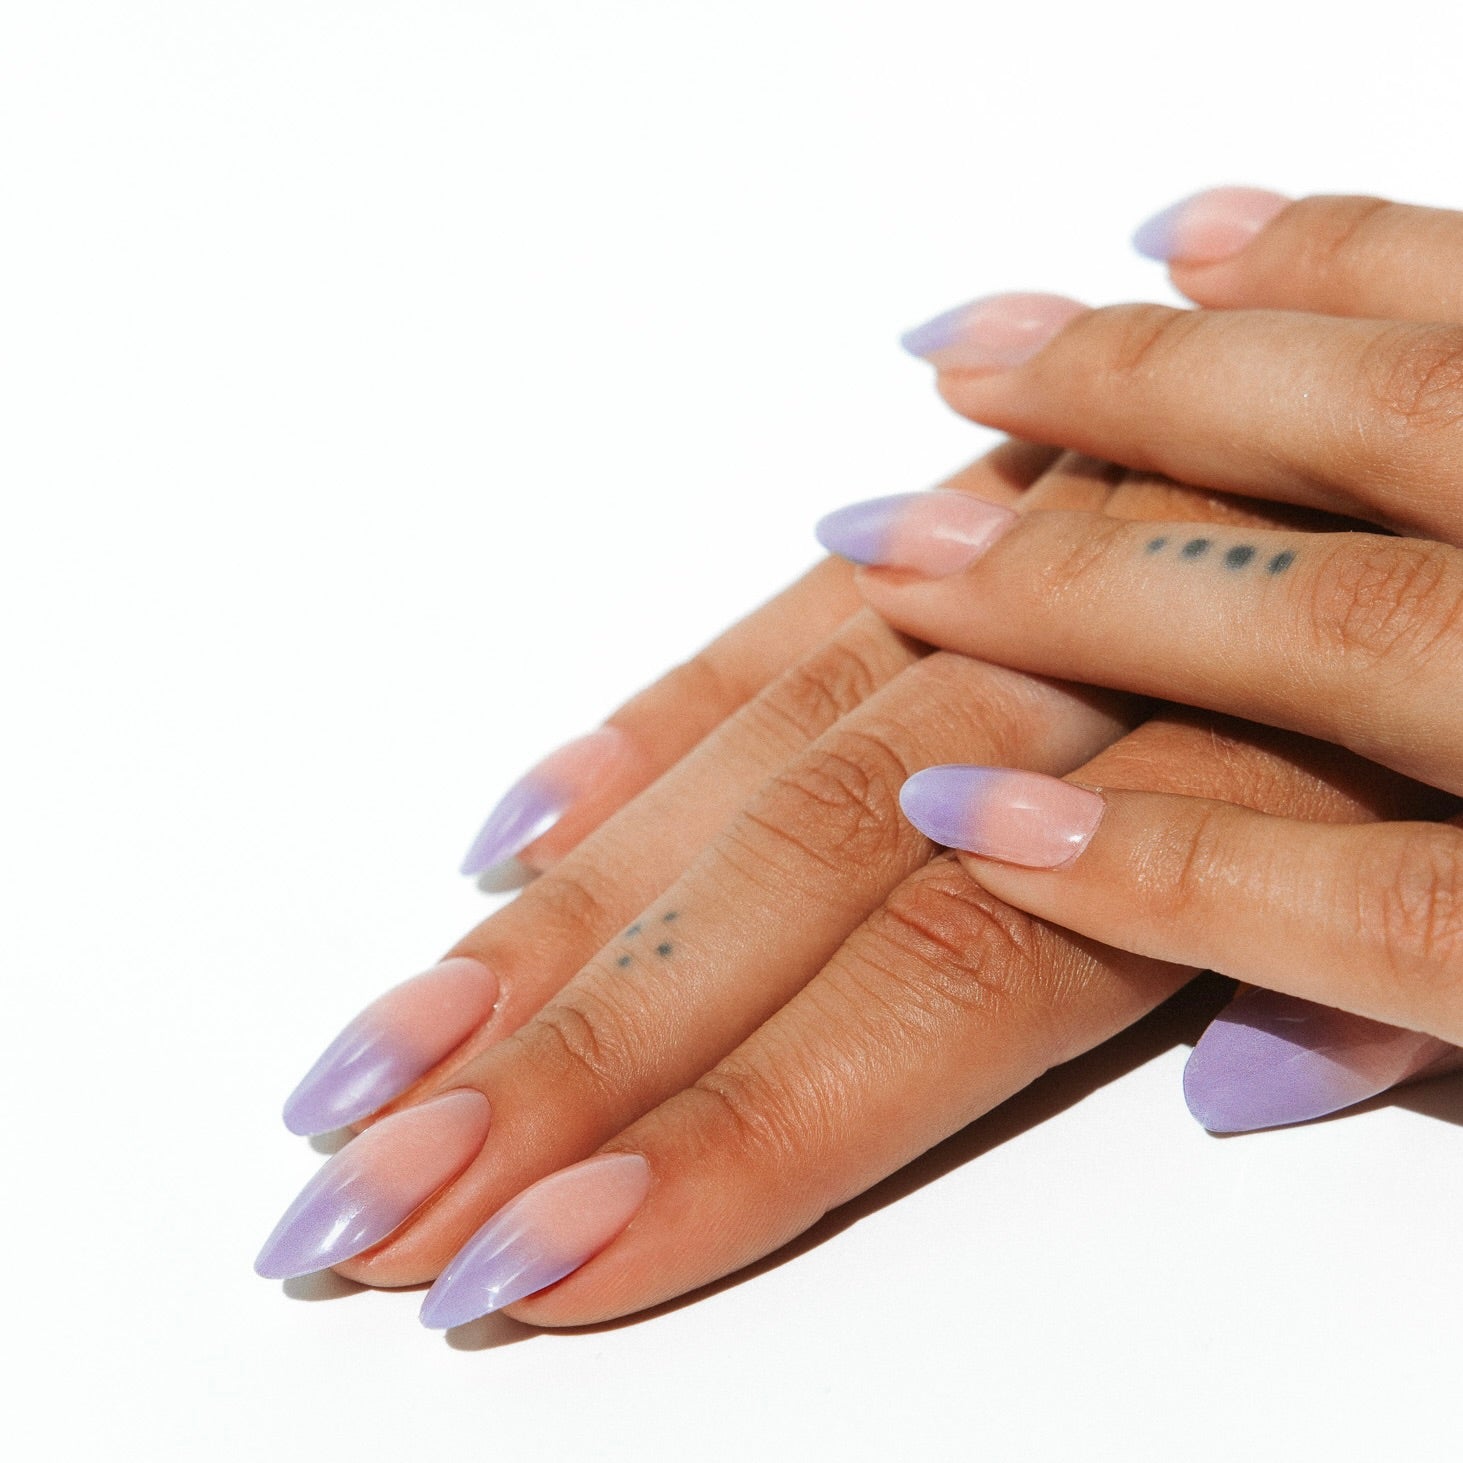
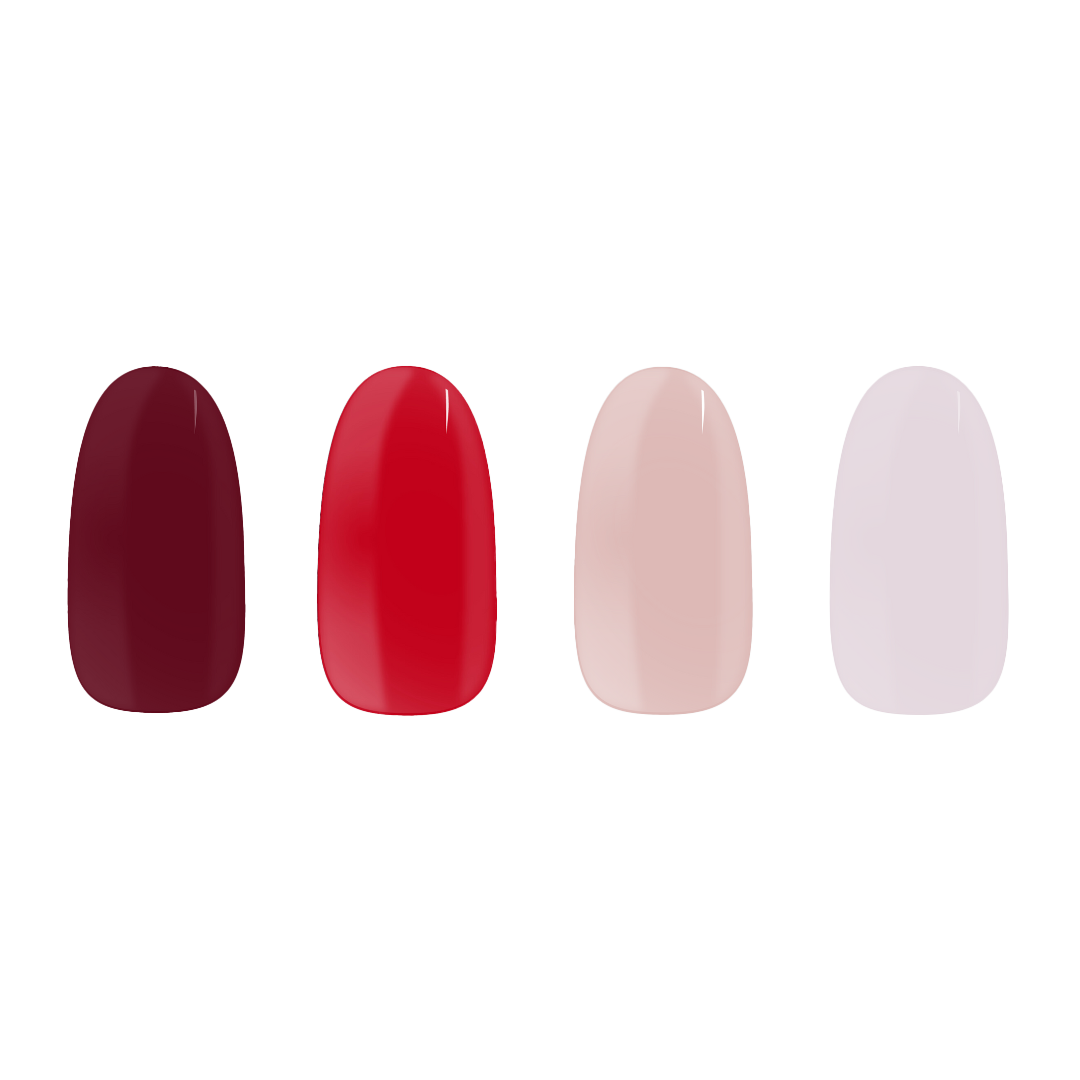
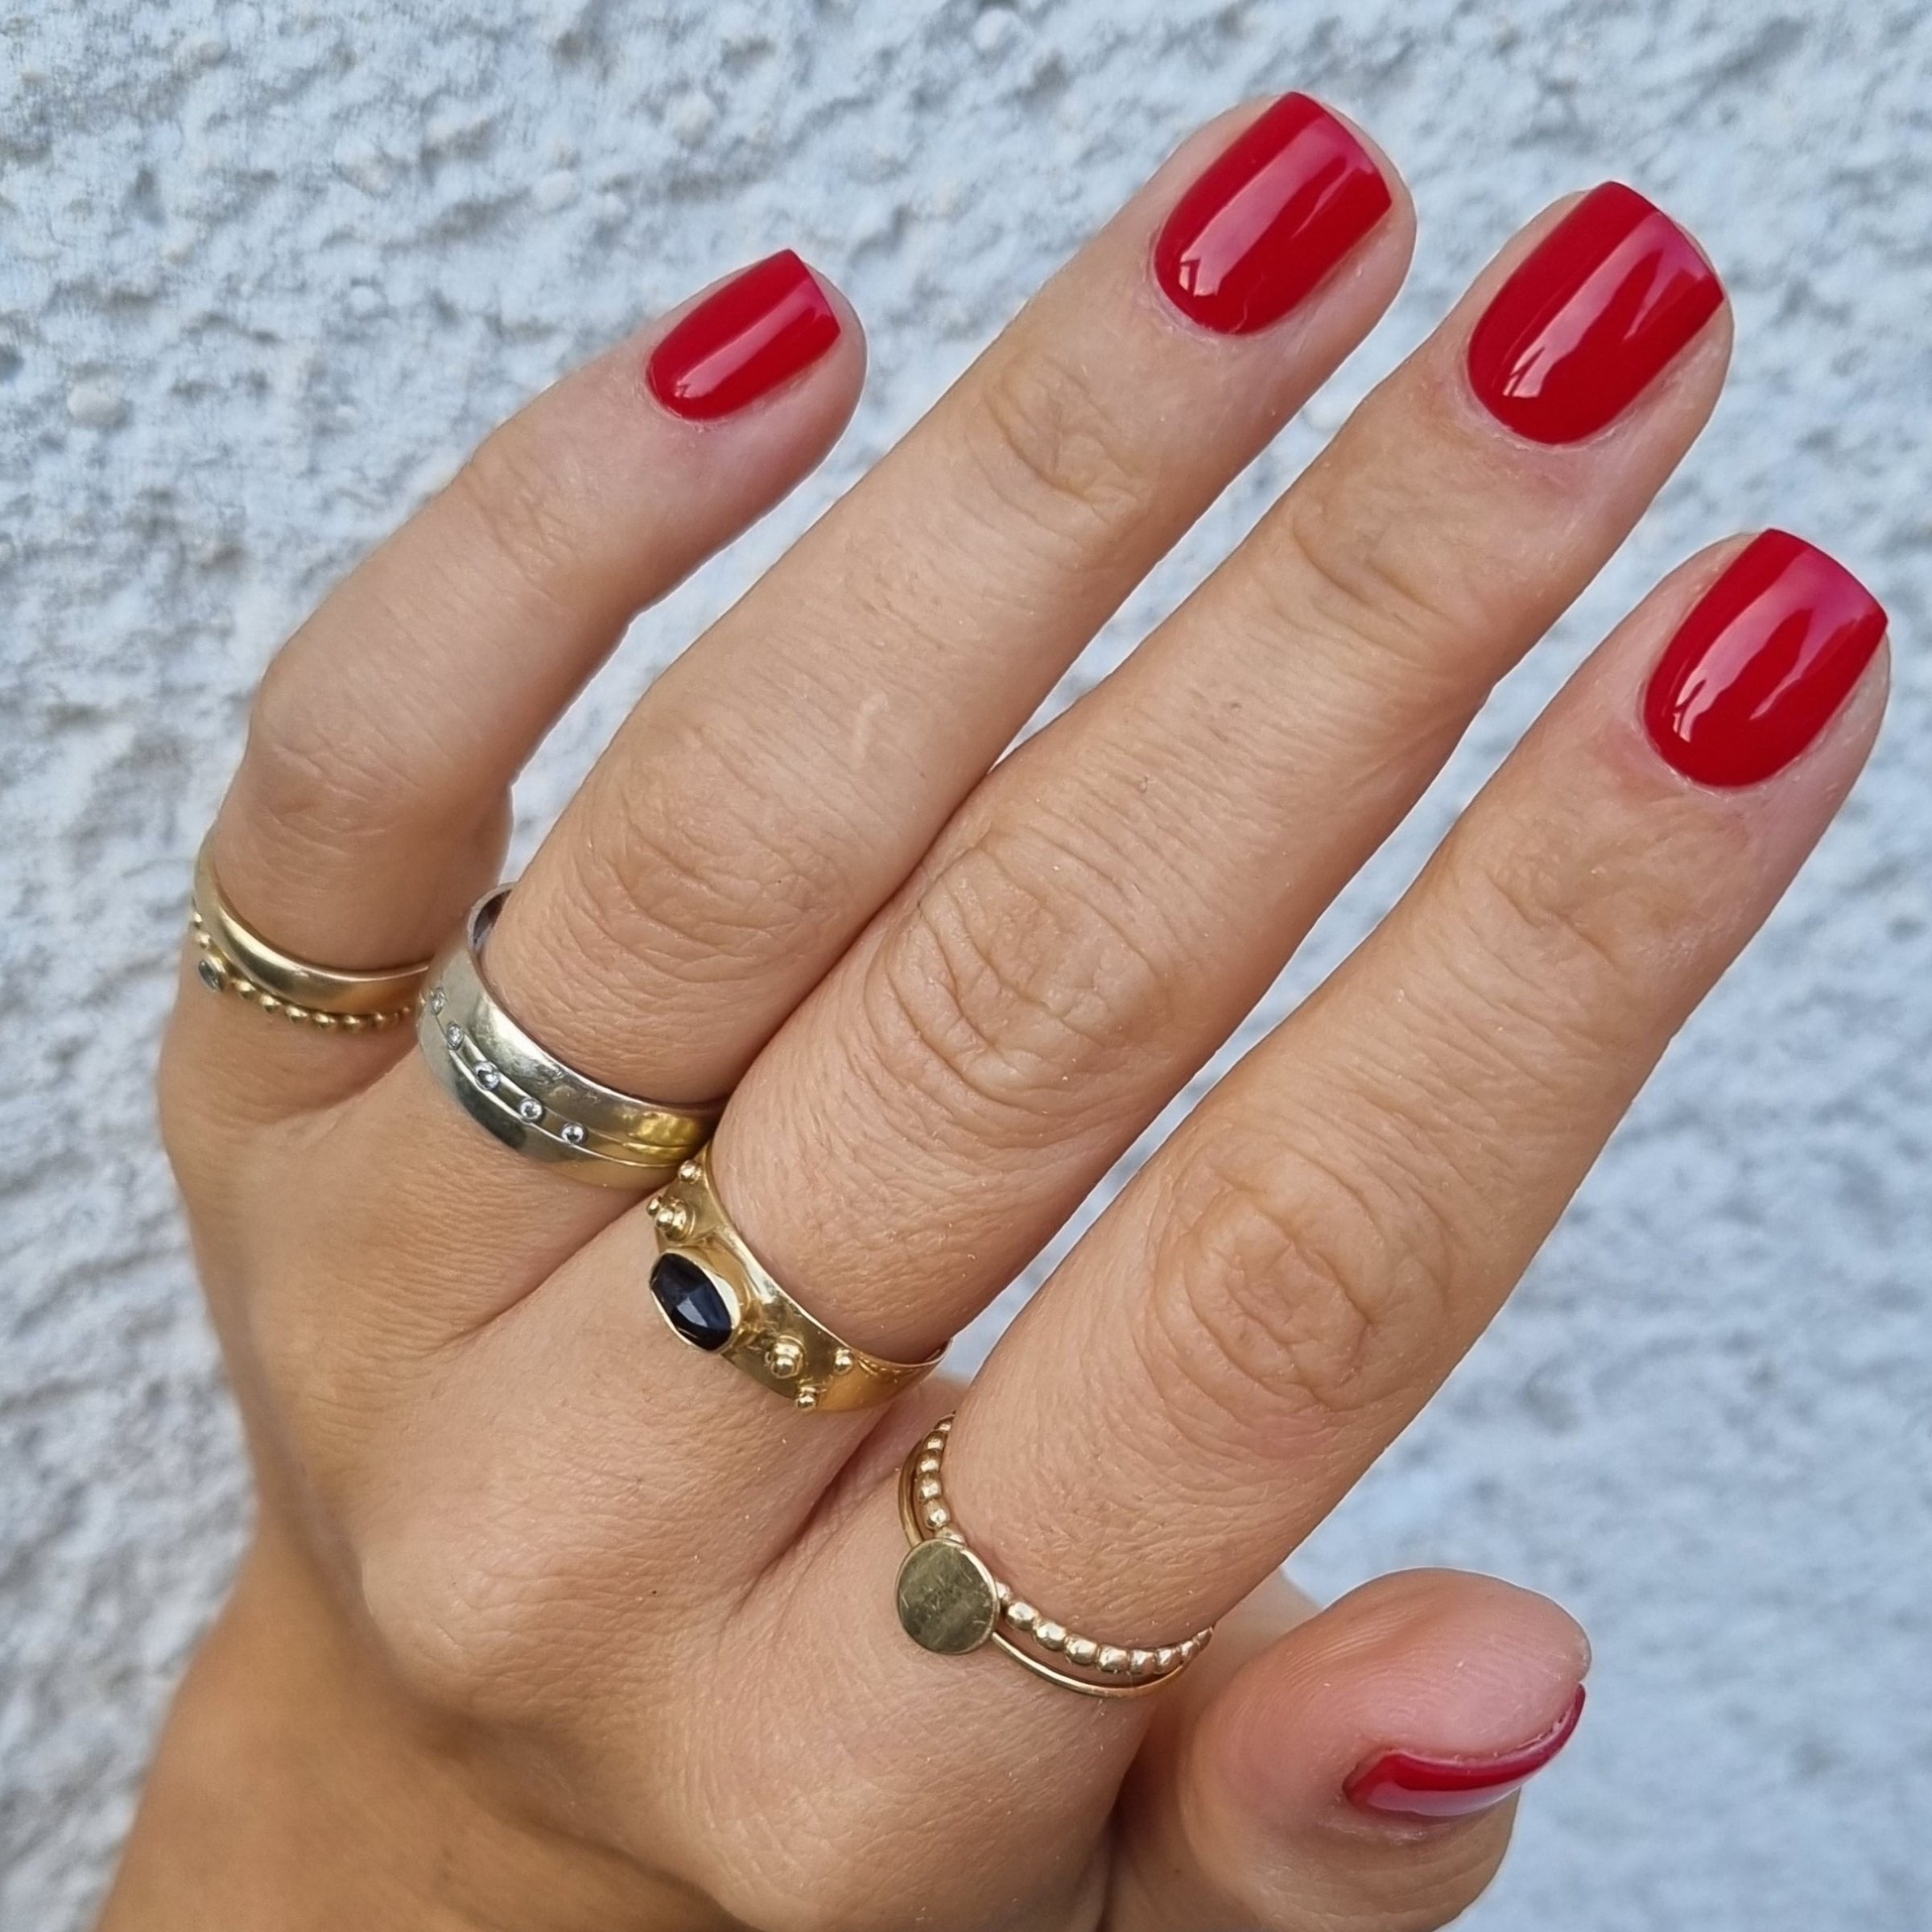
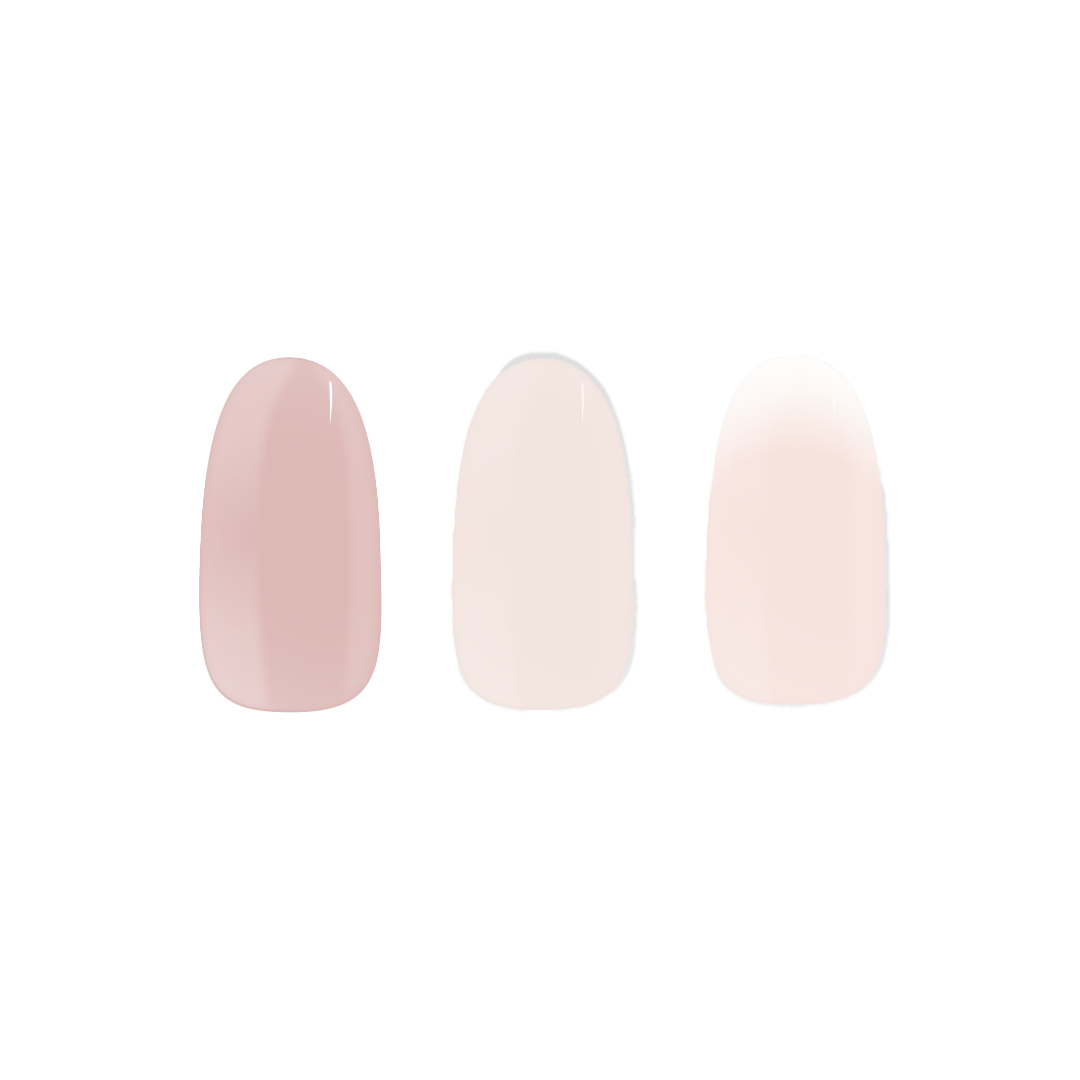
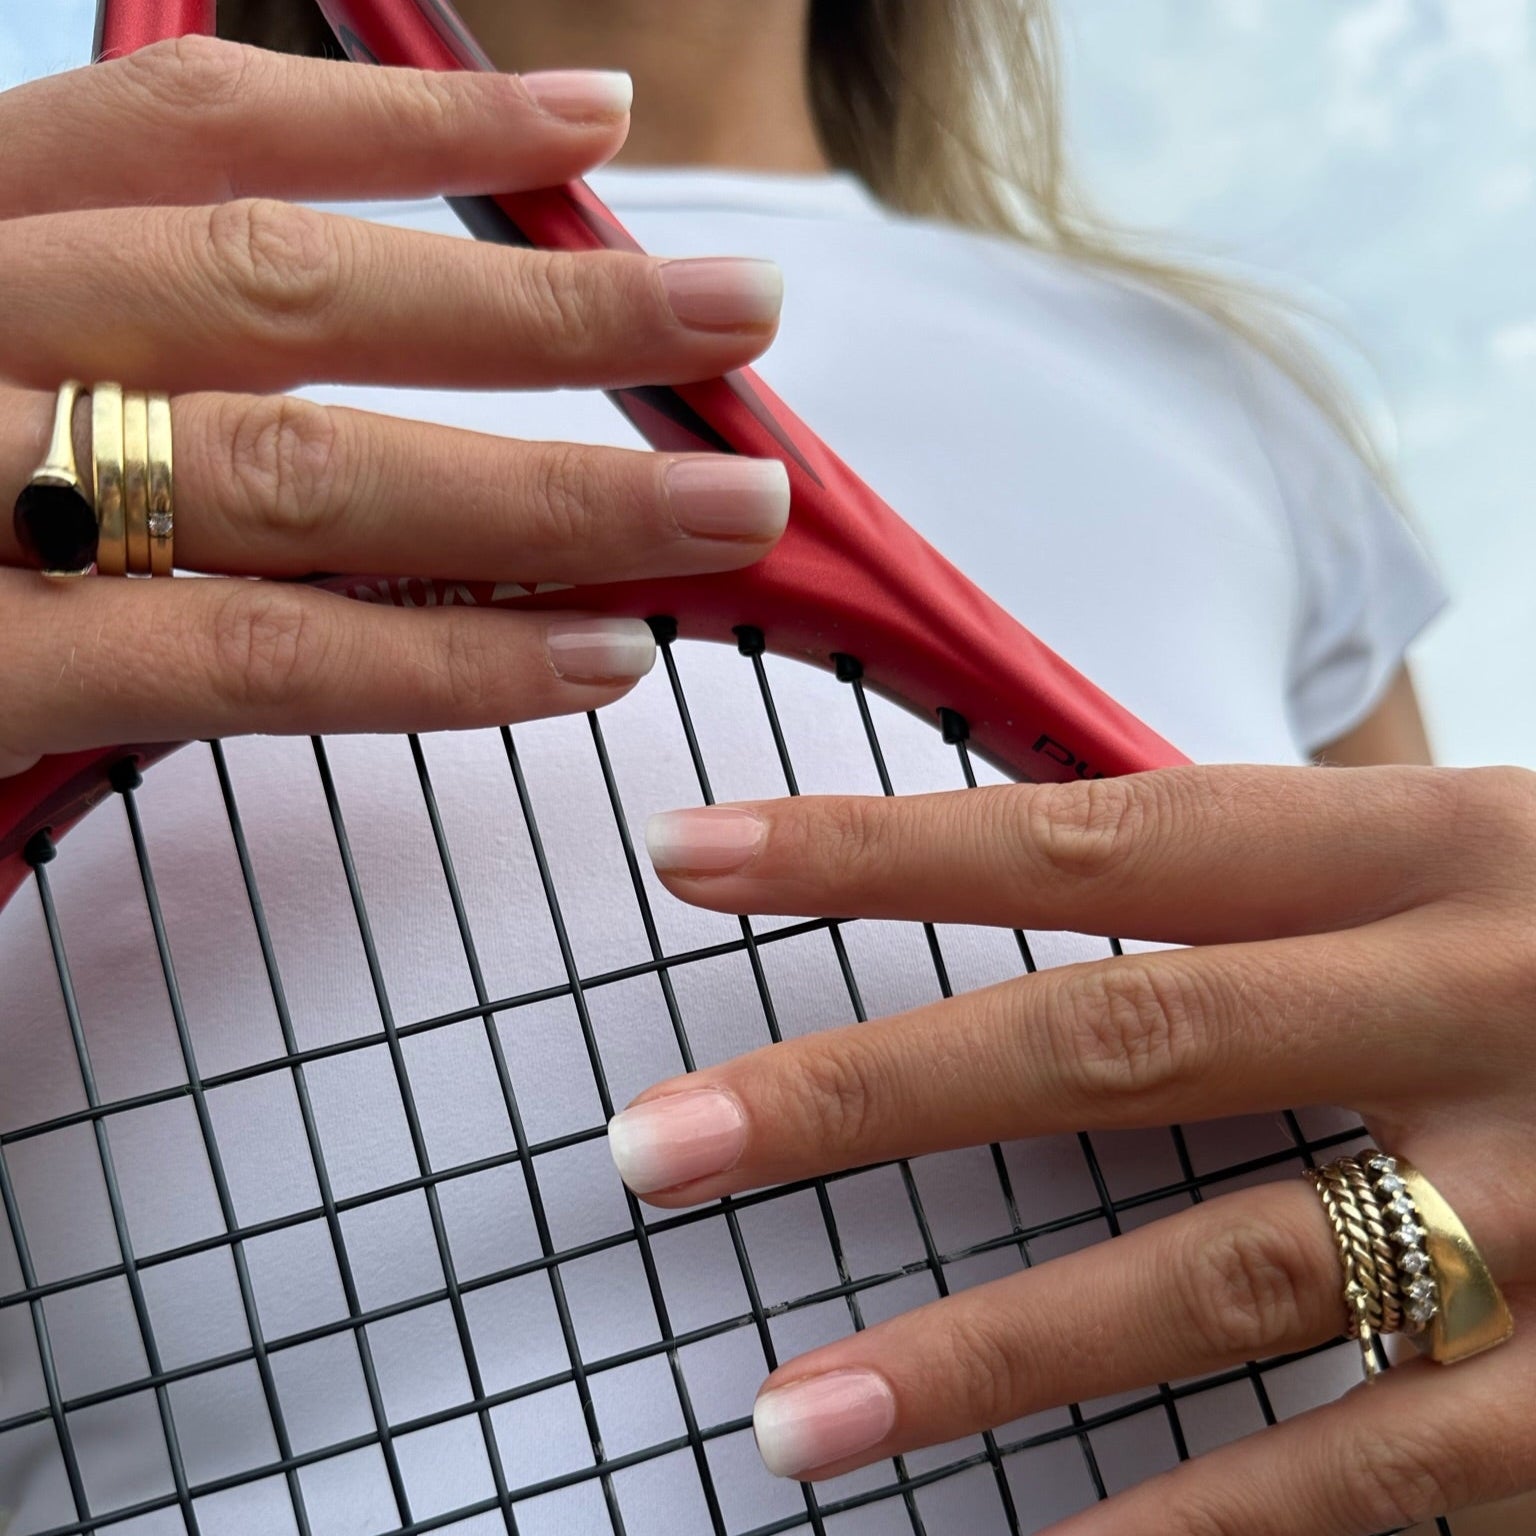
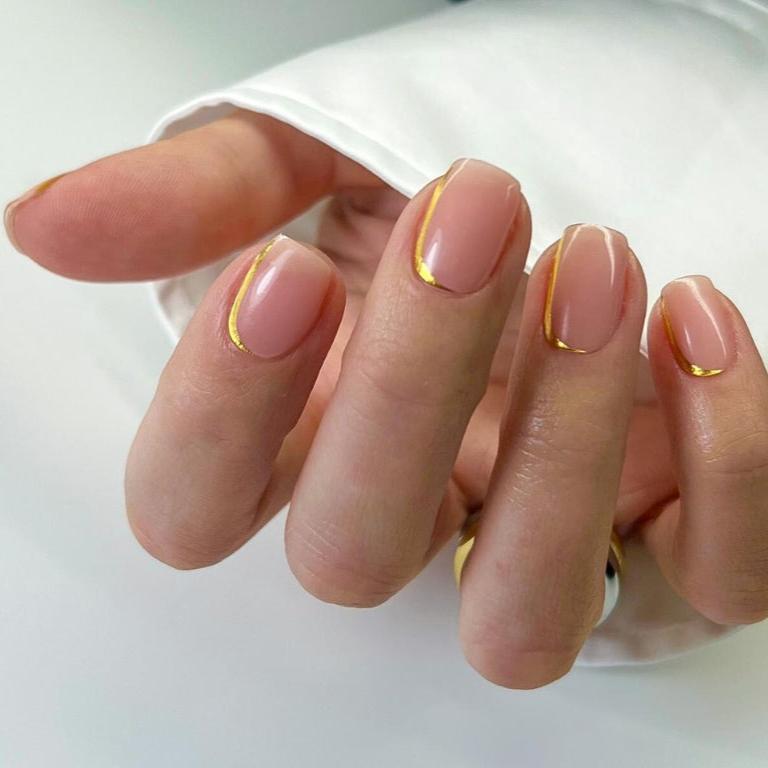
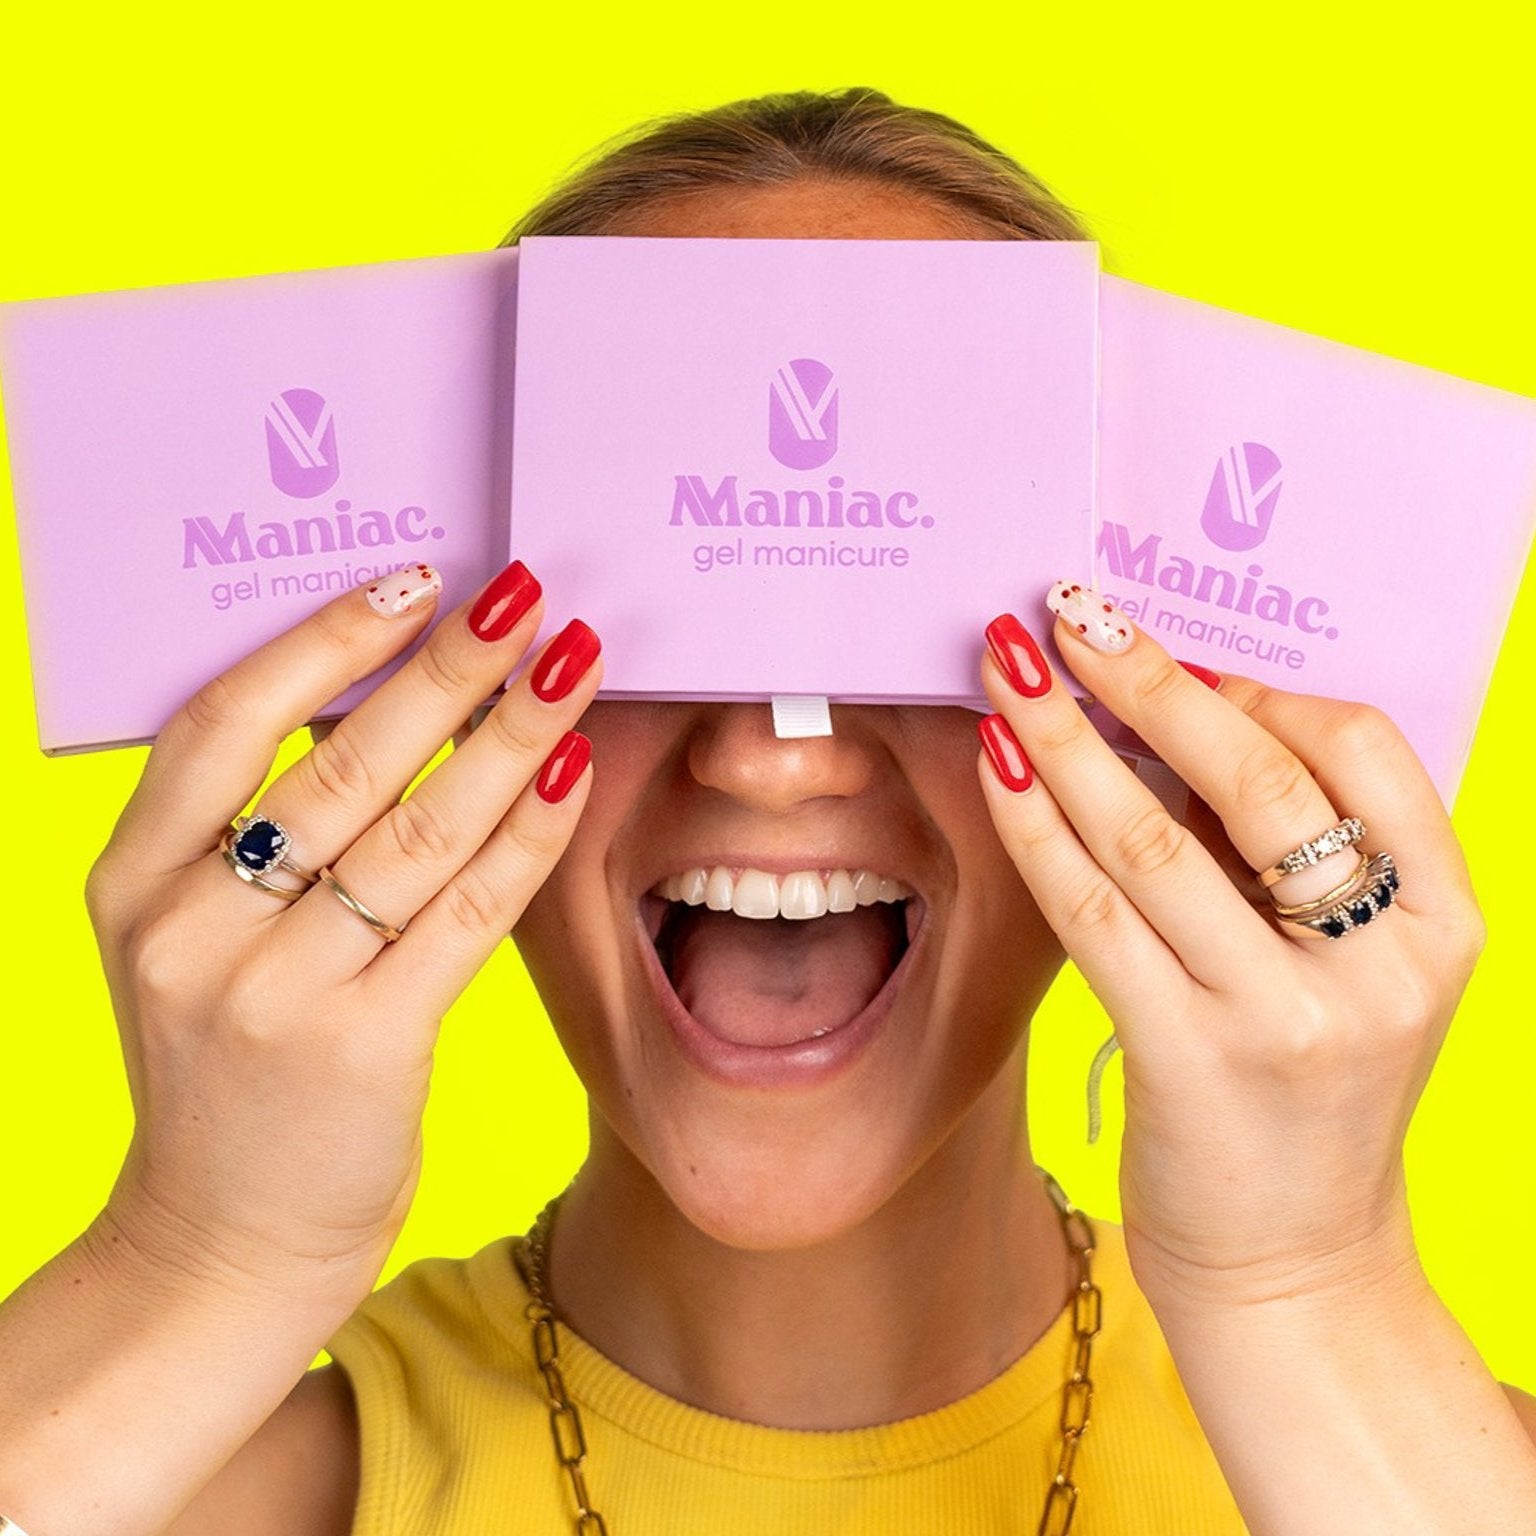
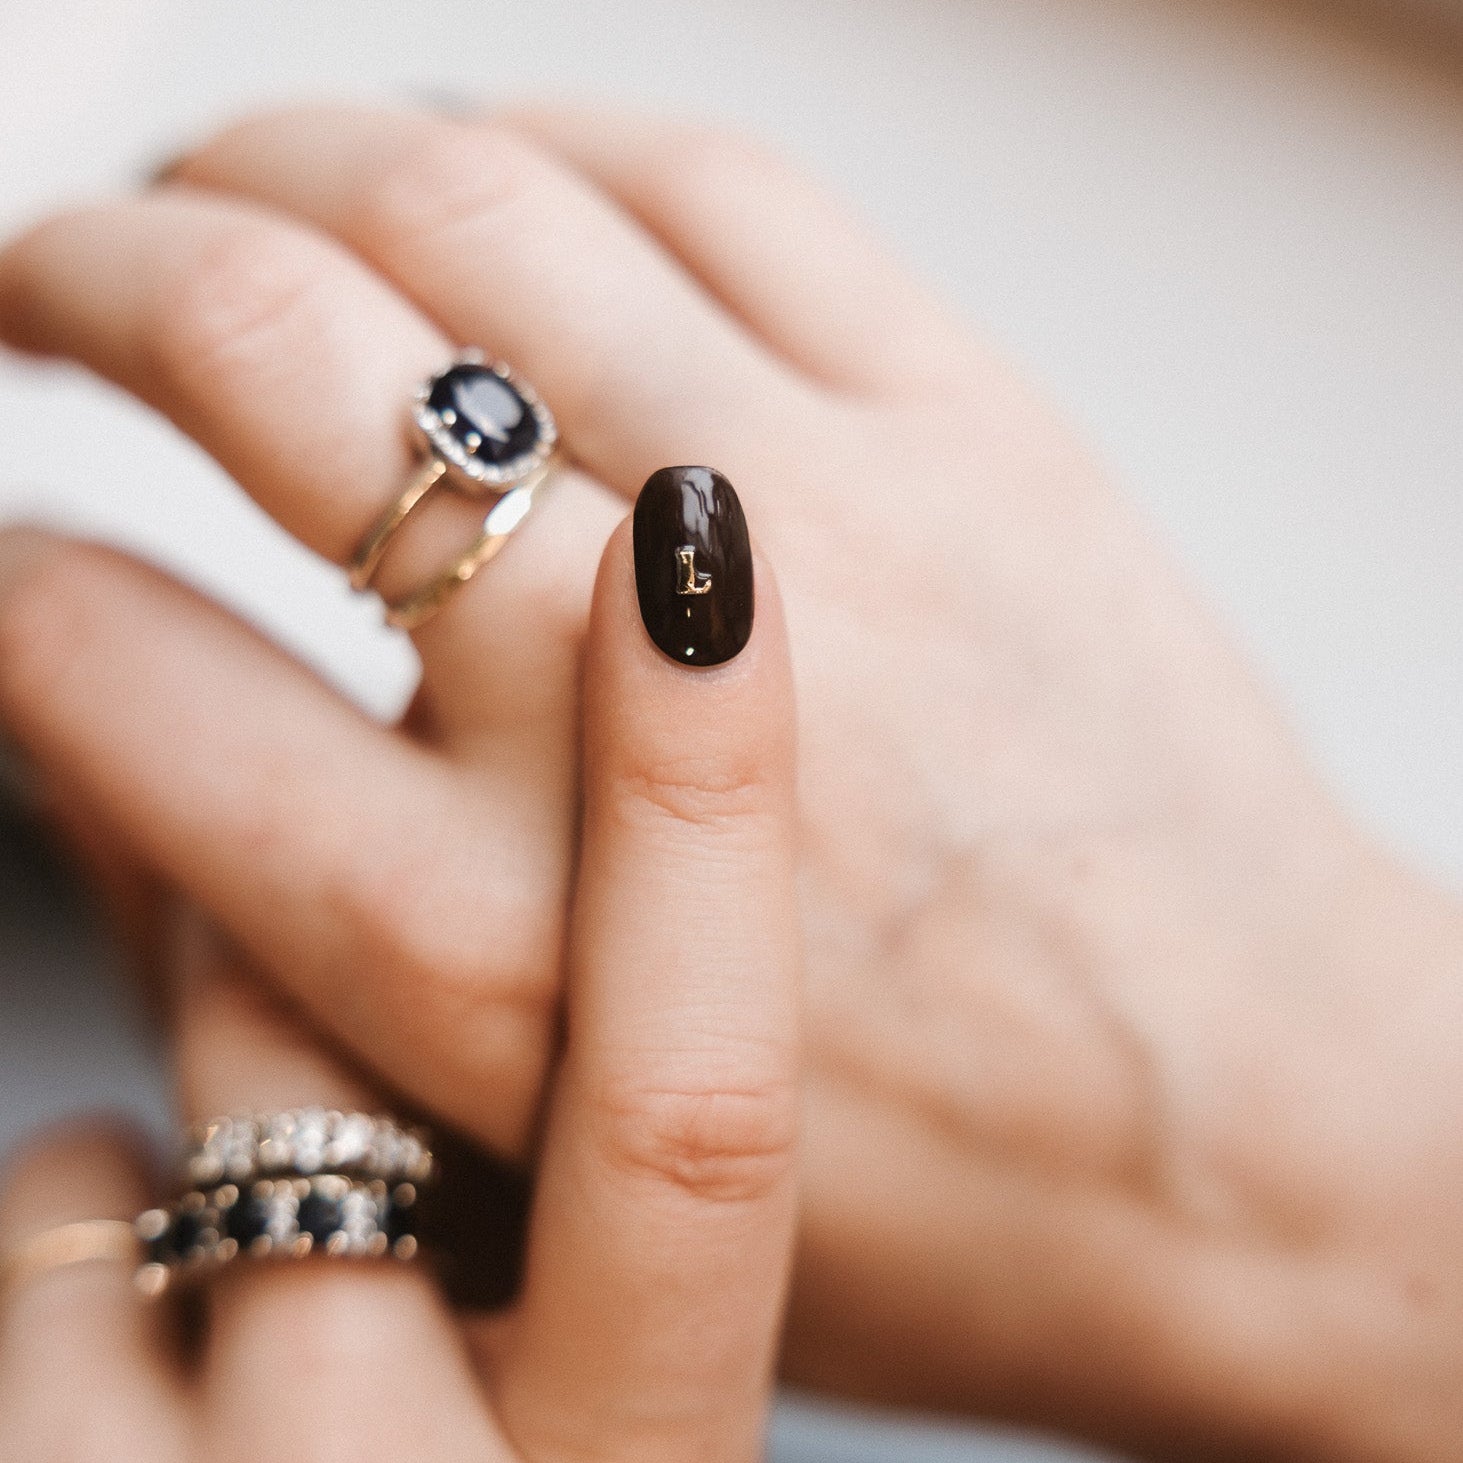
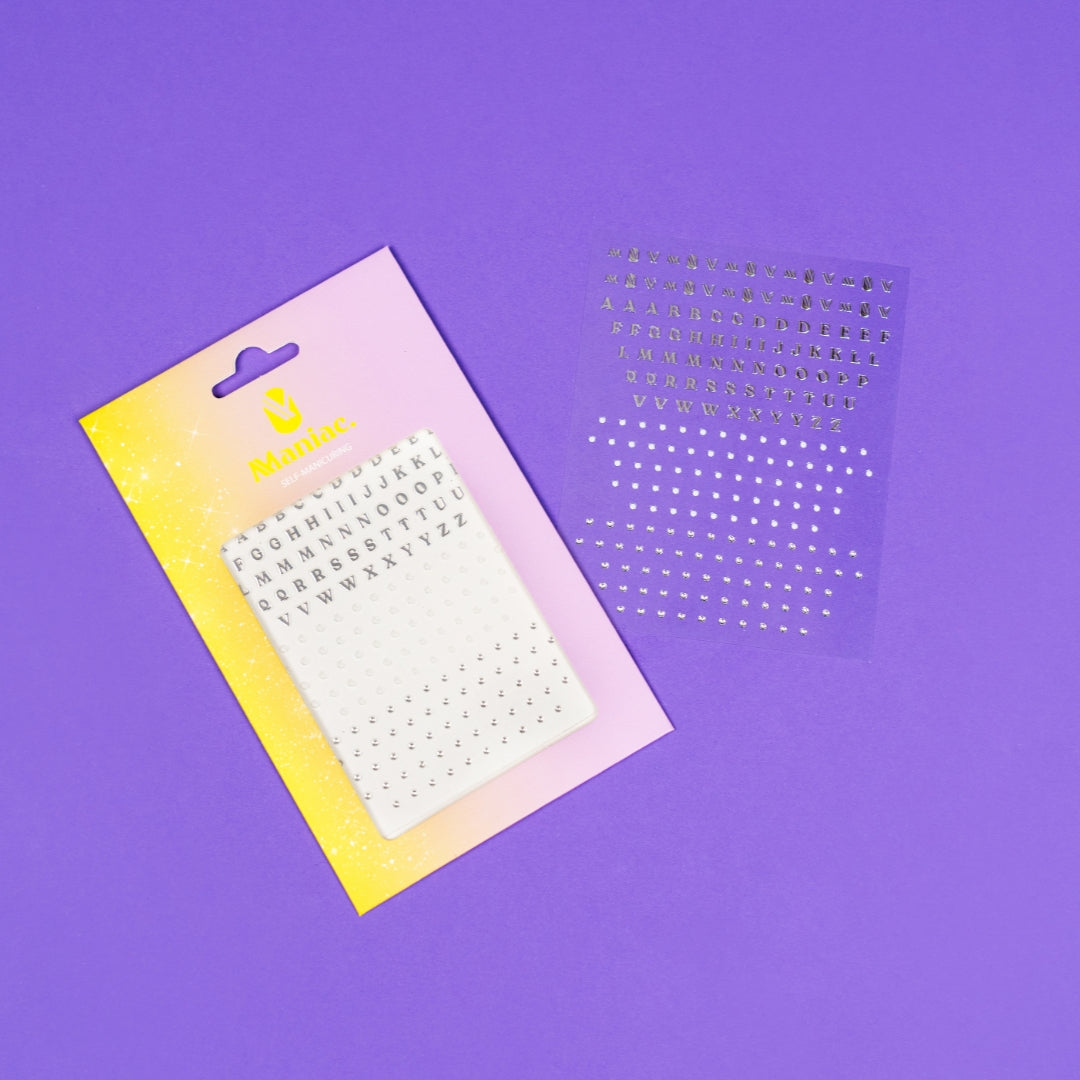
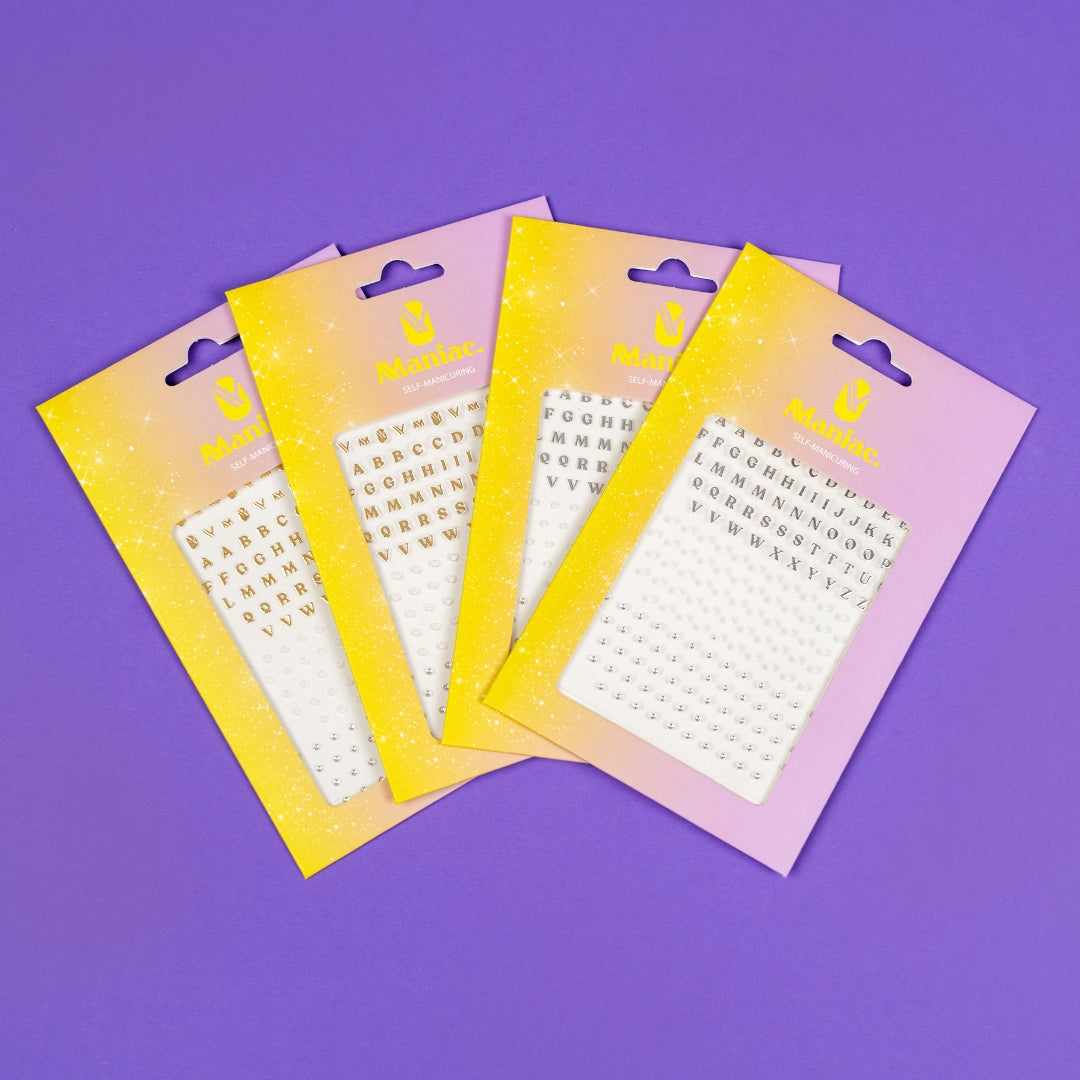
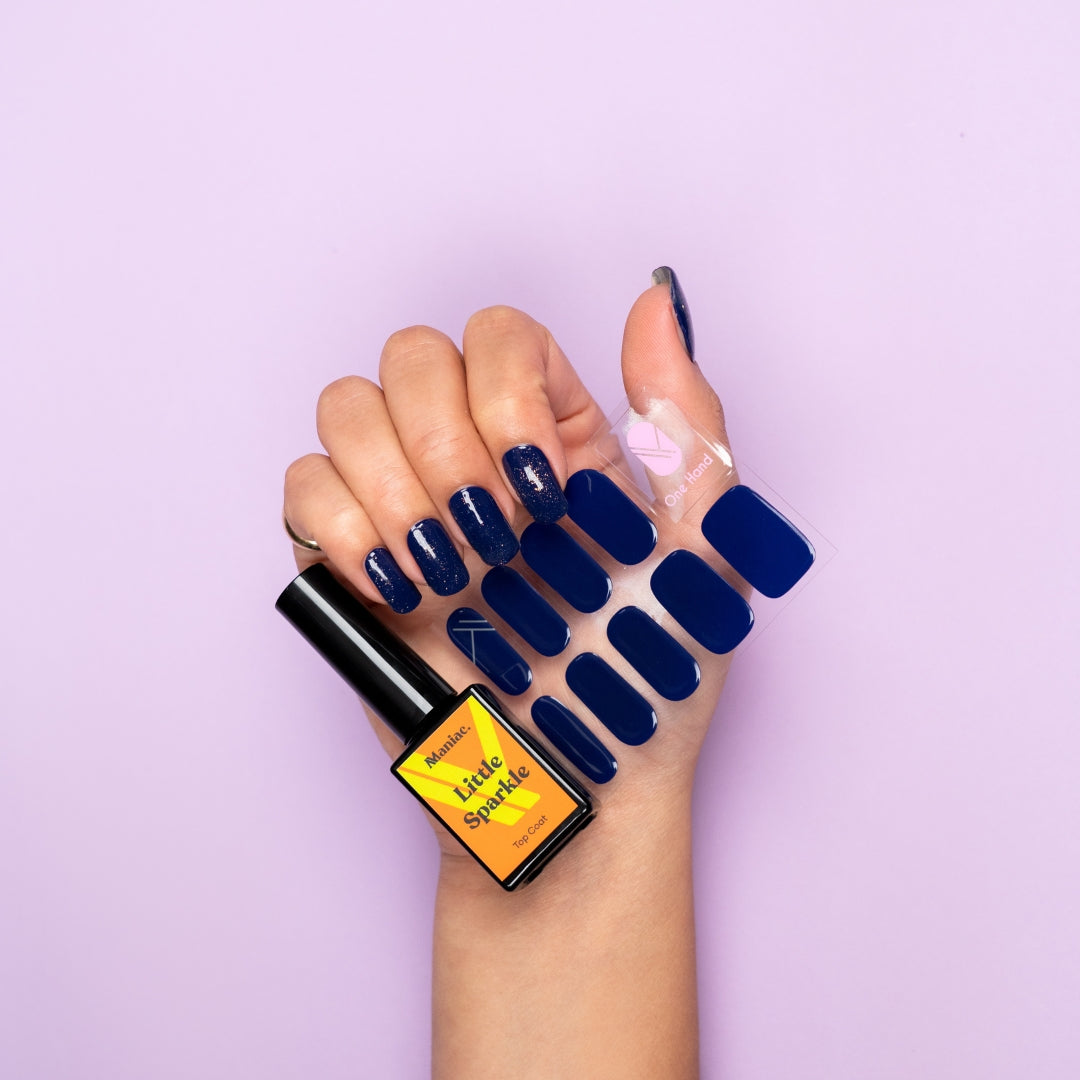
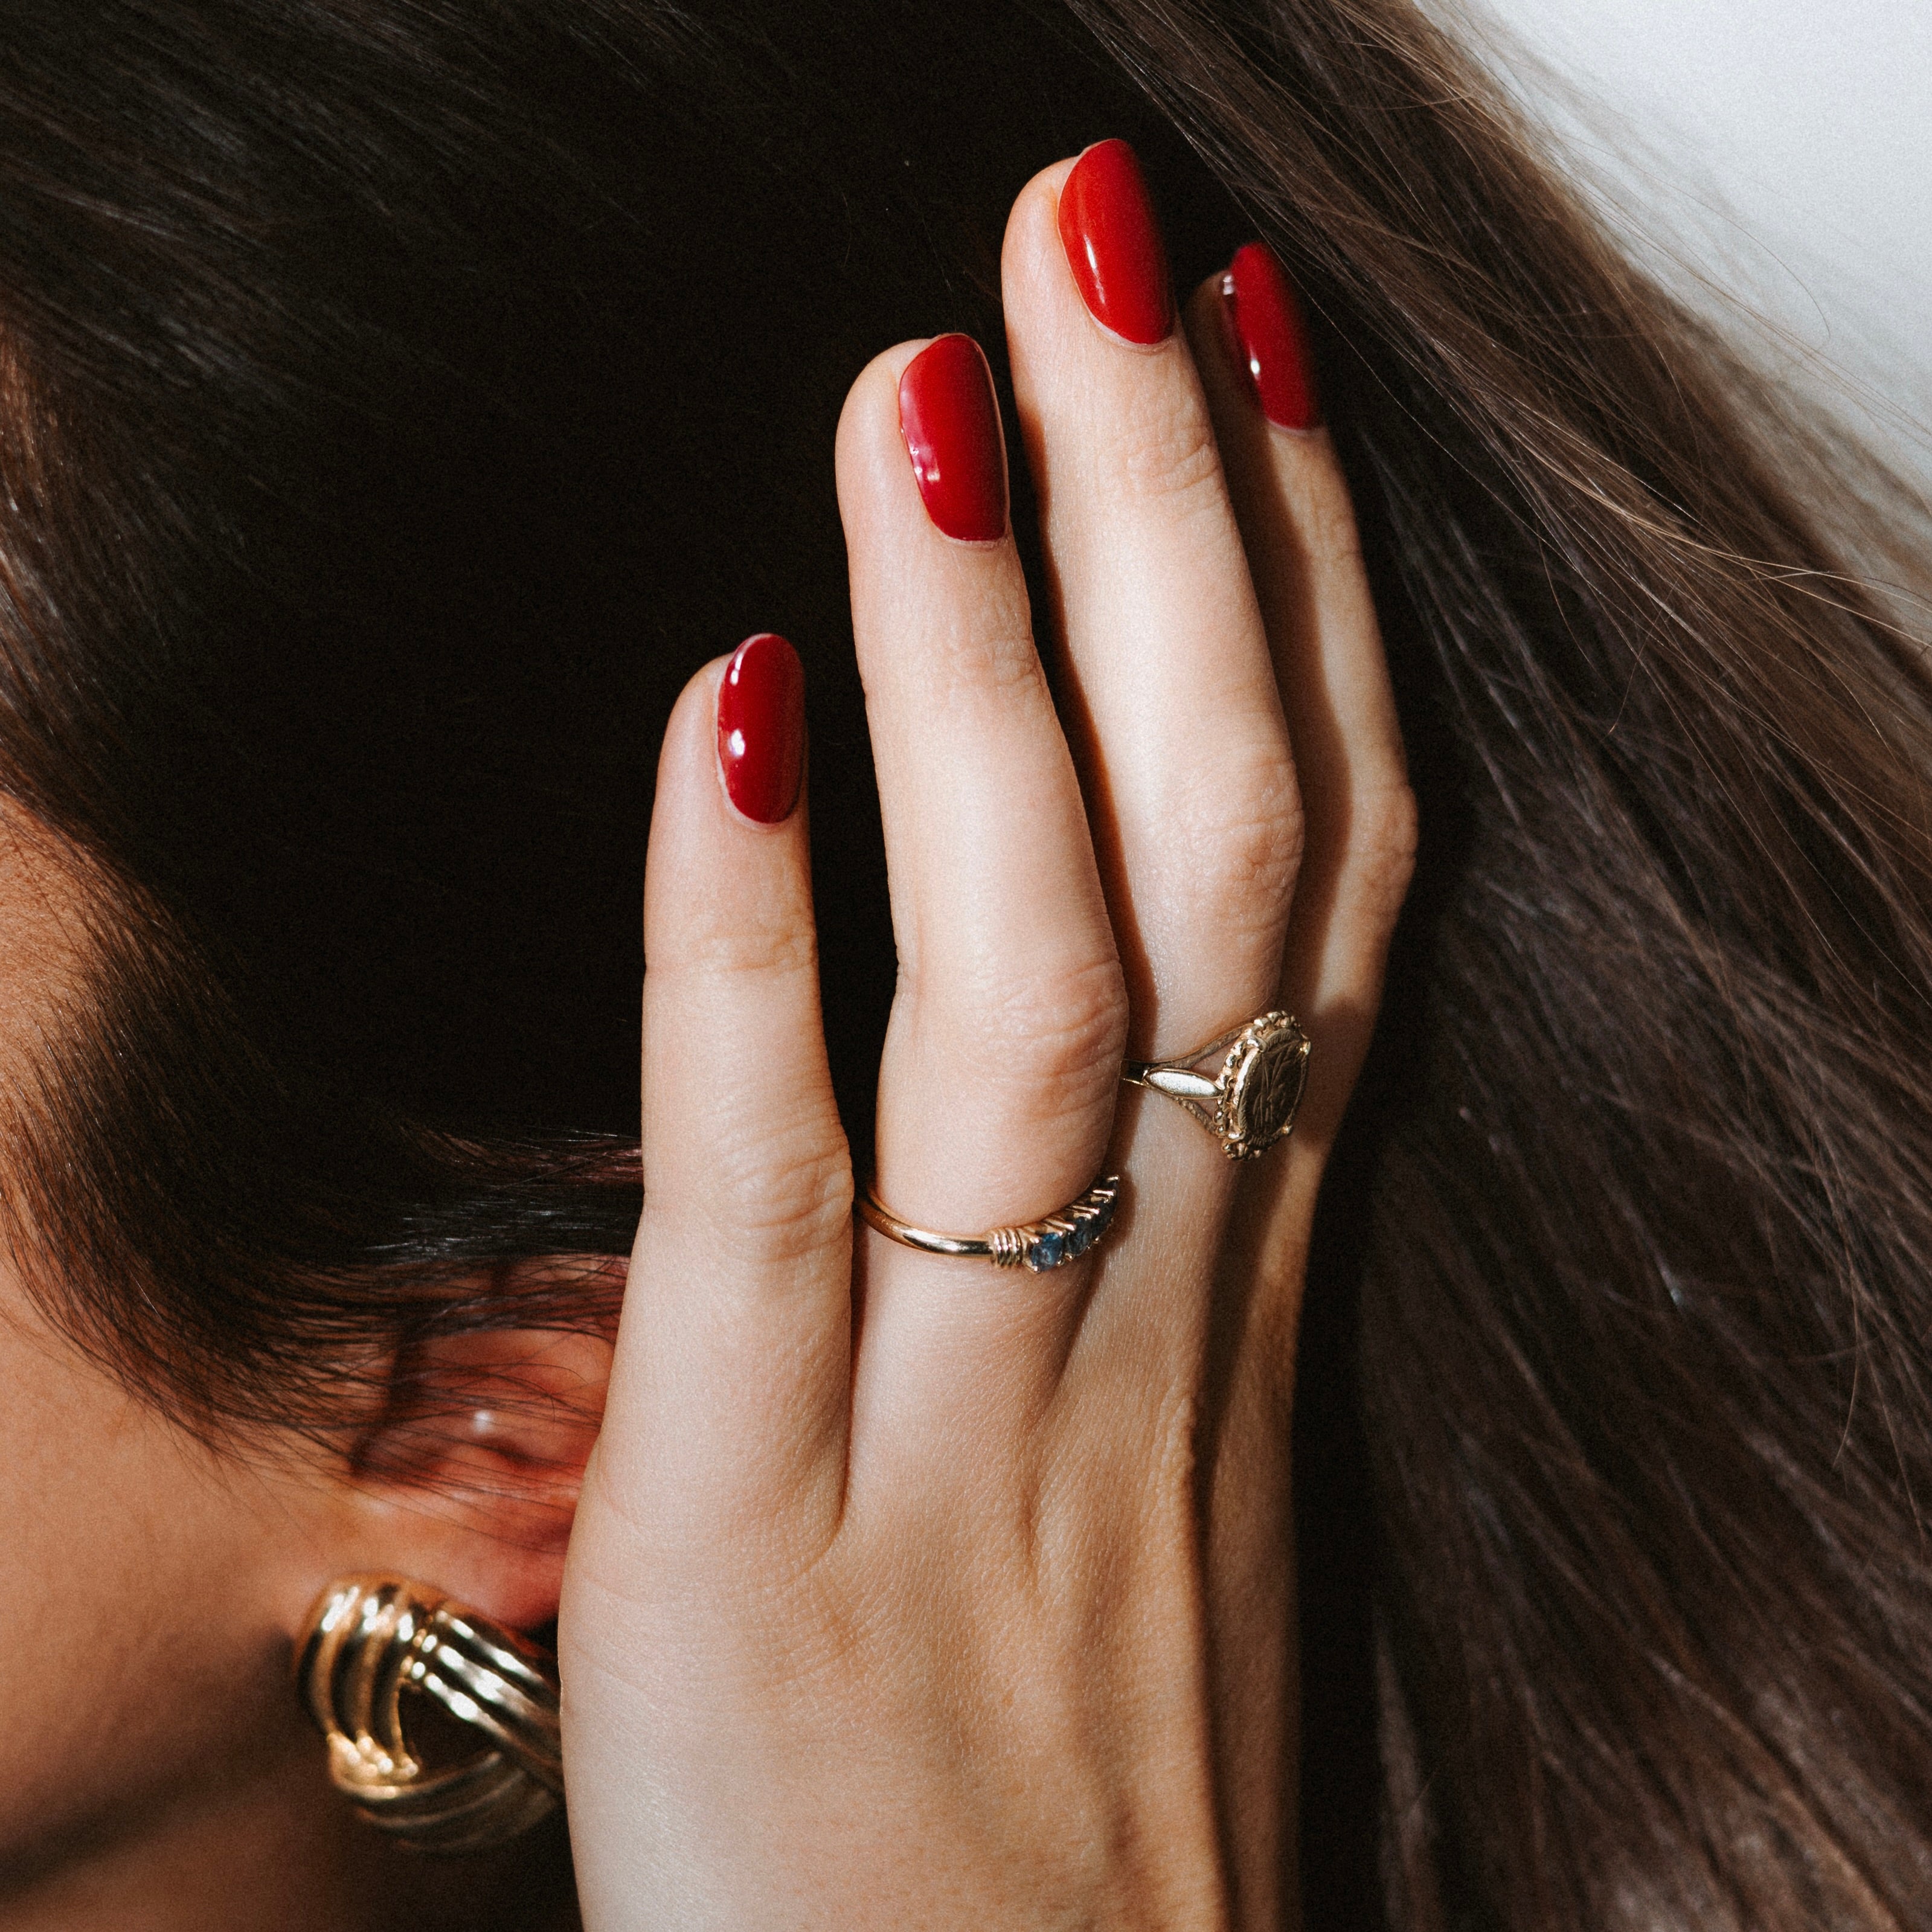
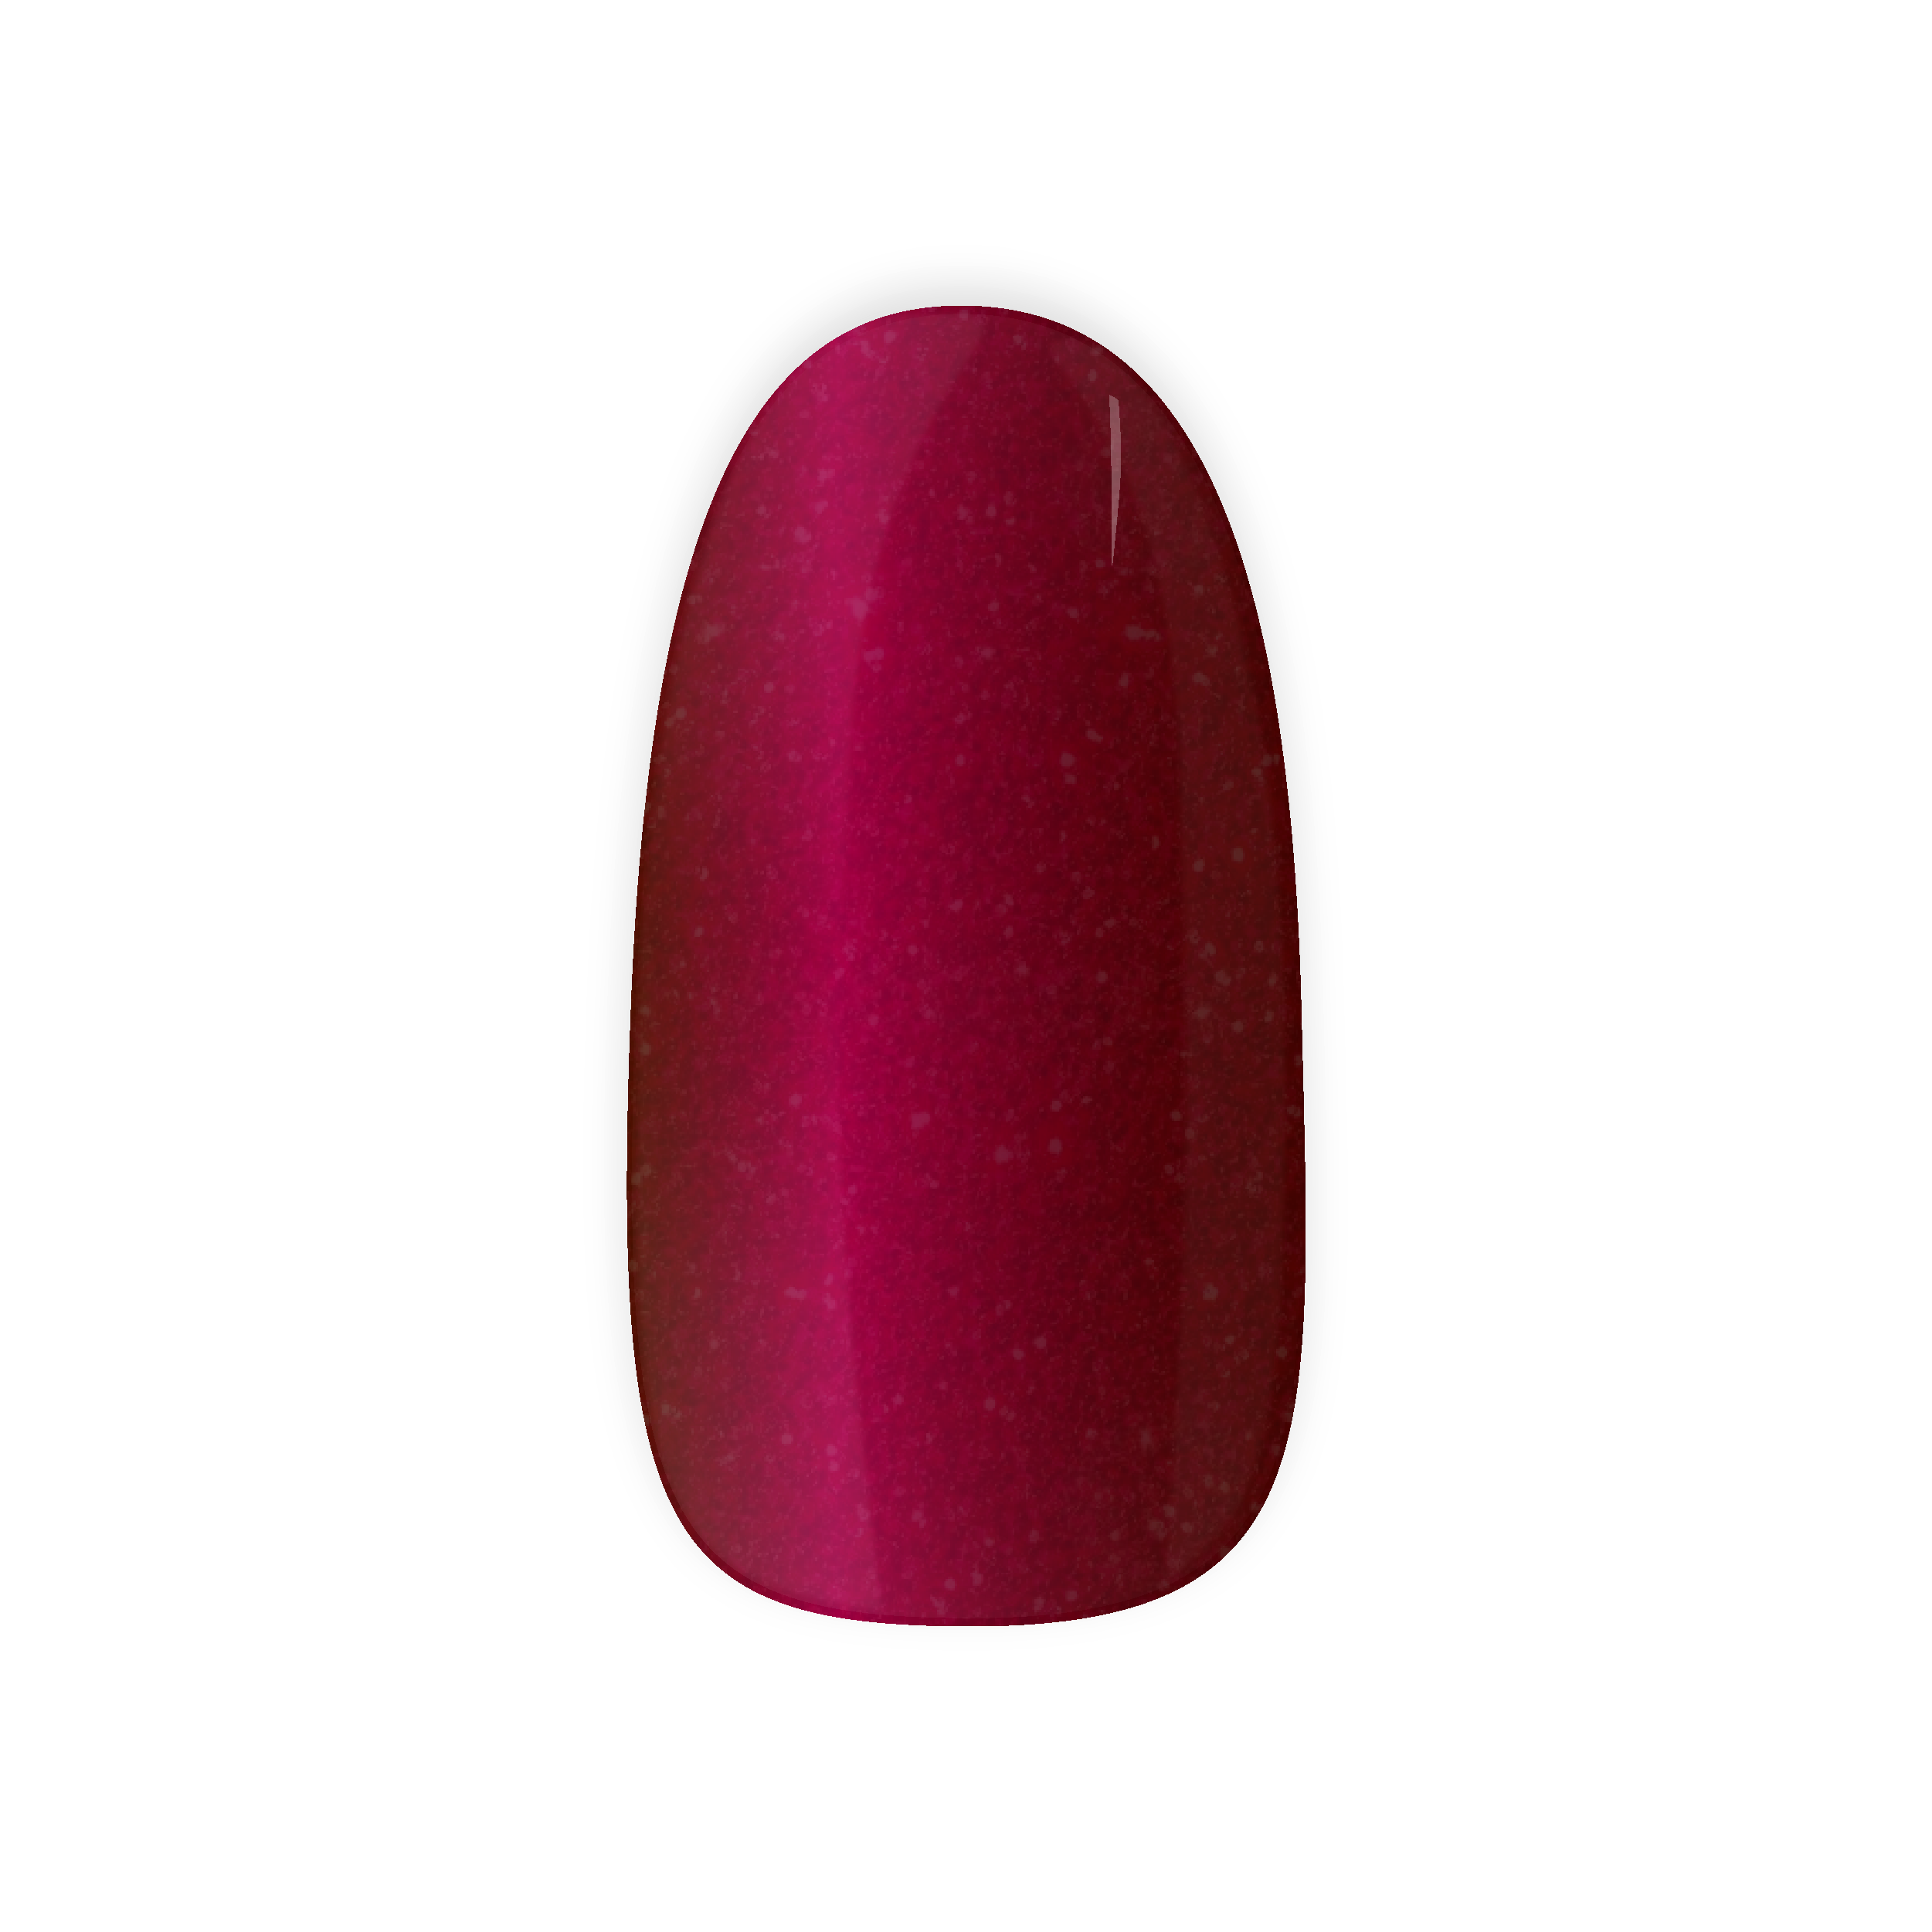
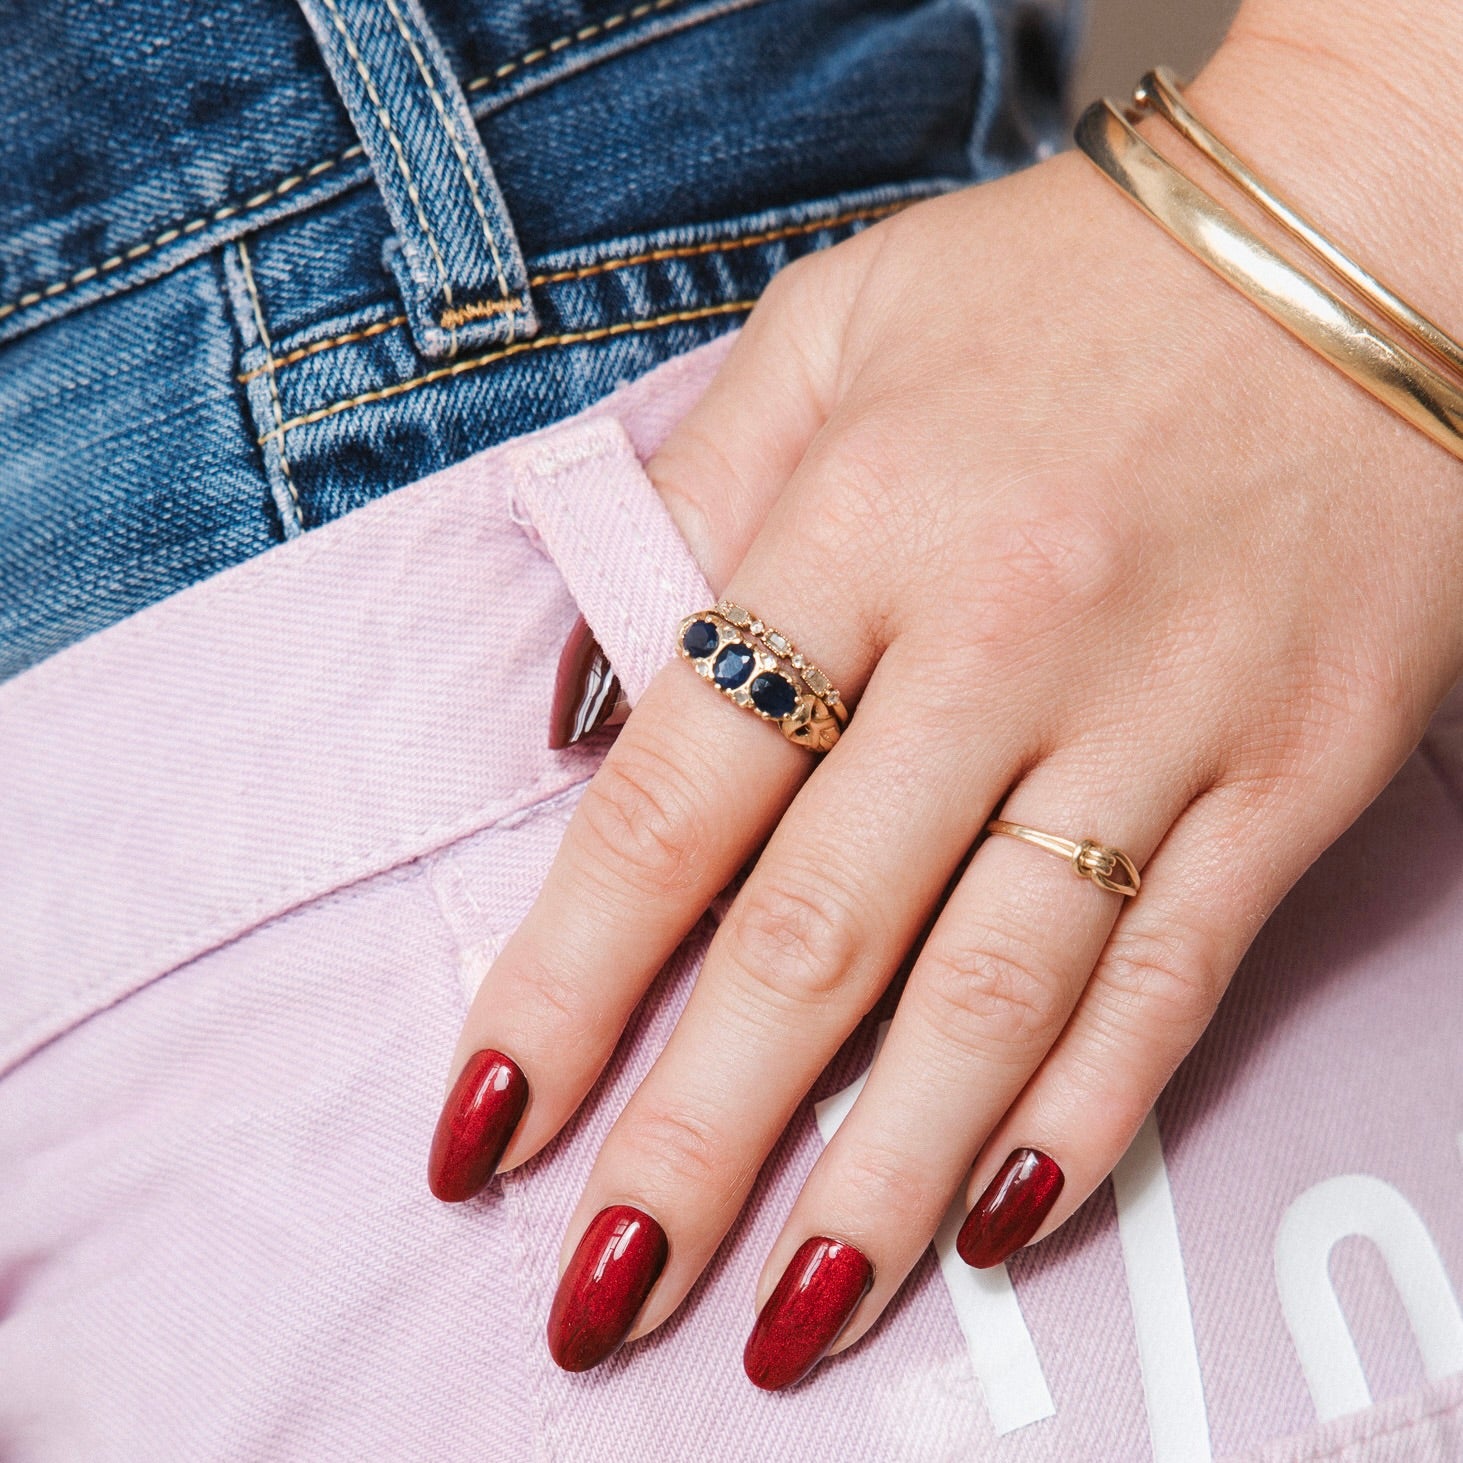
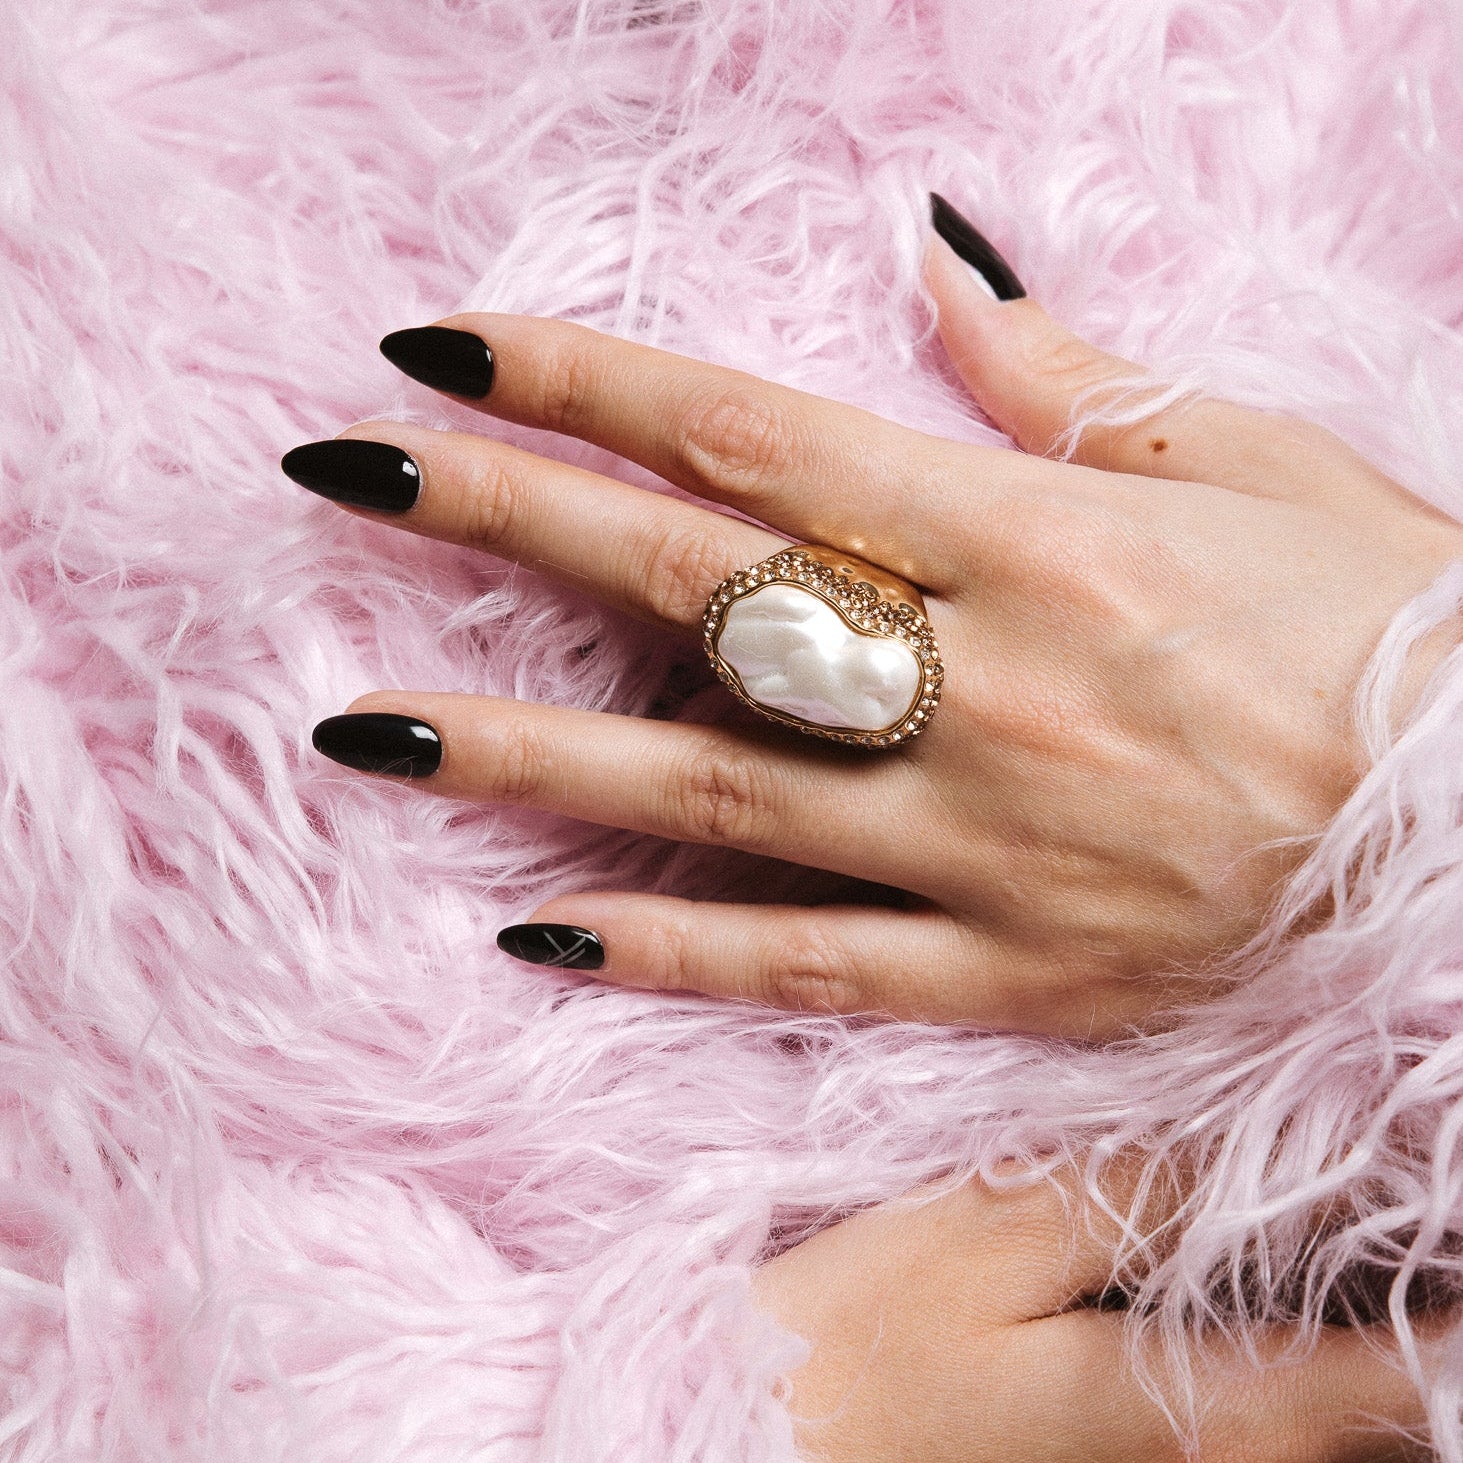
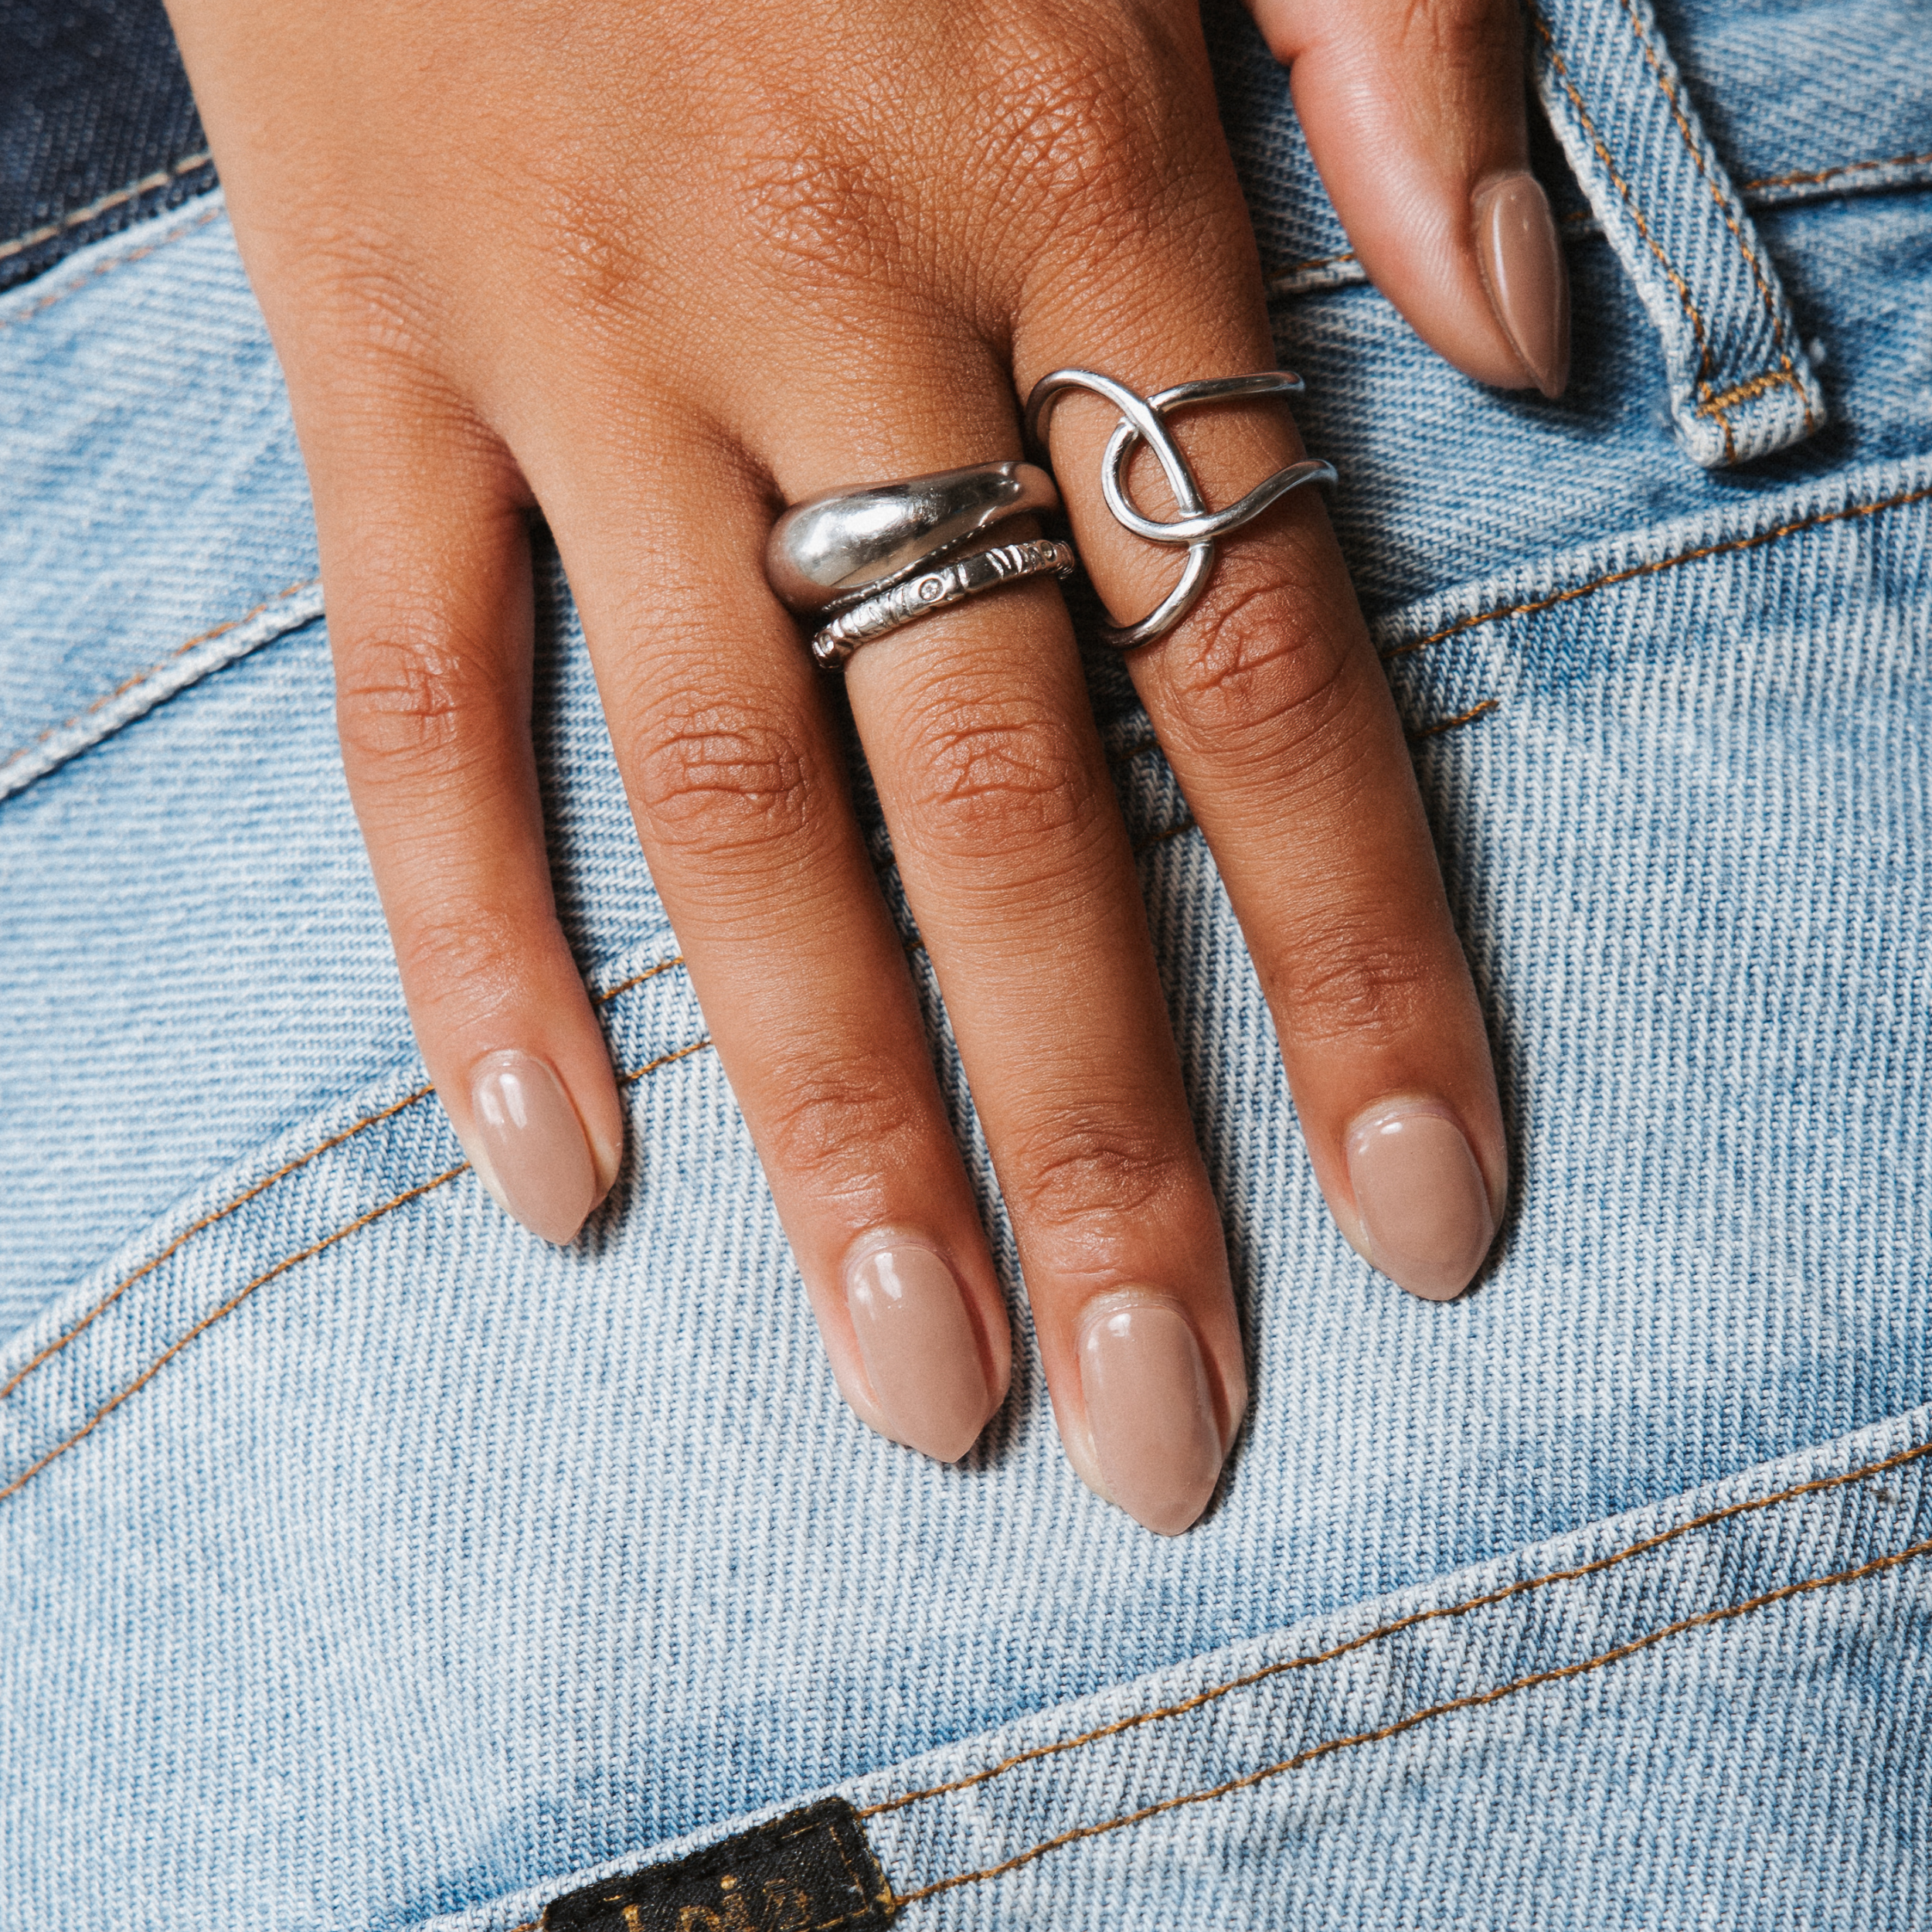
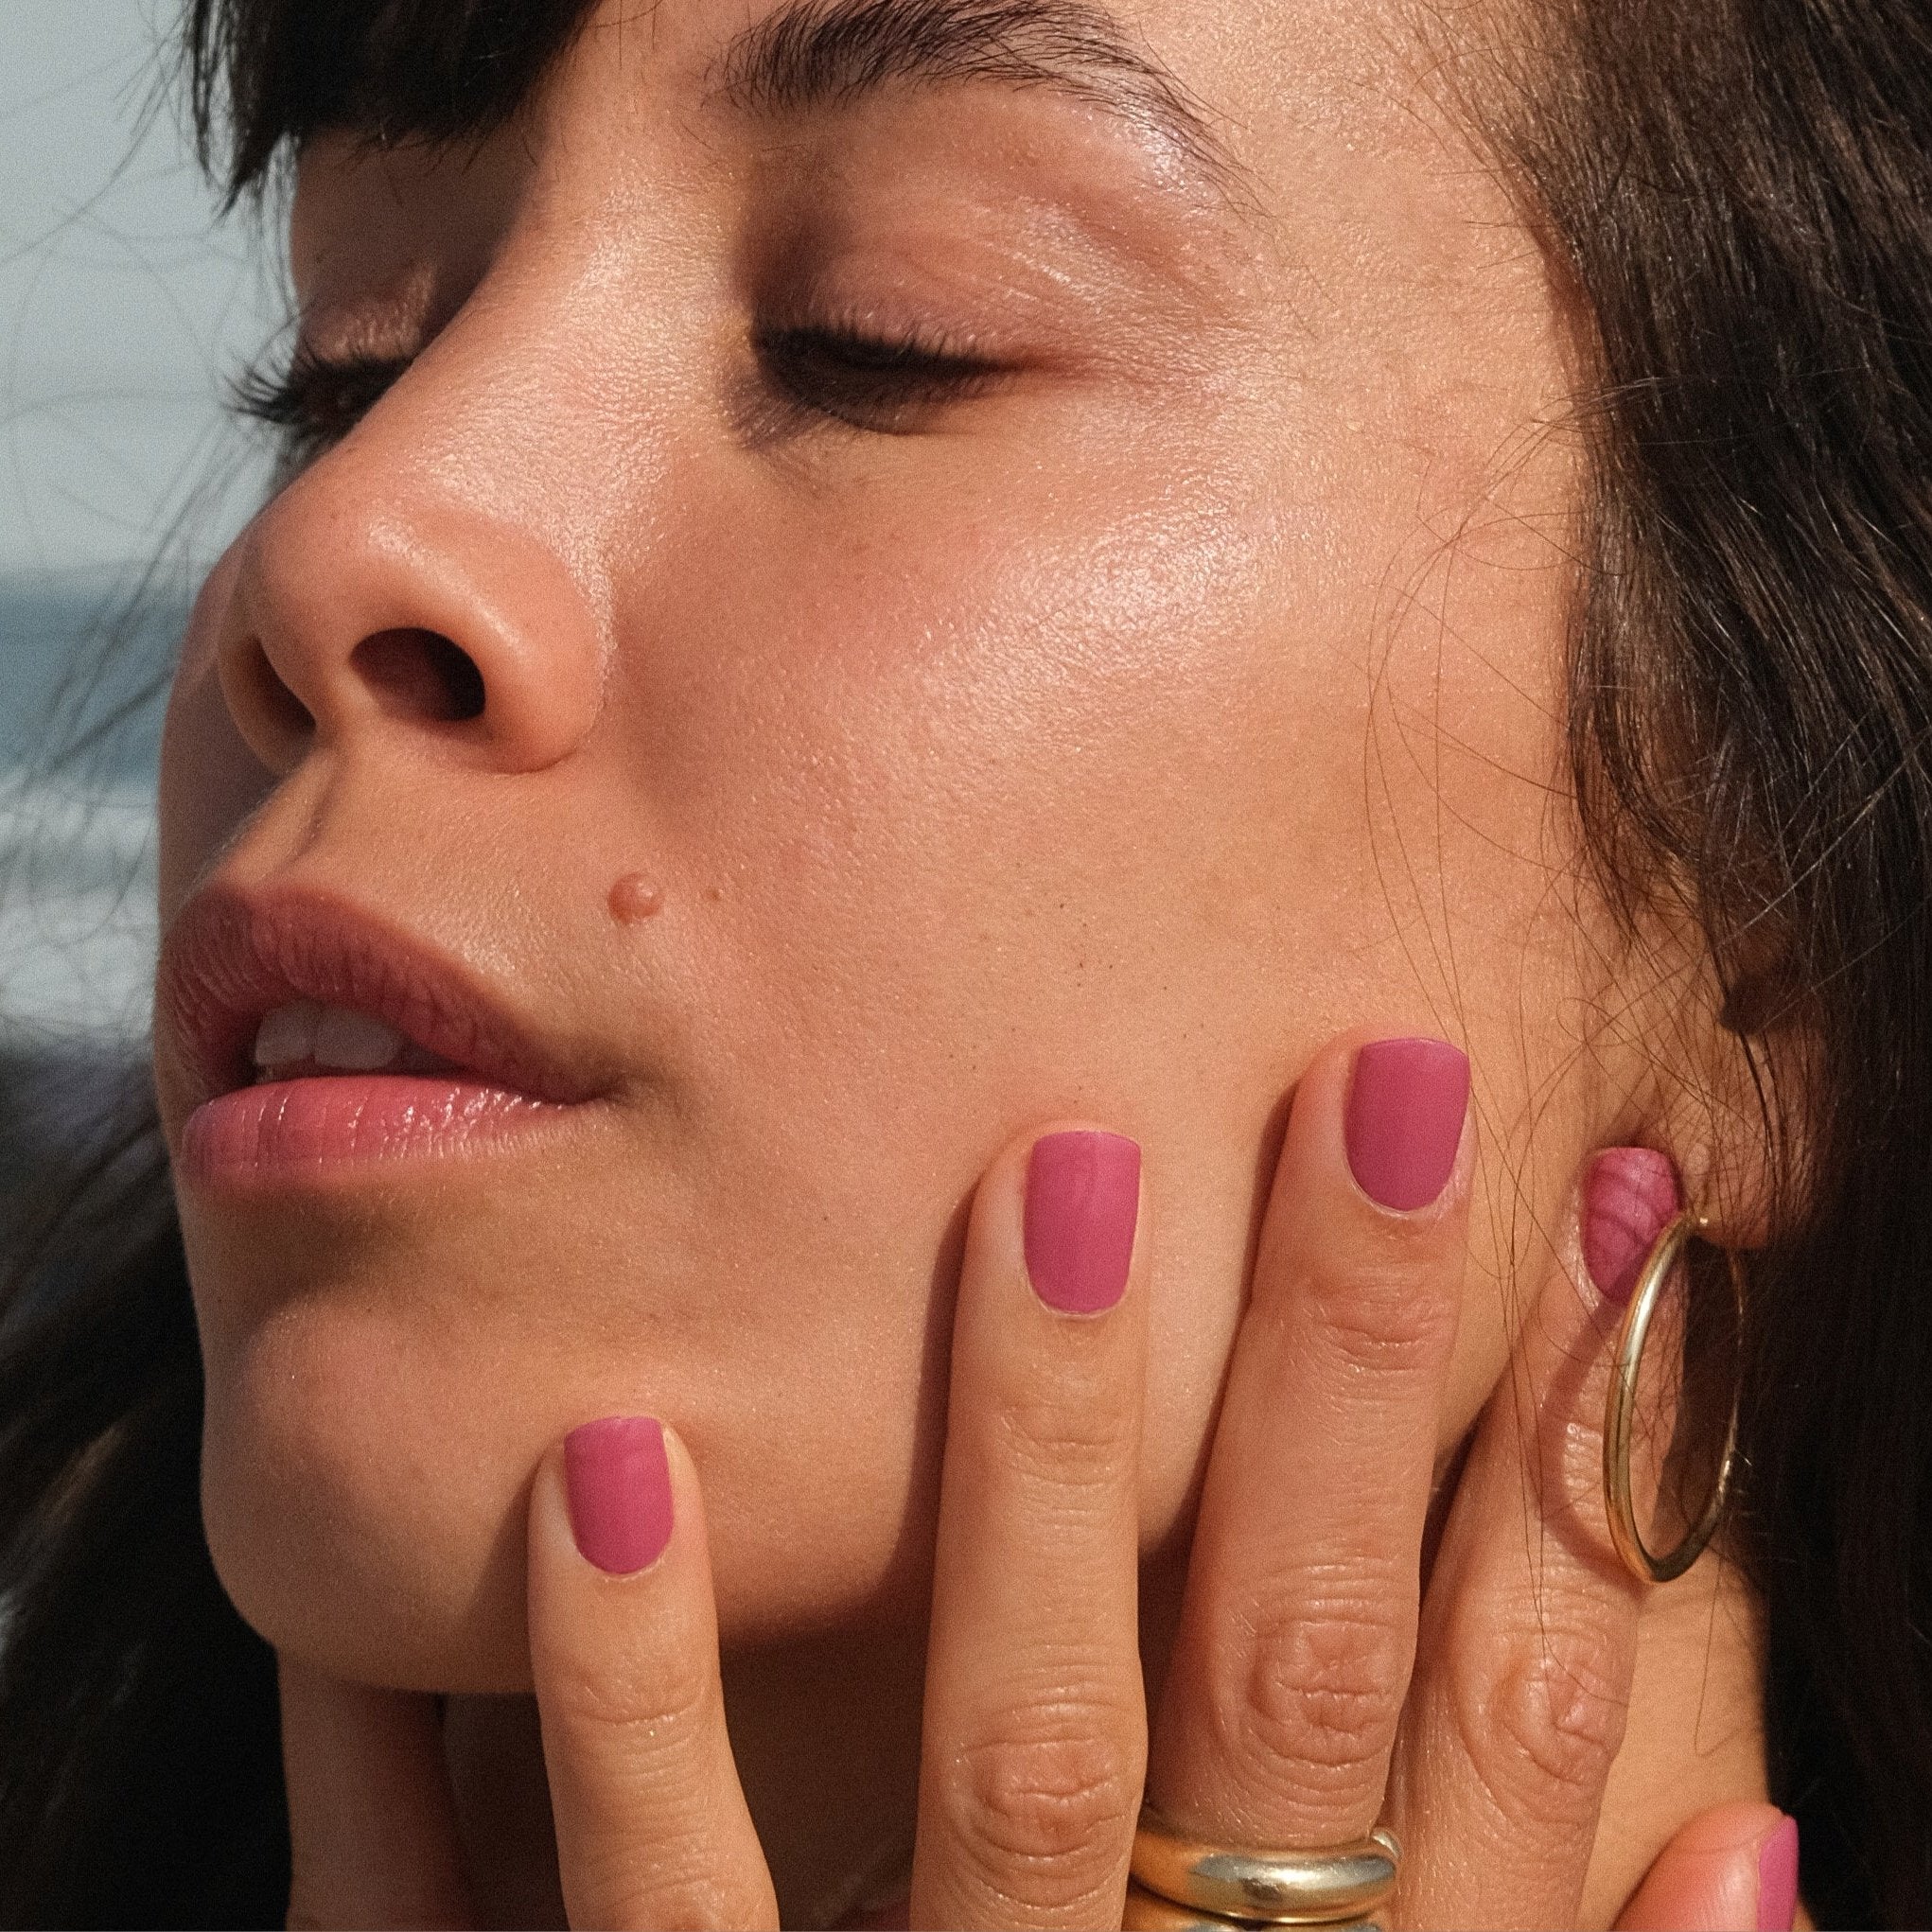
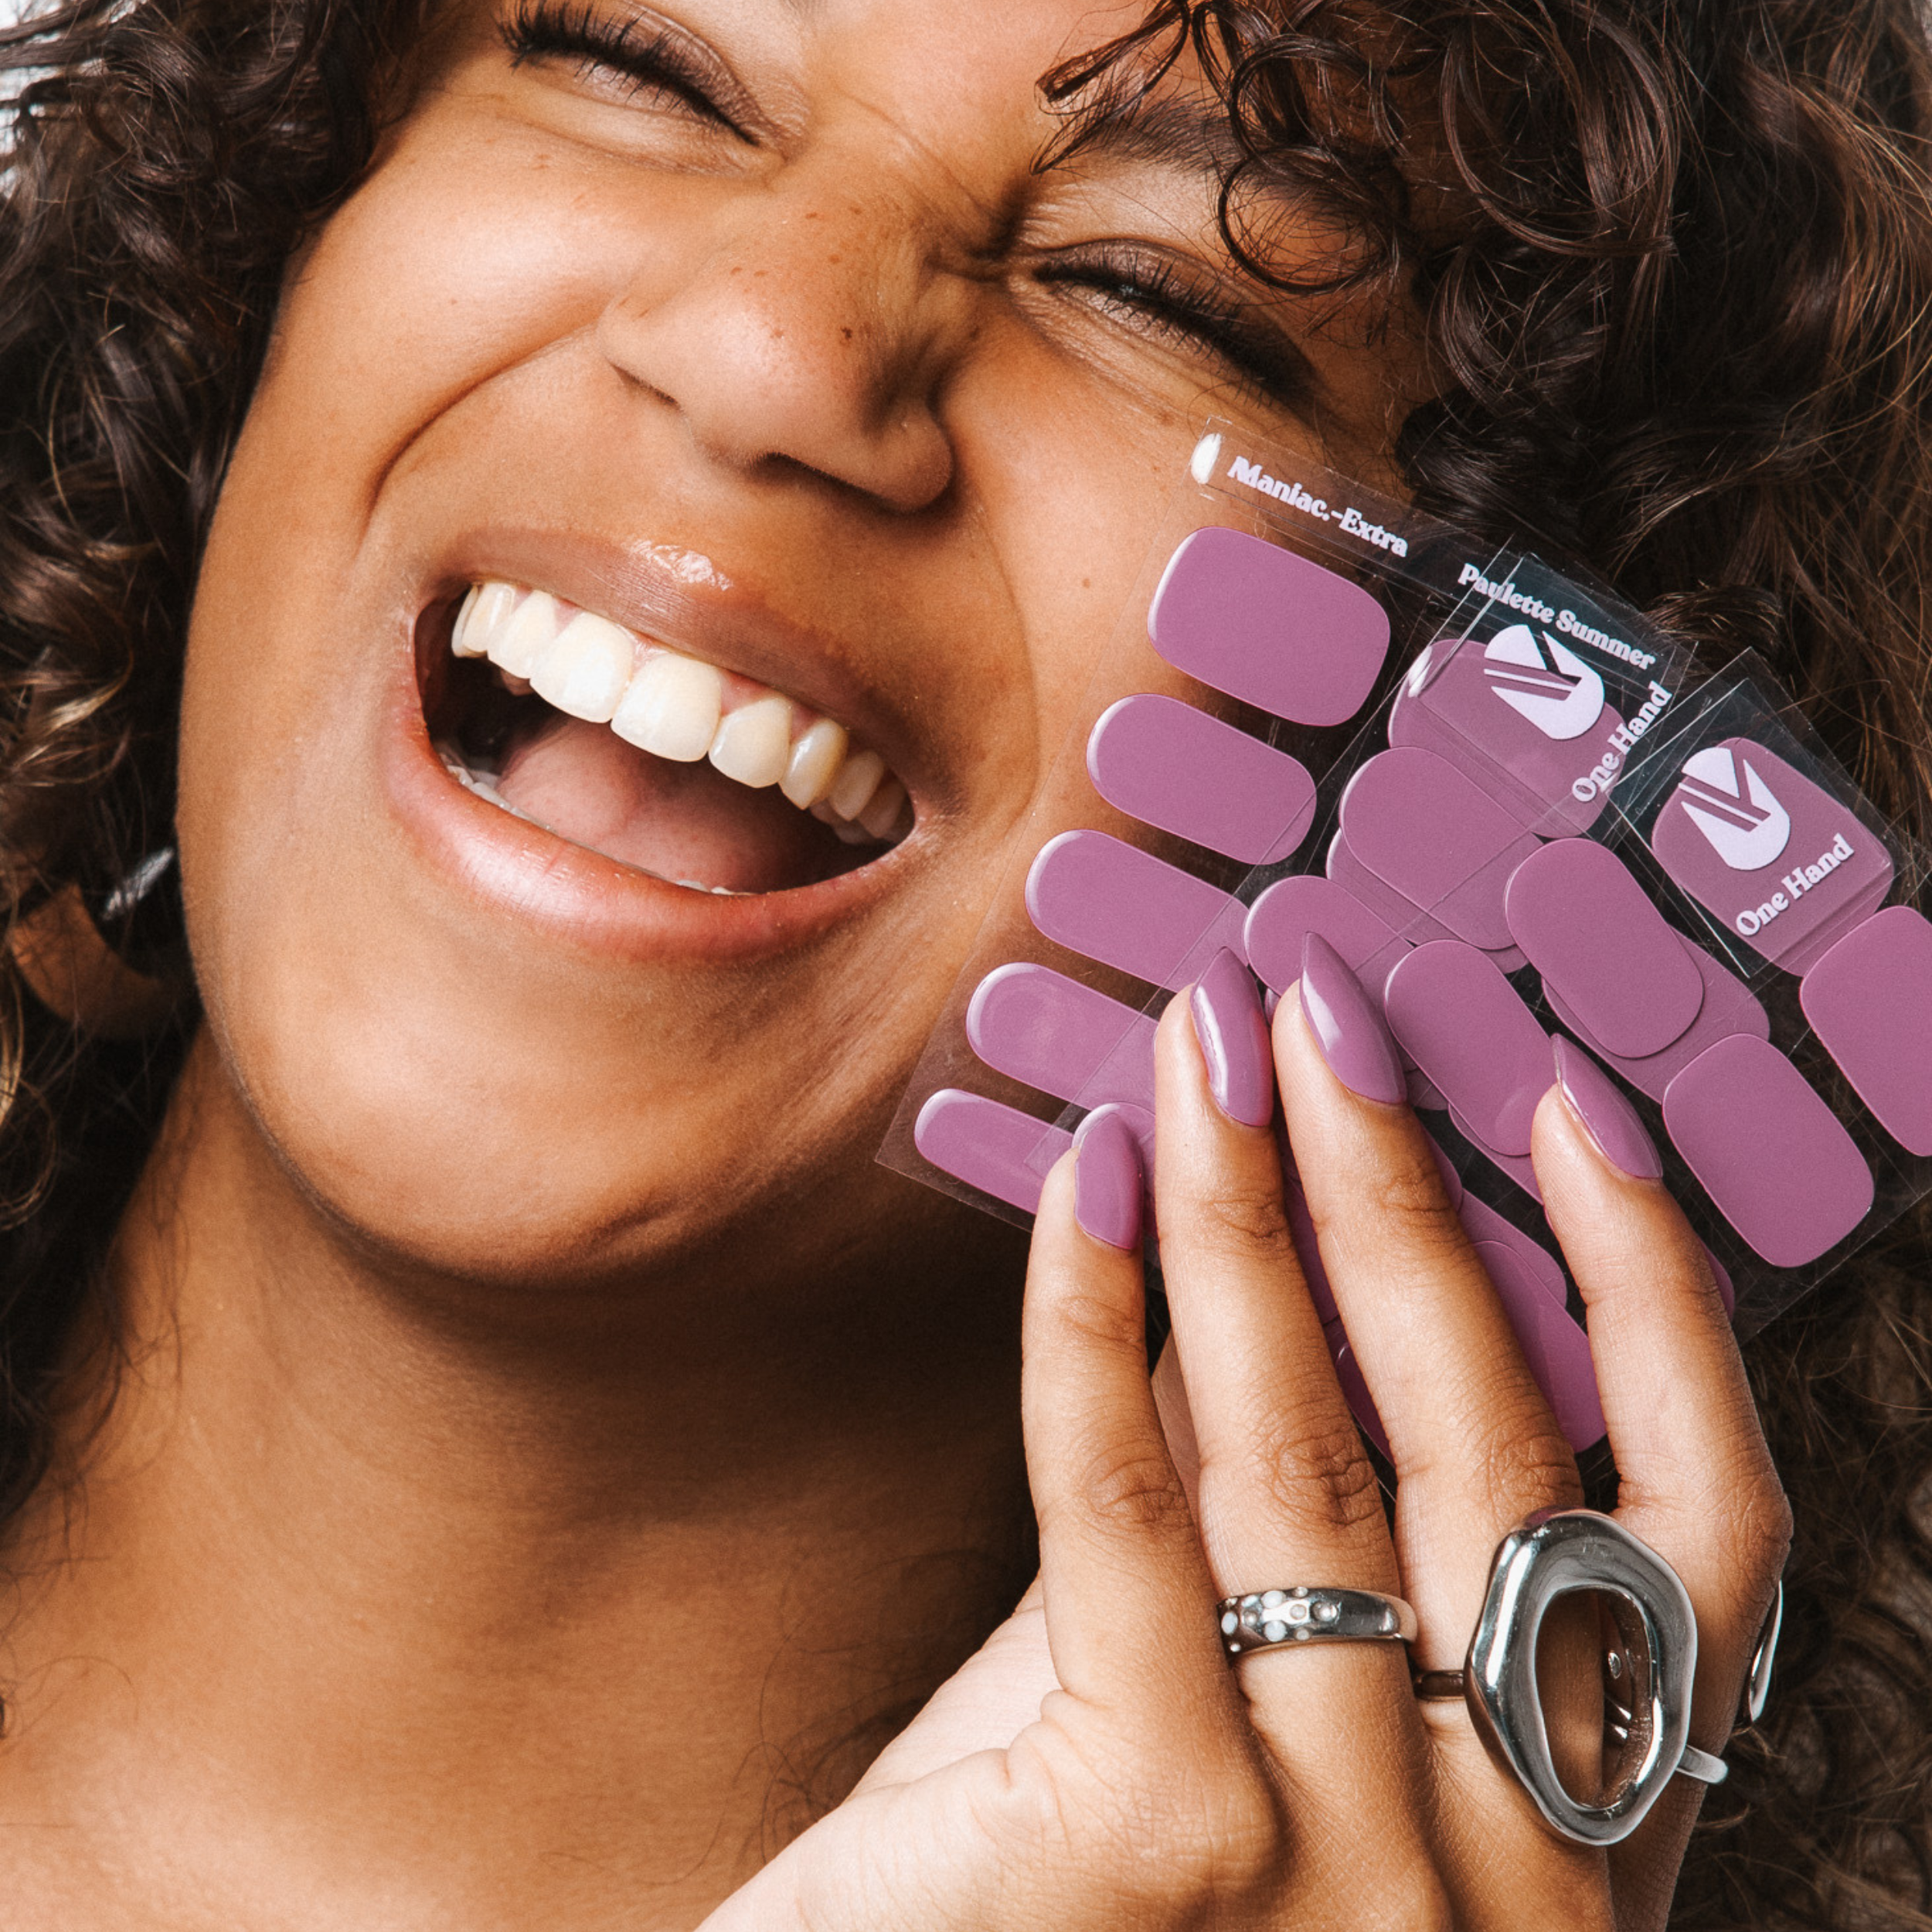
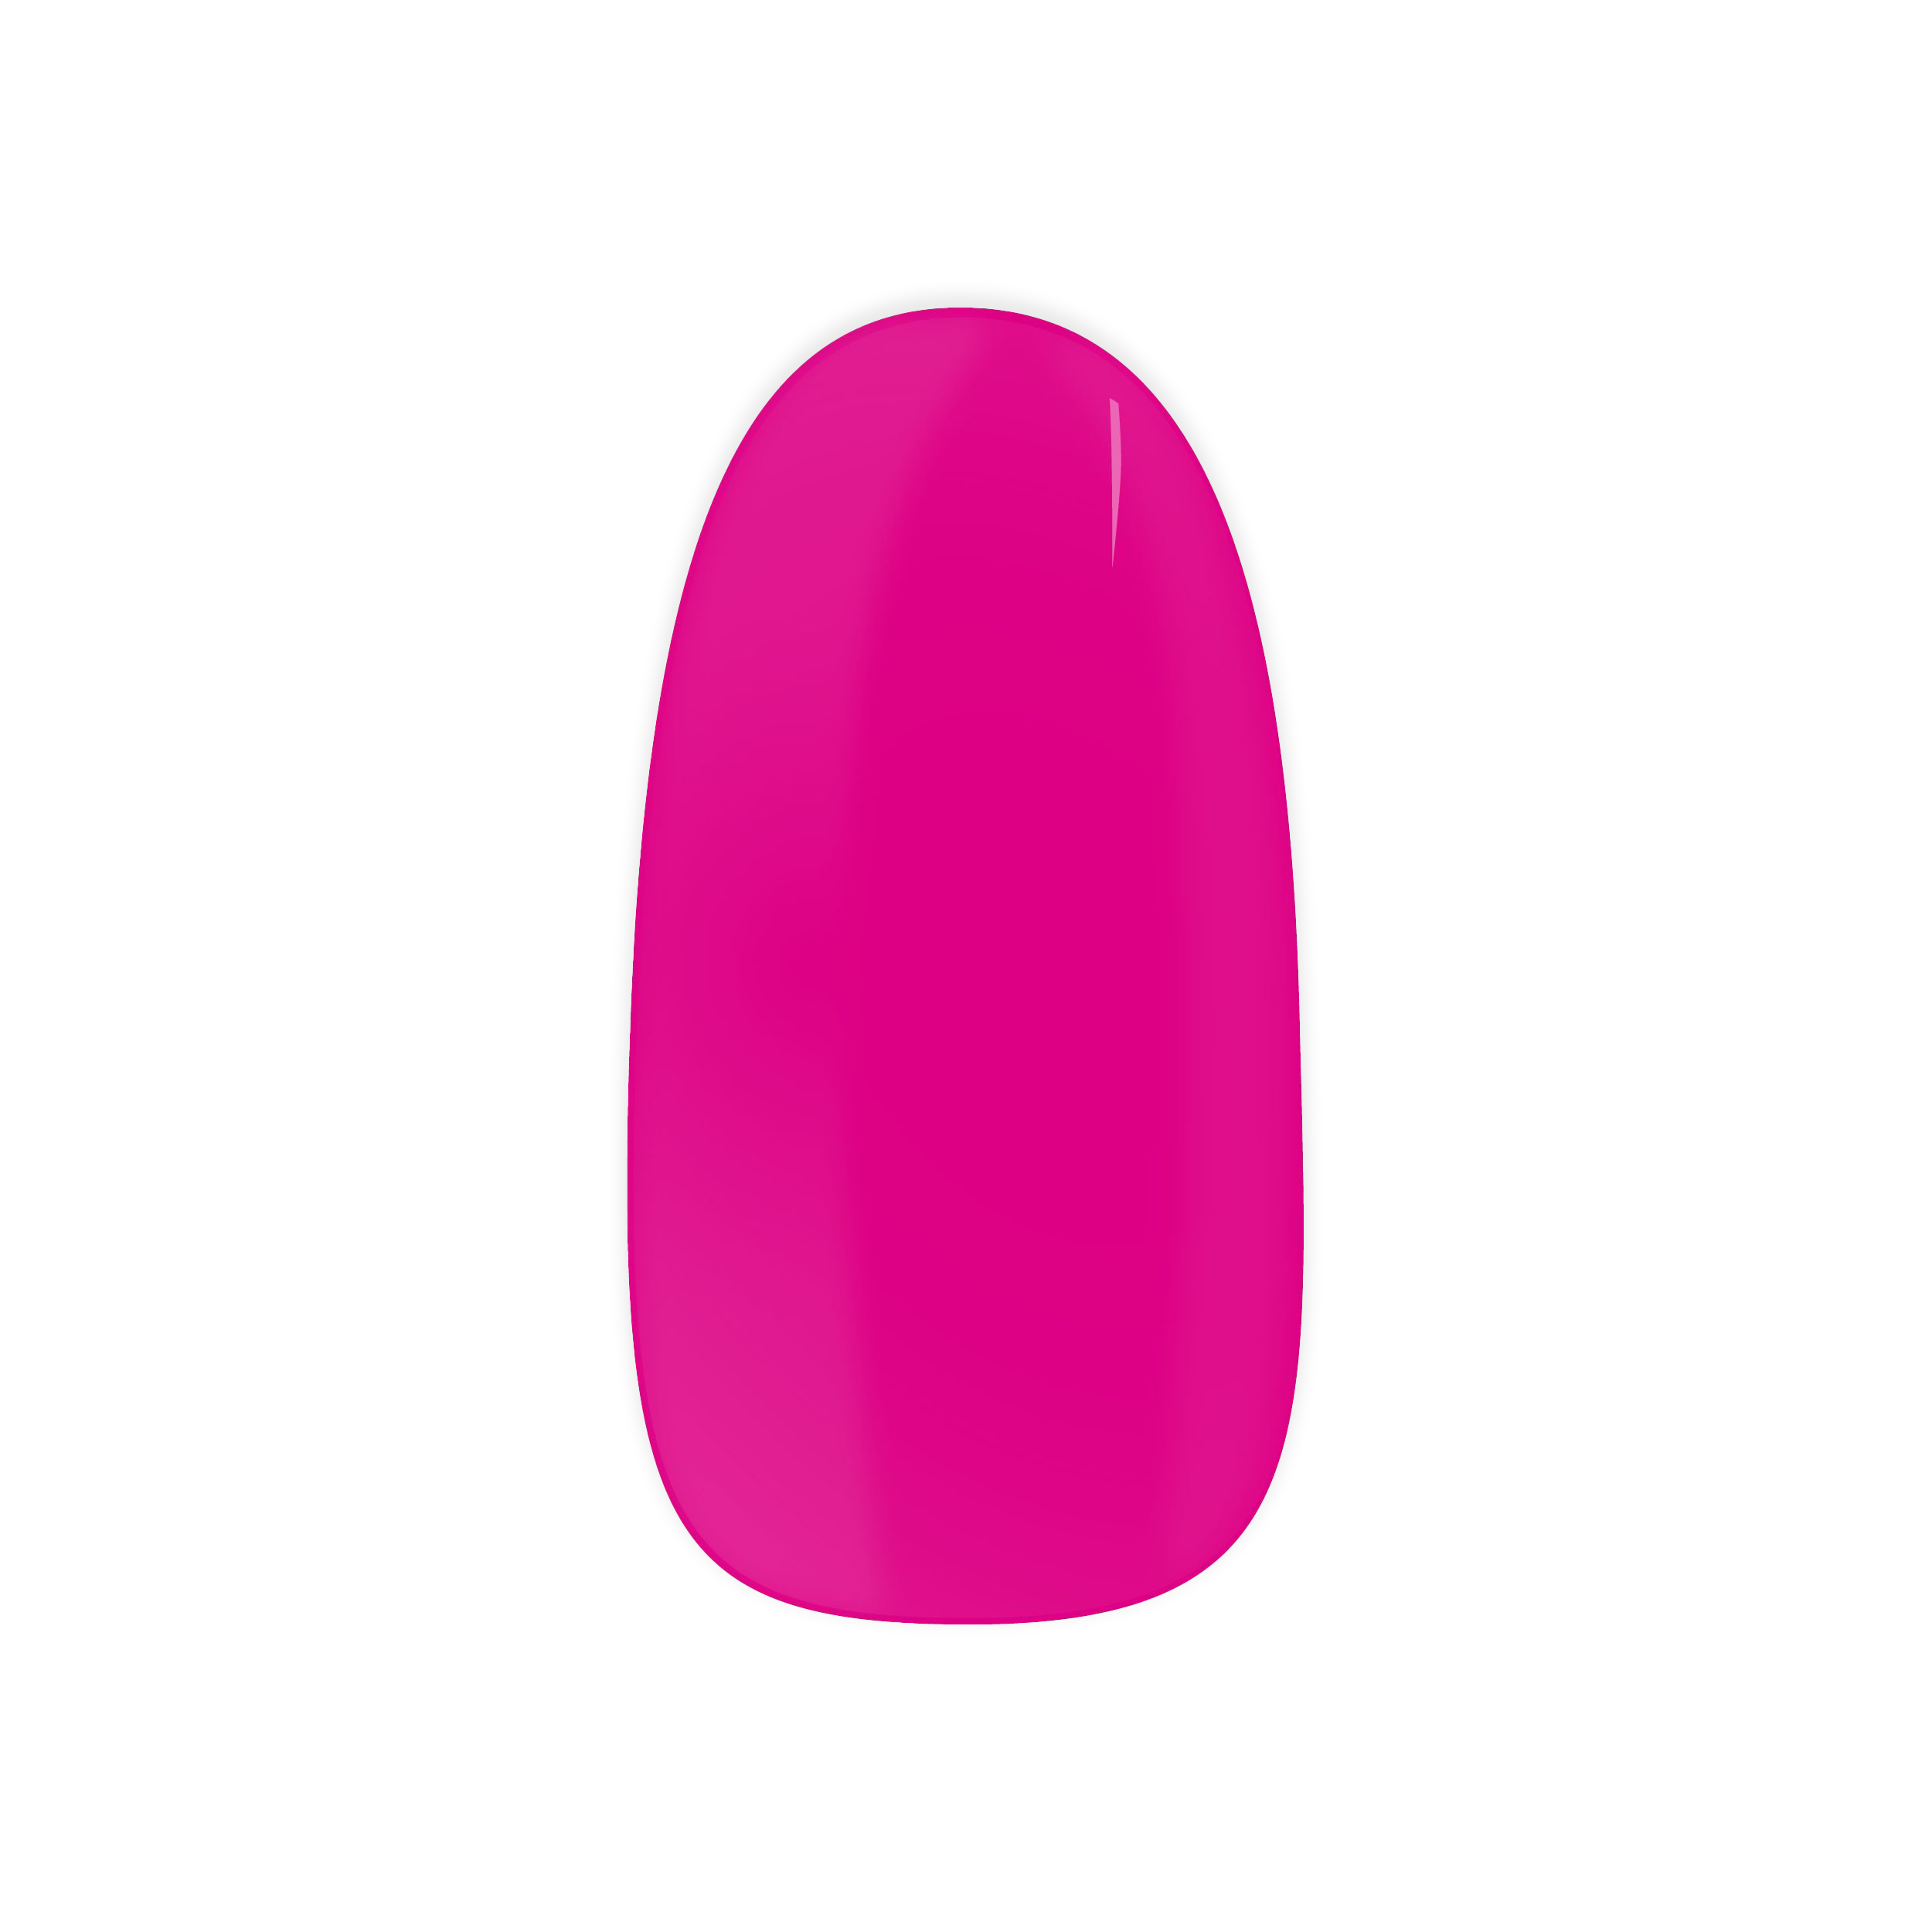
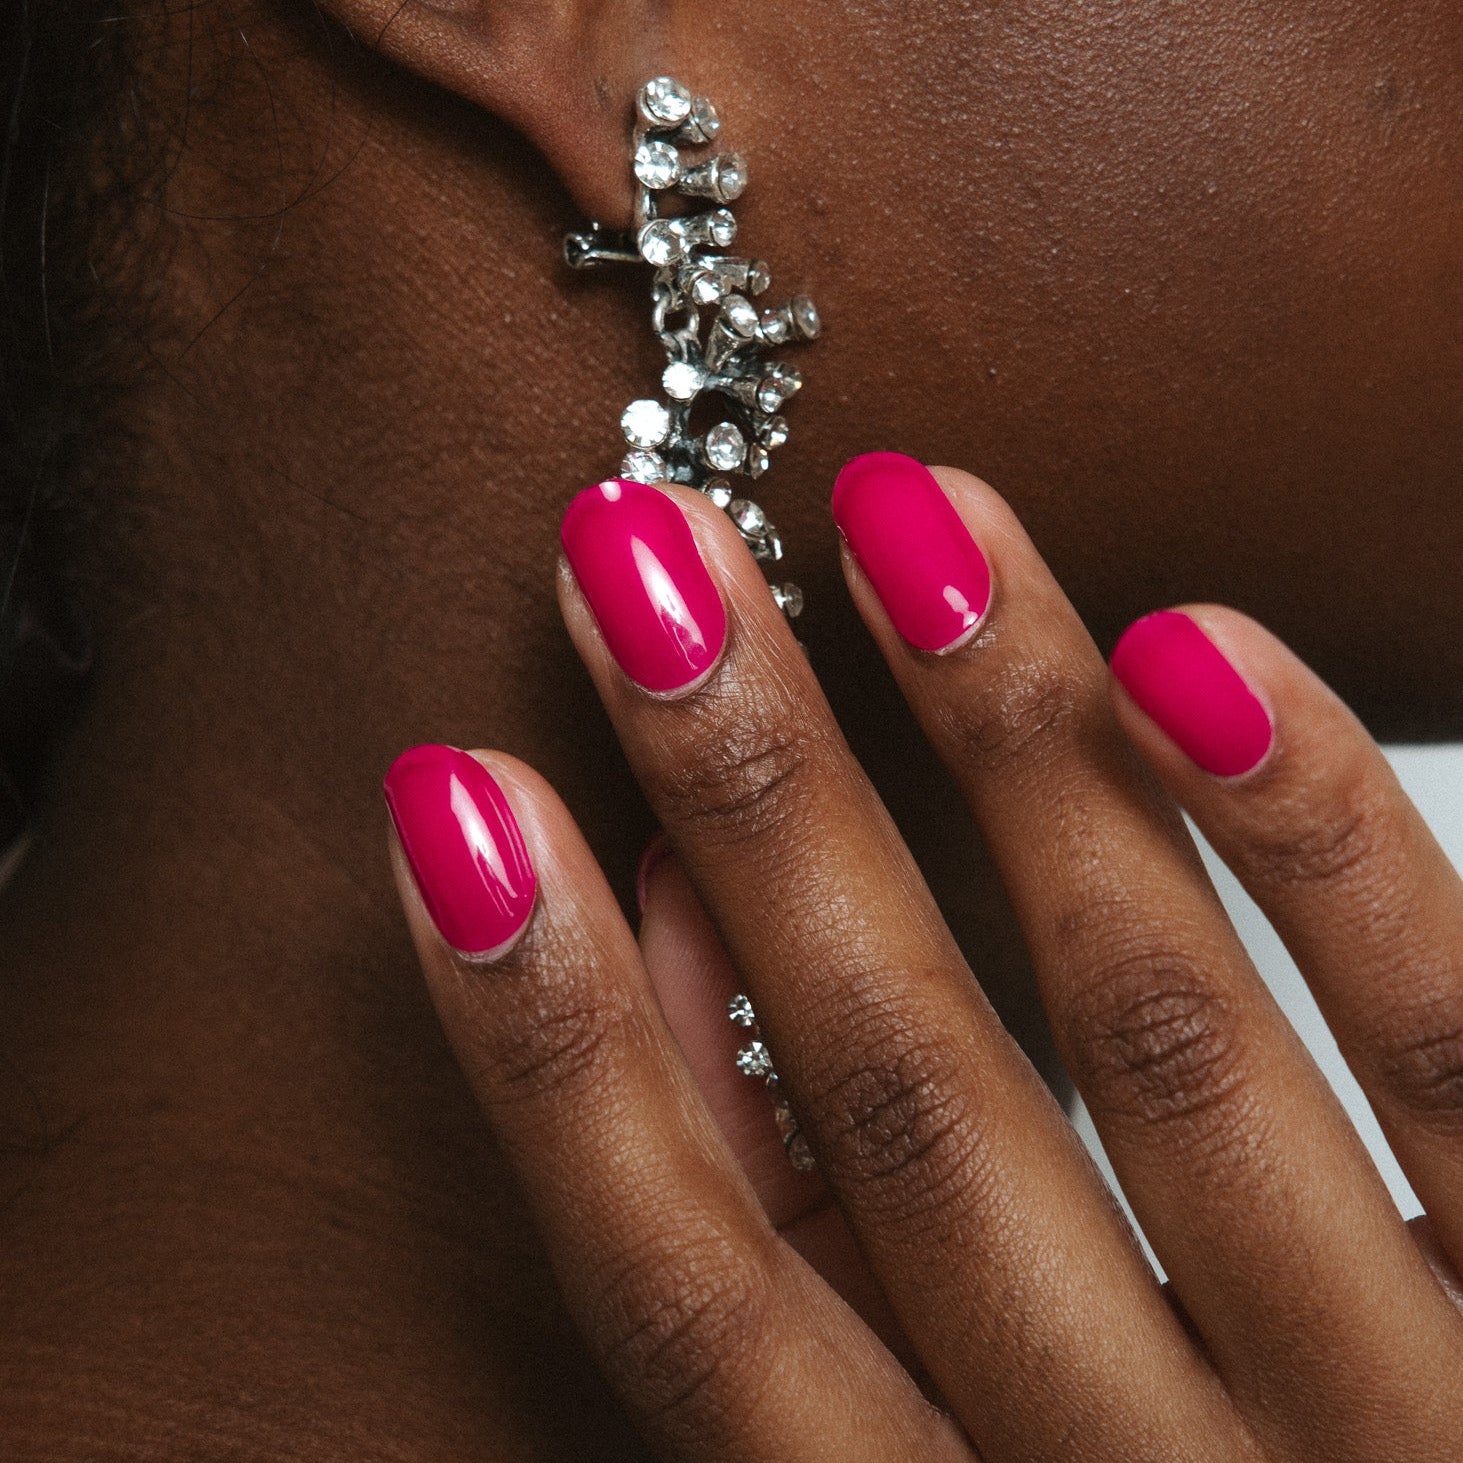
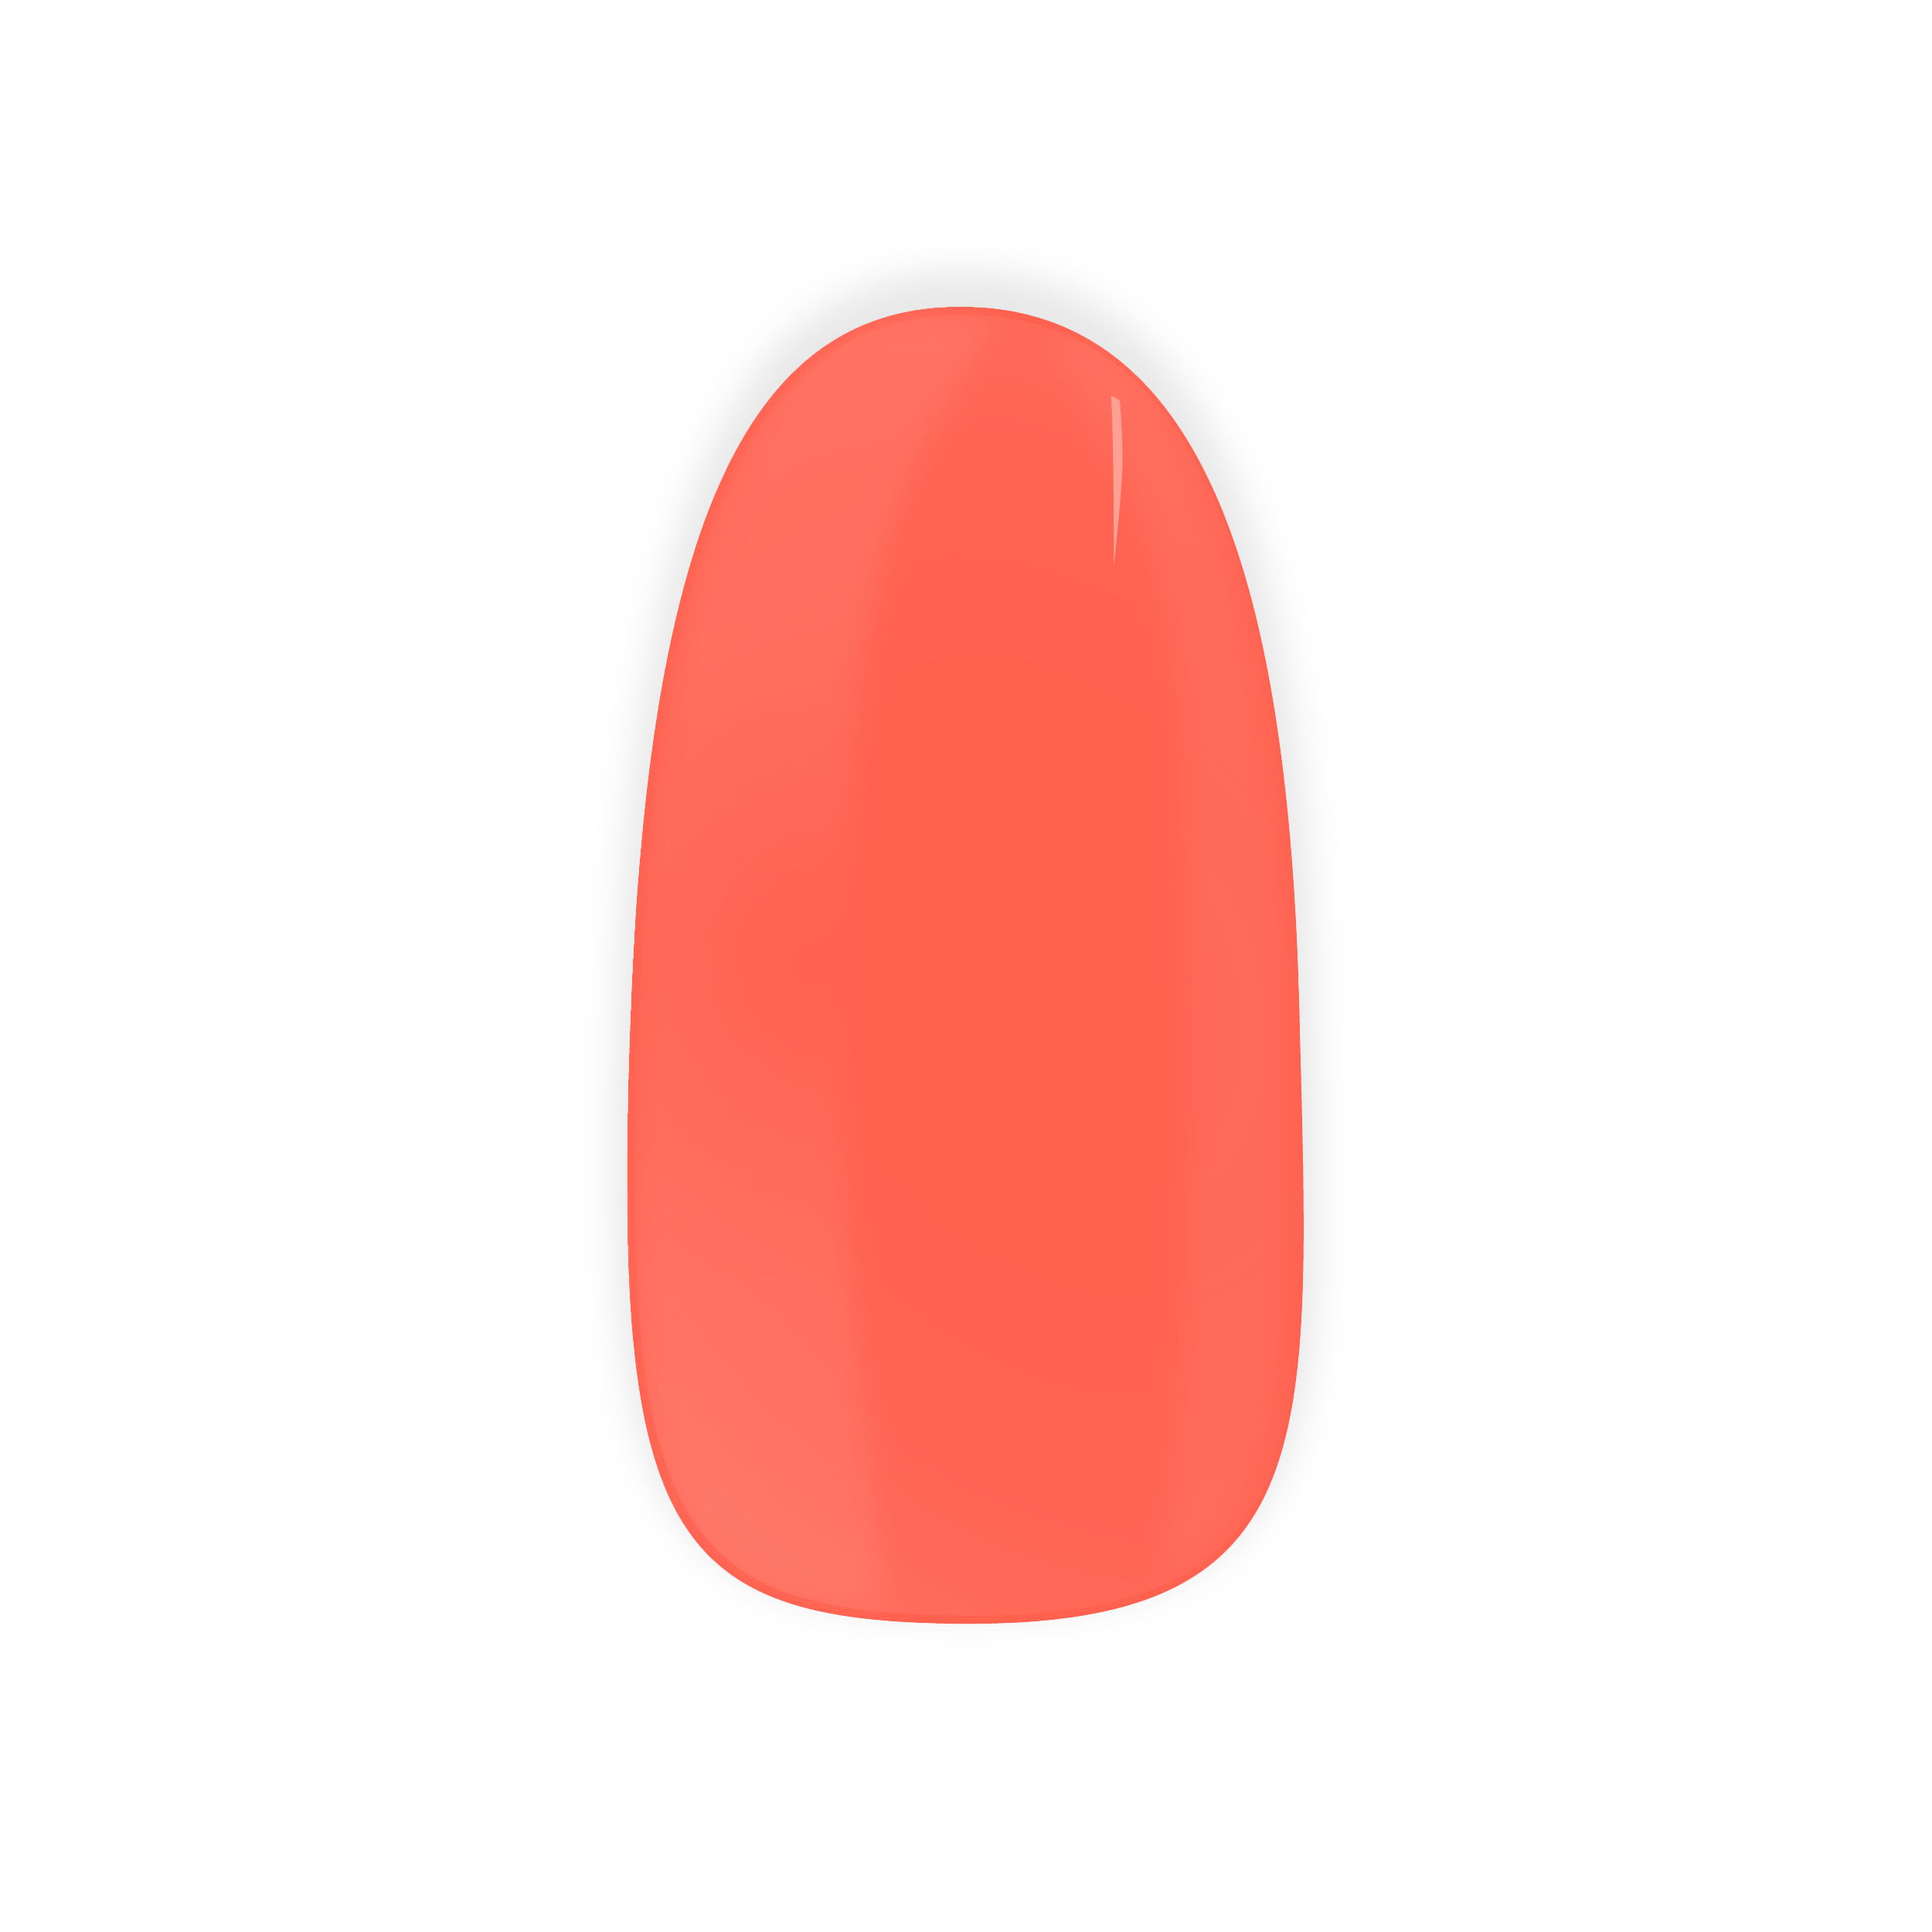
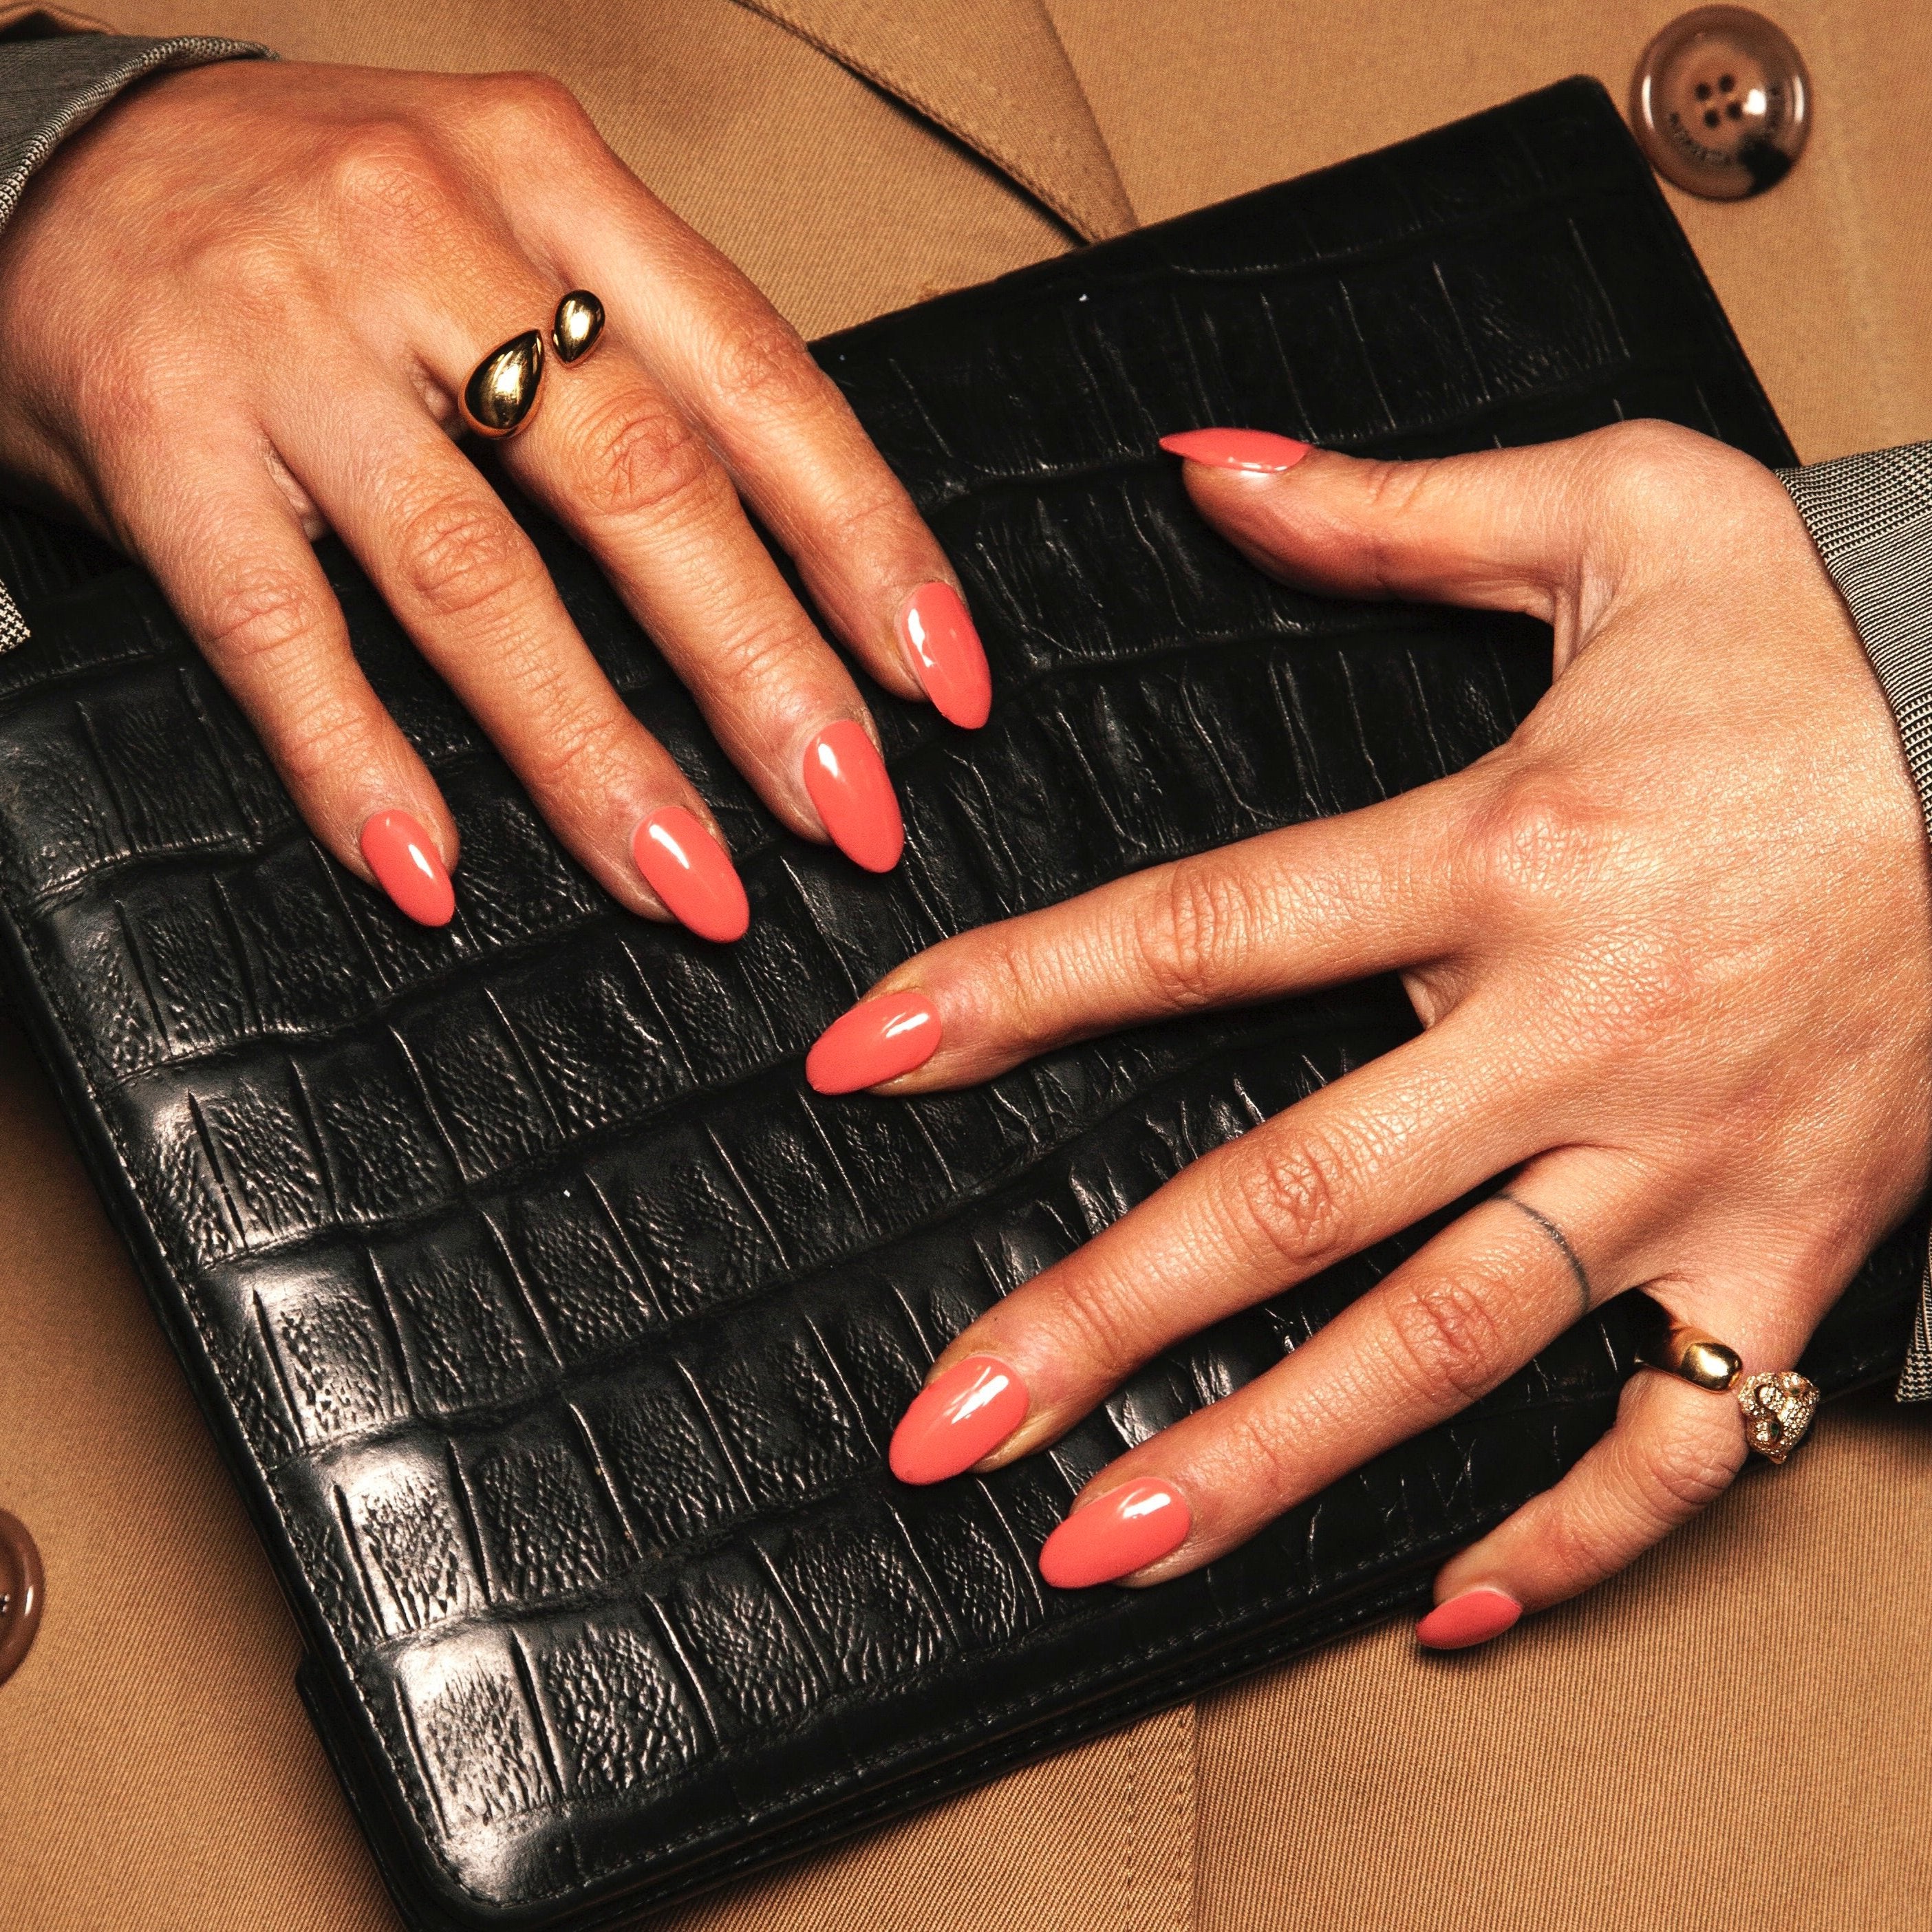
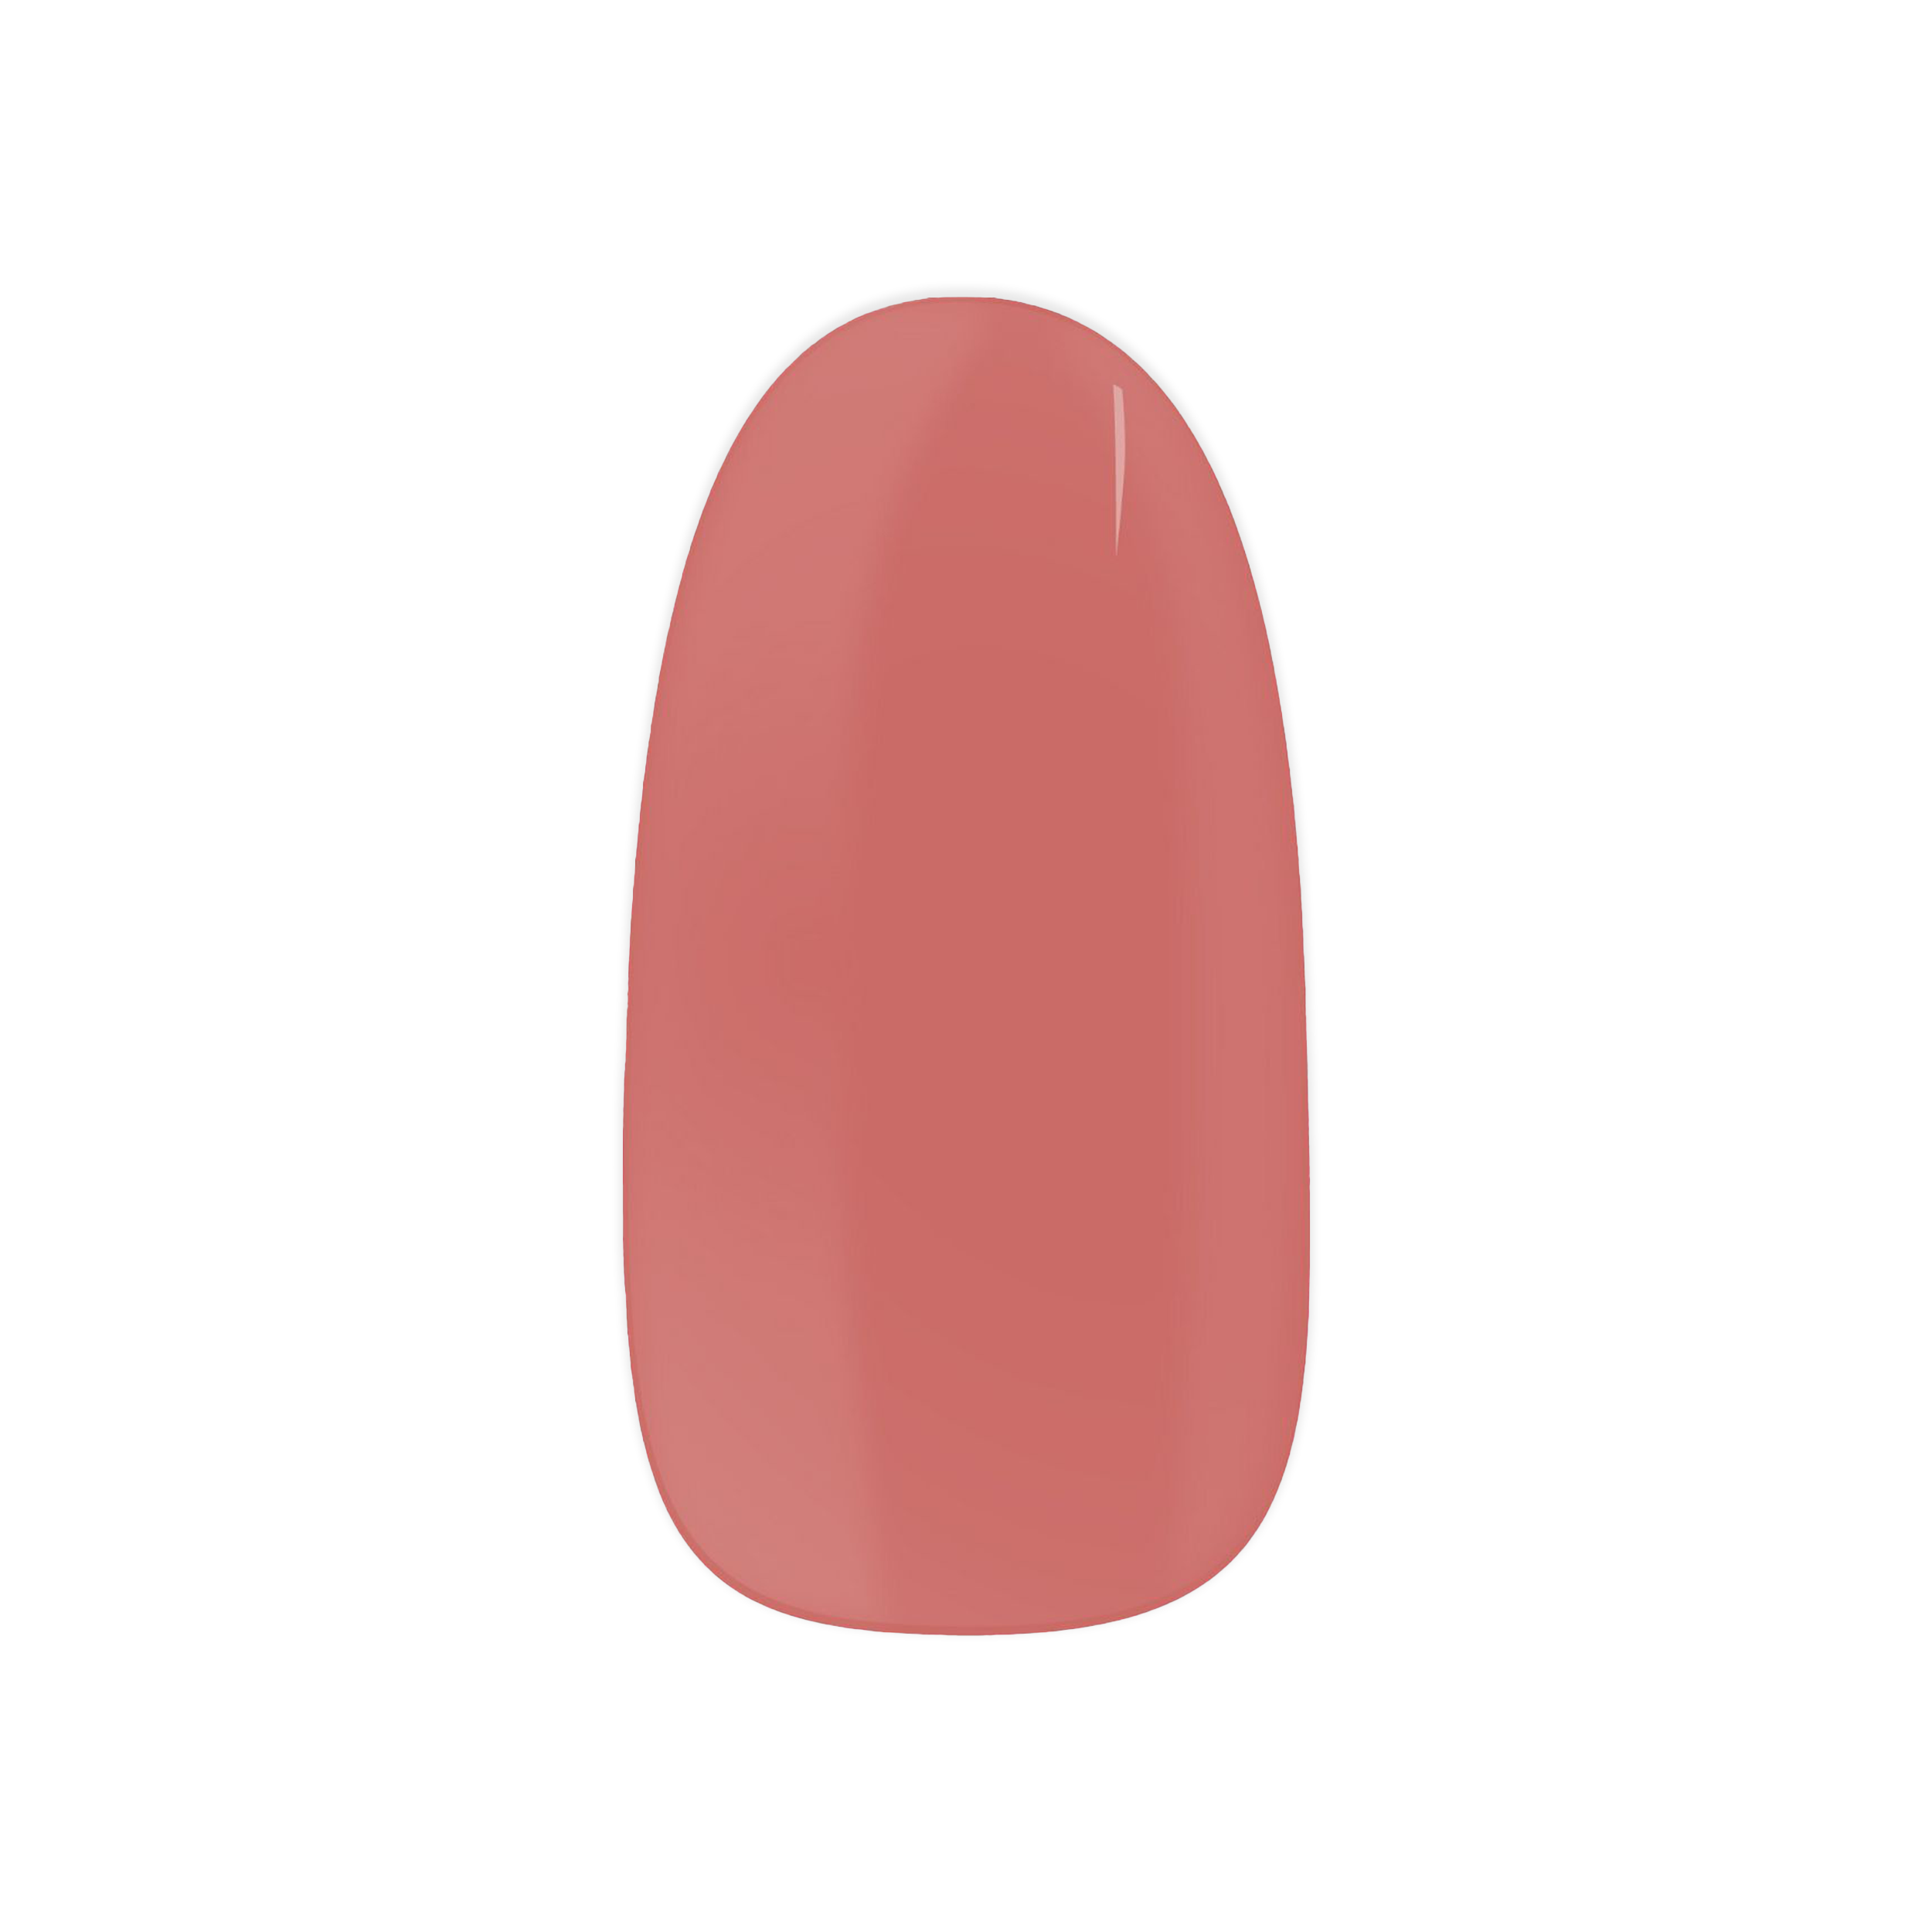
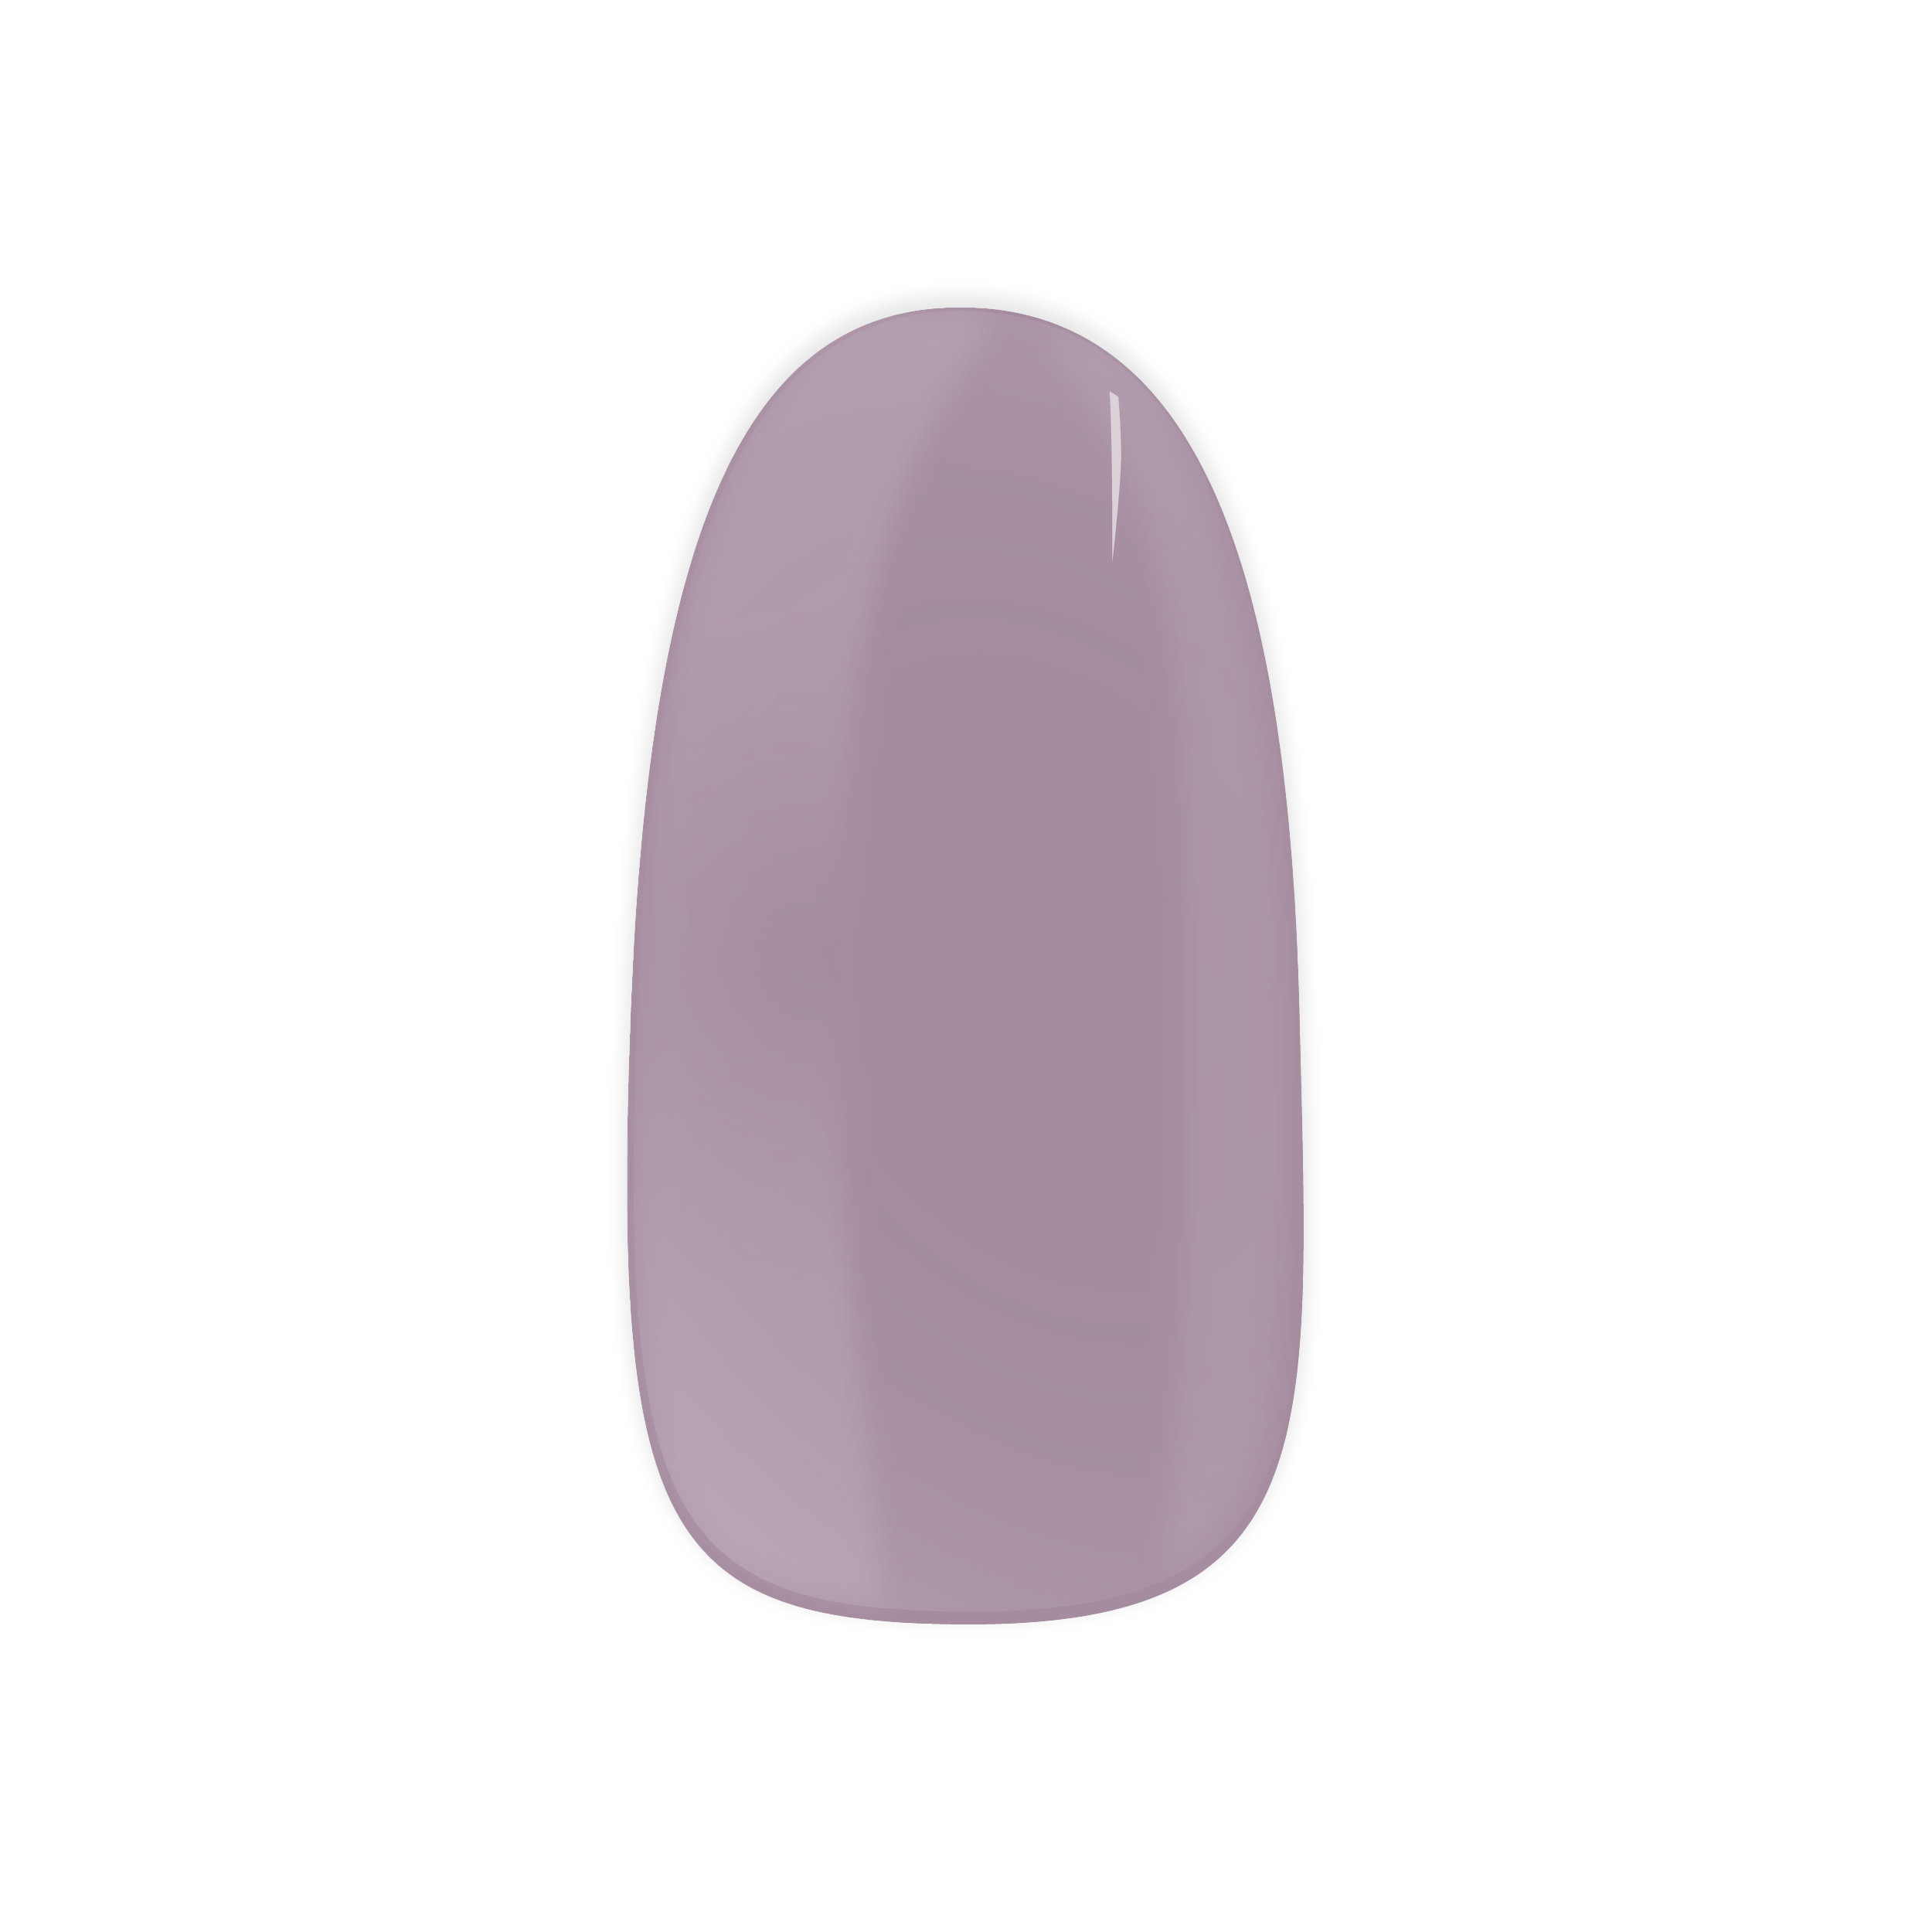
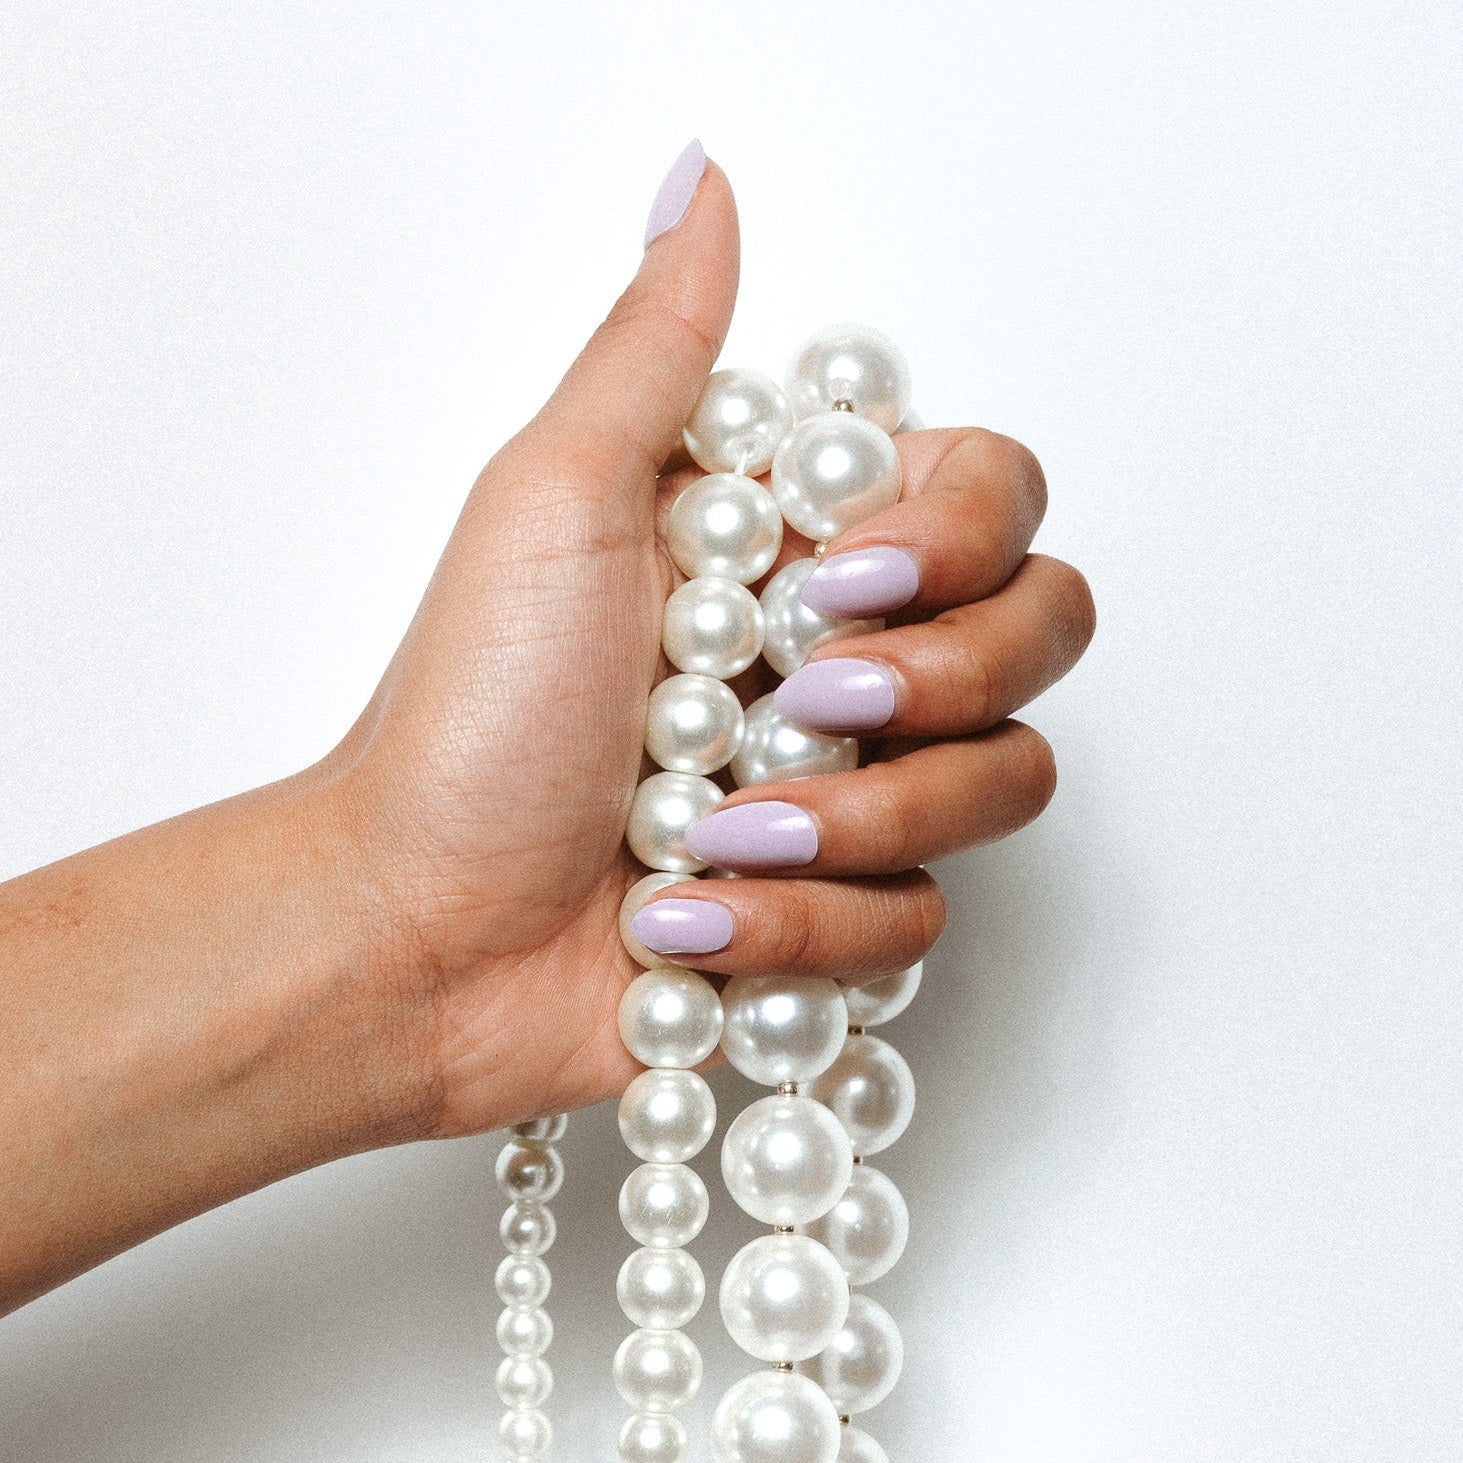
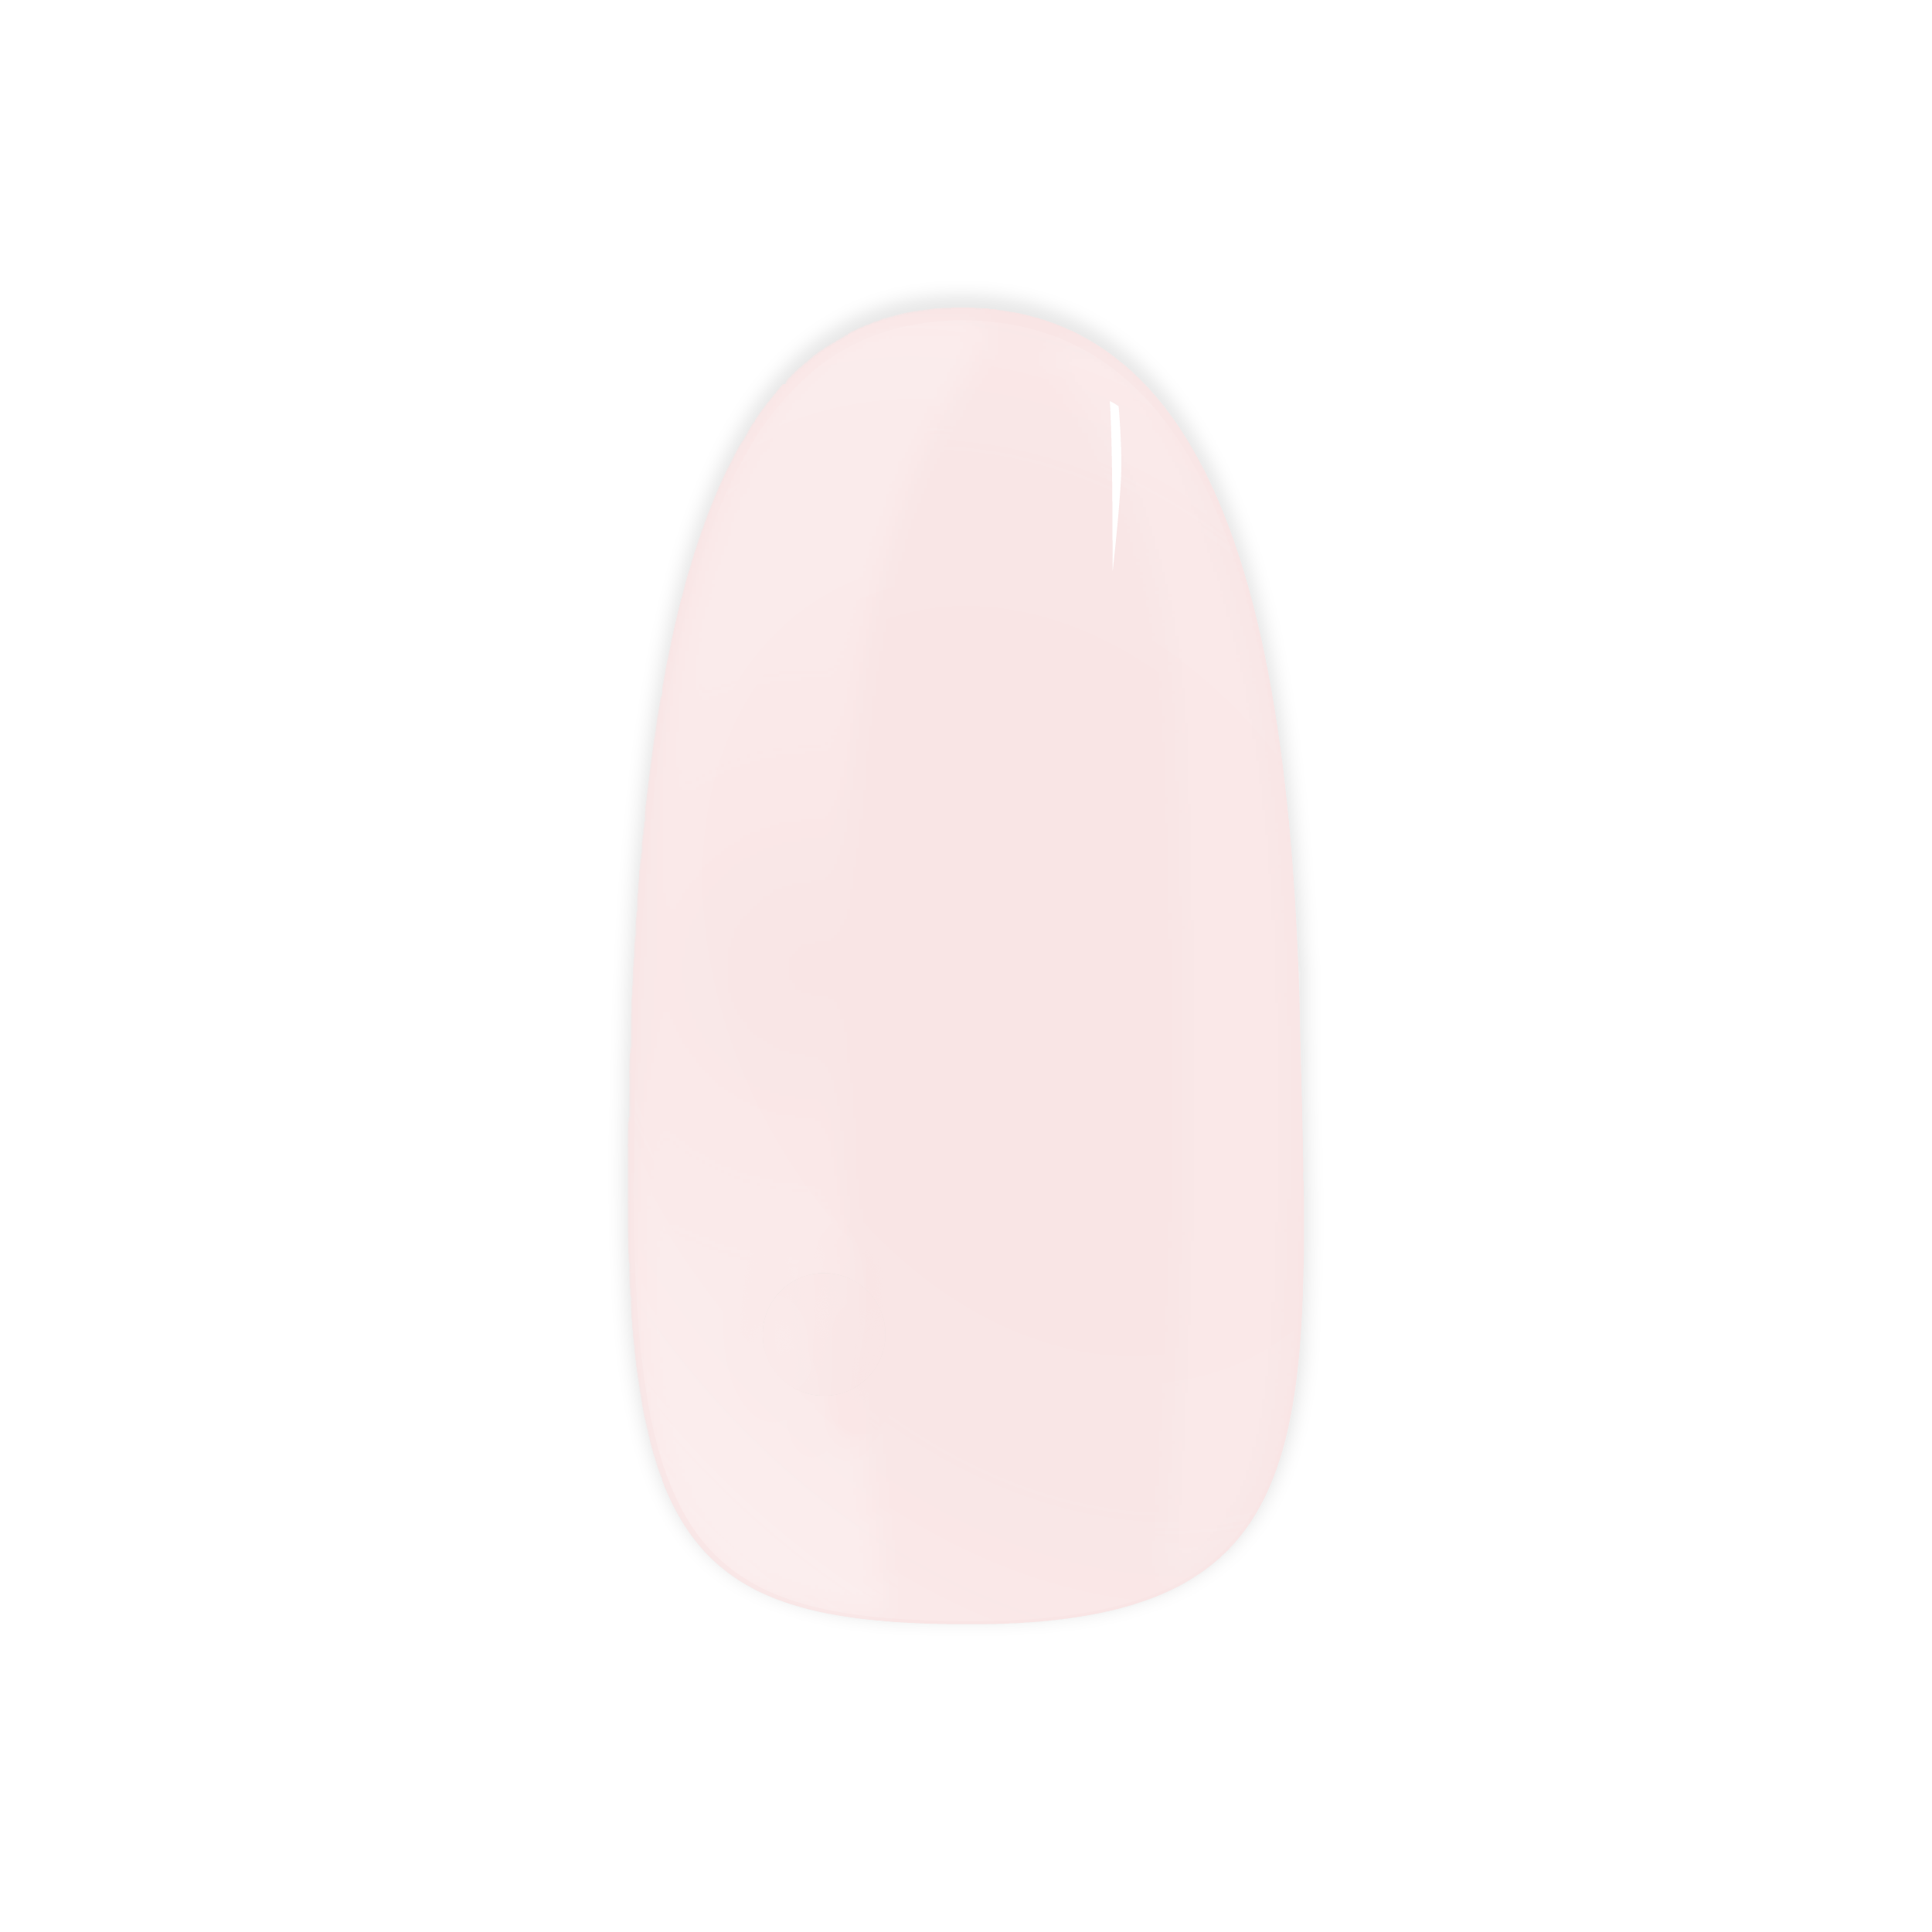
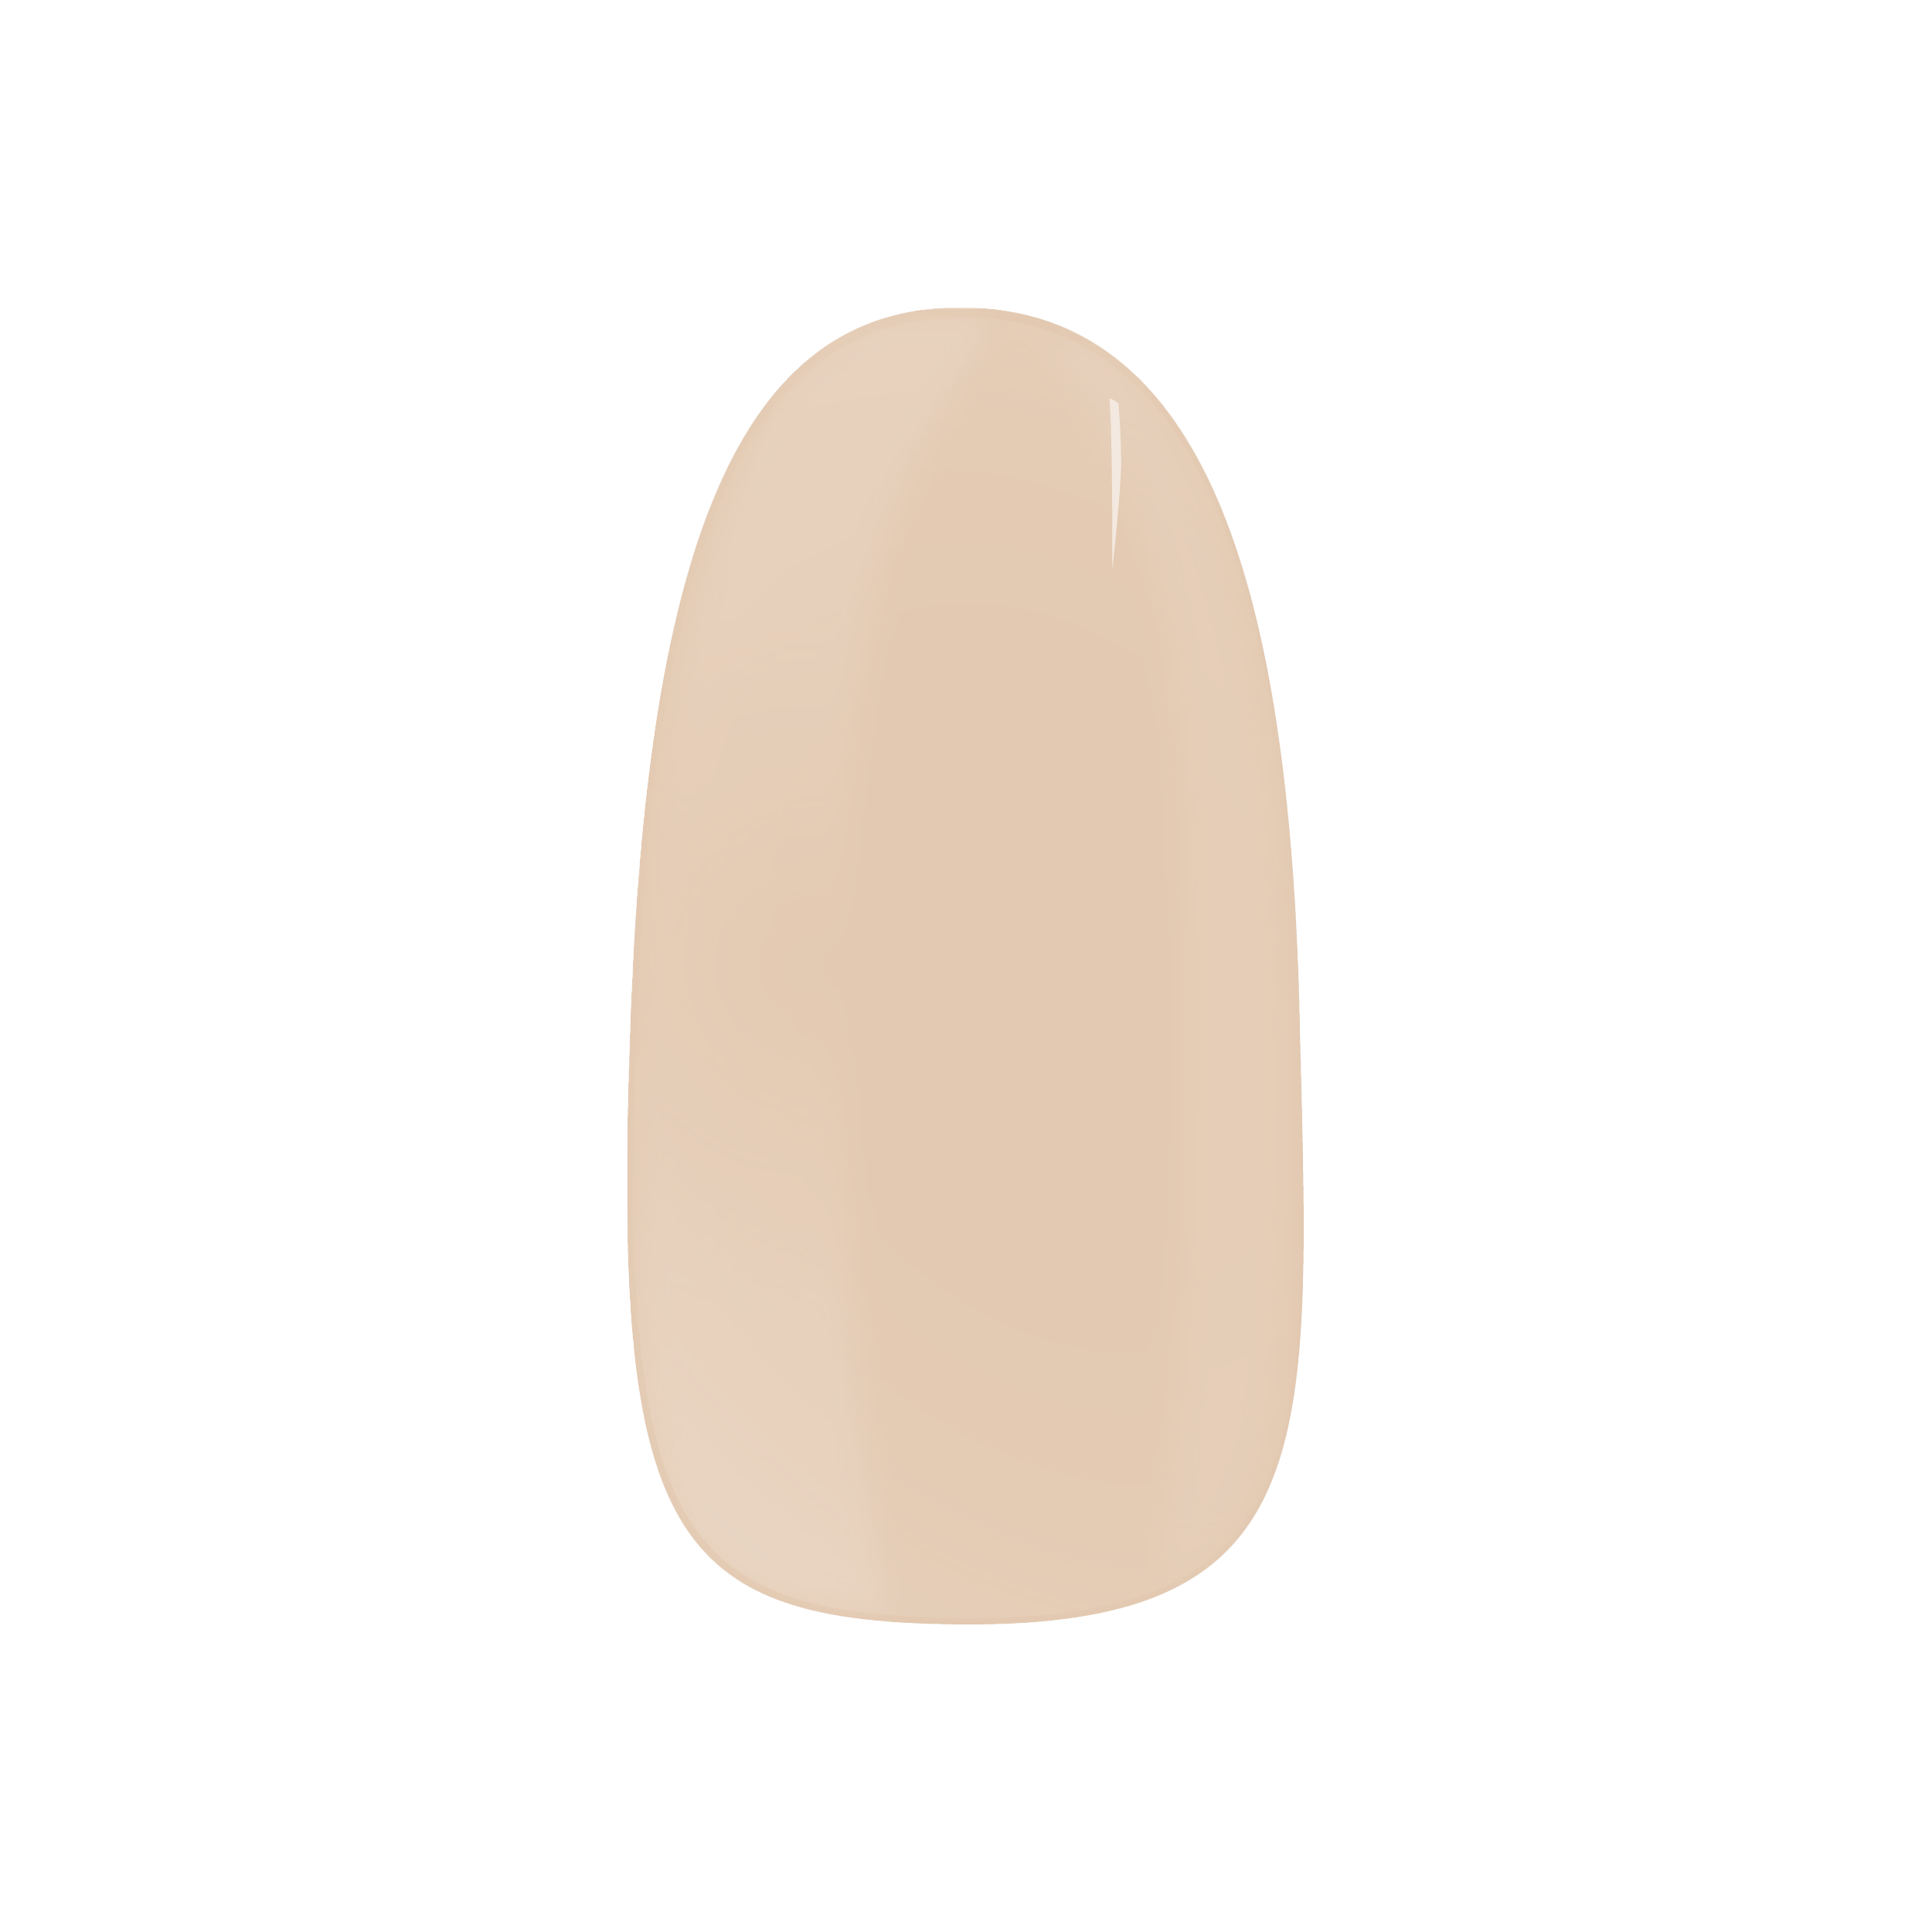
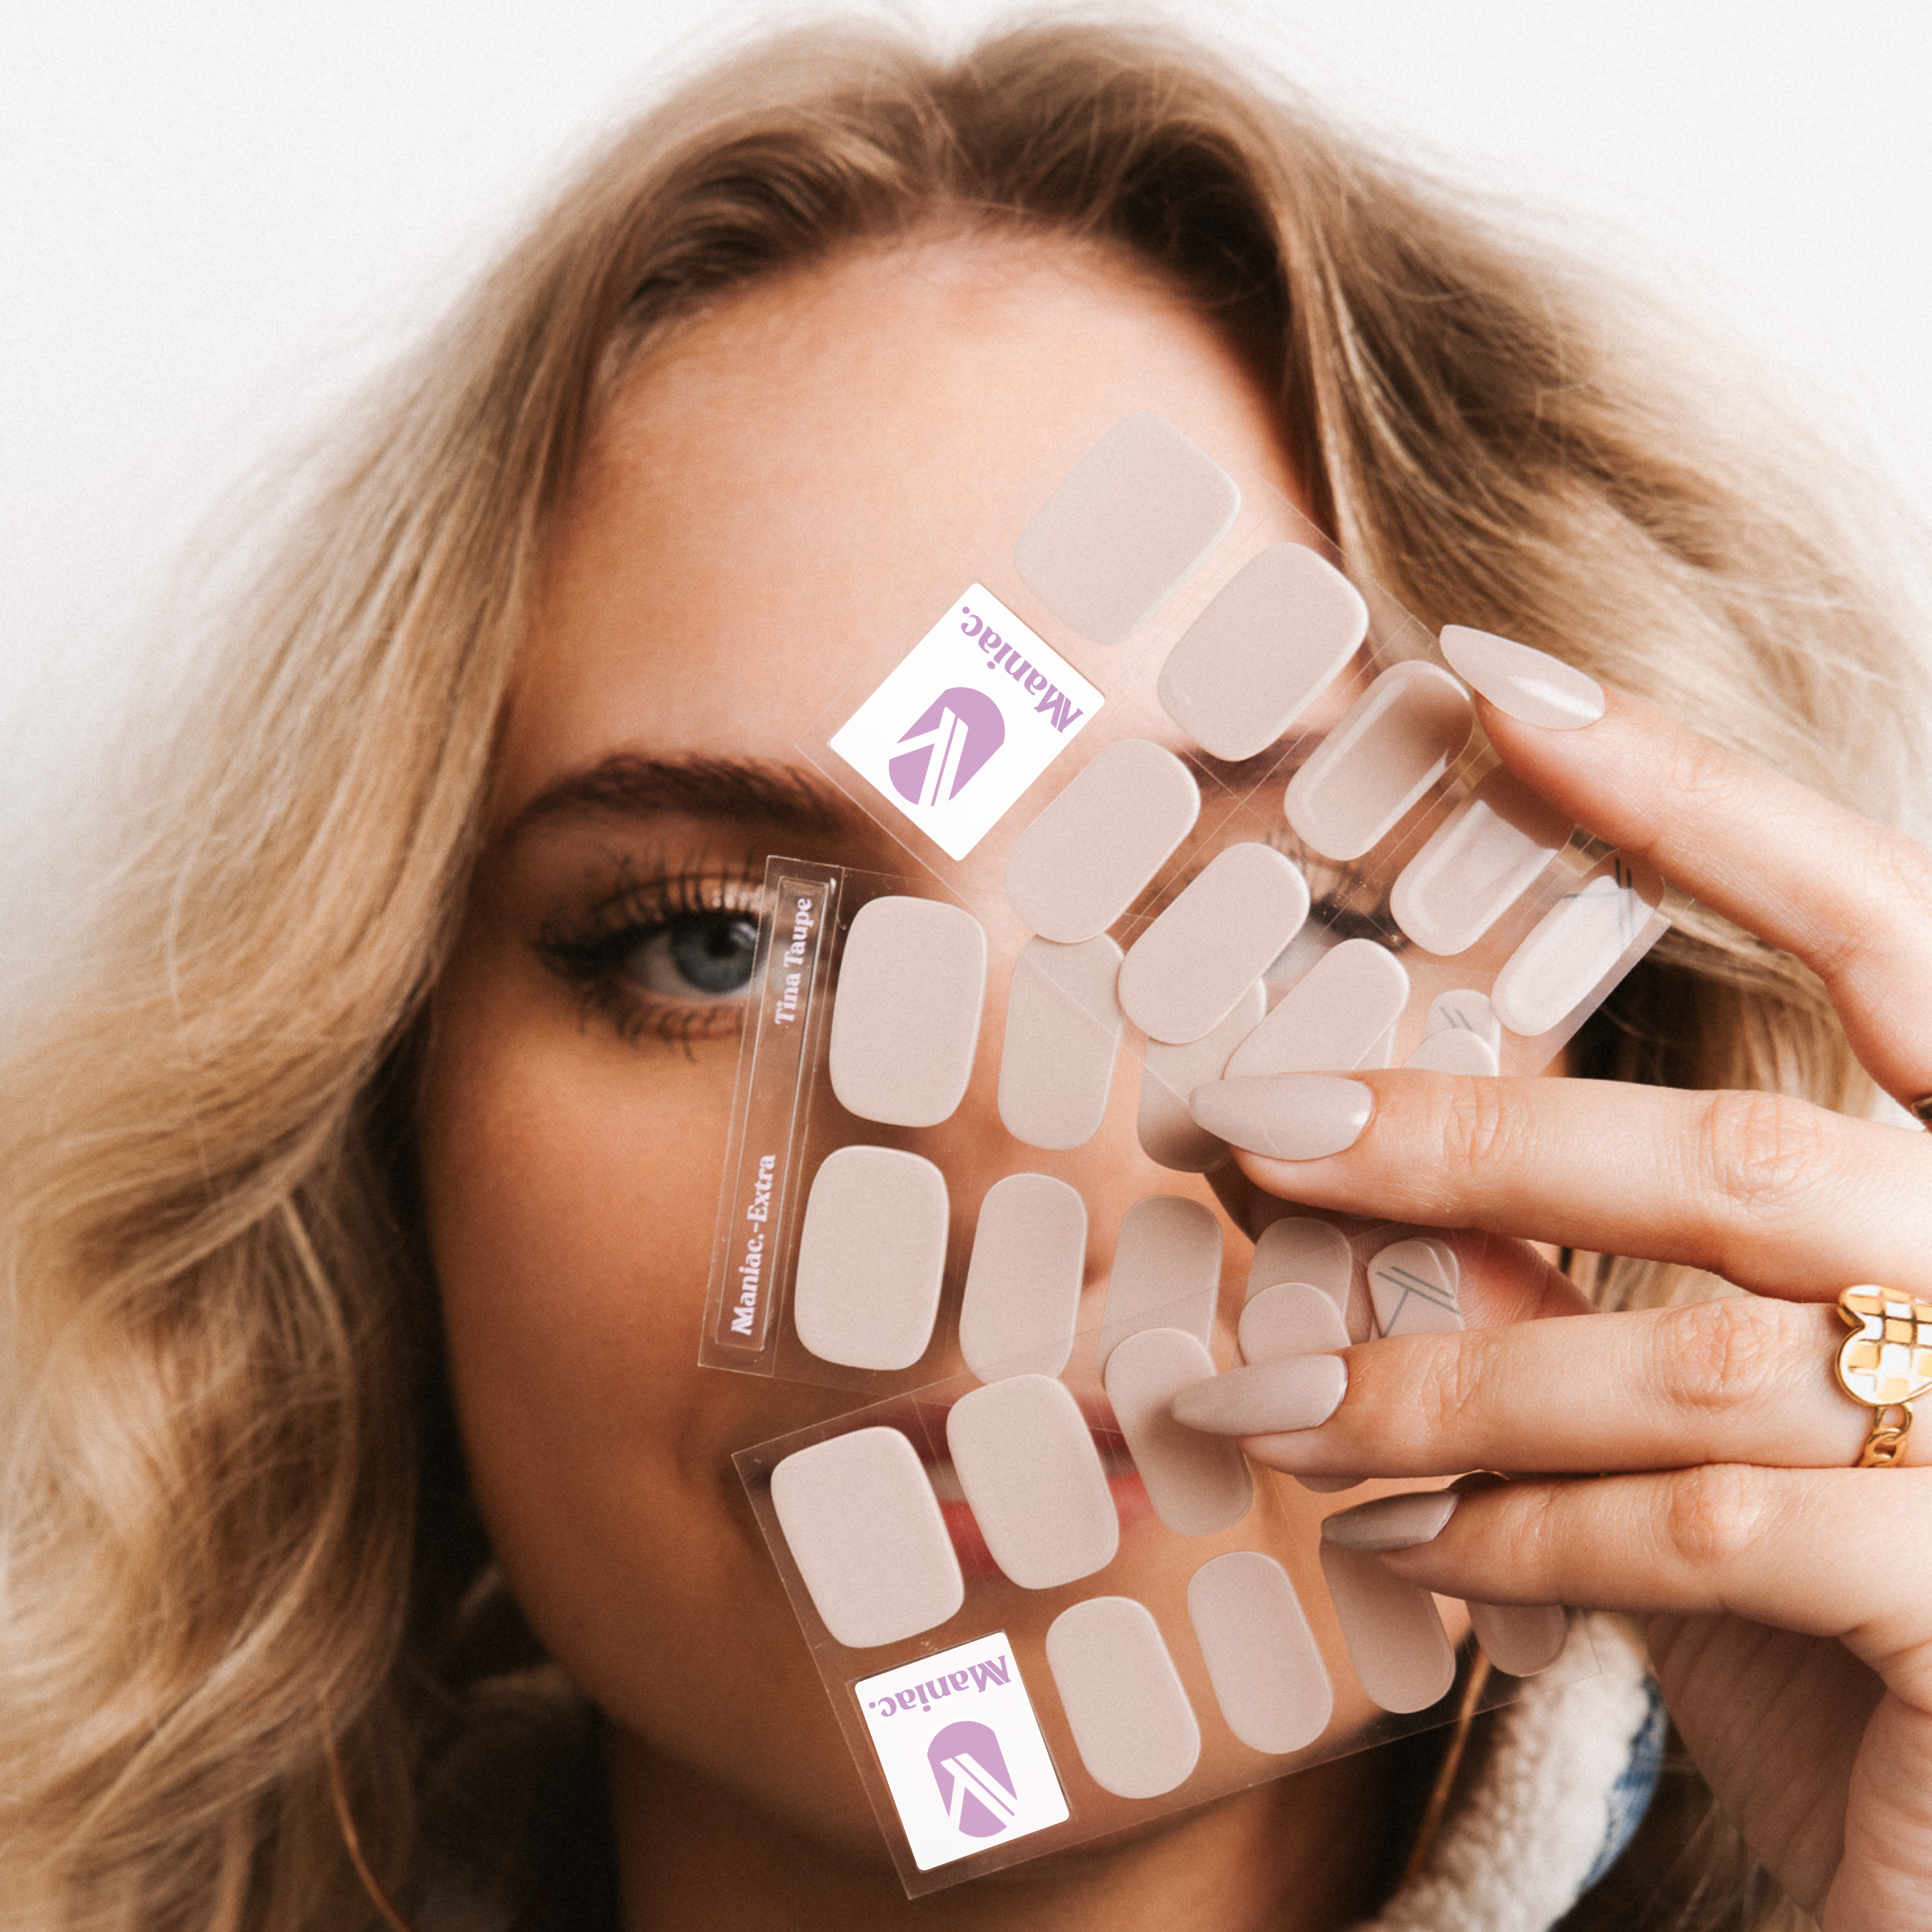
Curious by Maniac's nail art? The Gel Stickers, aka Maniac Manicure, are the hottest trend on social media - and I have all the advice you need to create a flawless gel manicure without the need for messy tools.
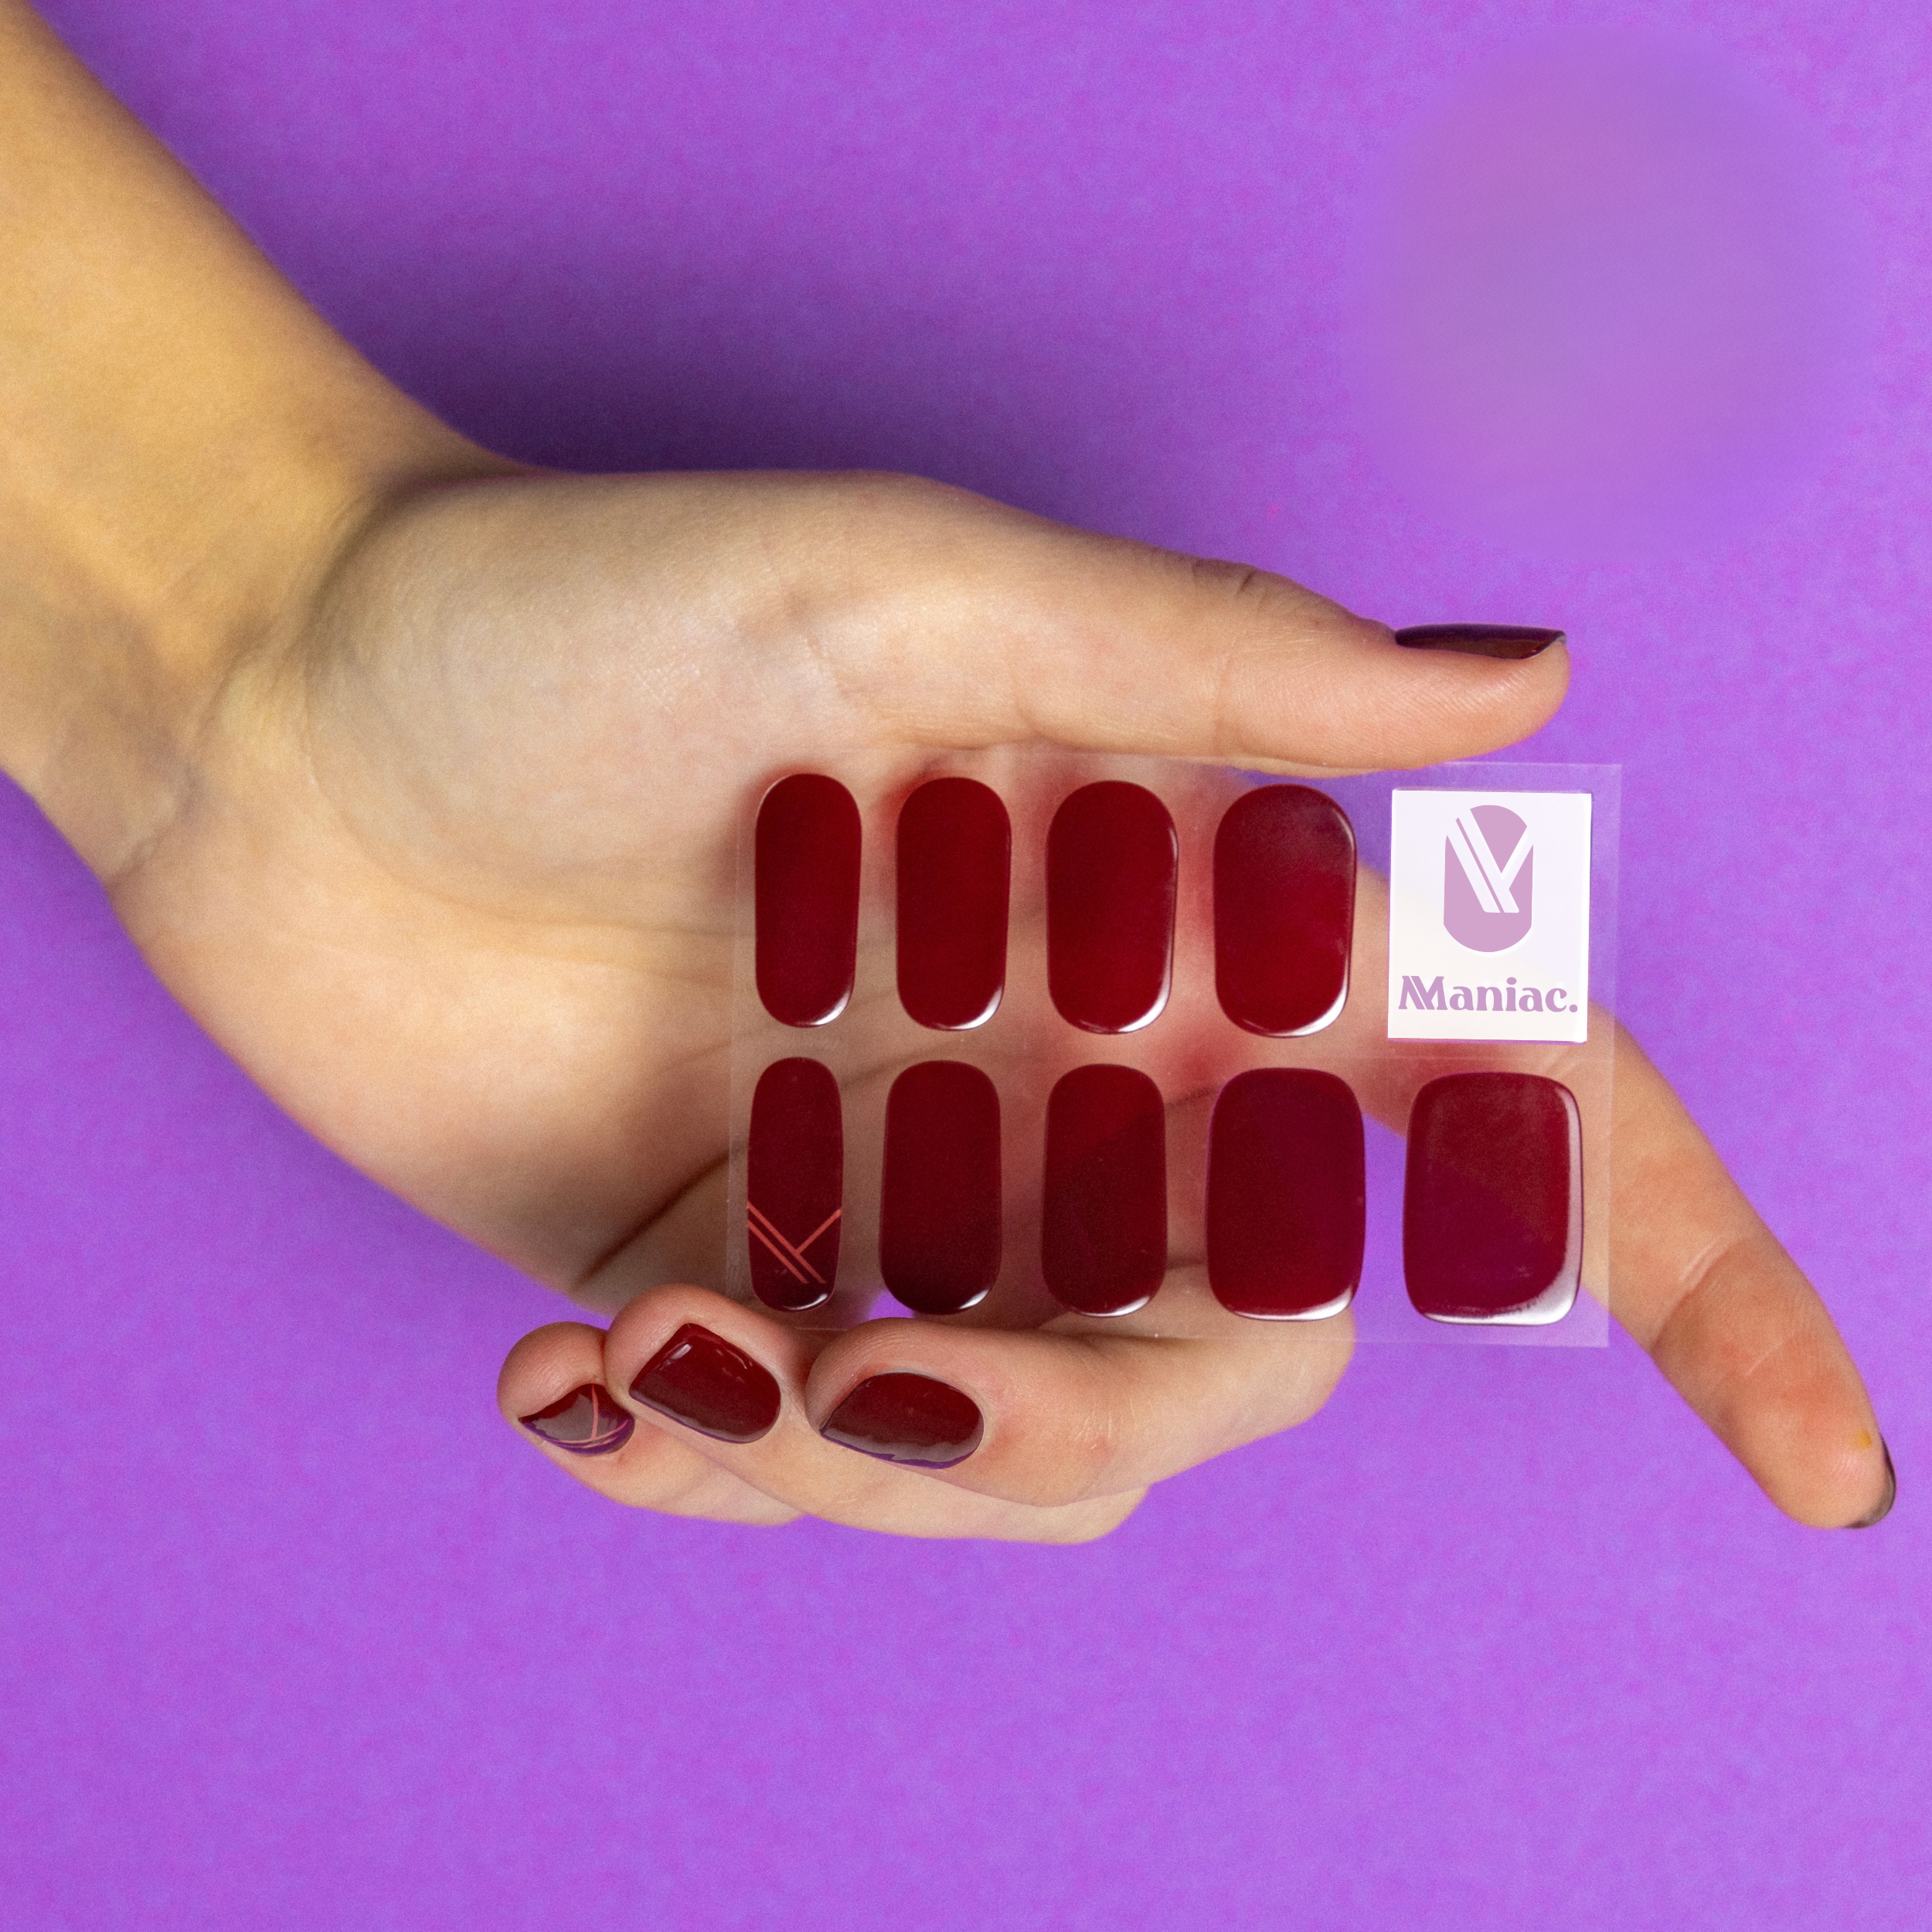
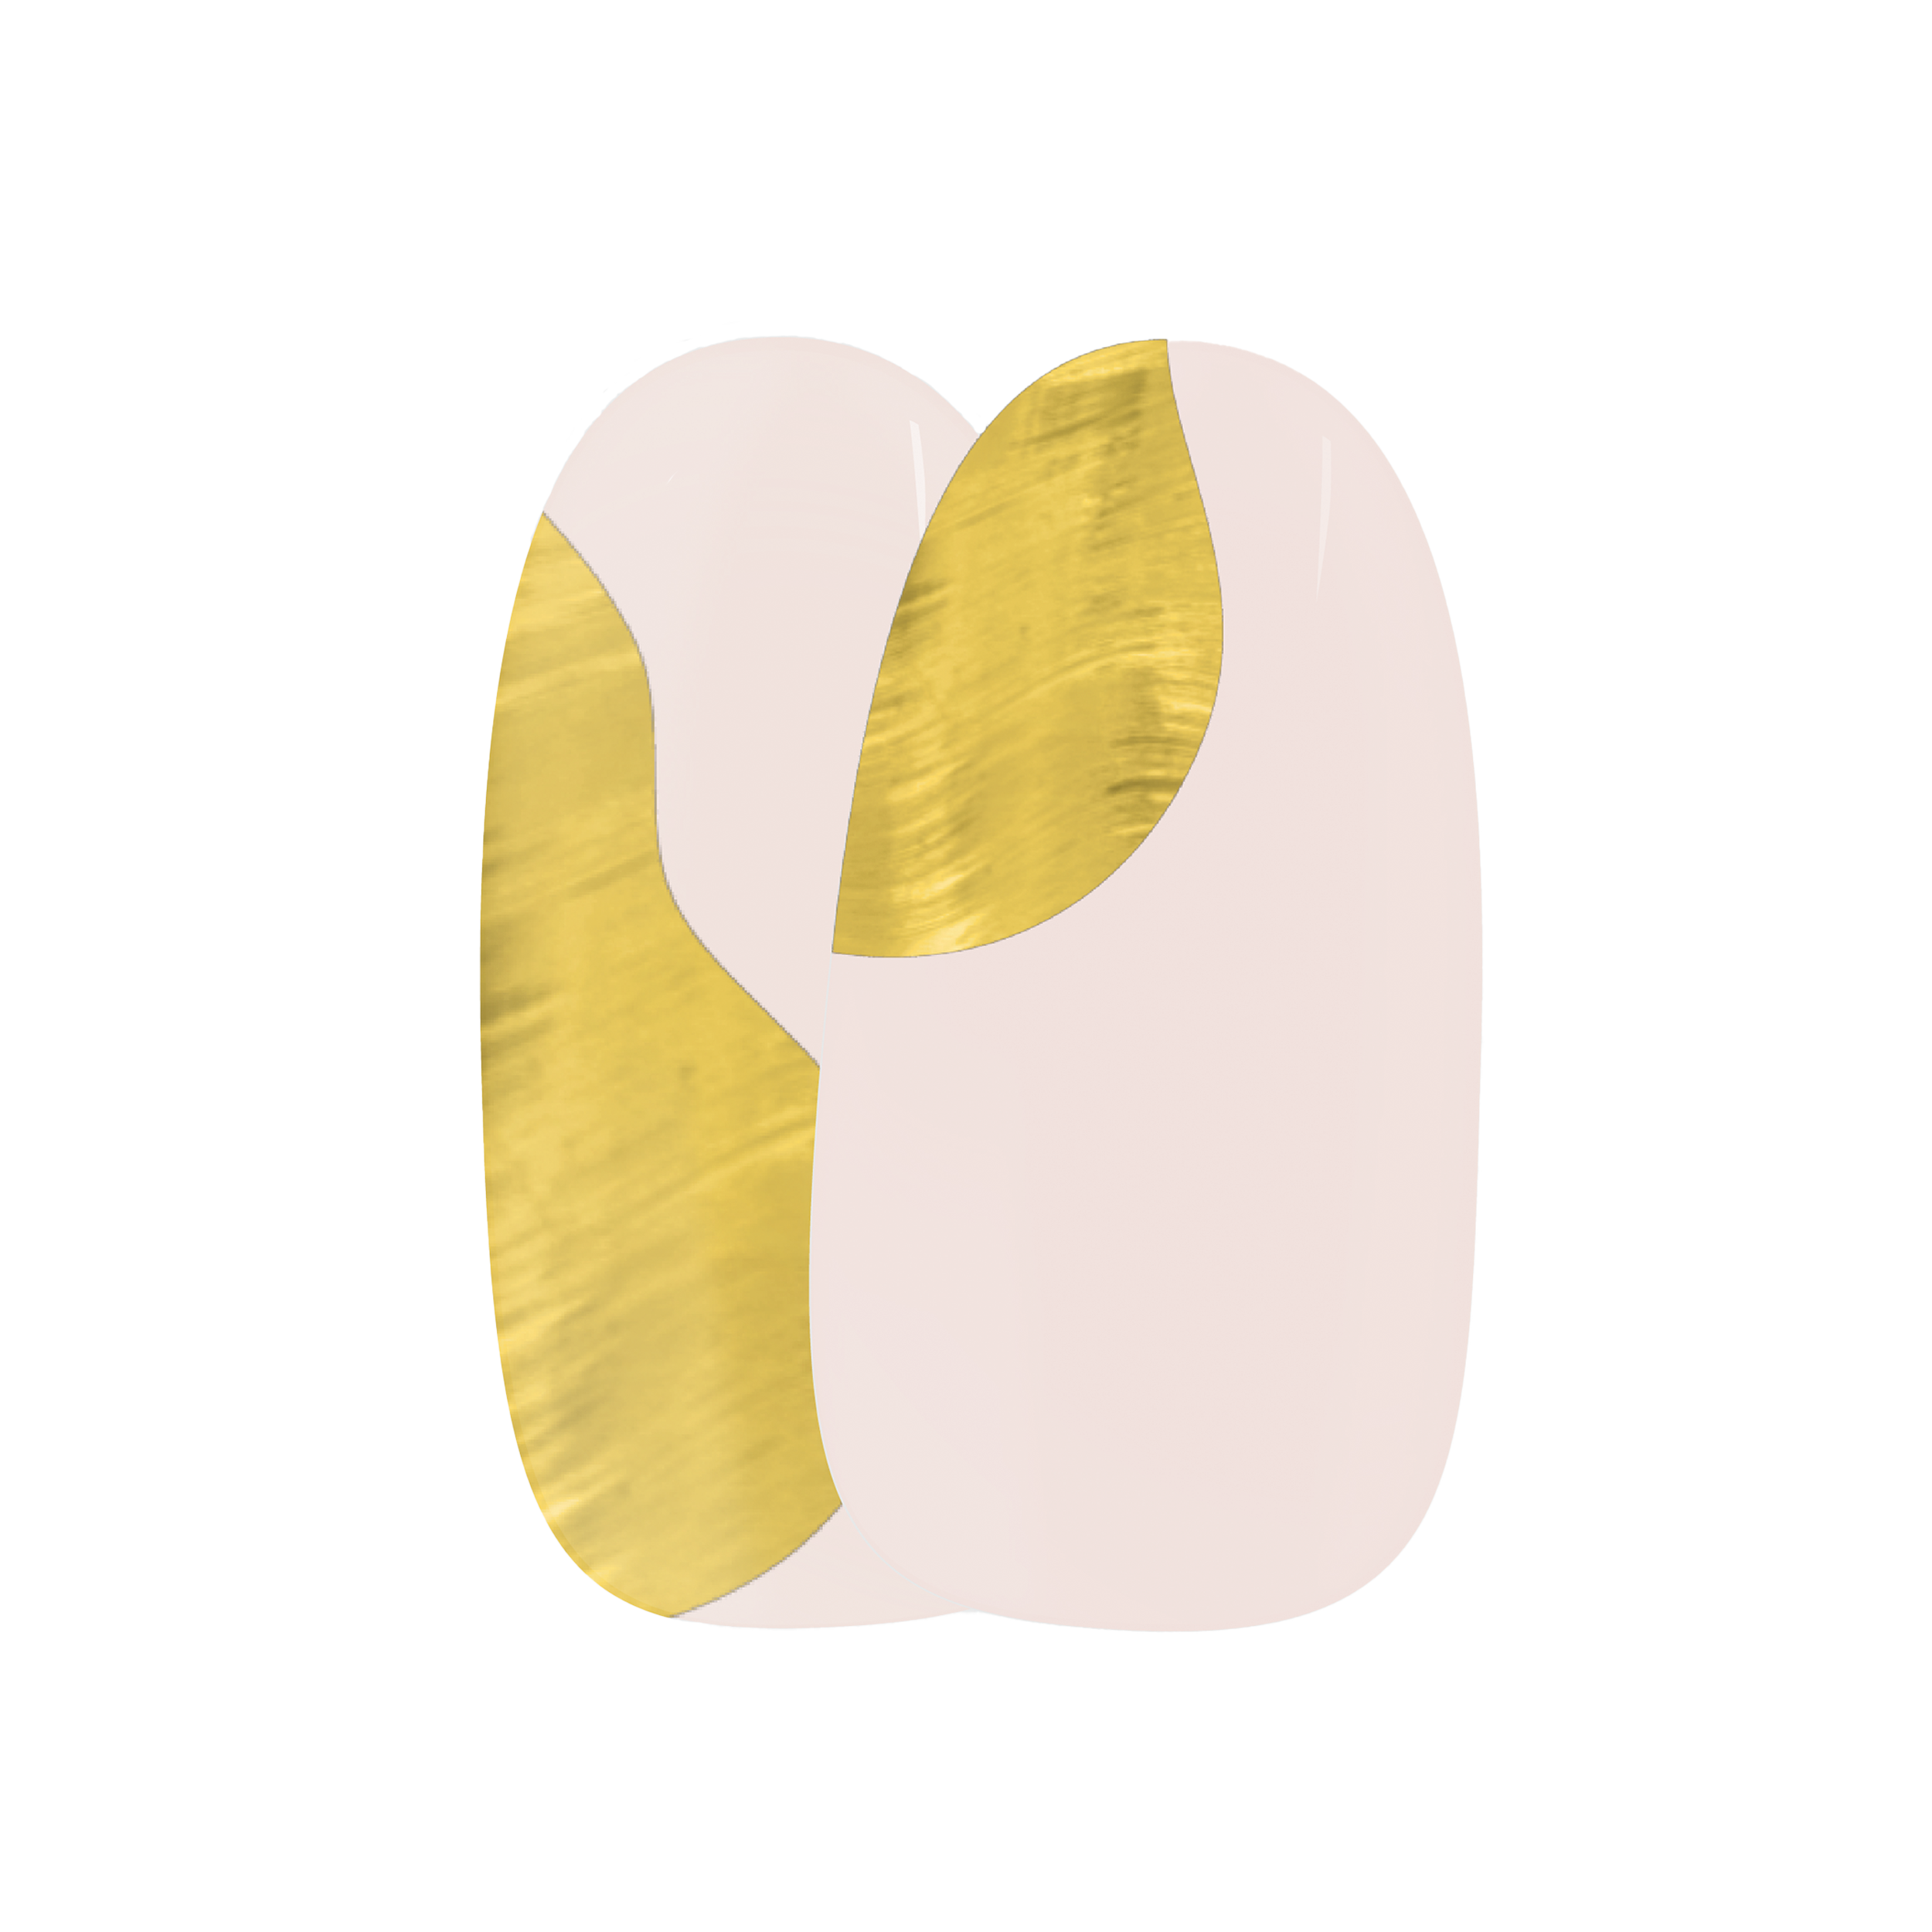
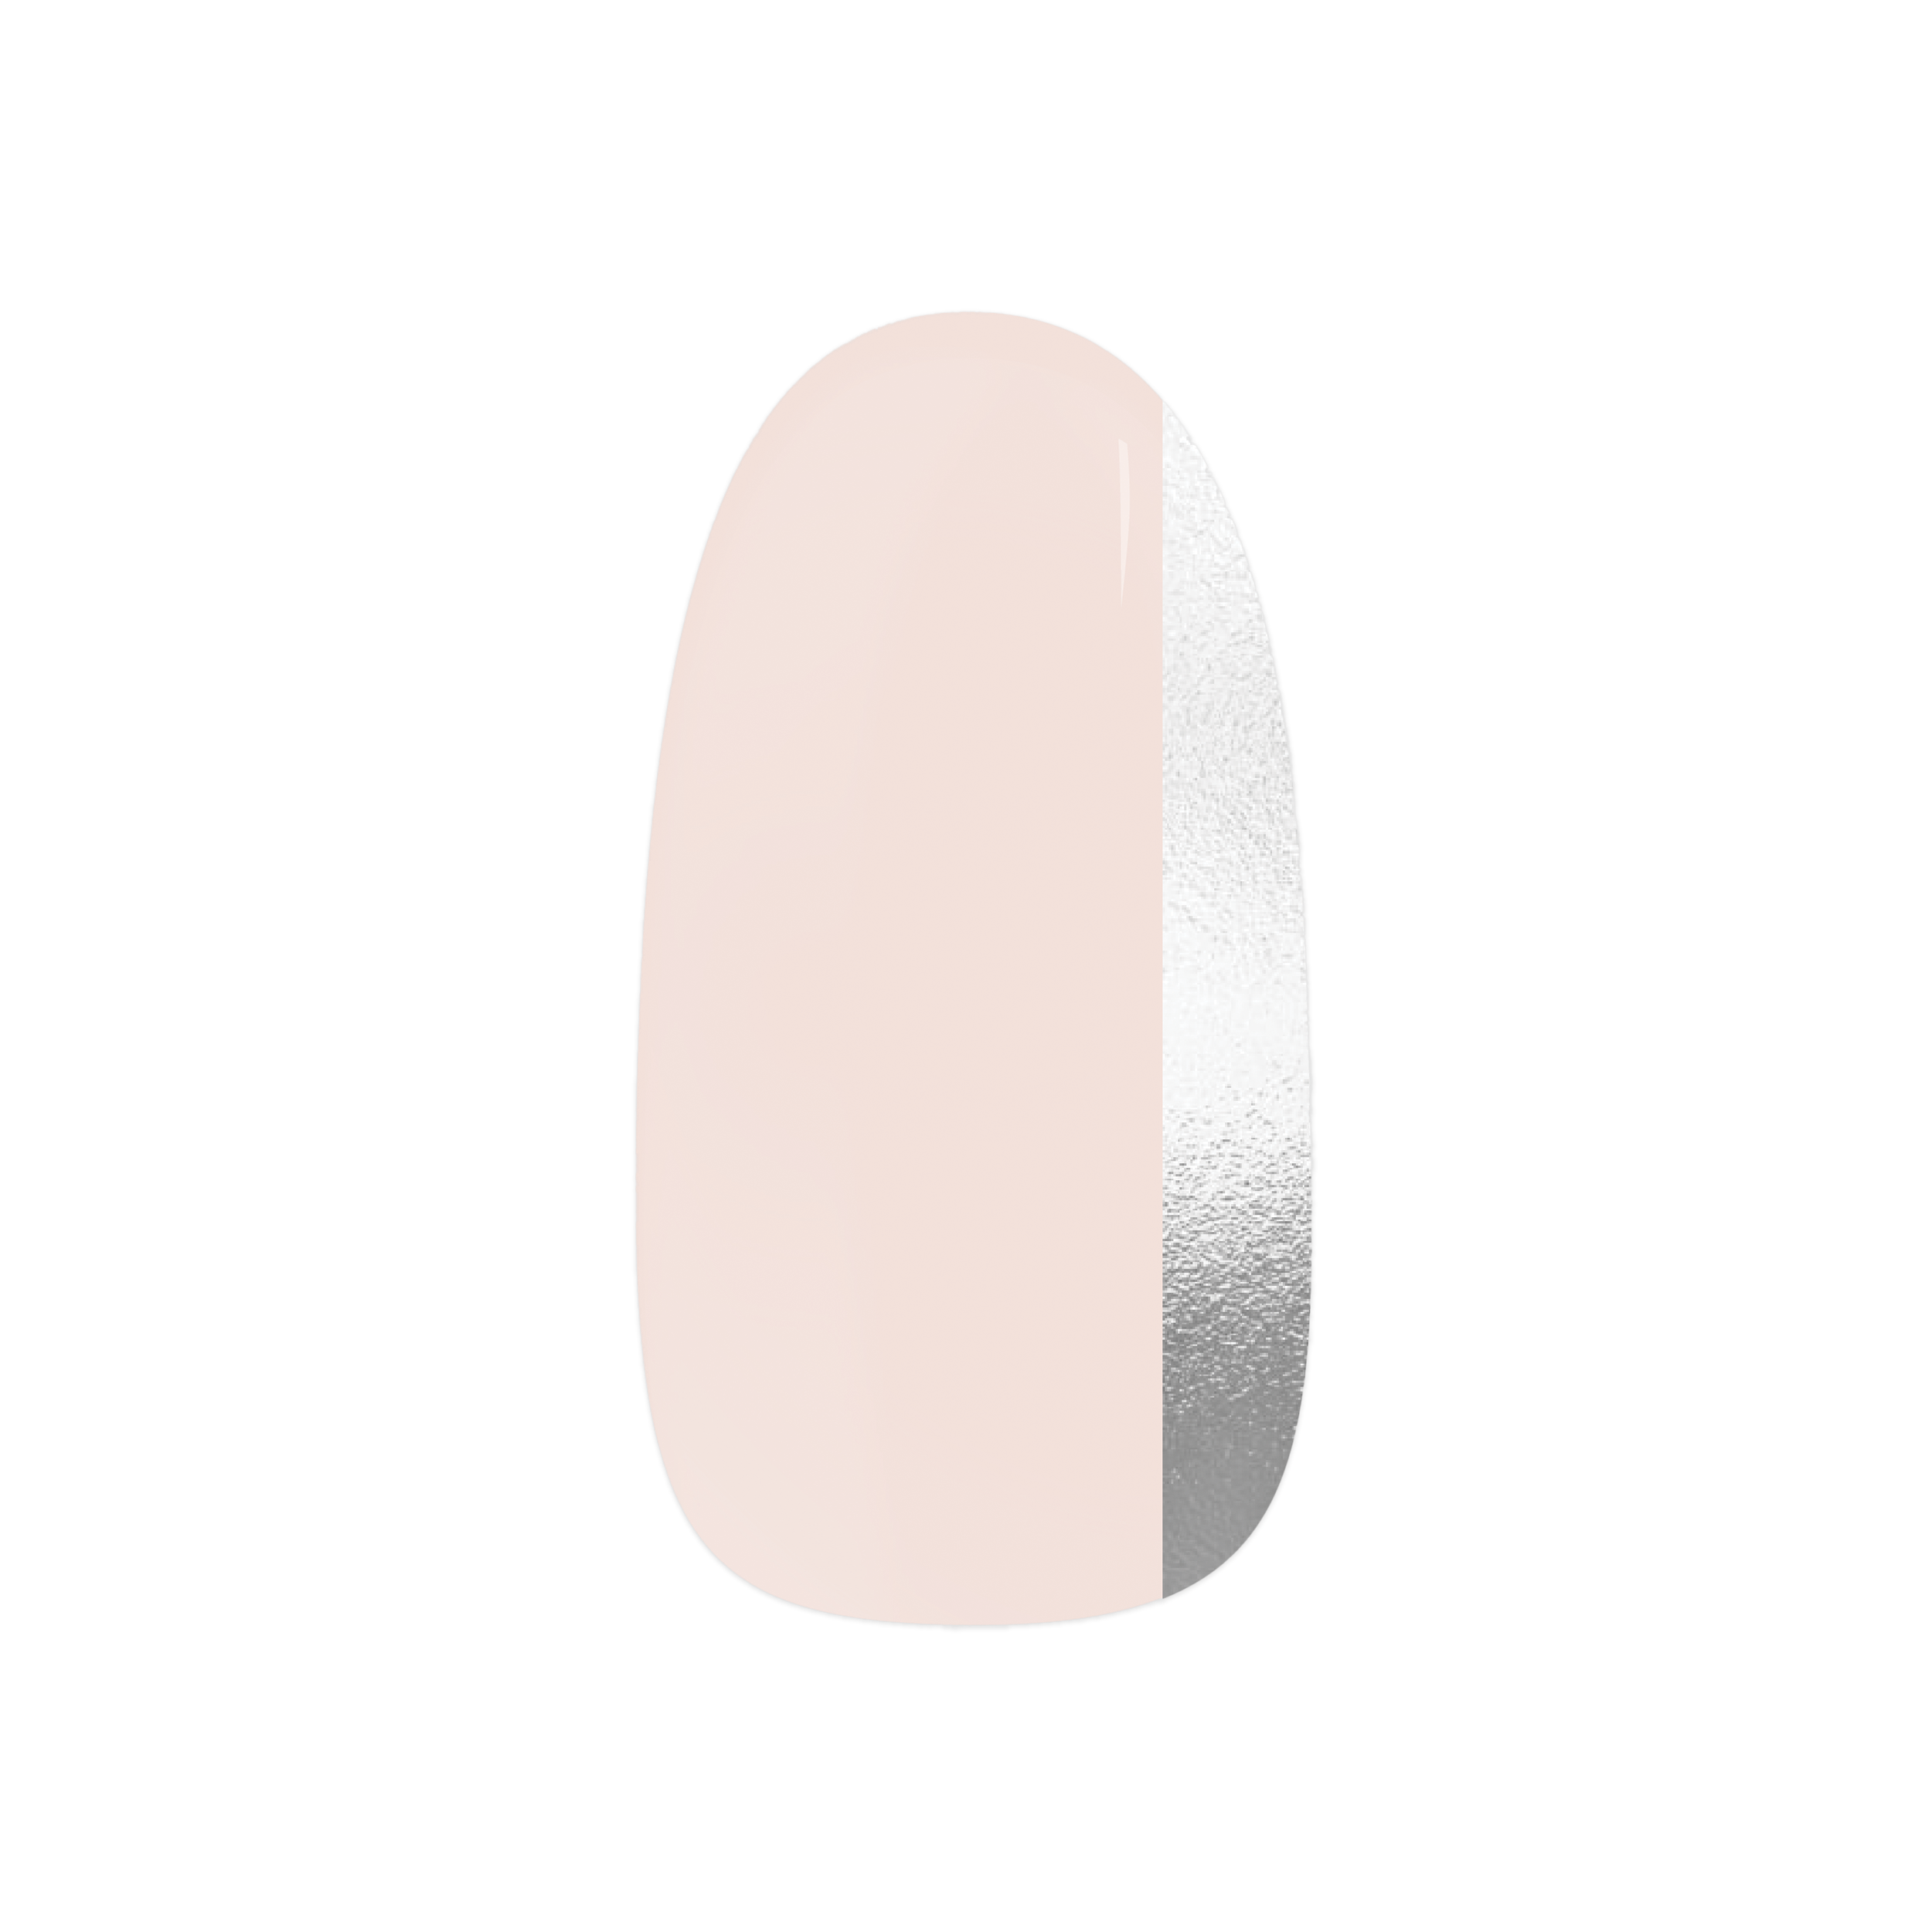
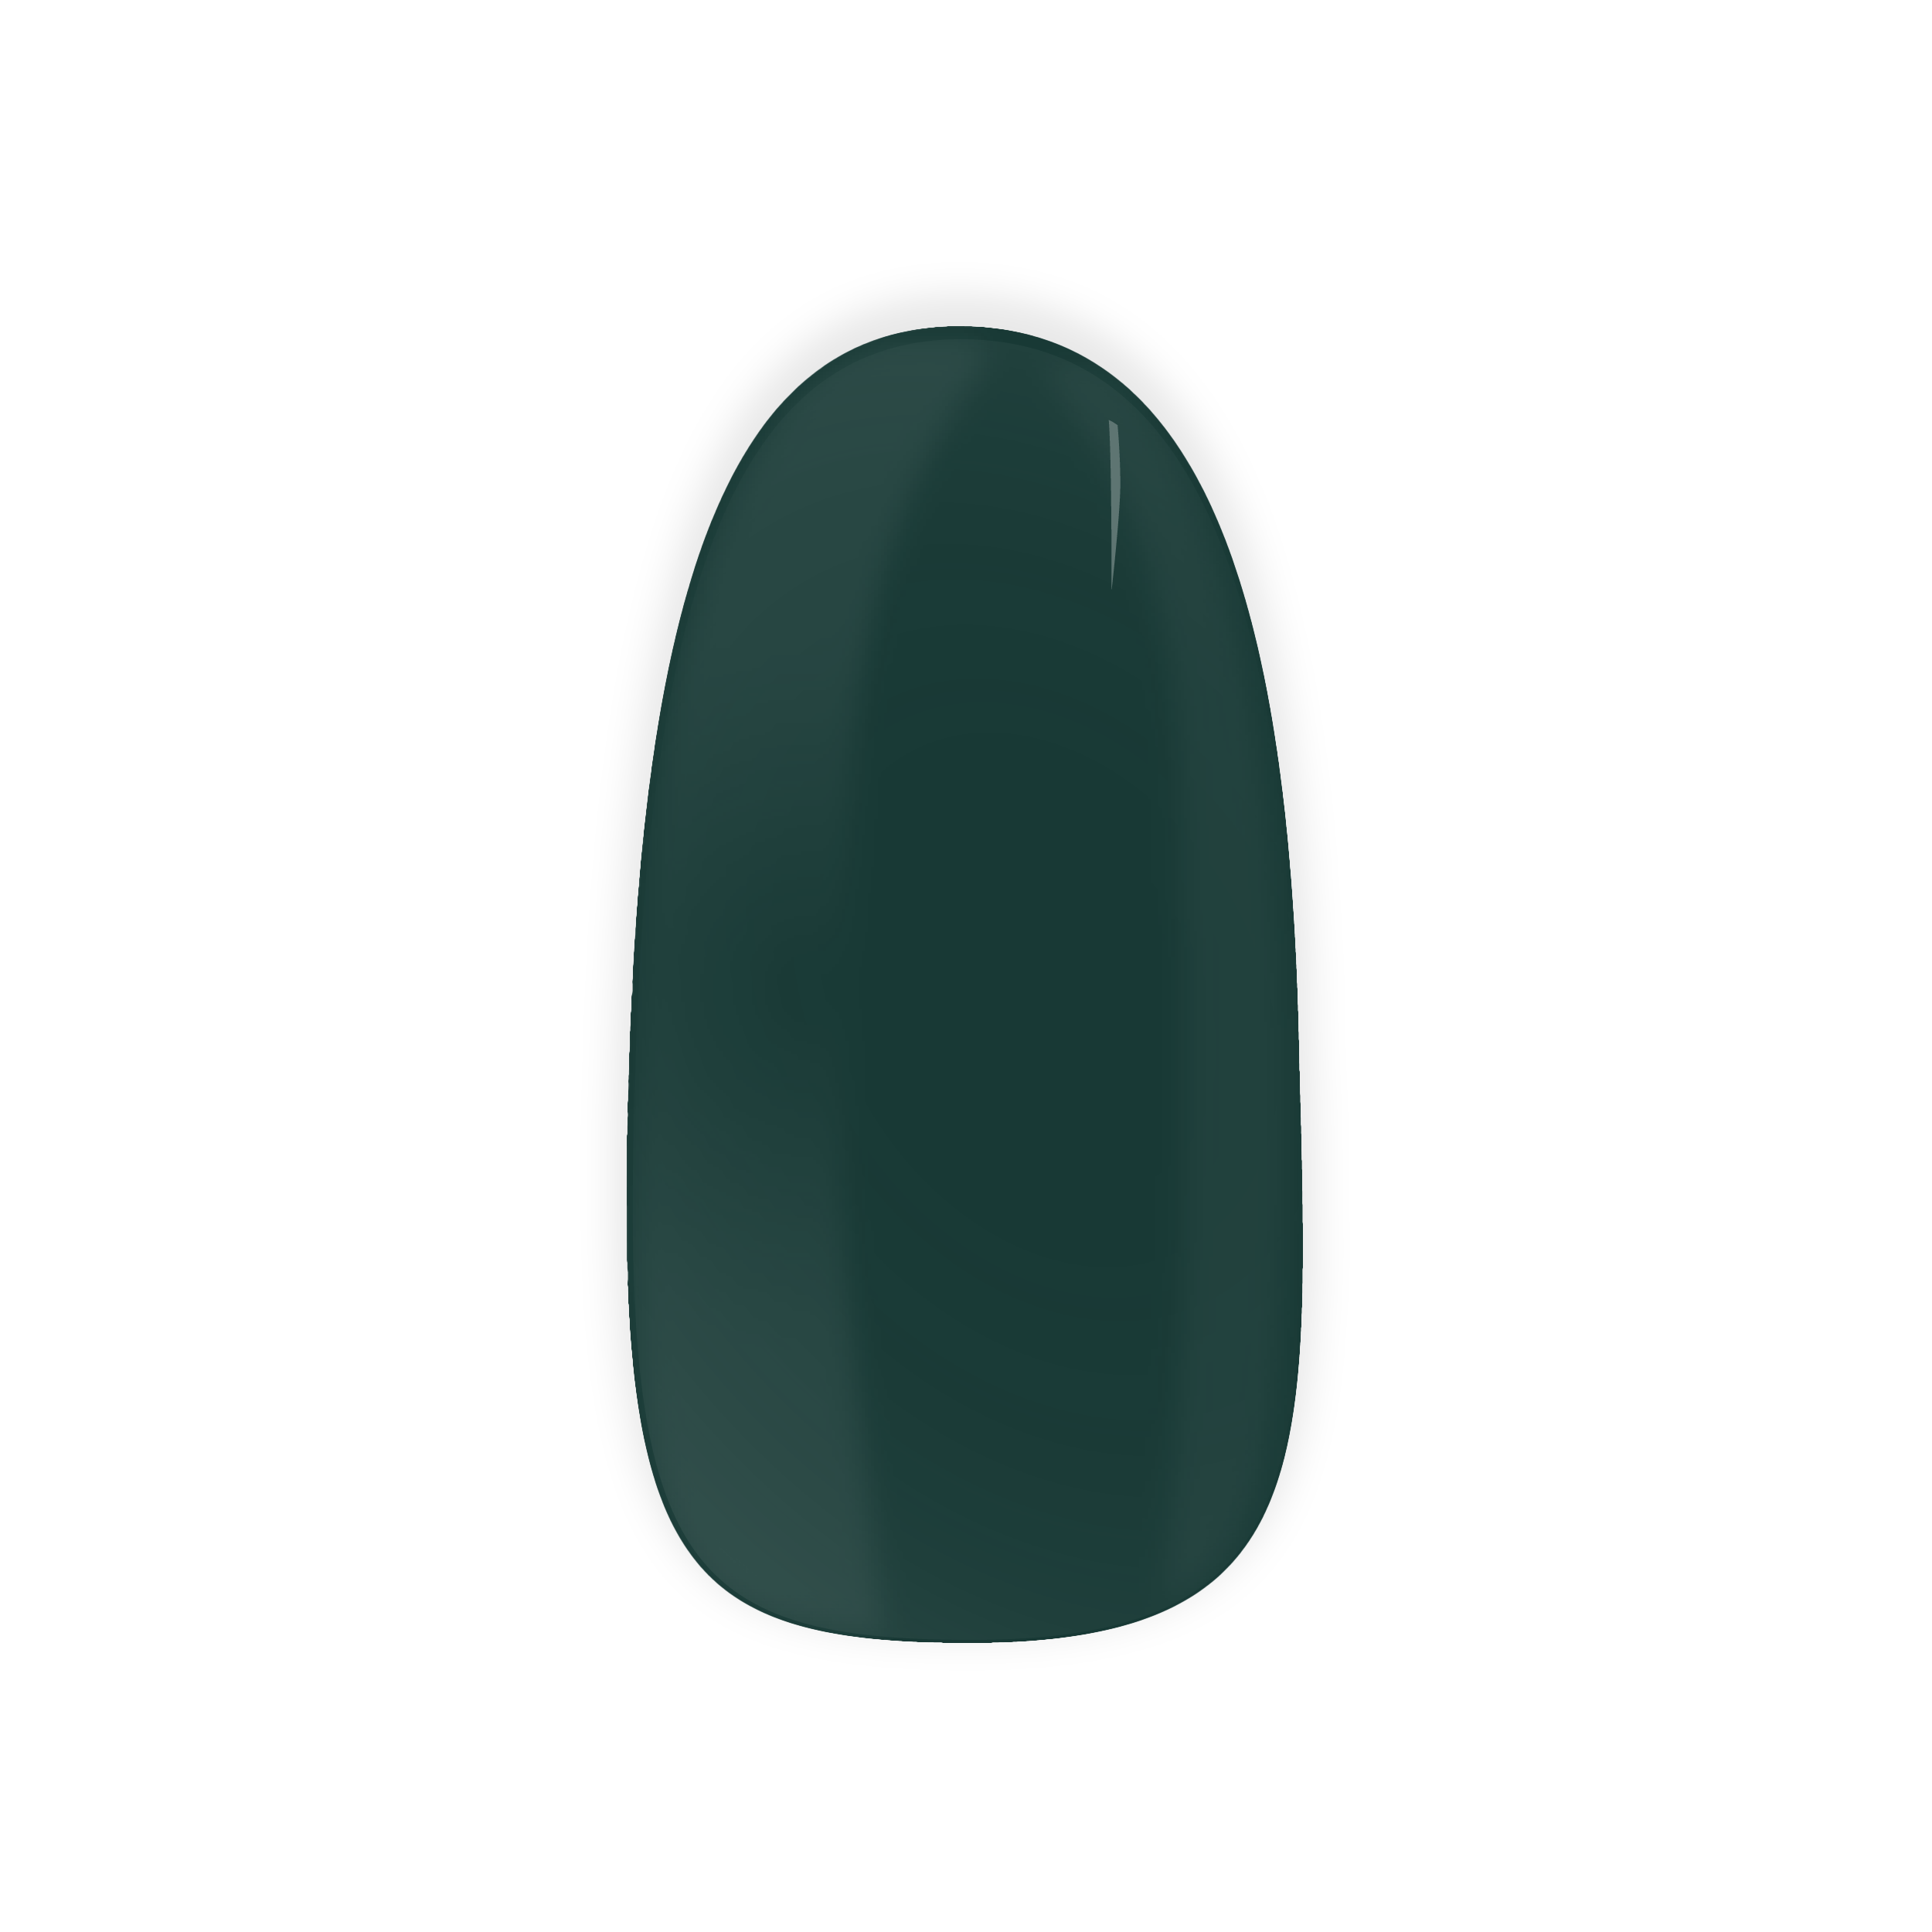
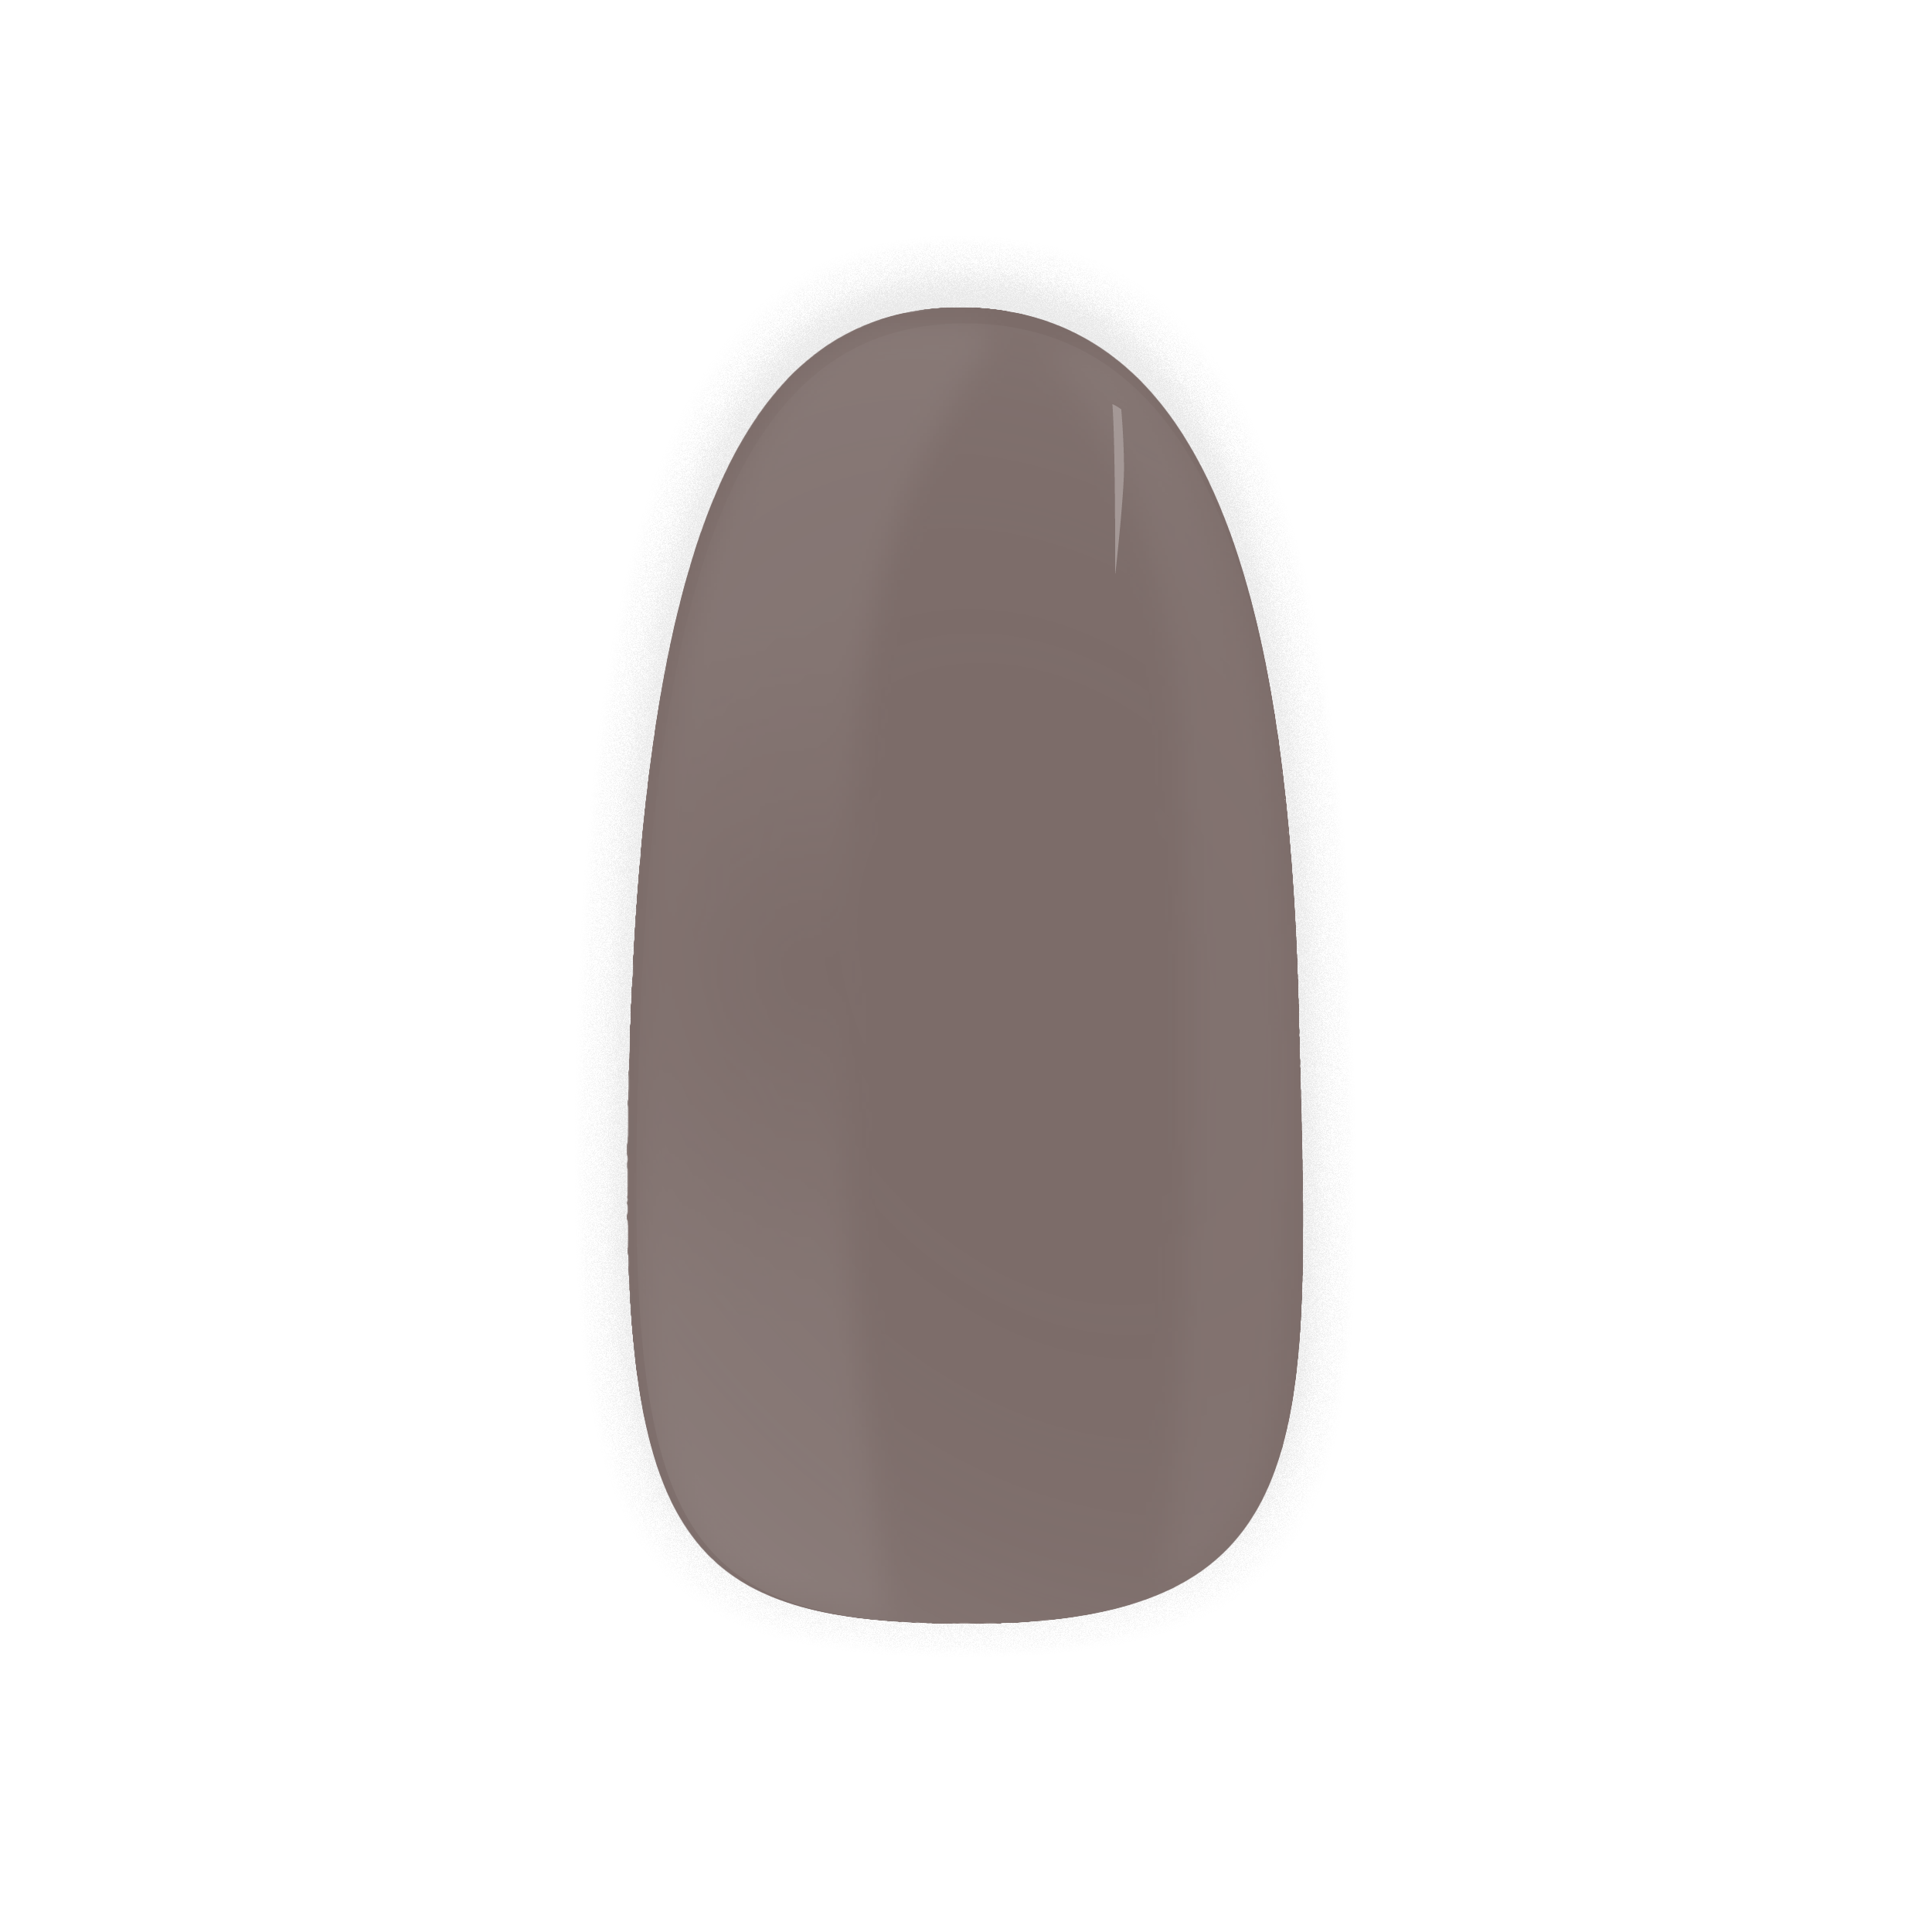
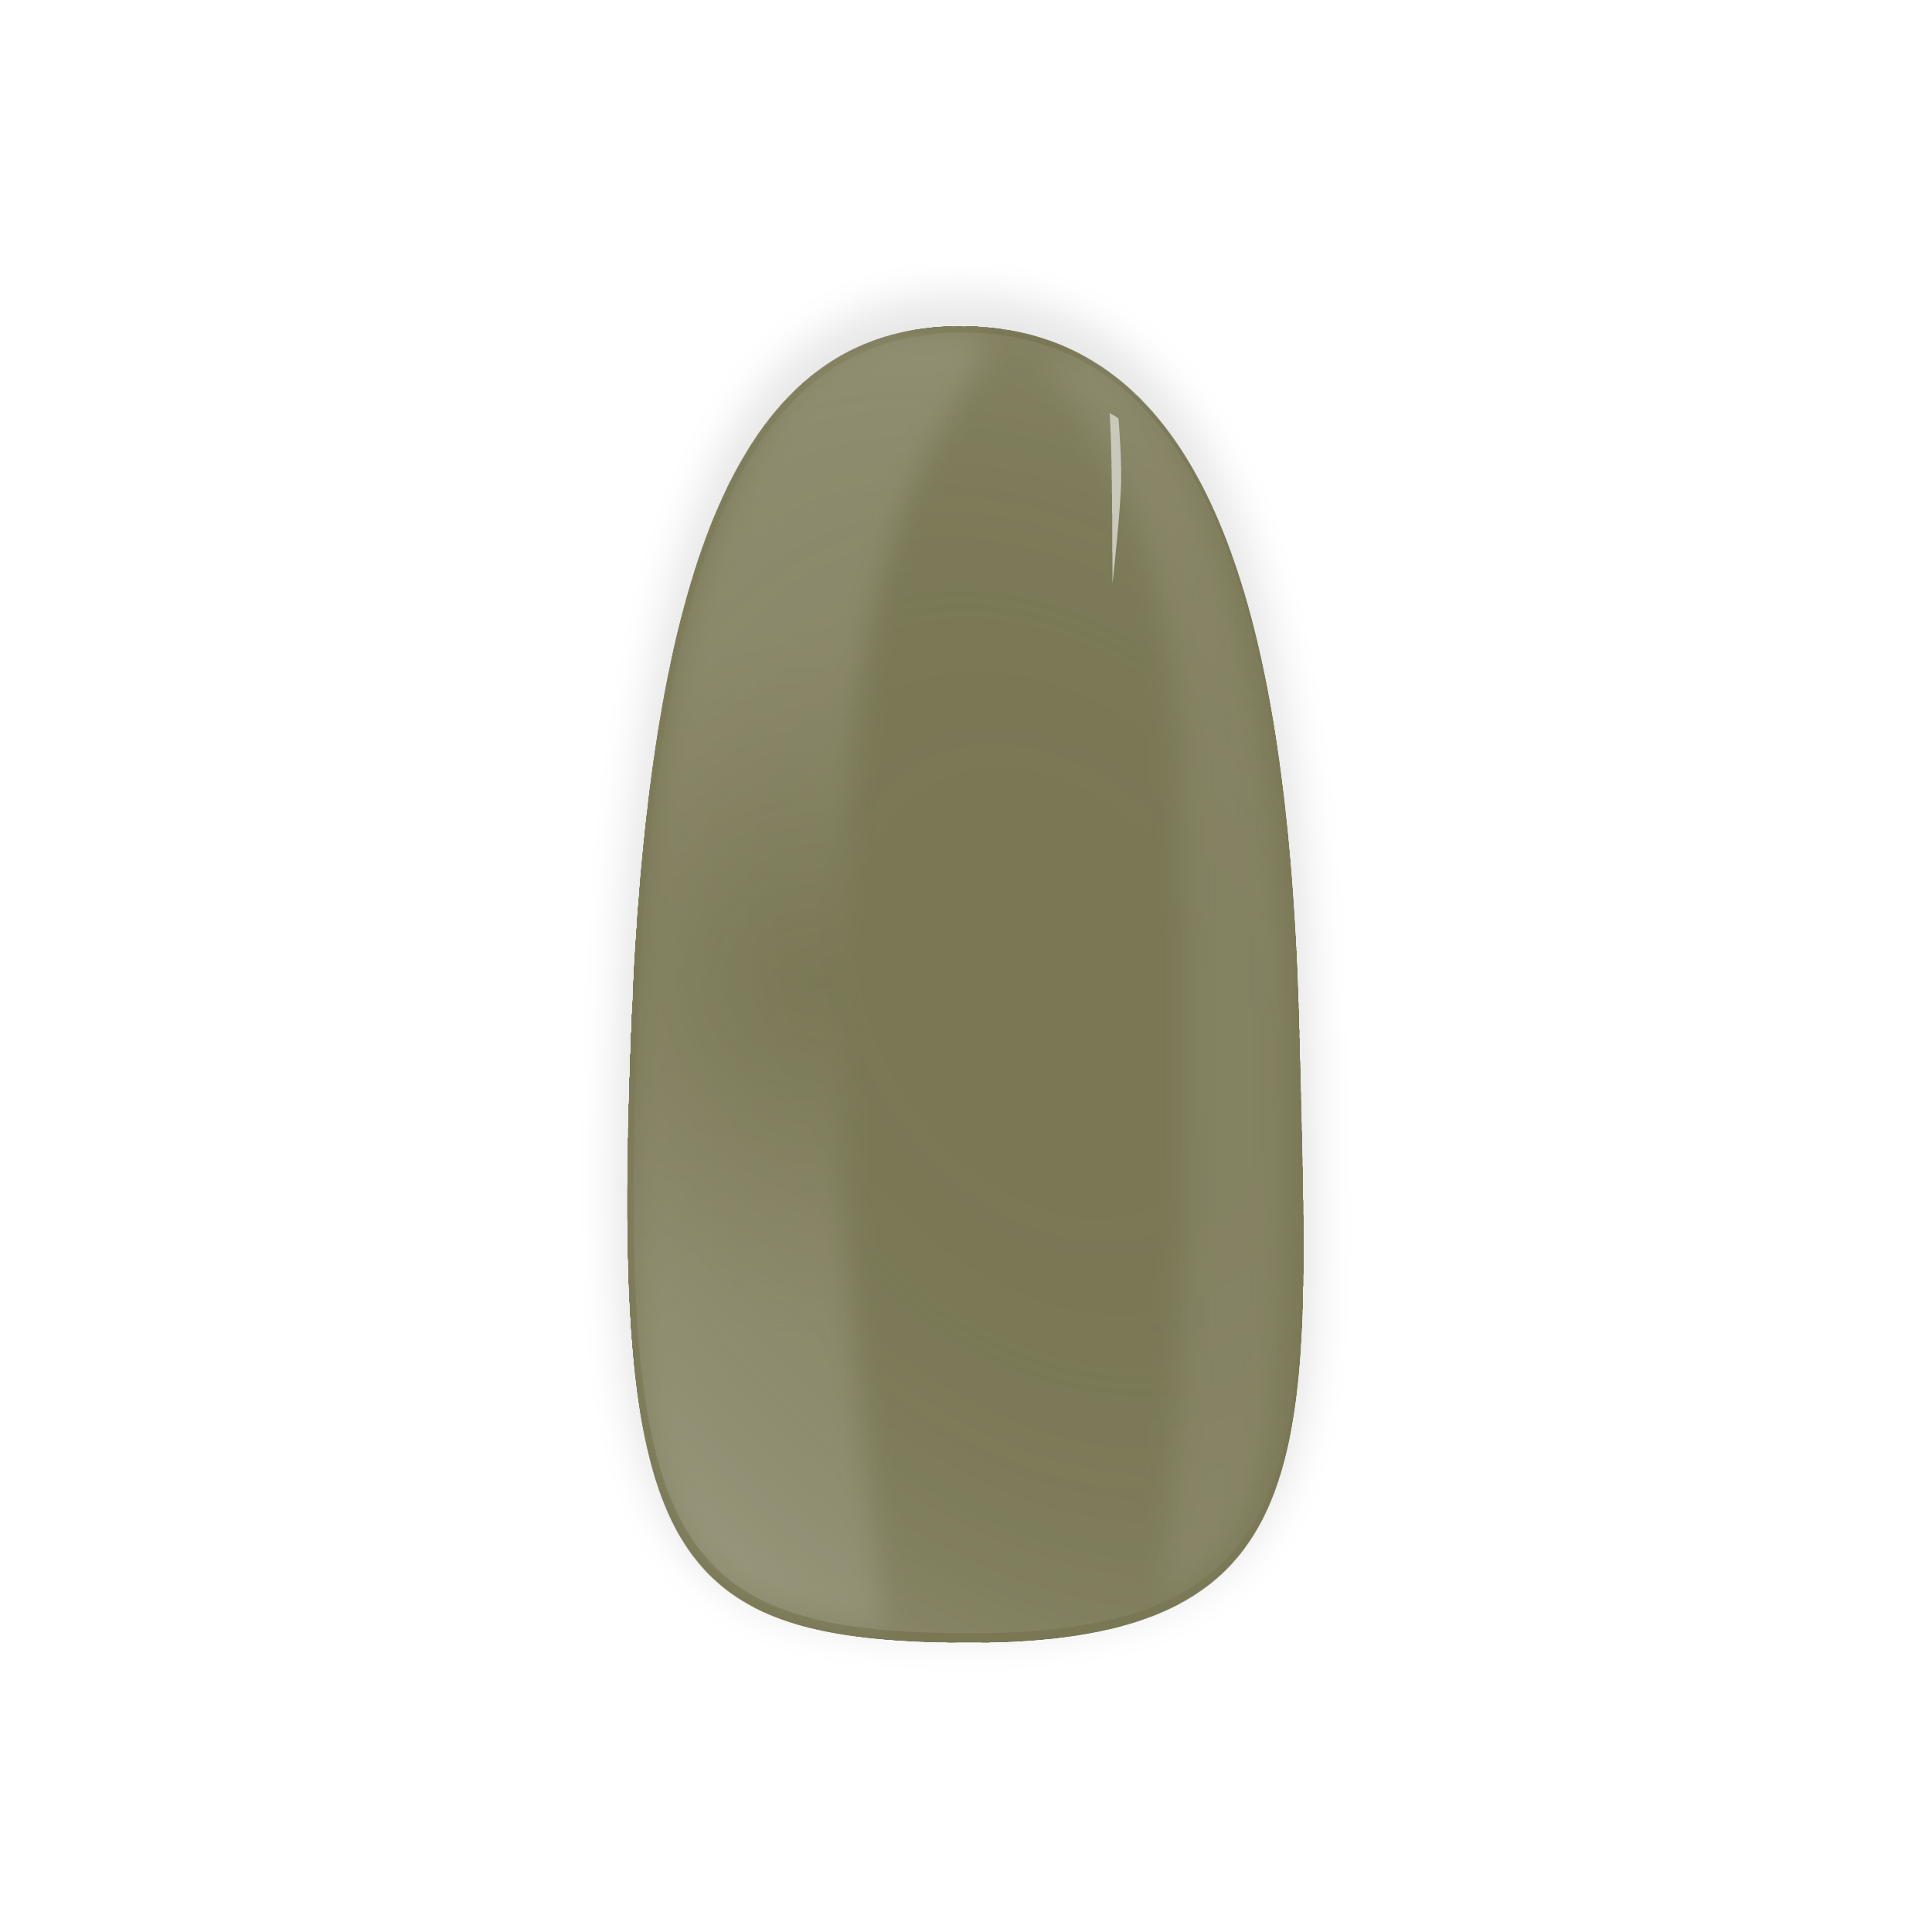
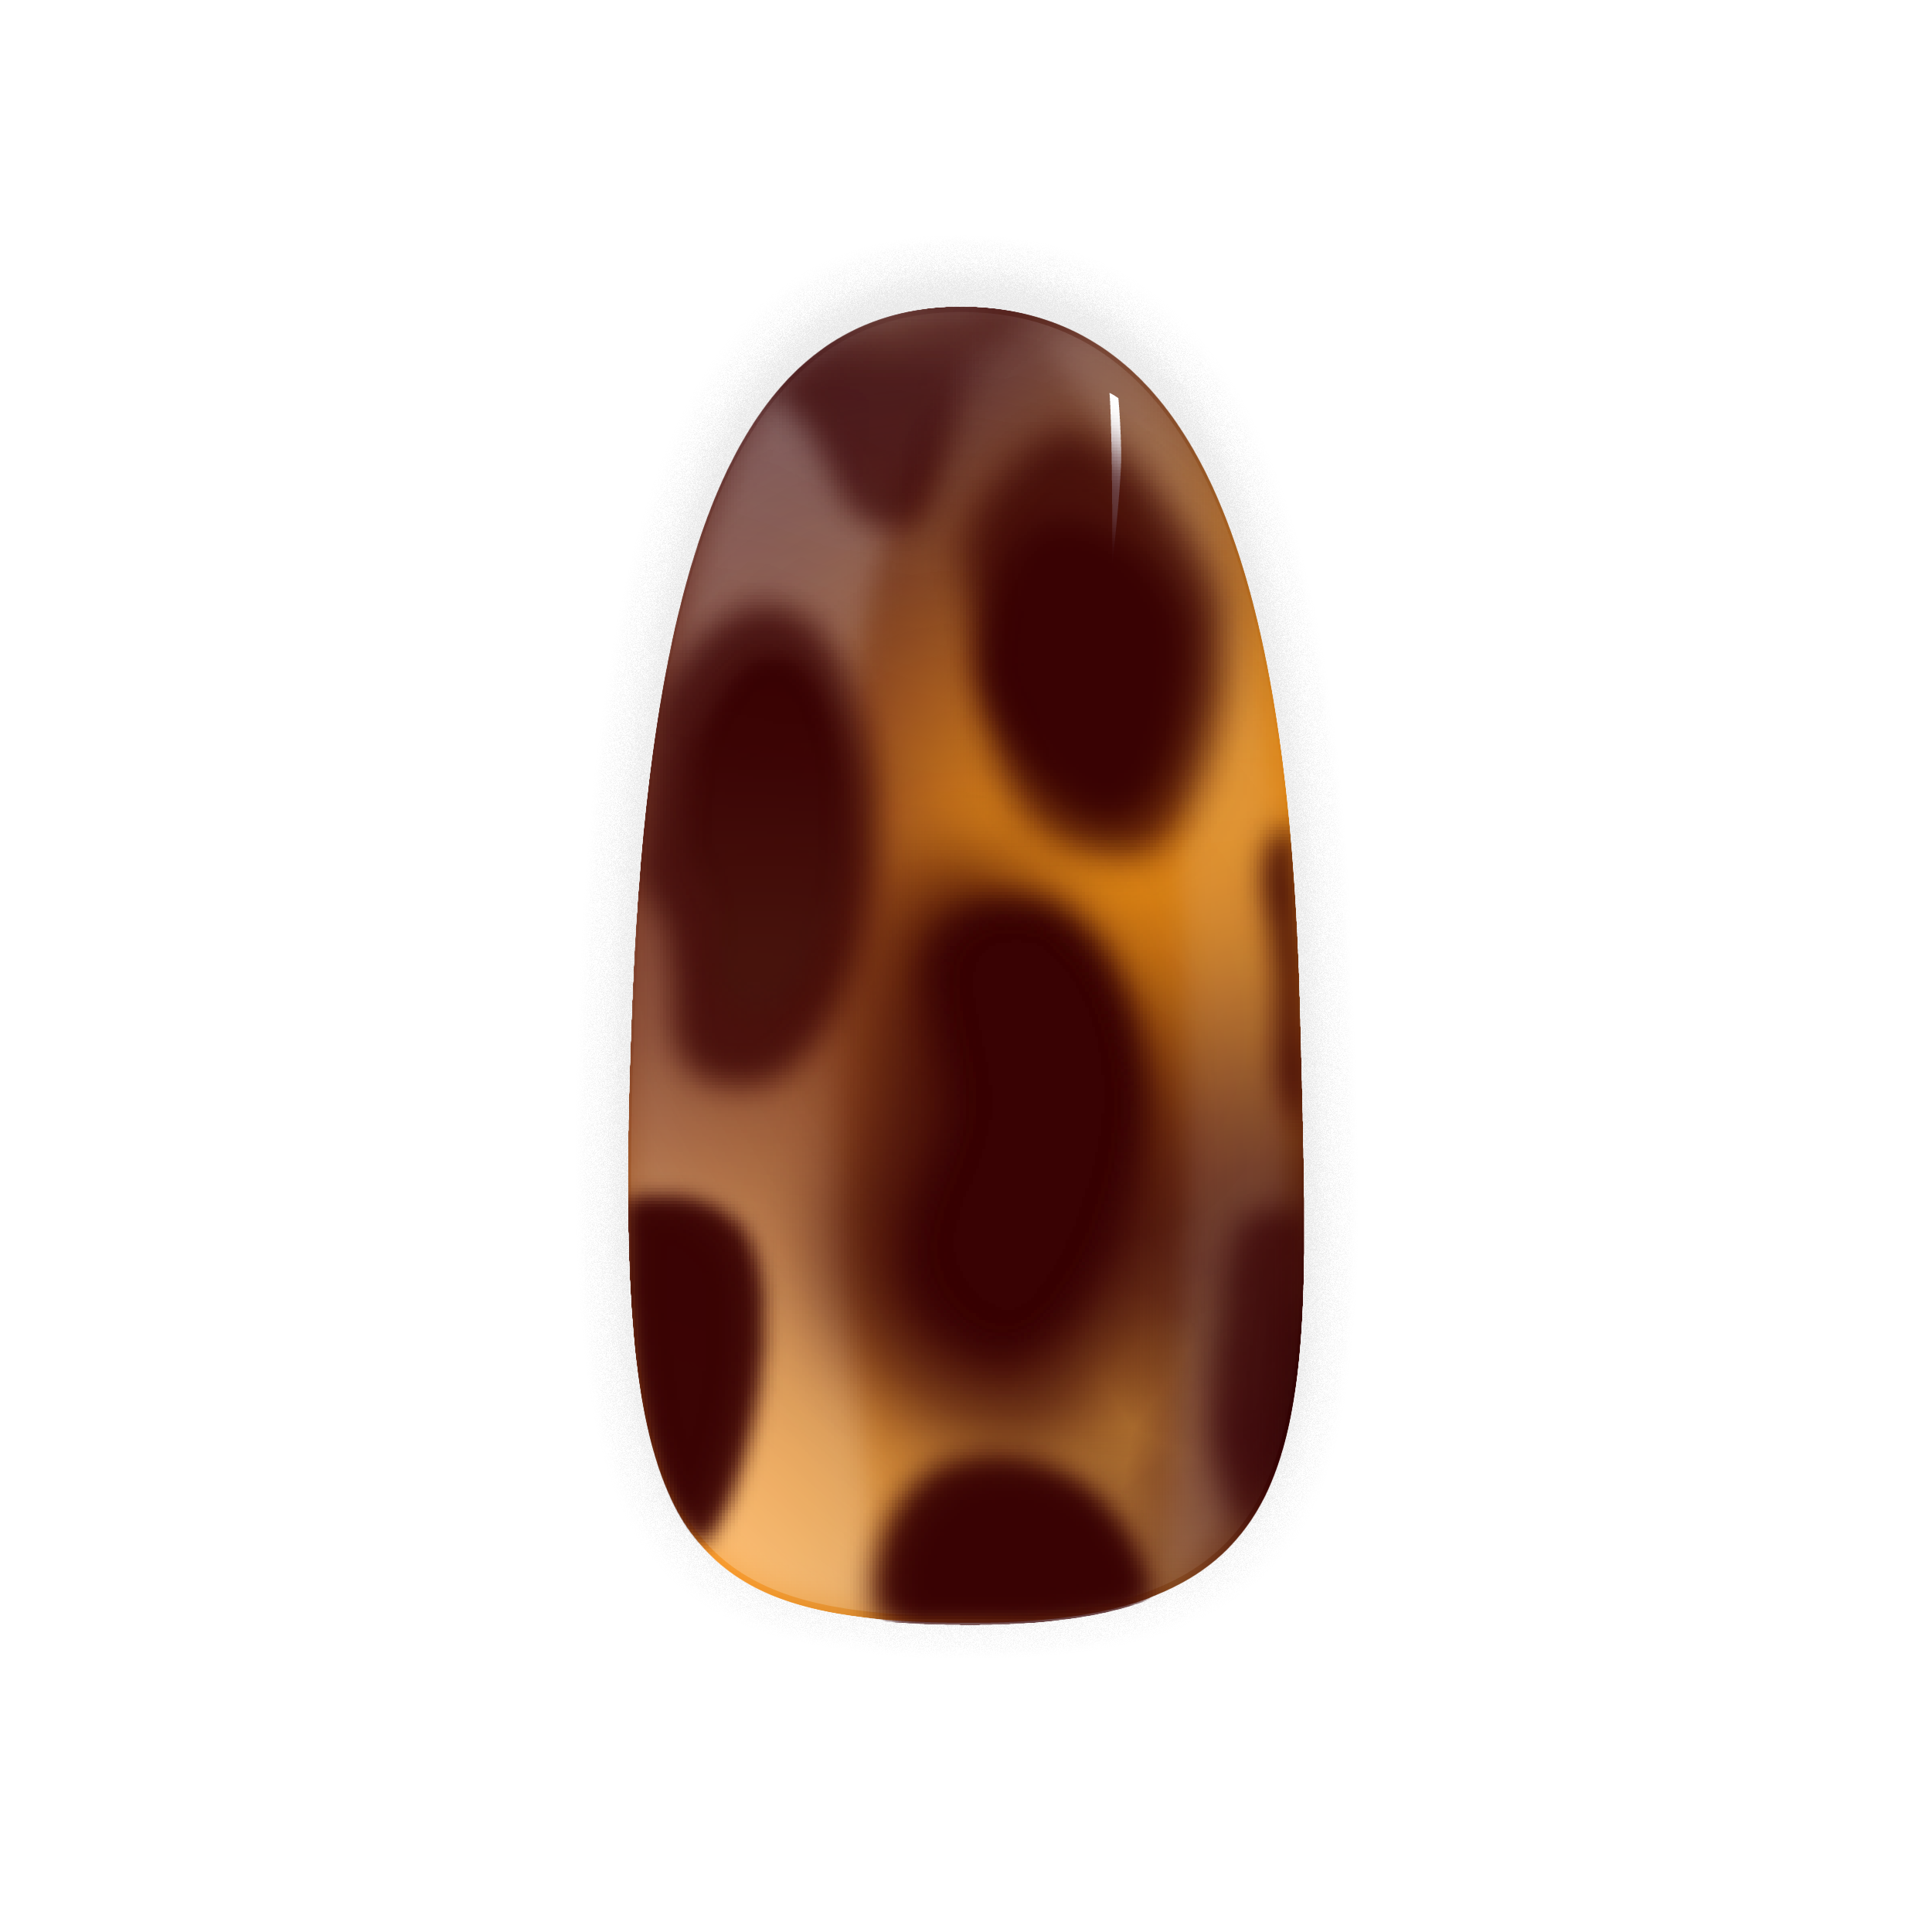
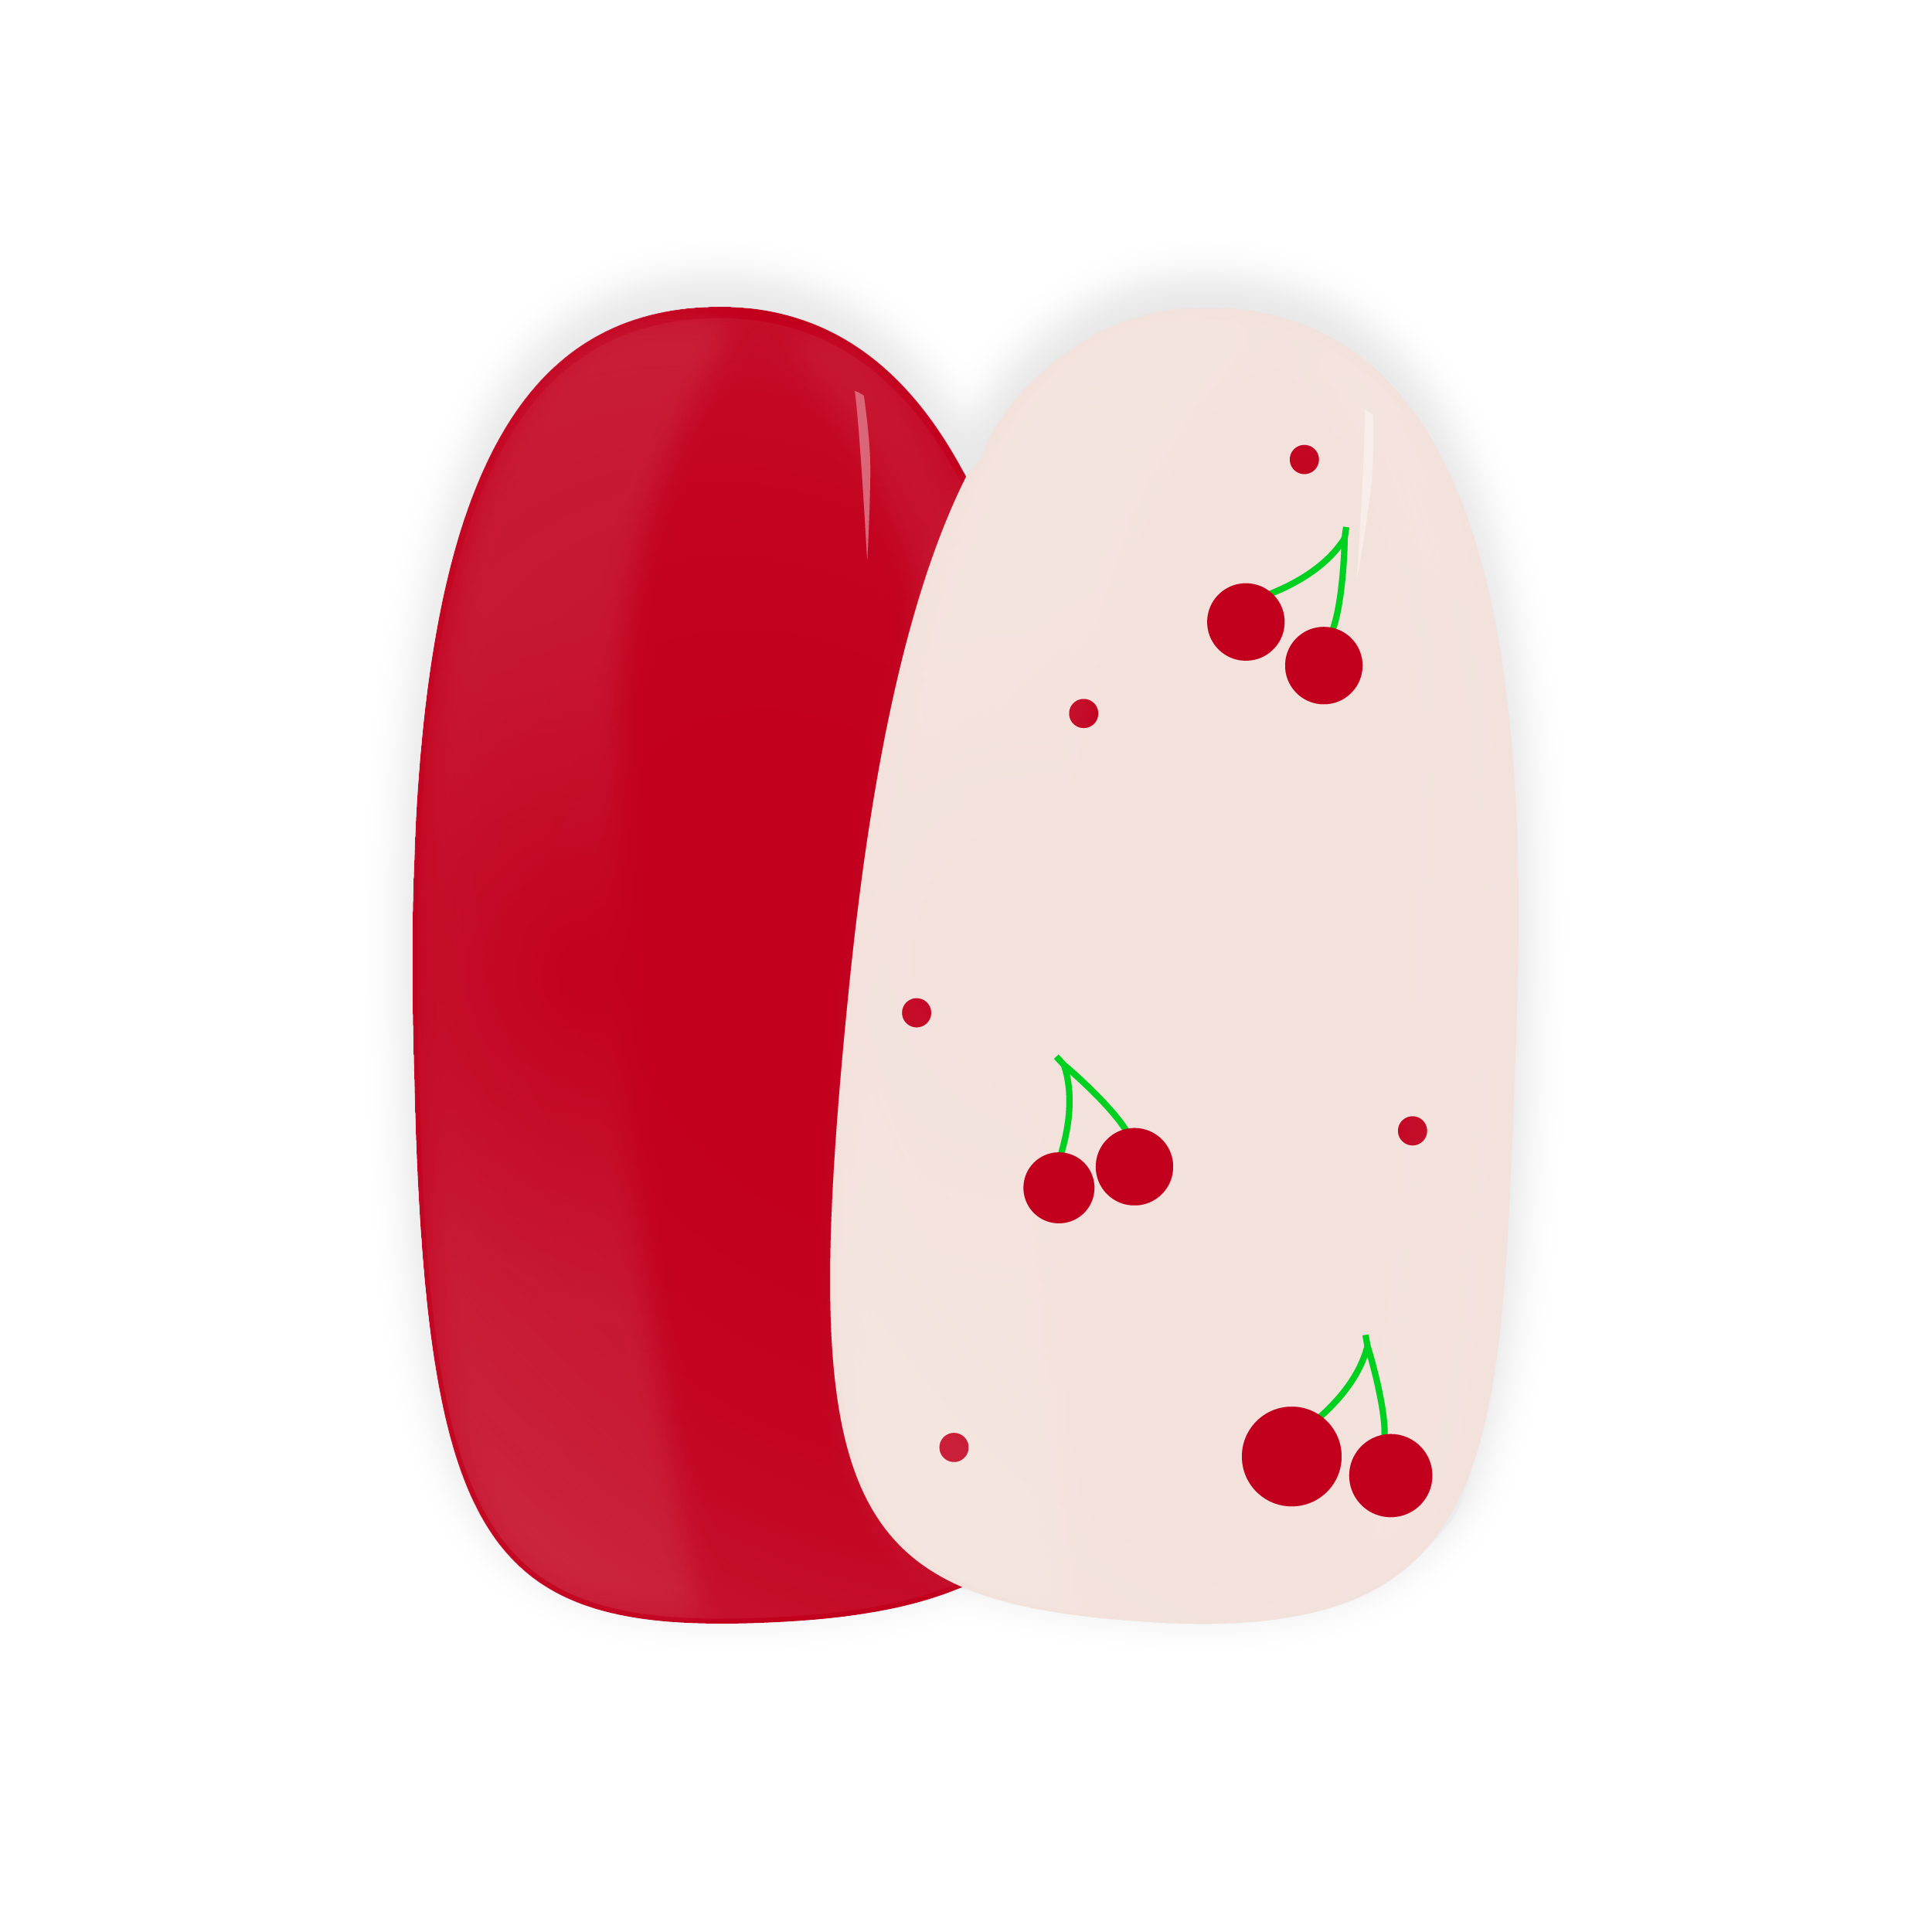
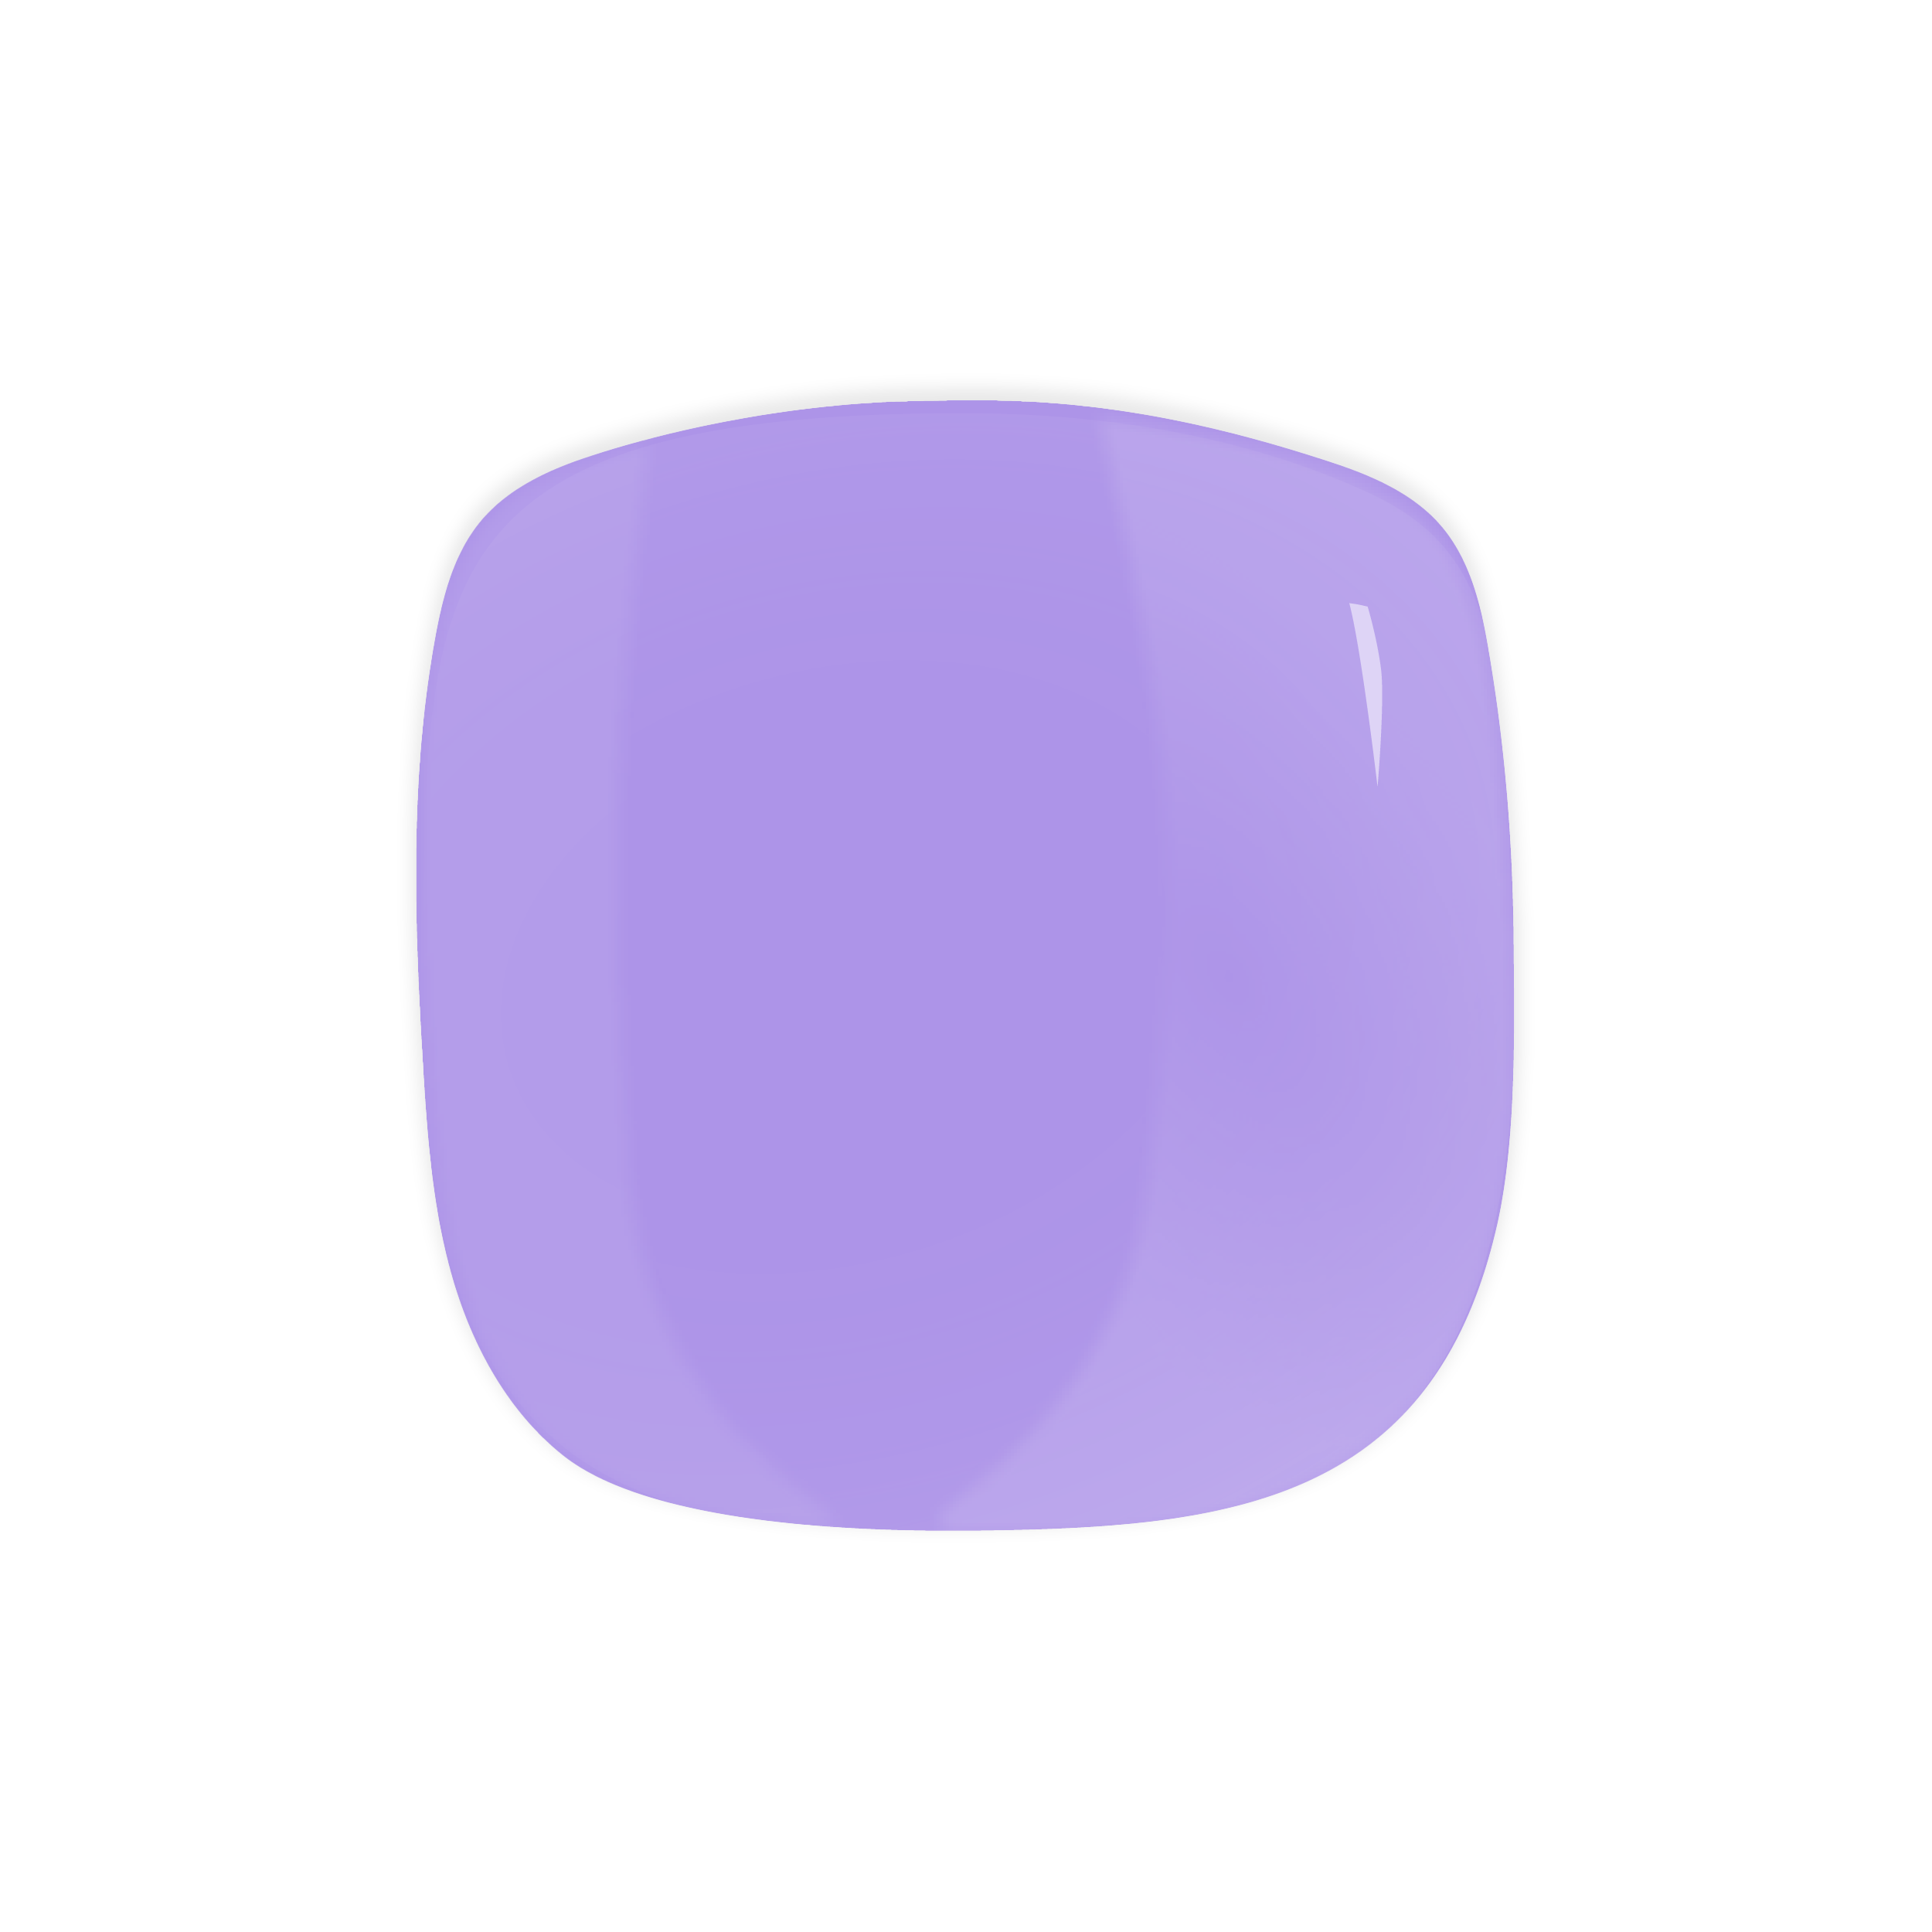
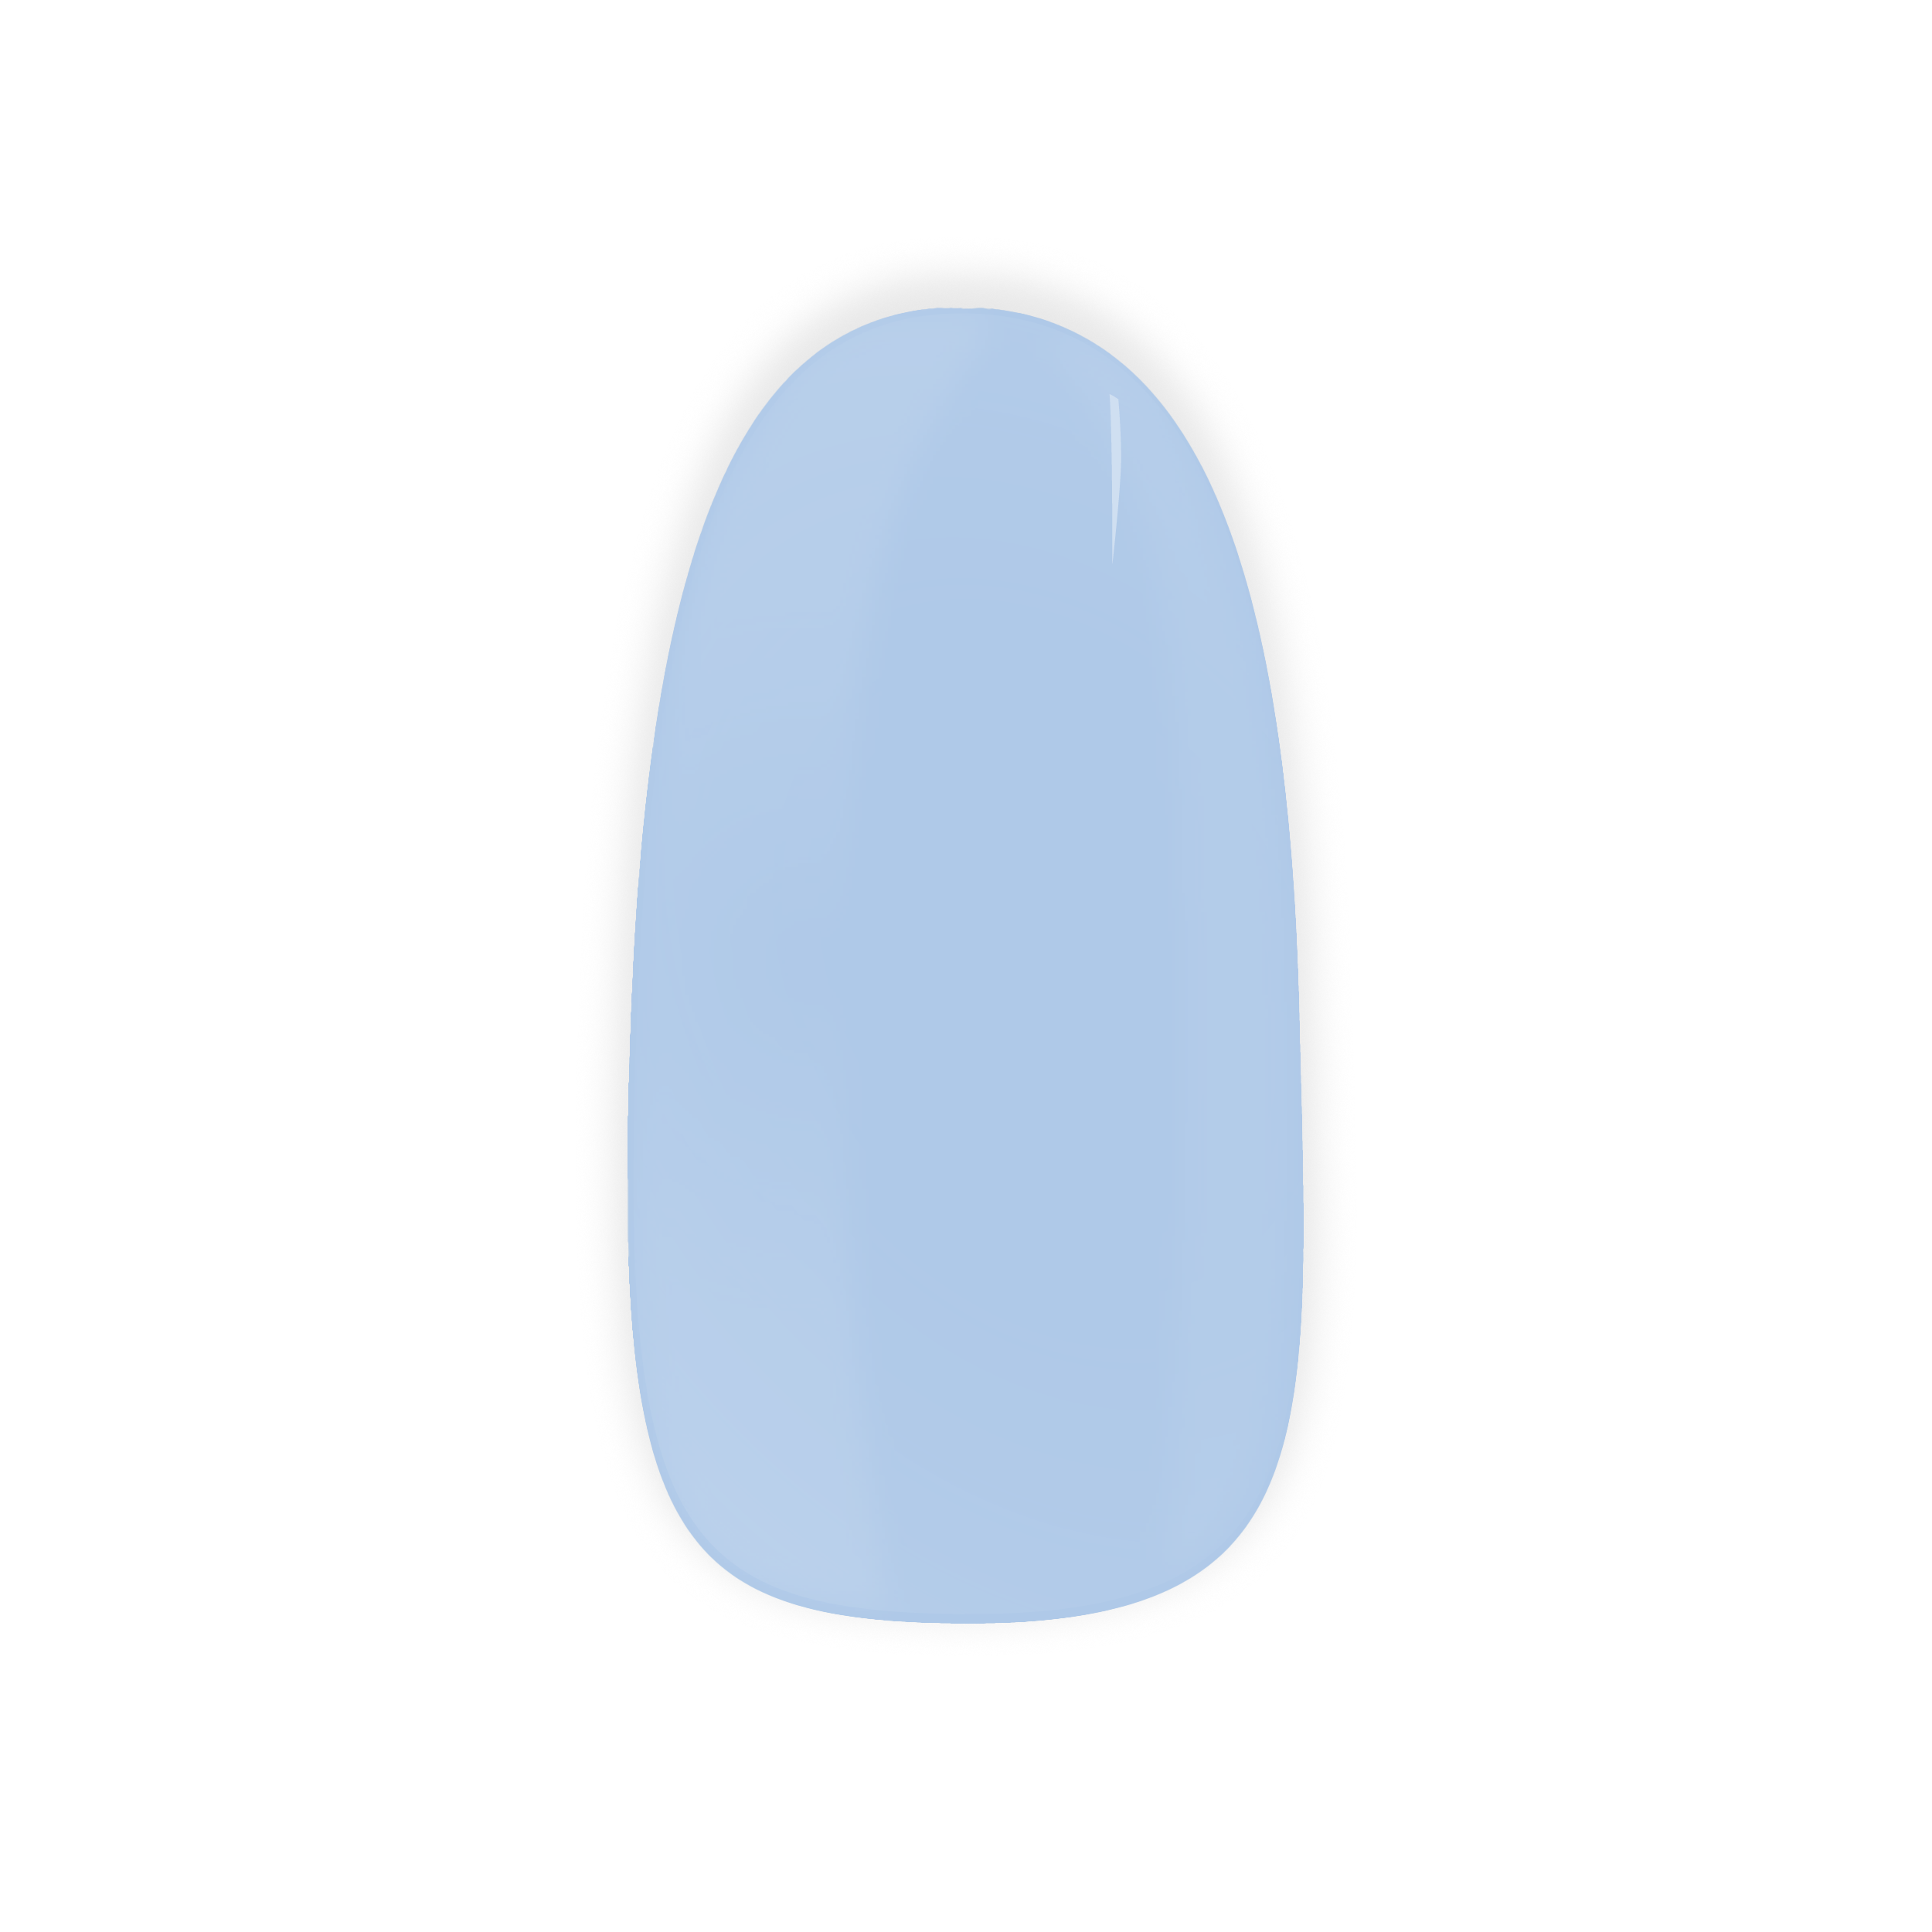
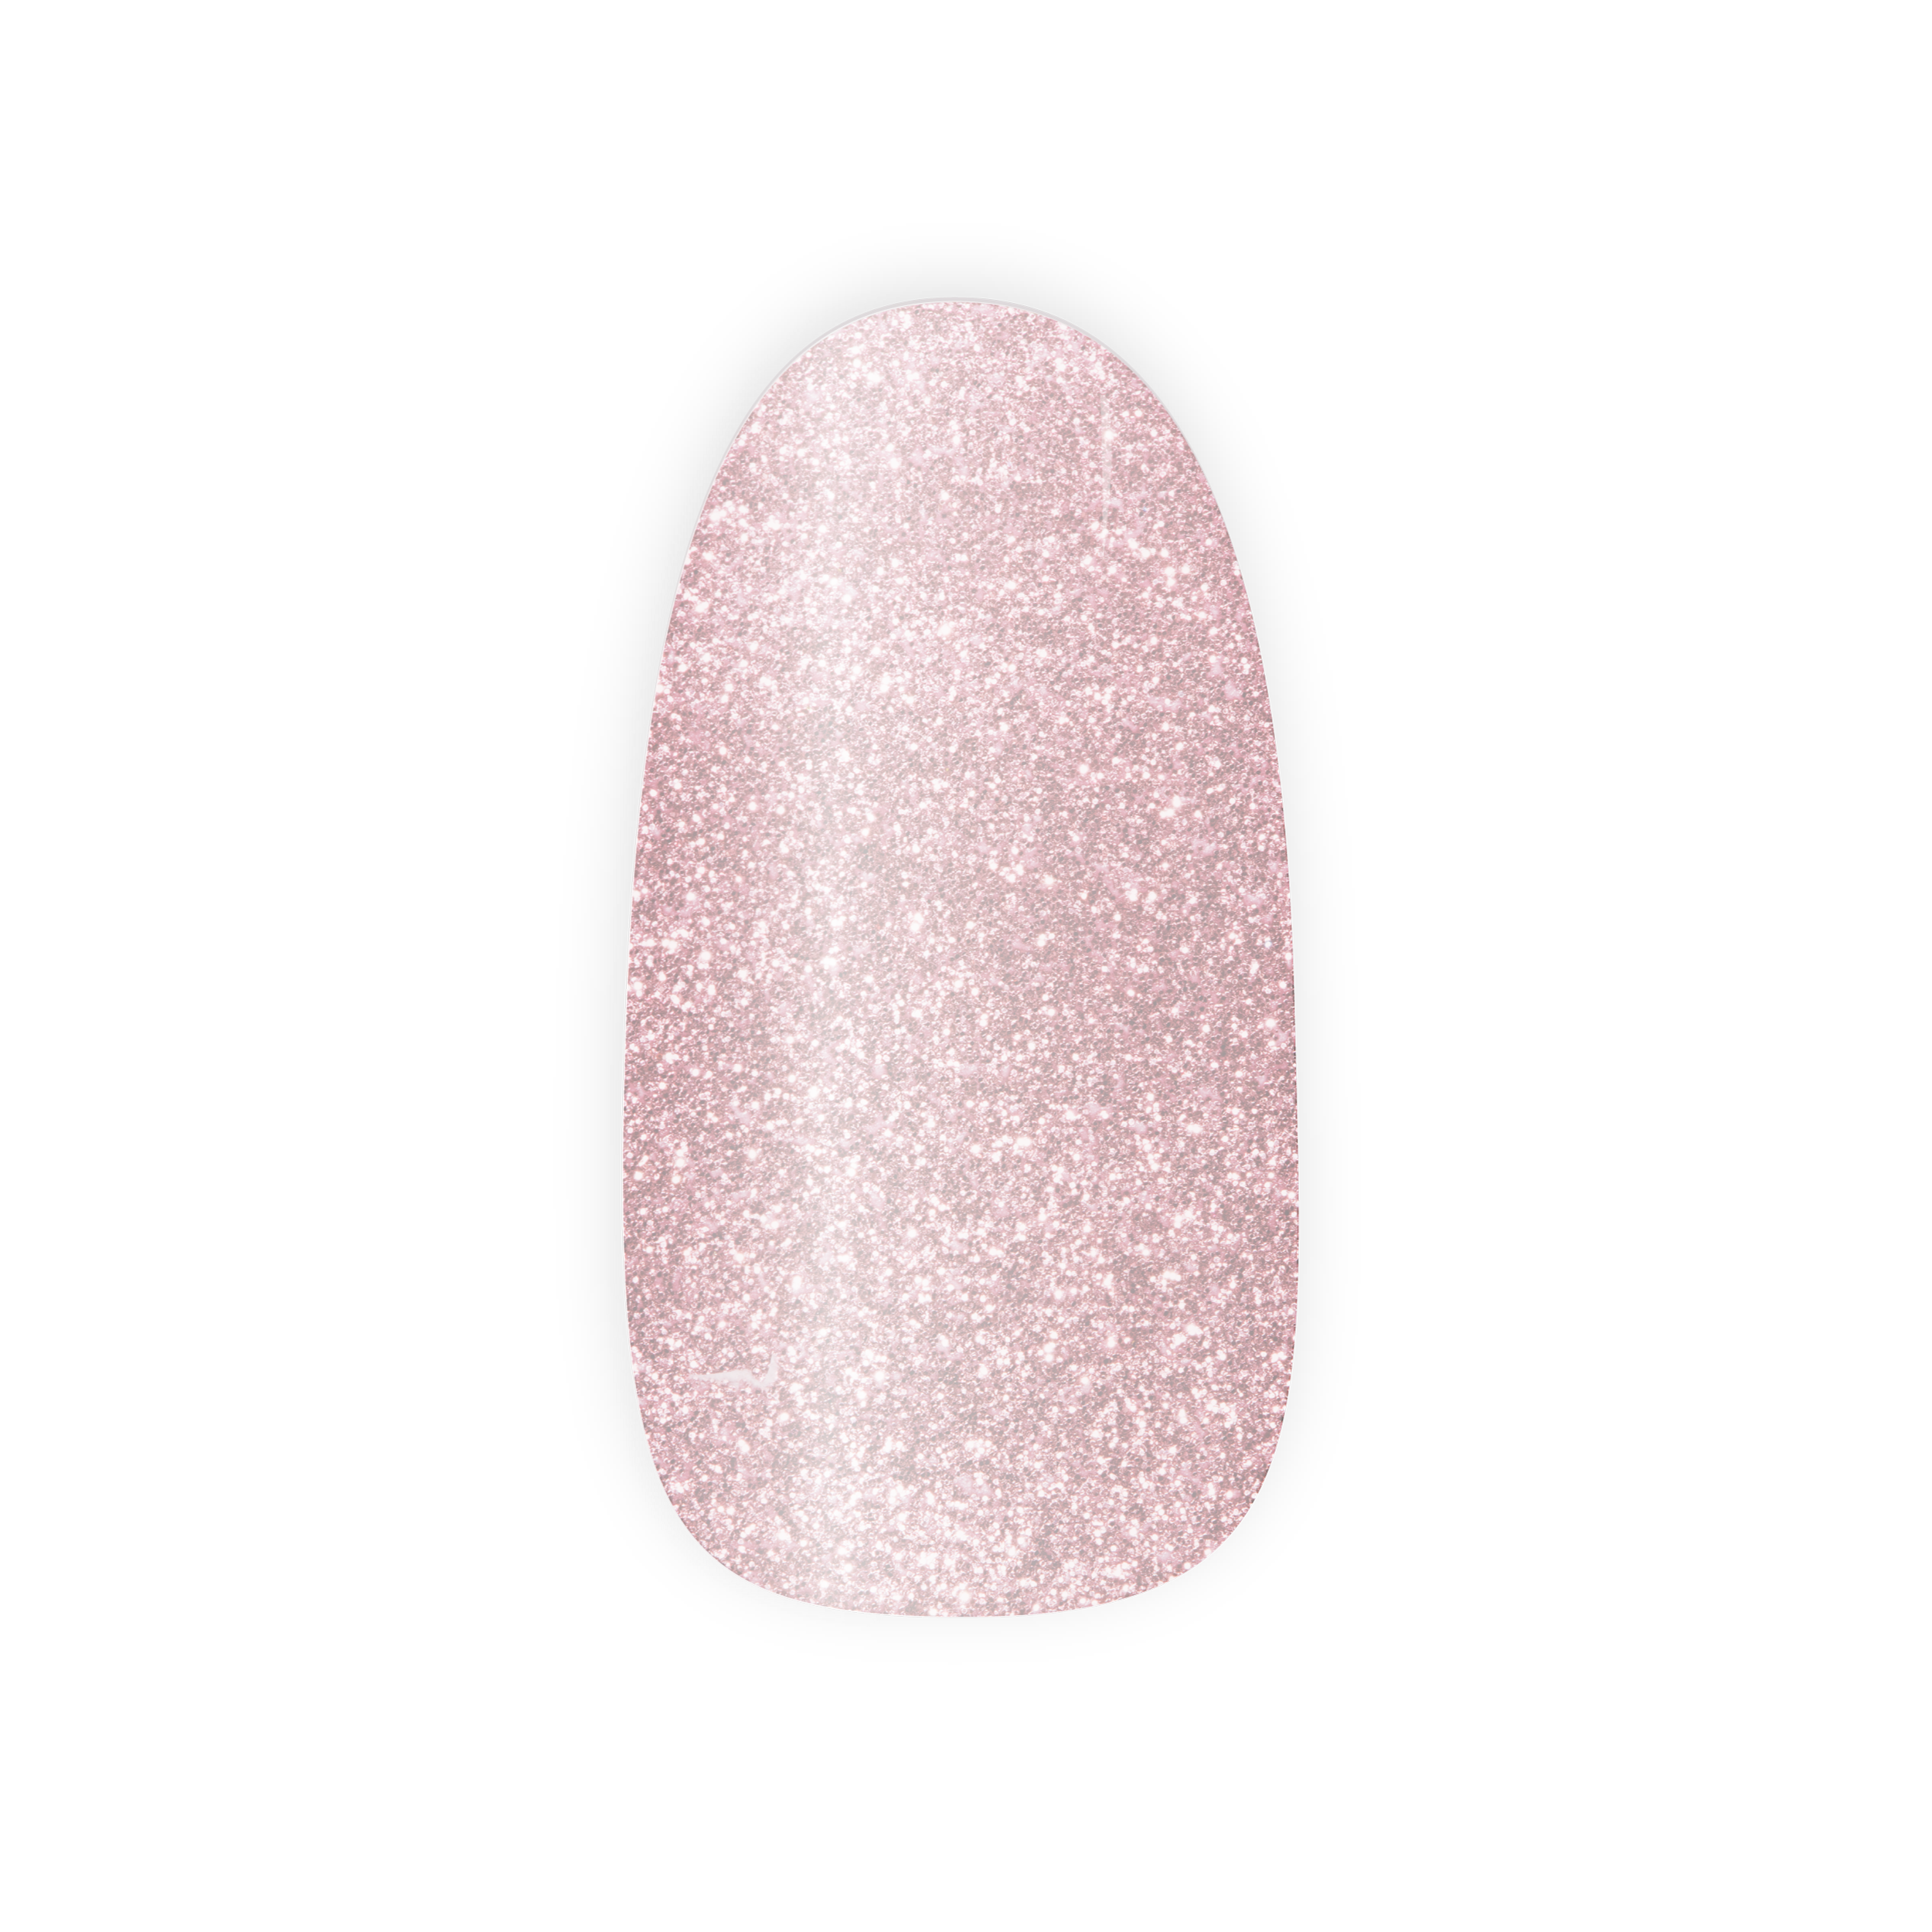
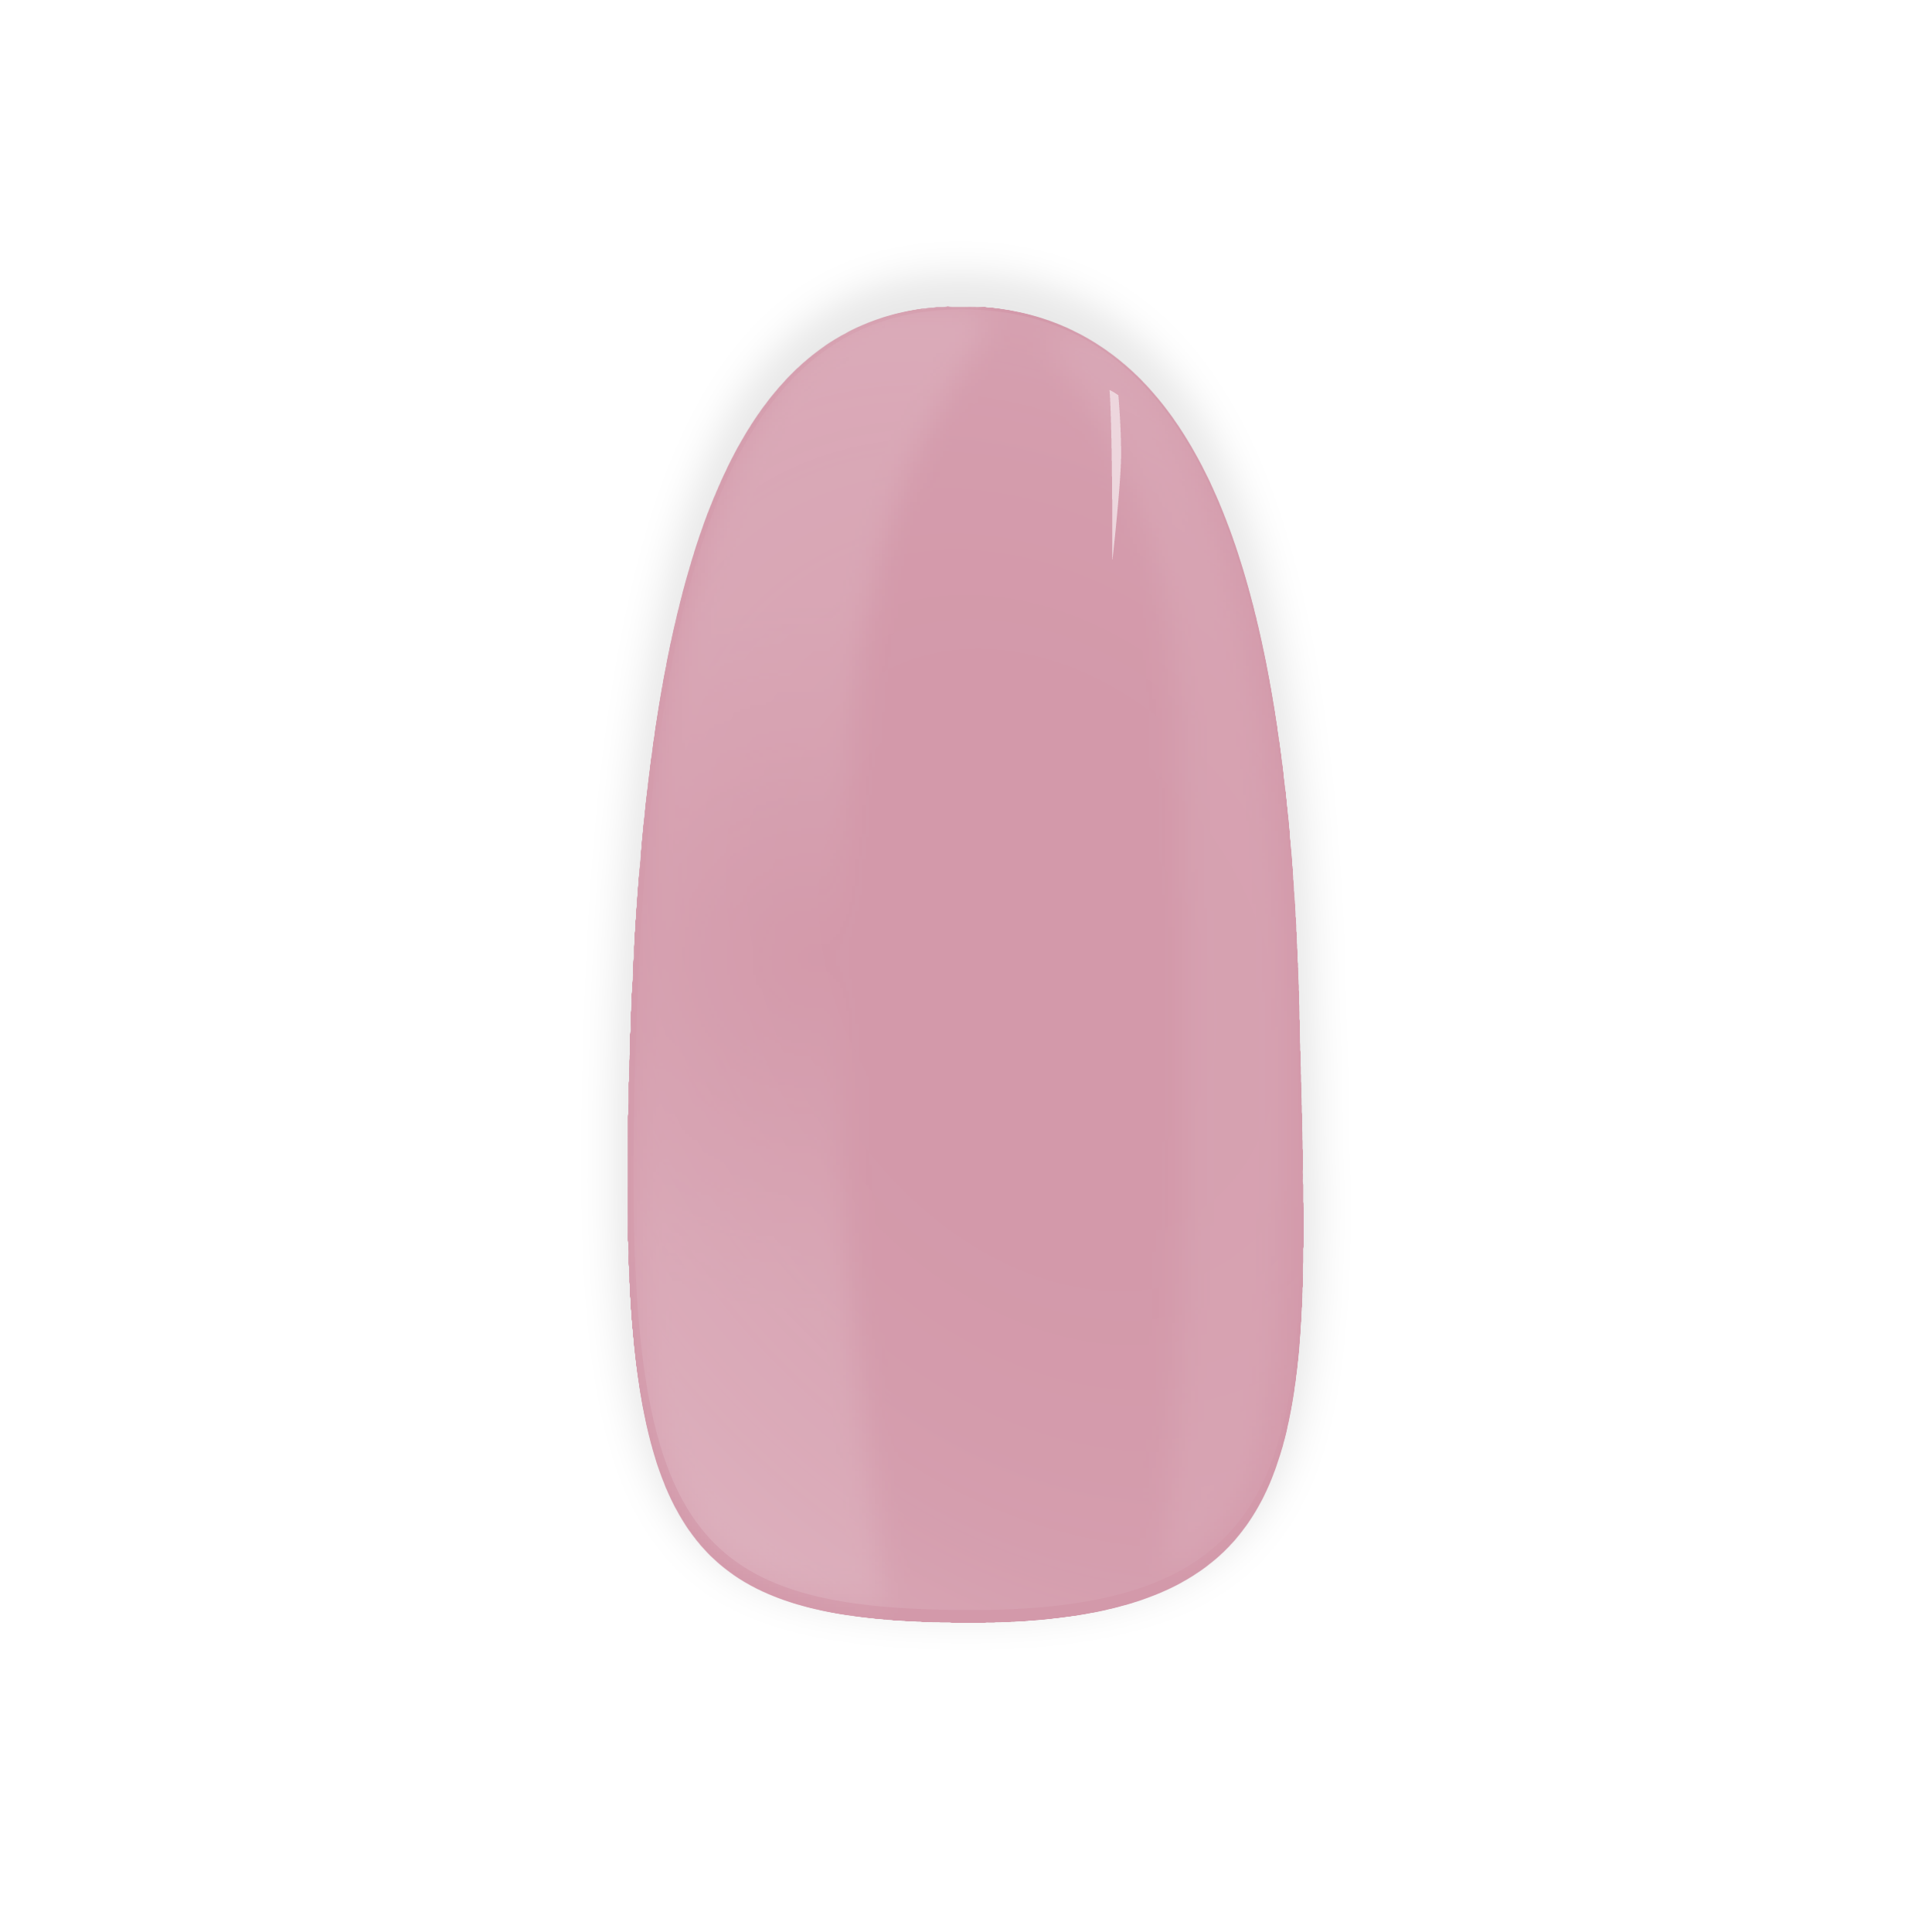
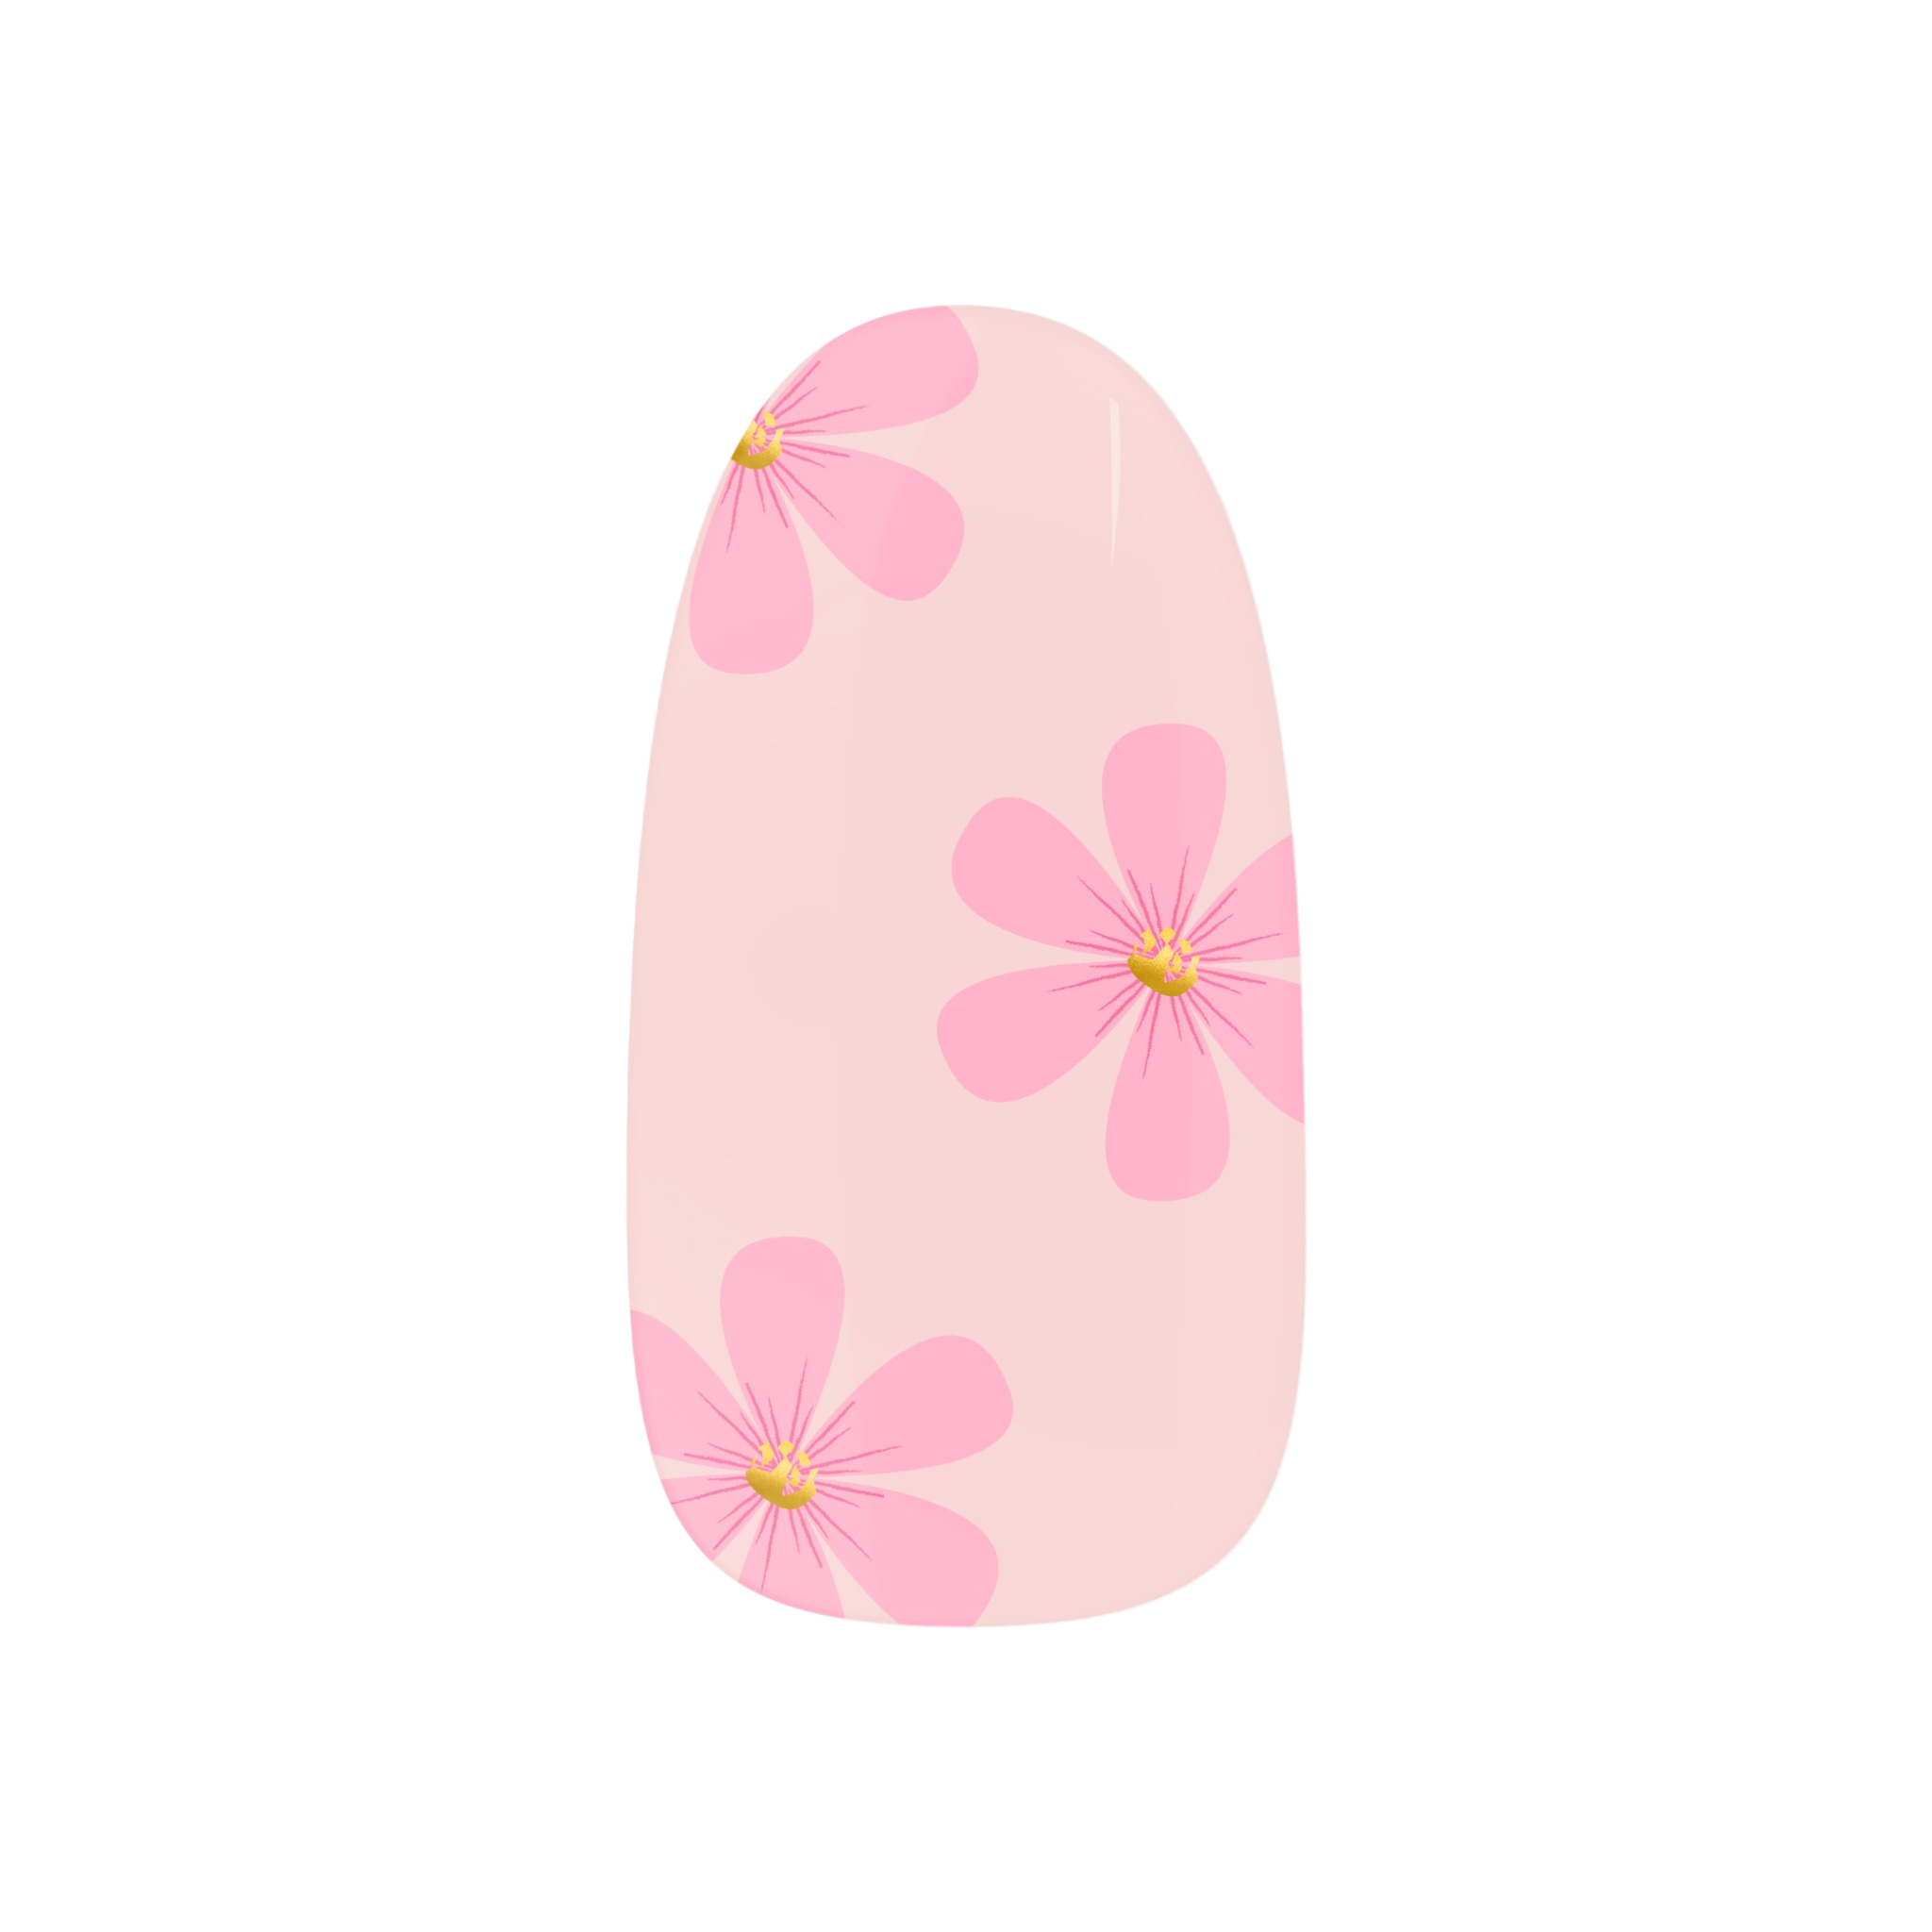
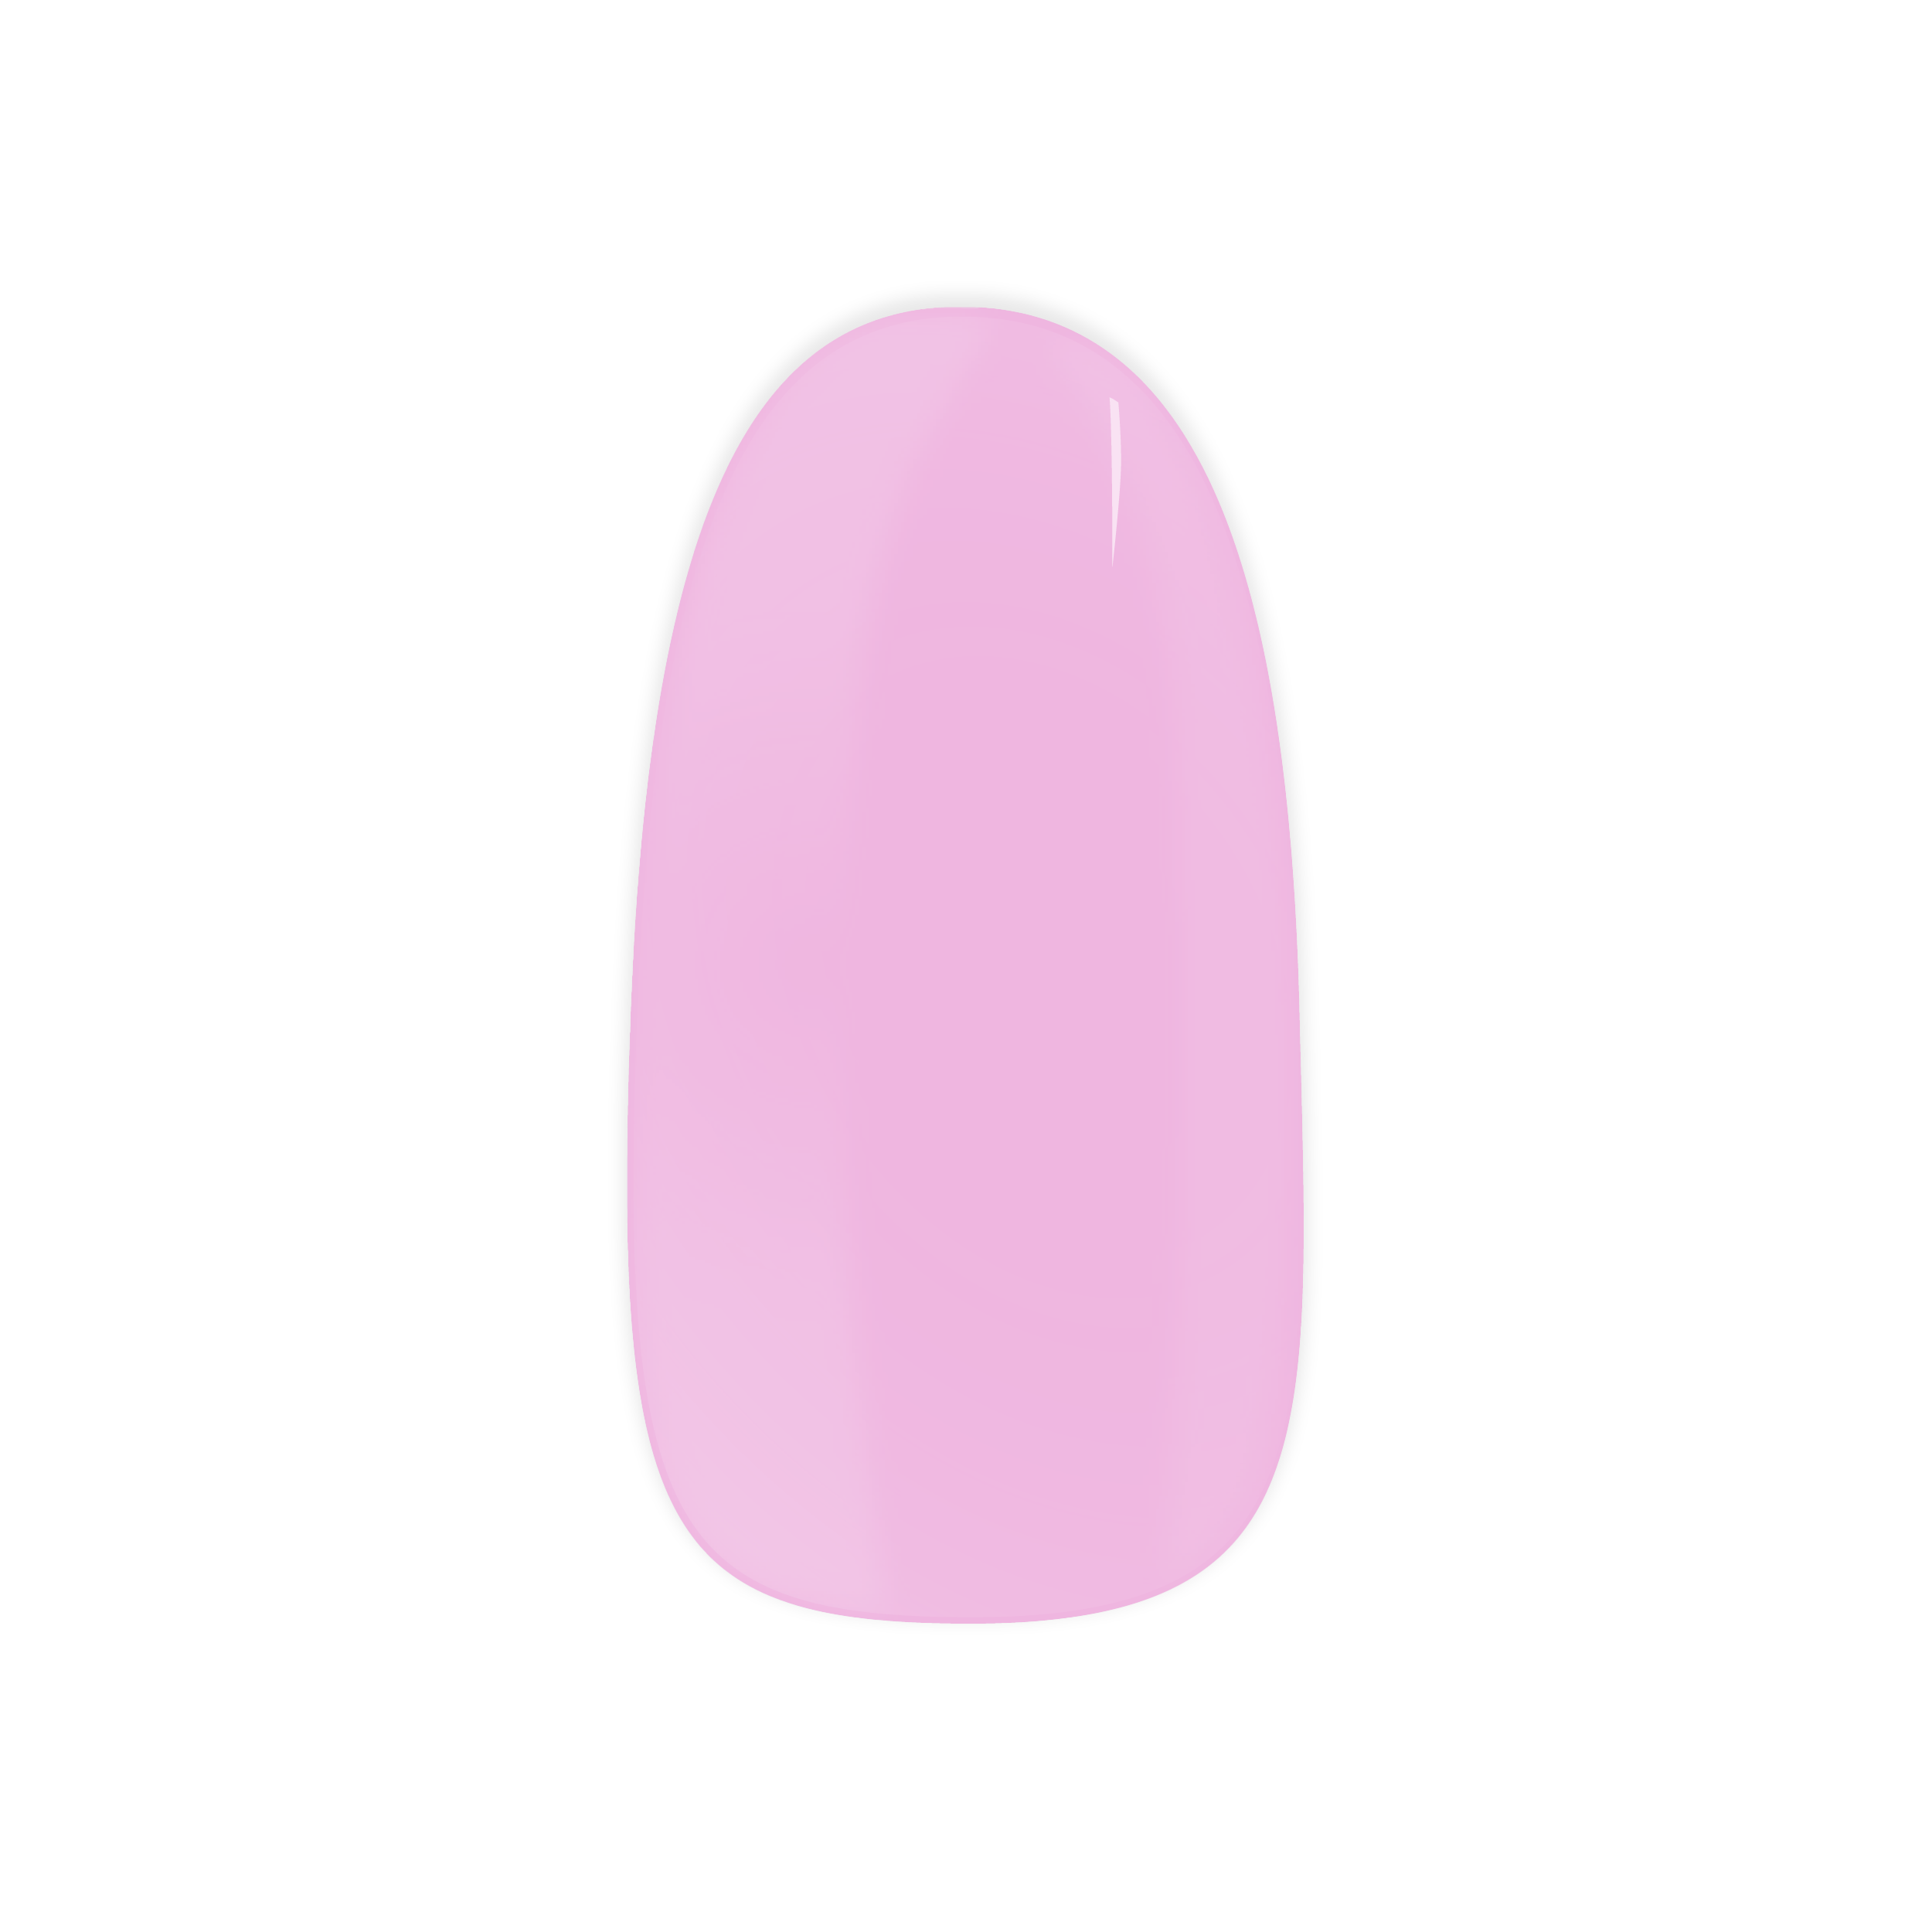
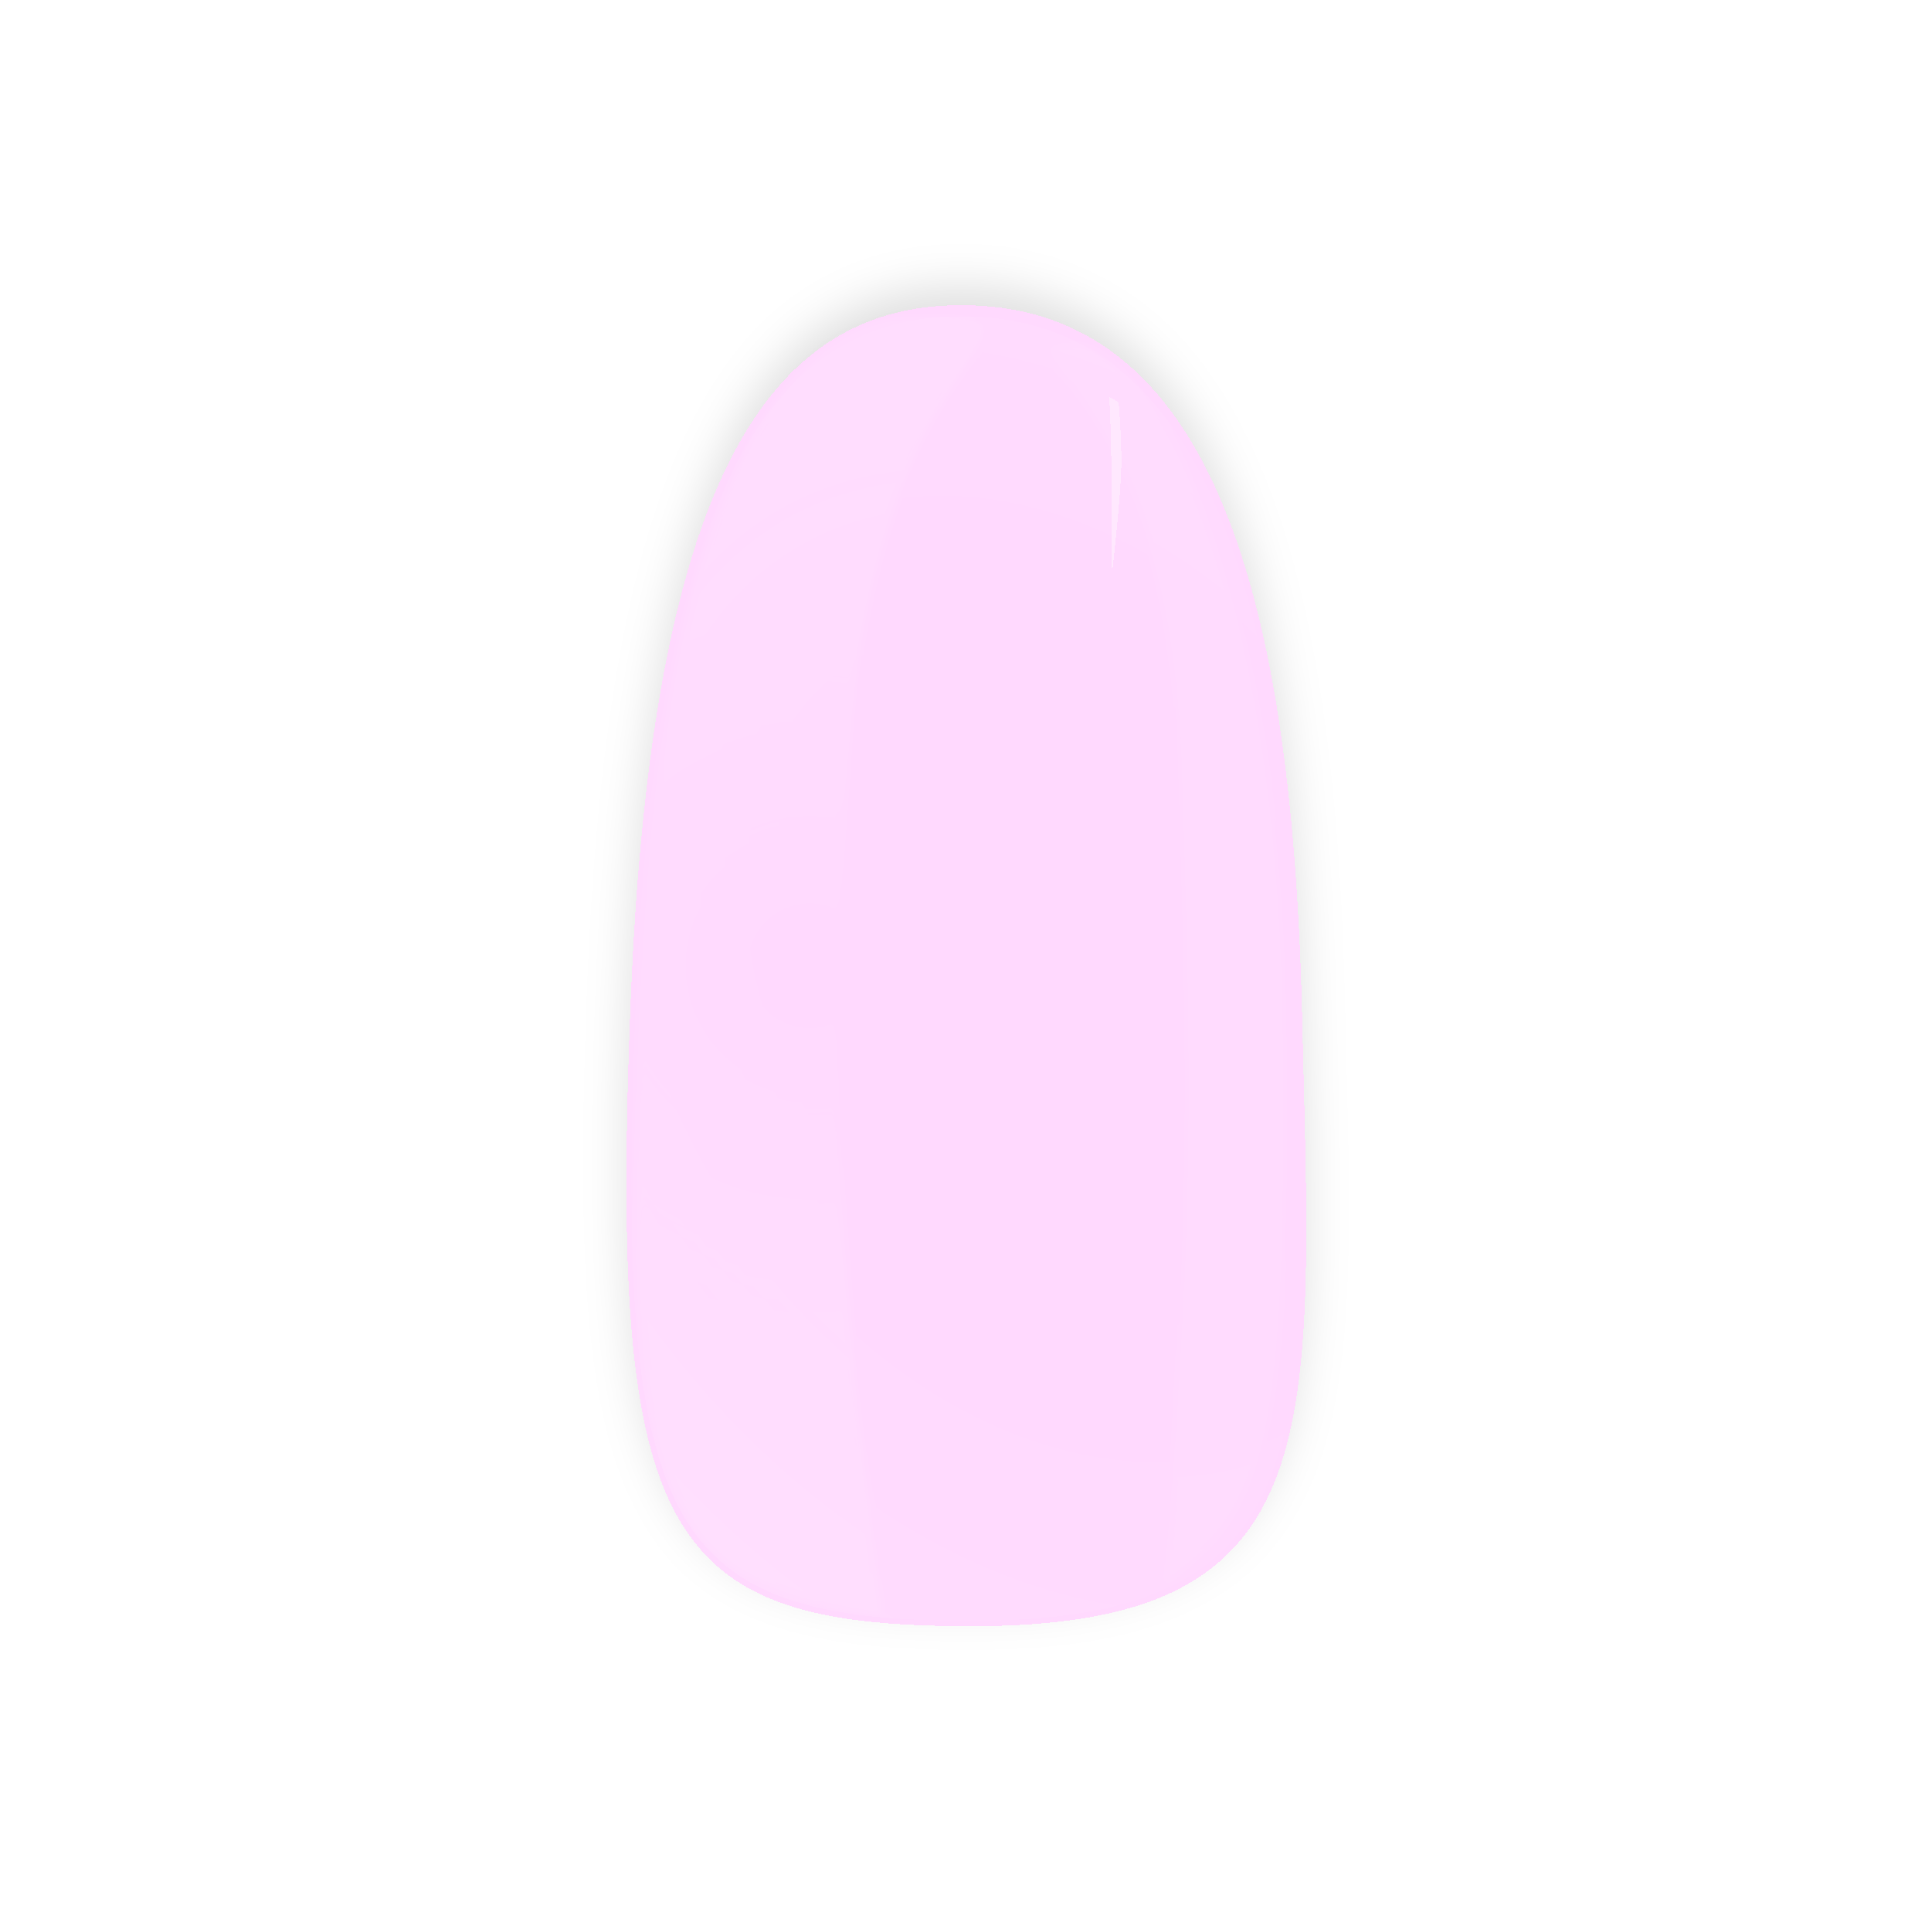
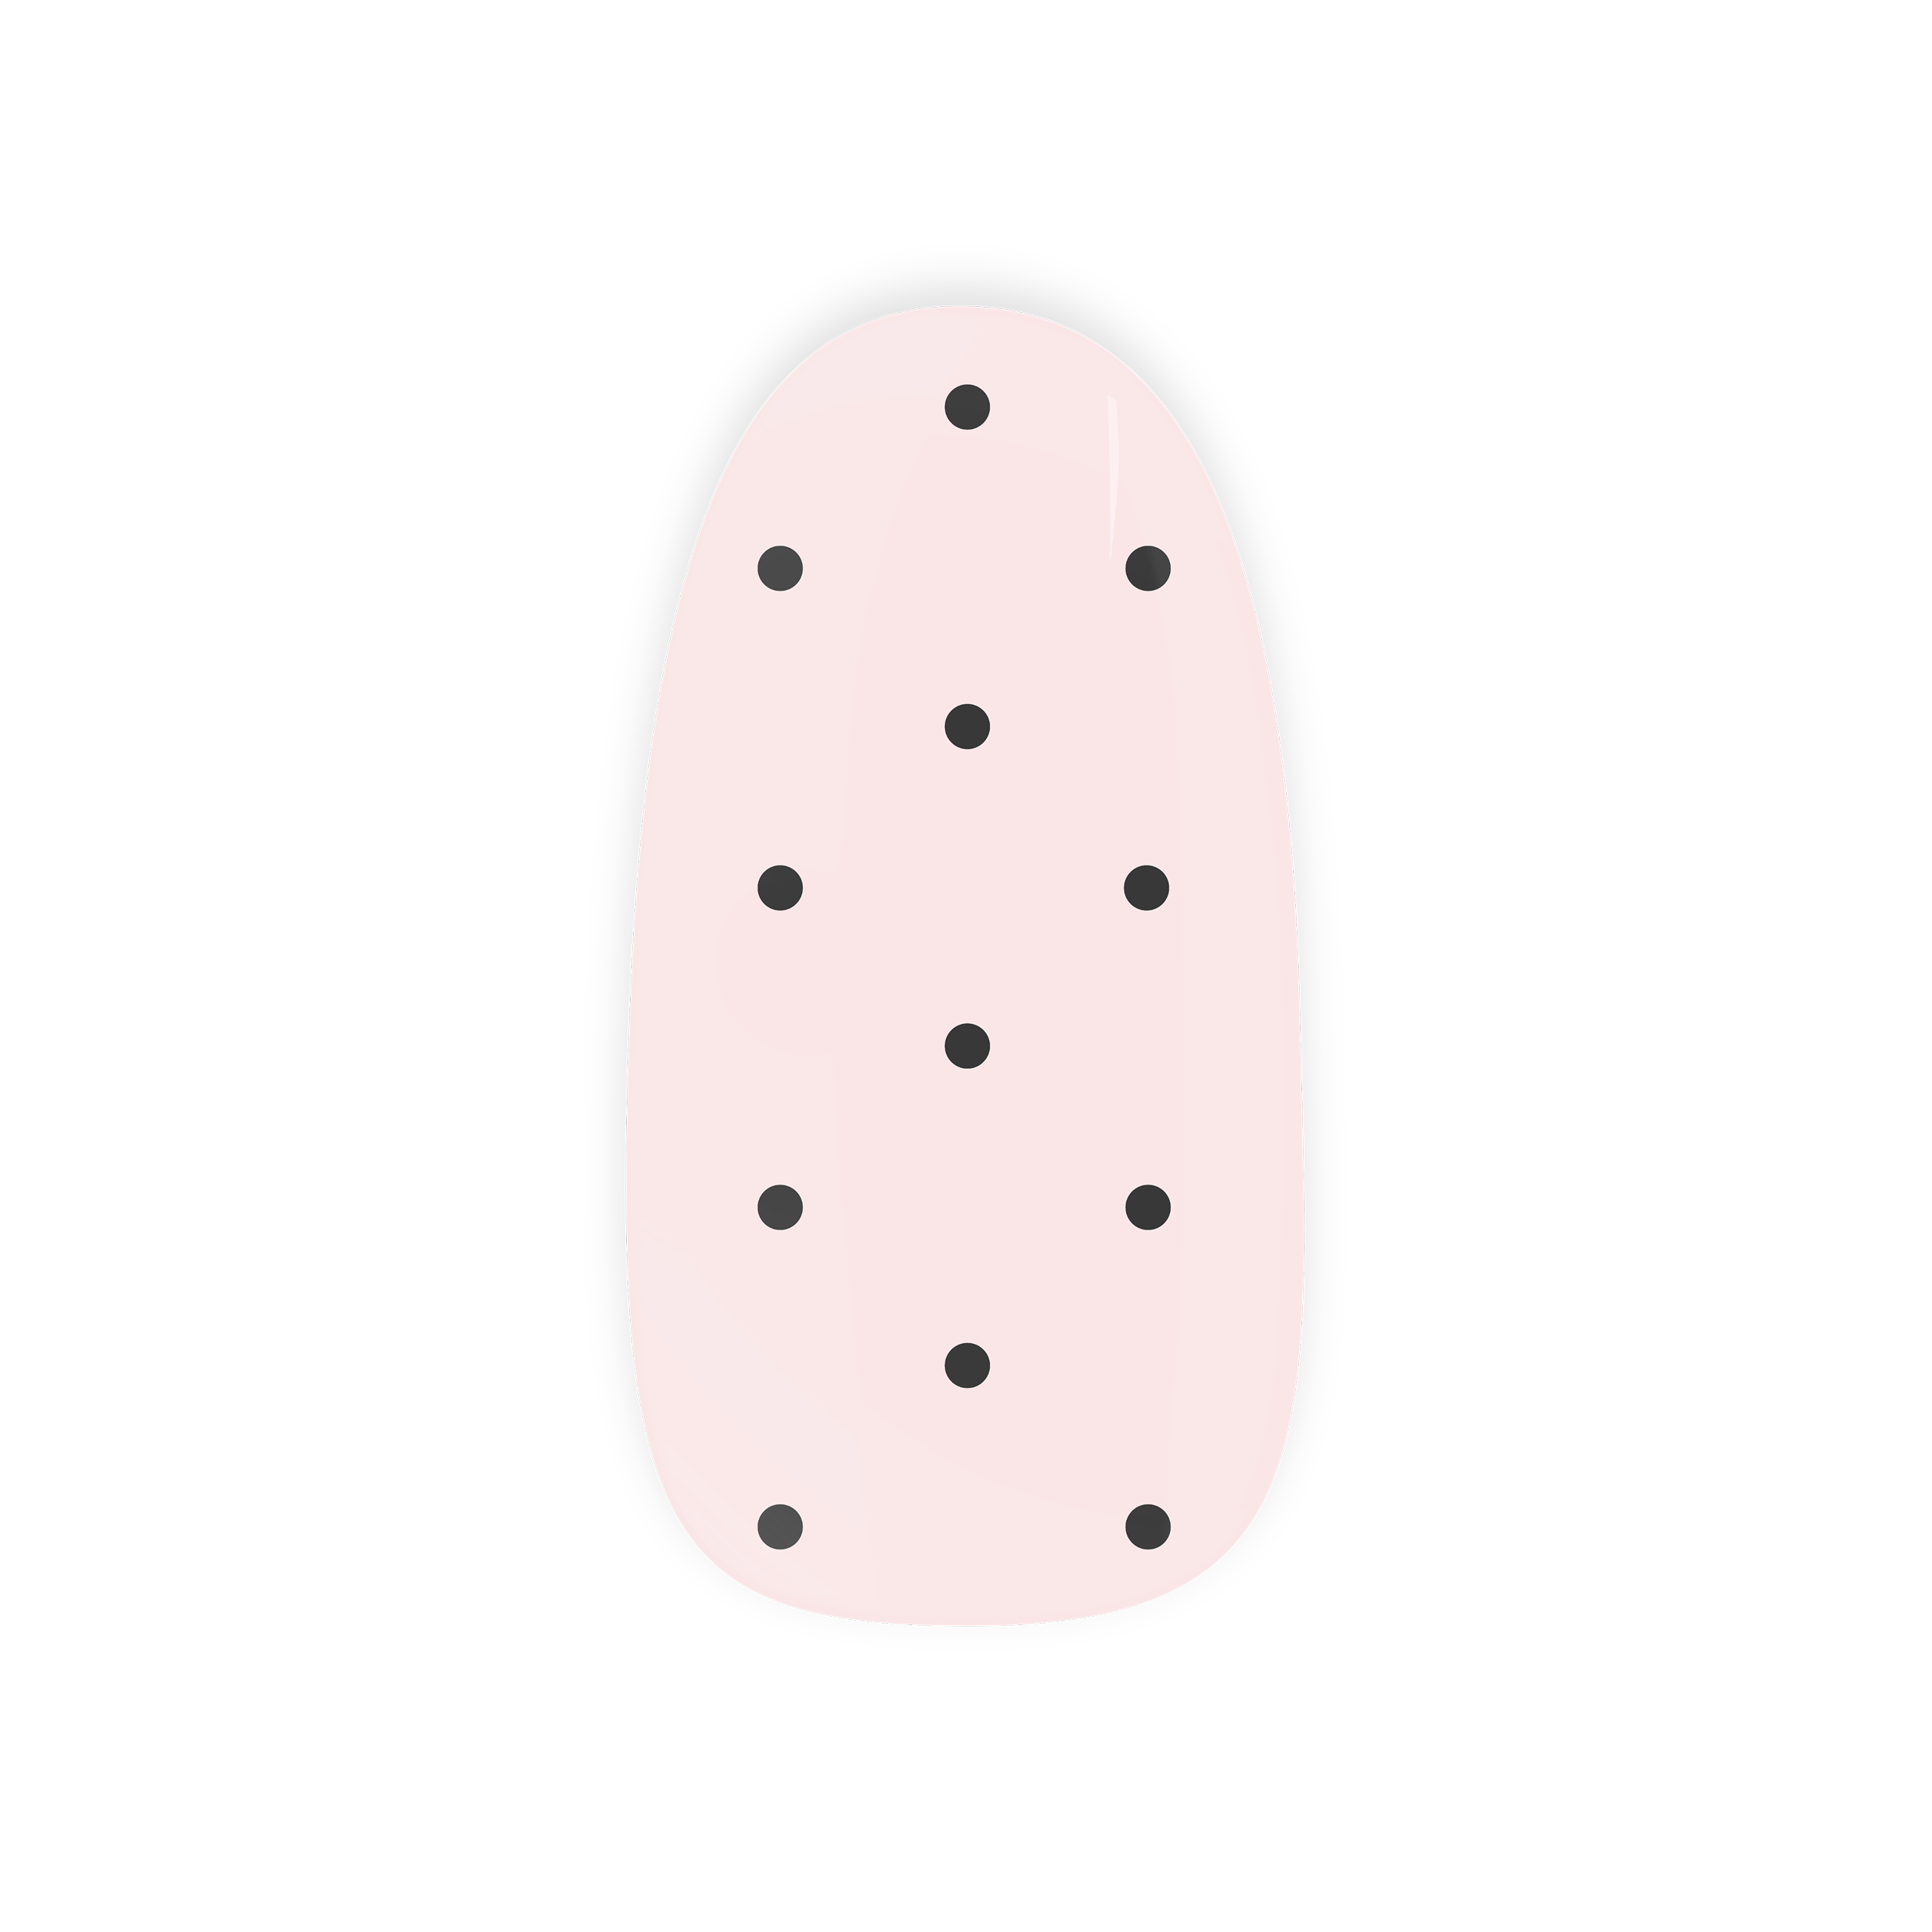
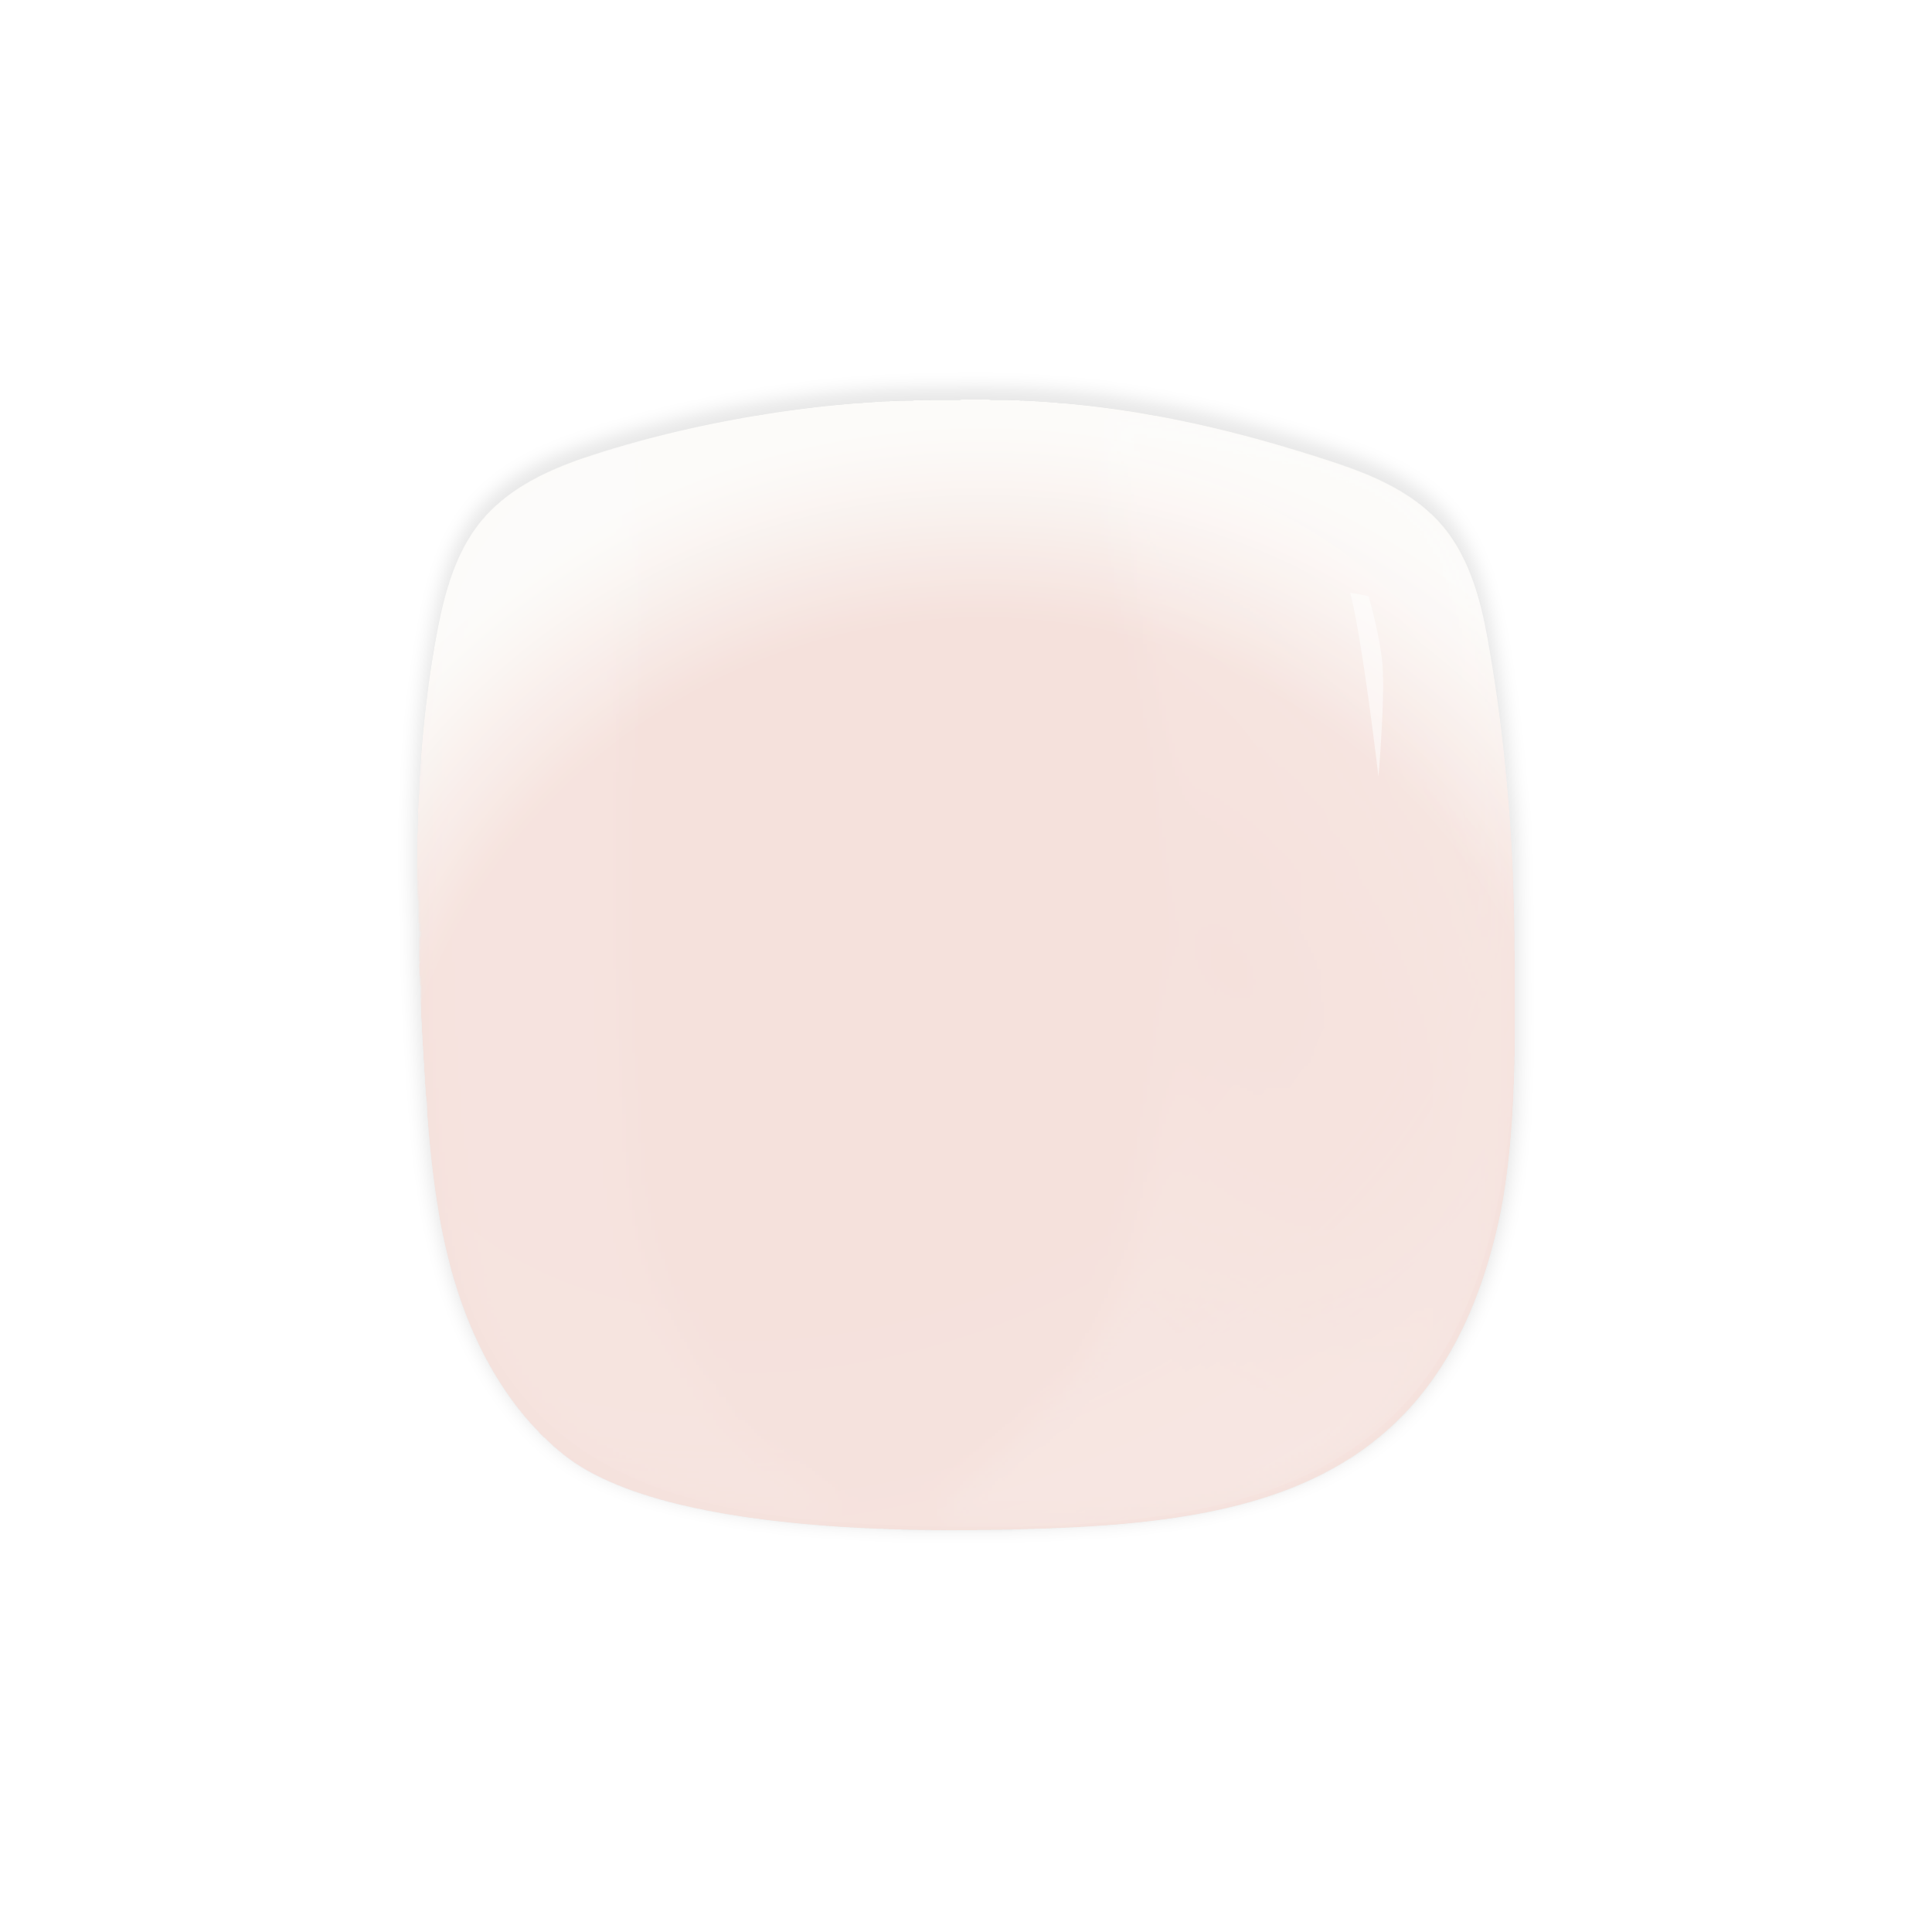
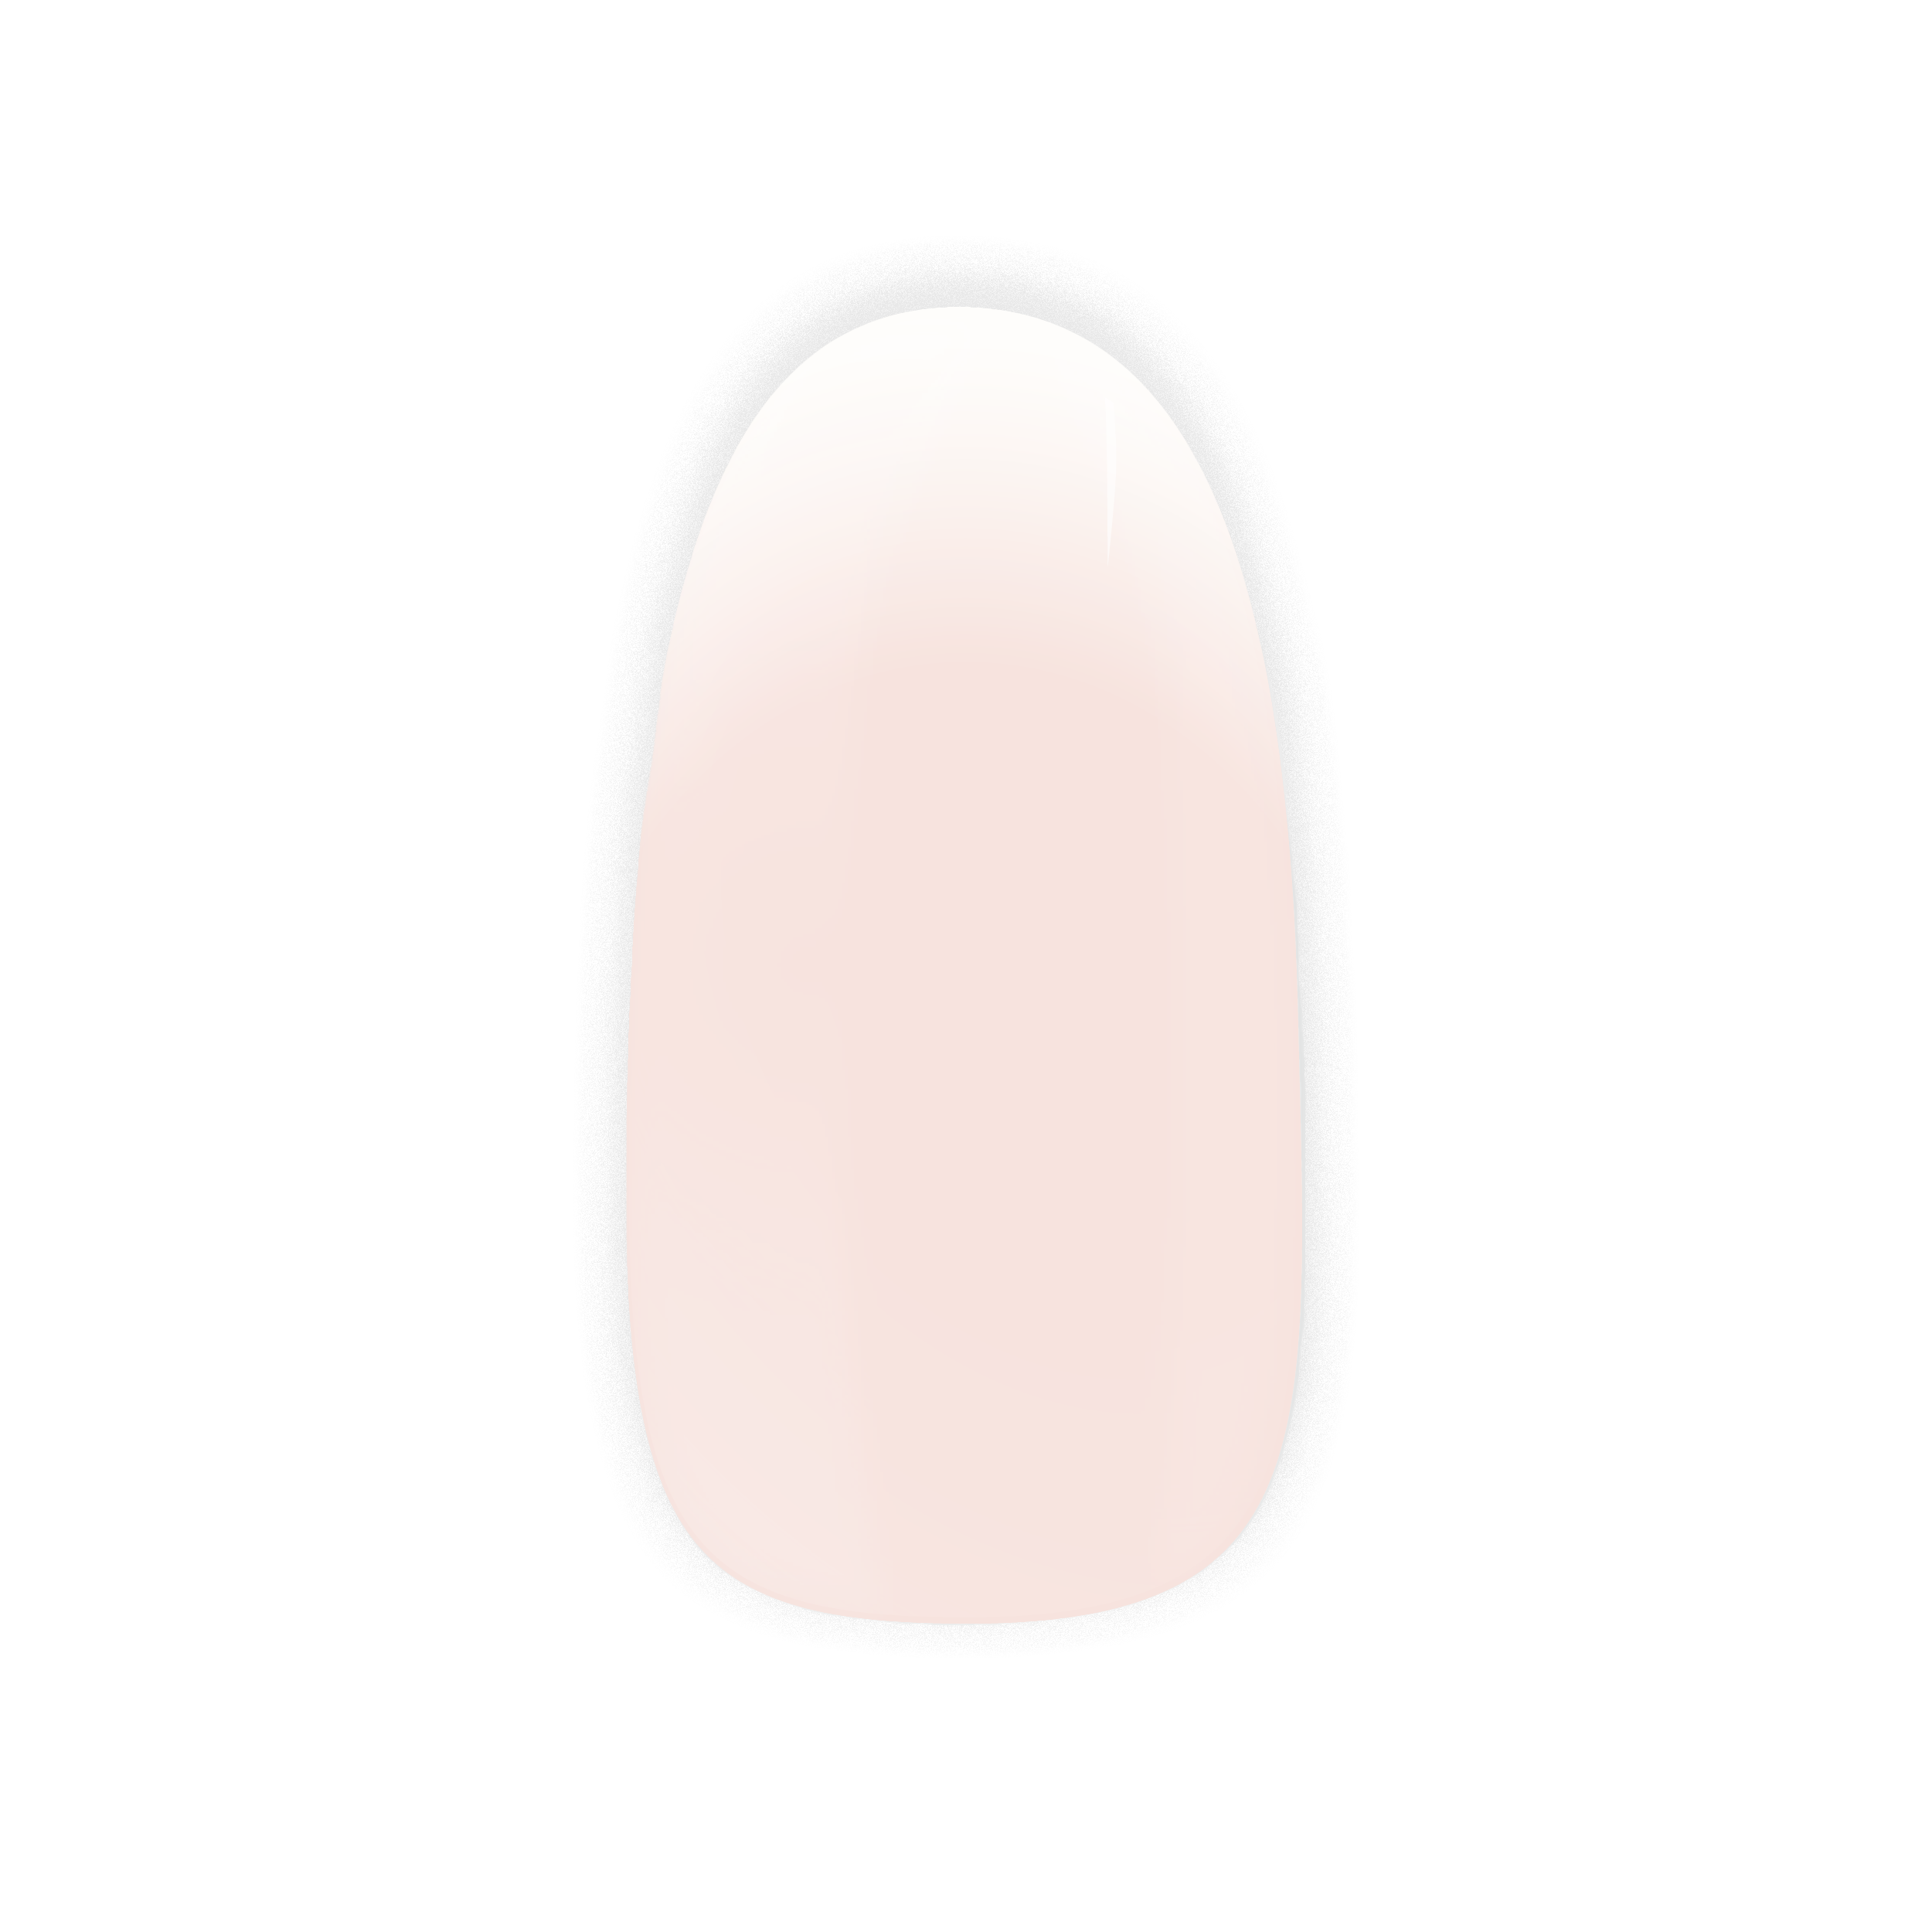
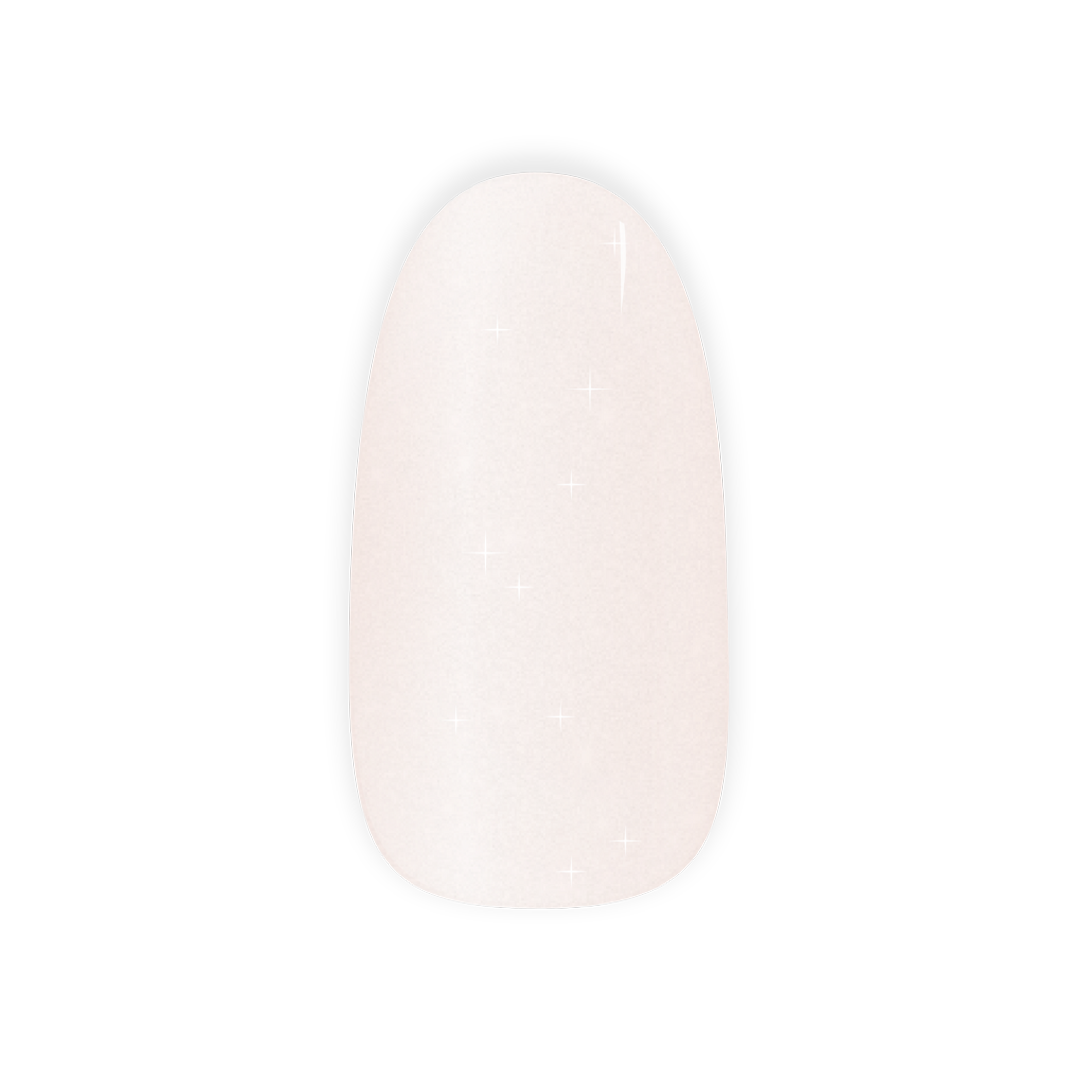
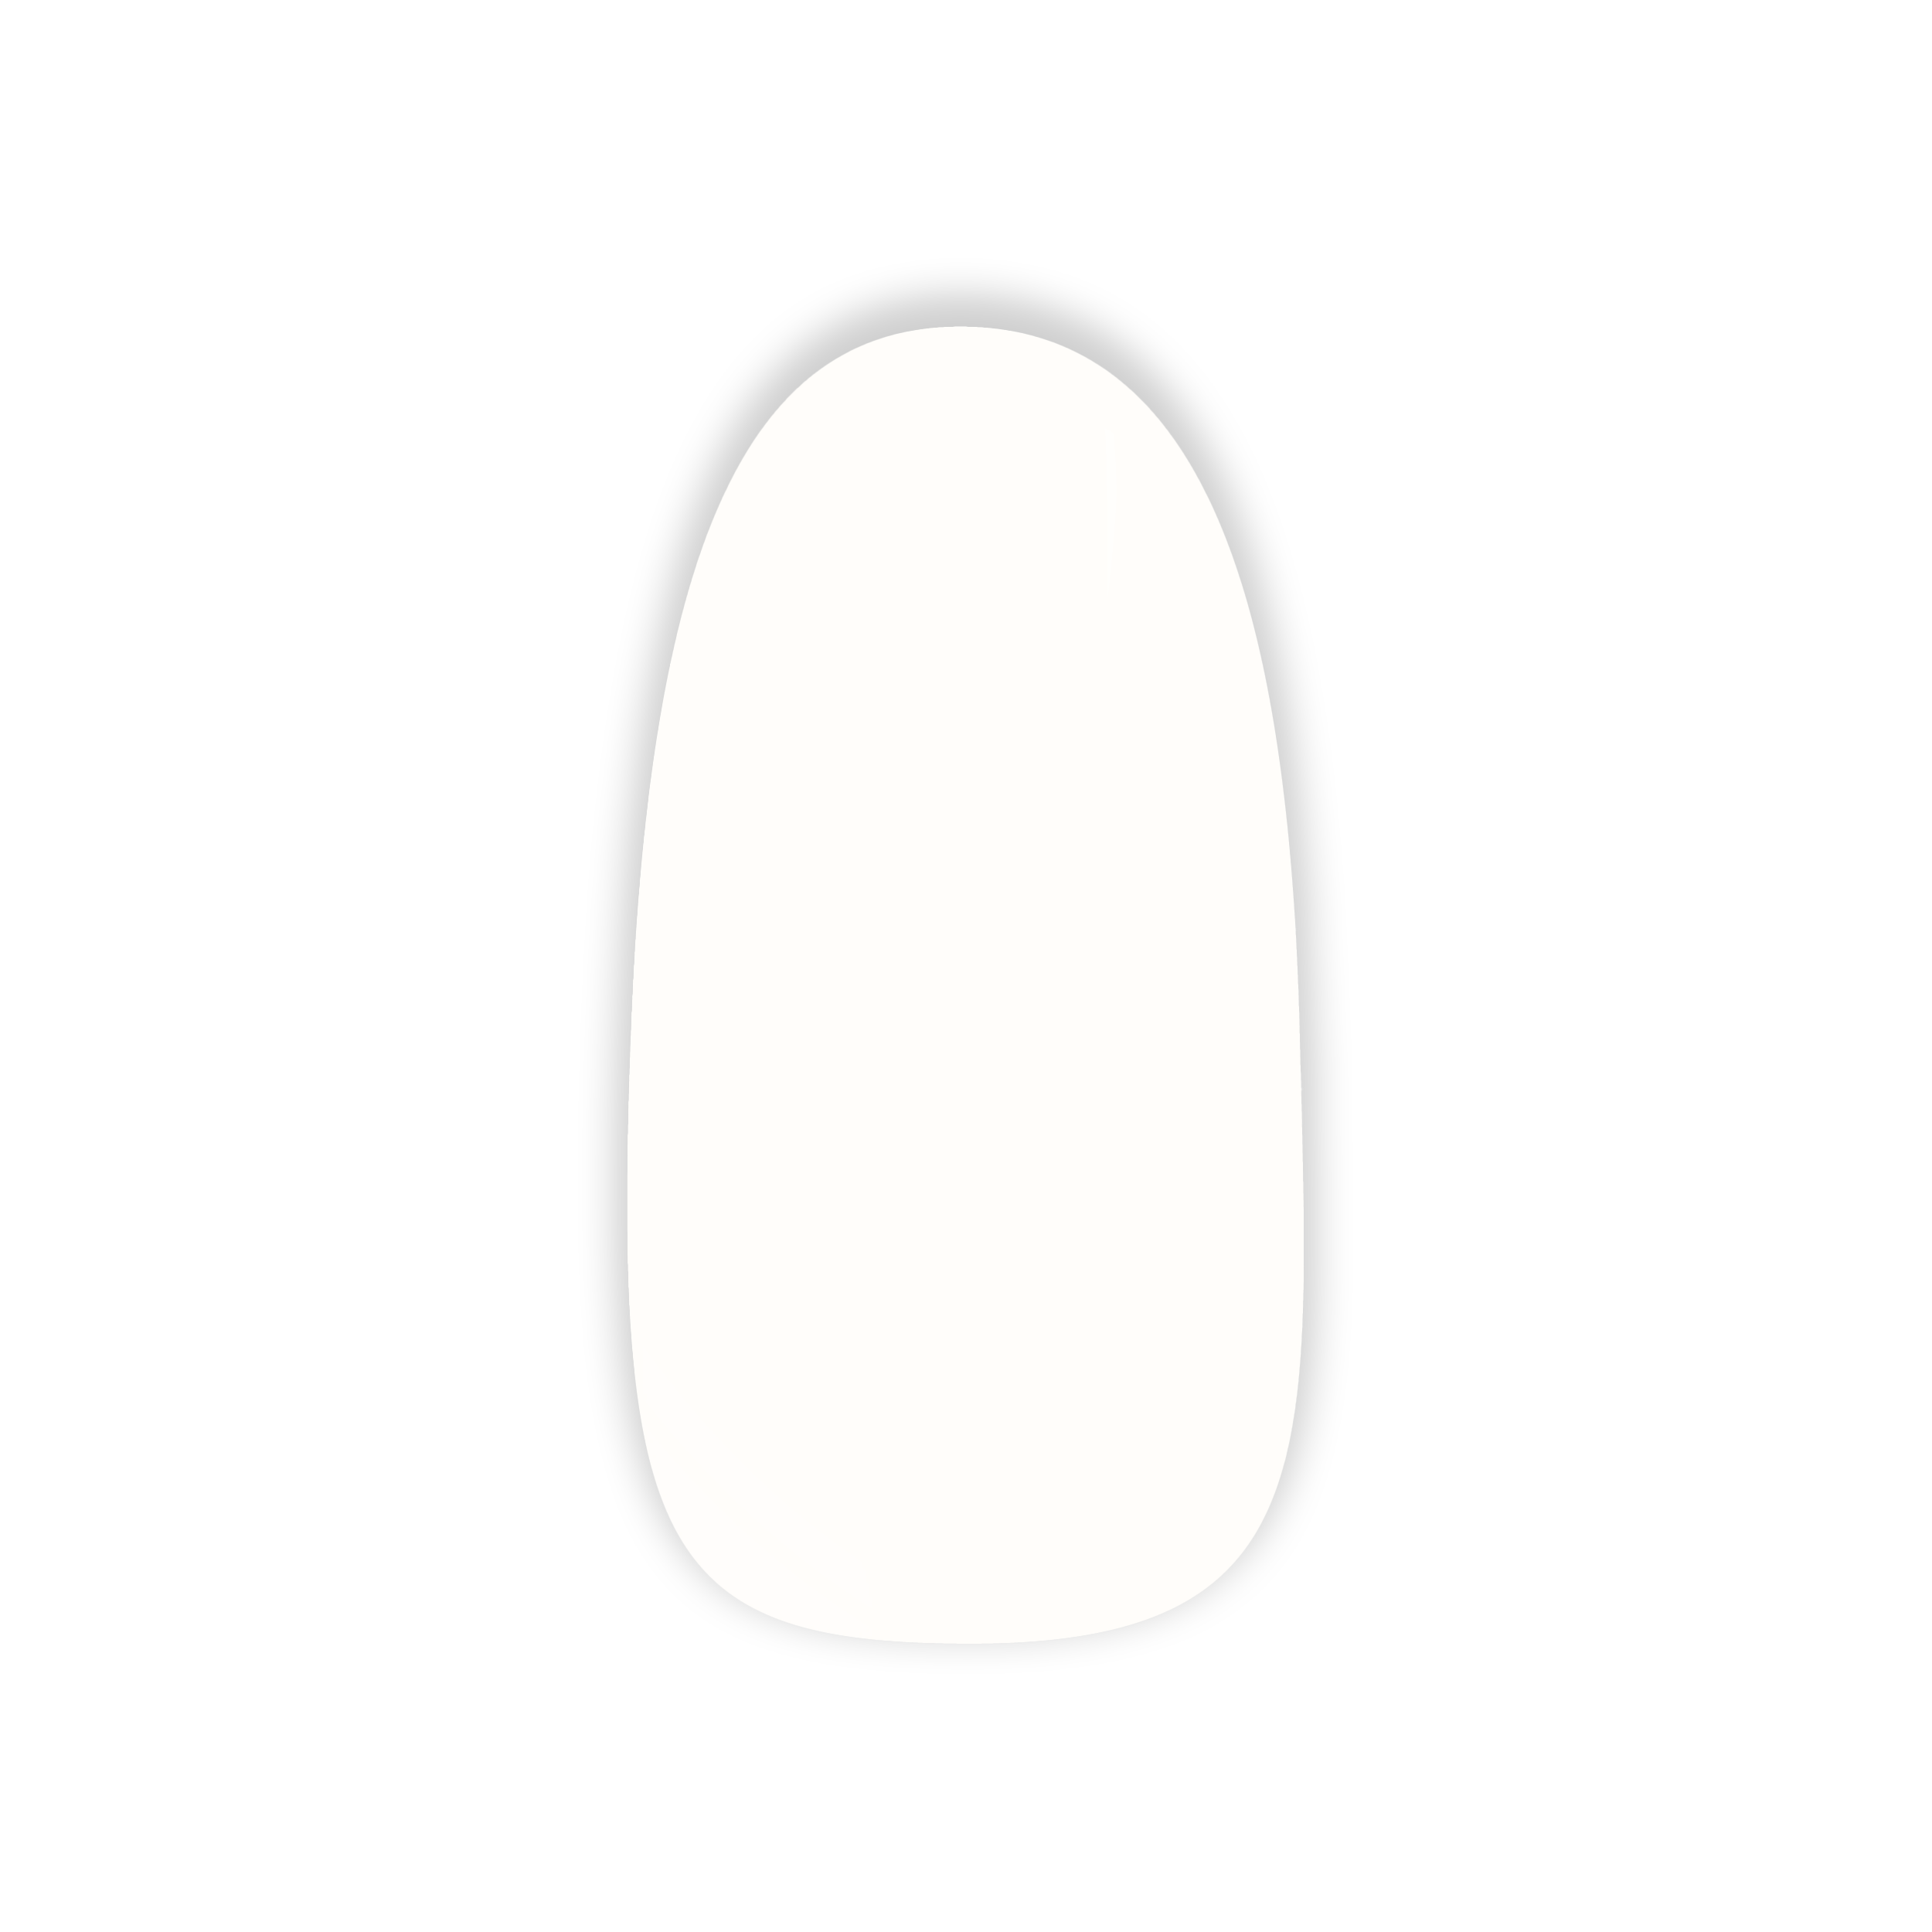
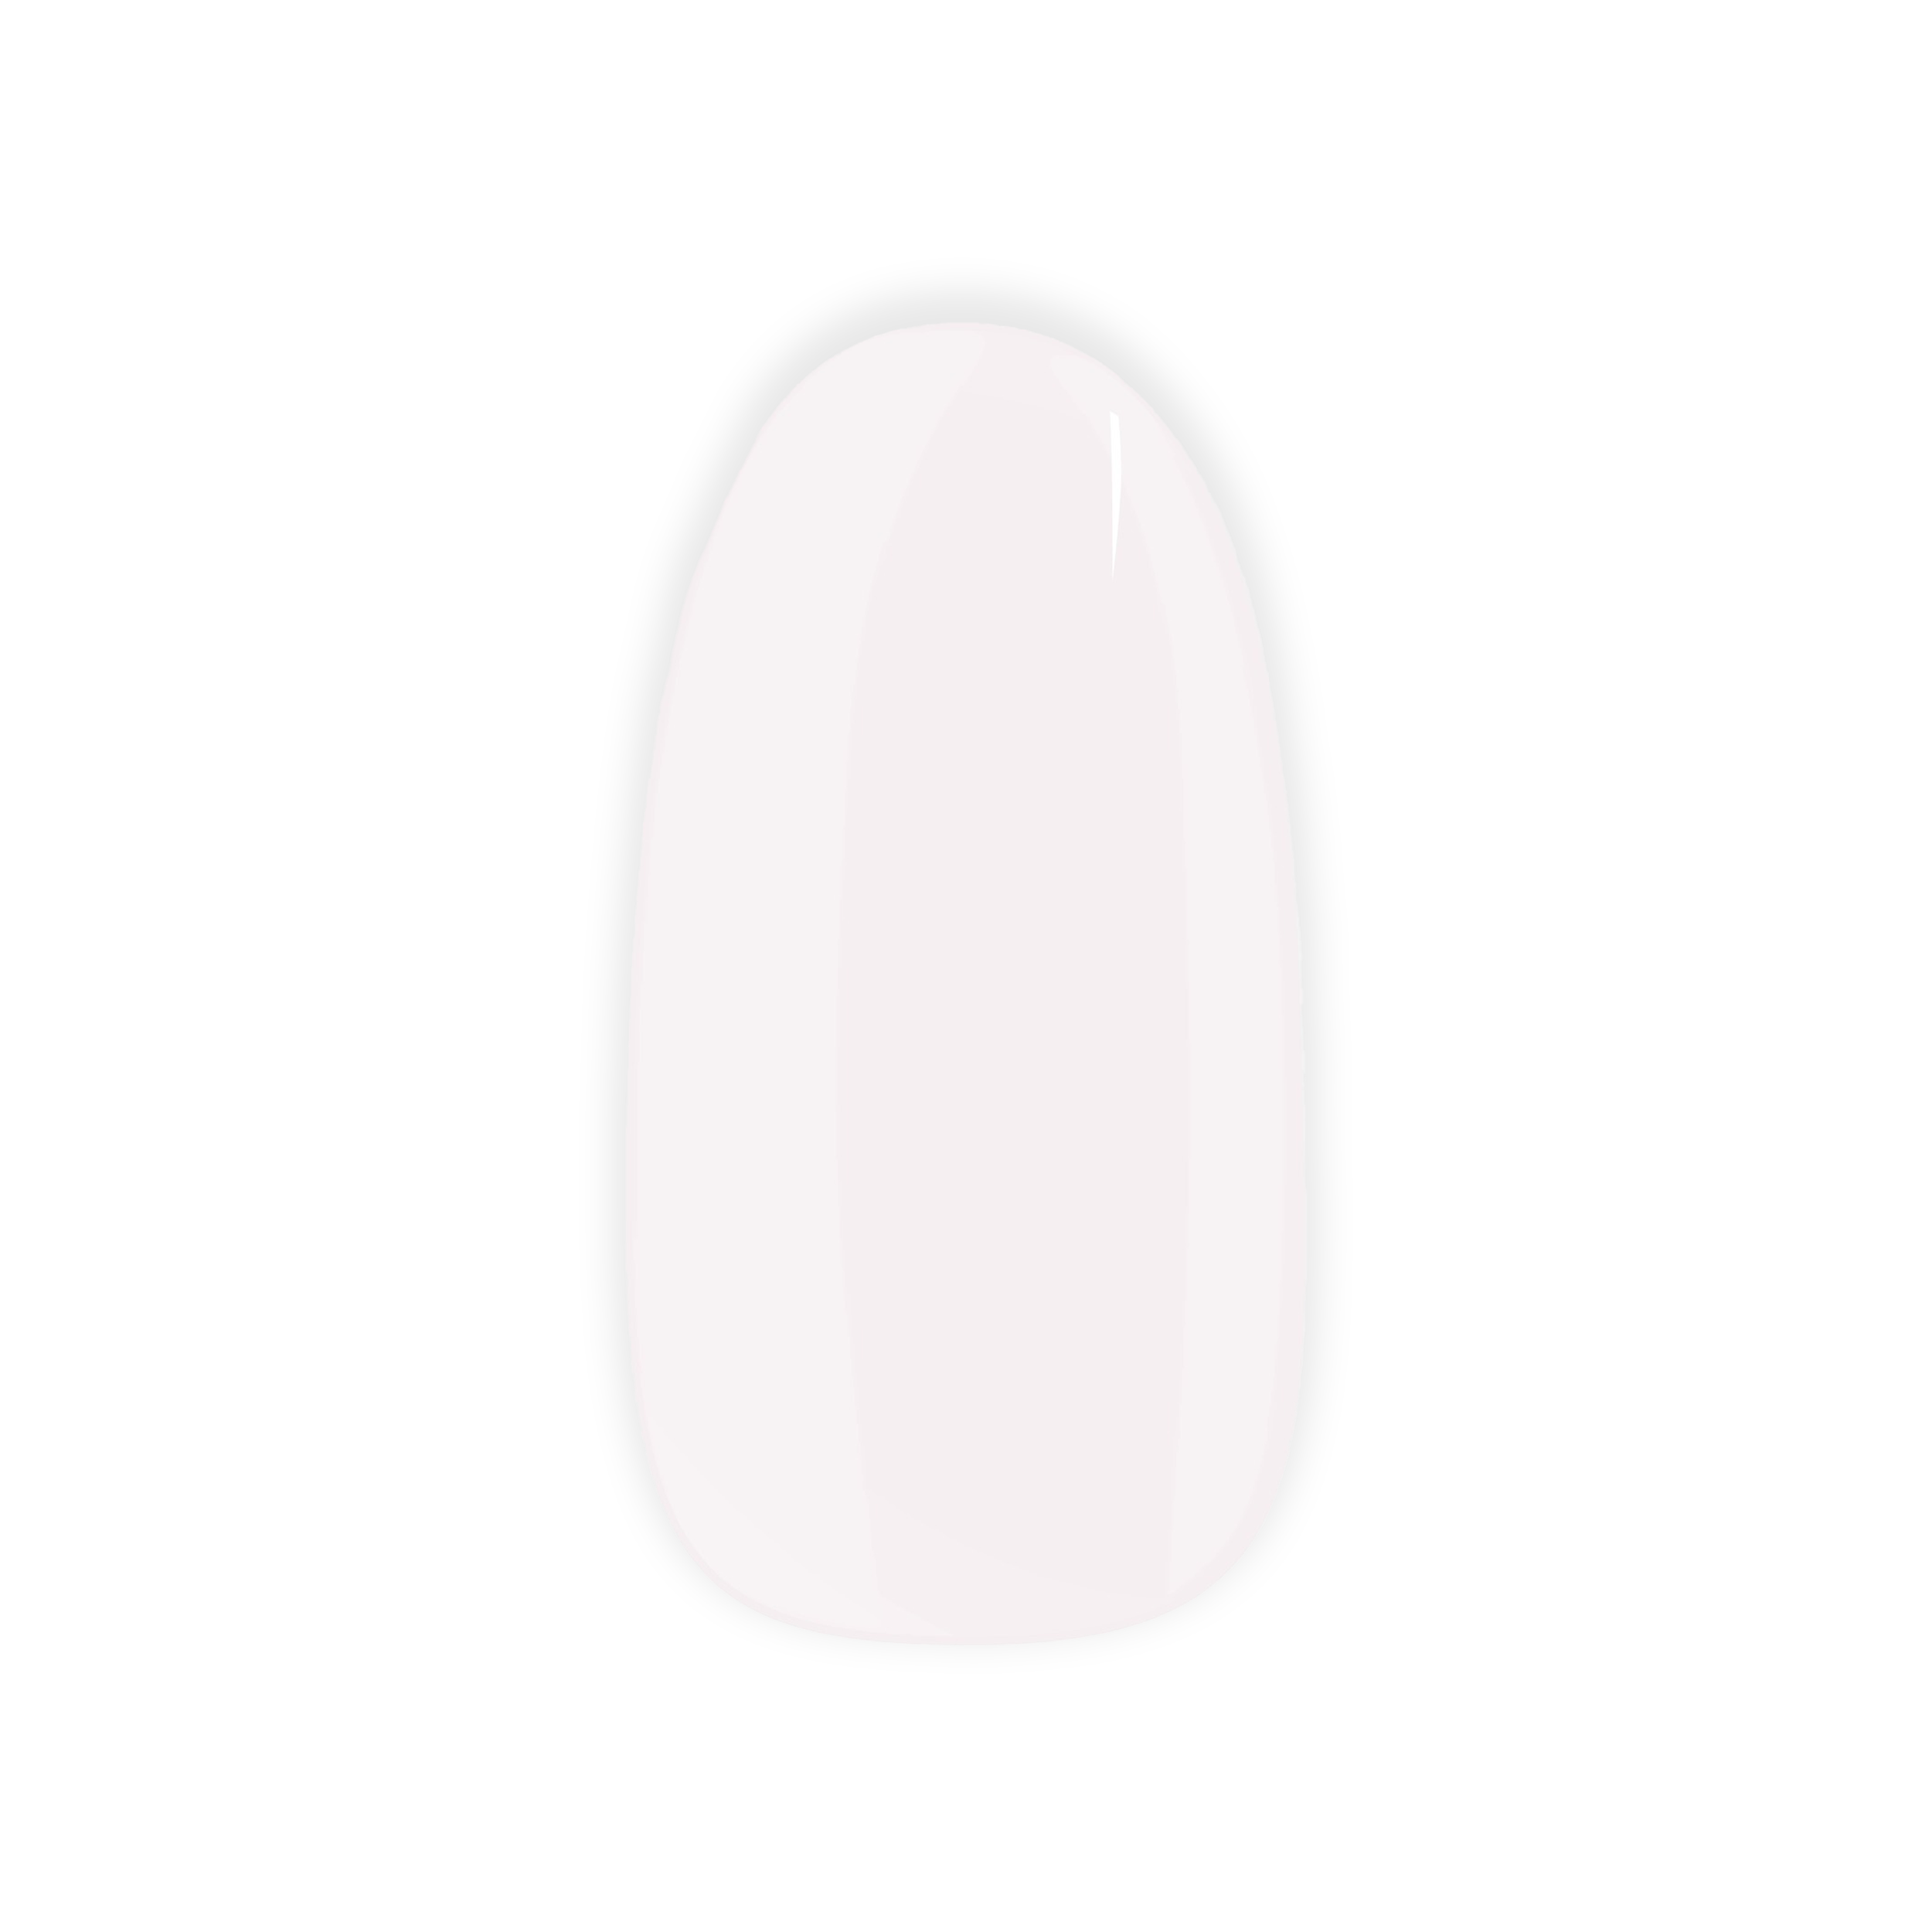
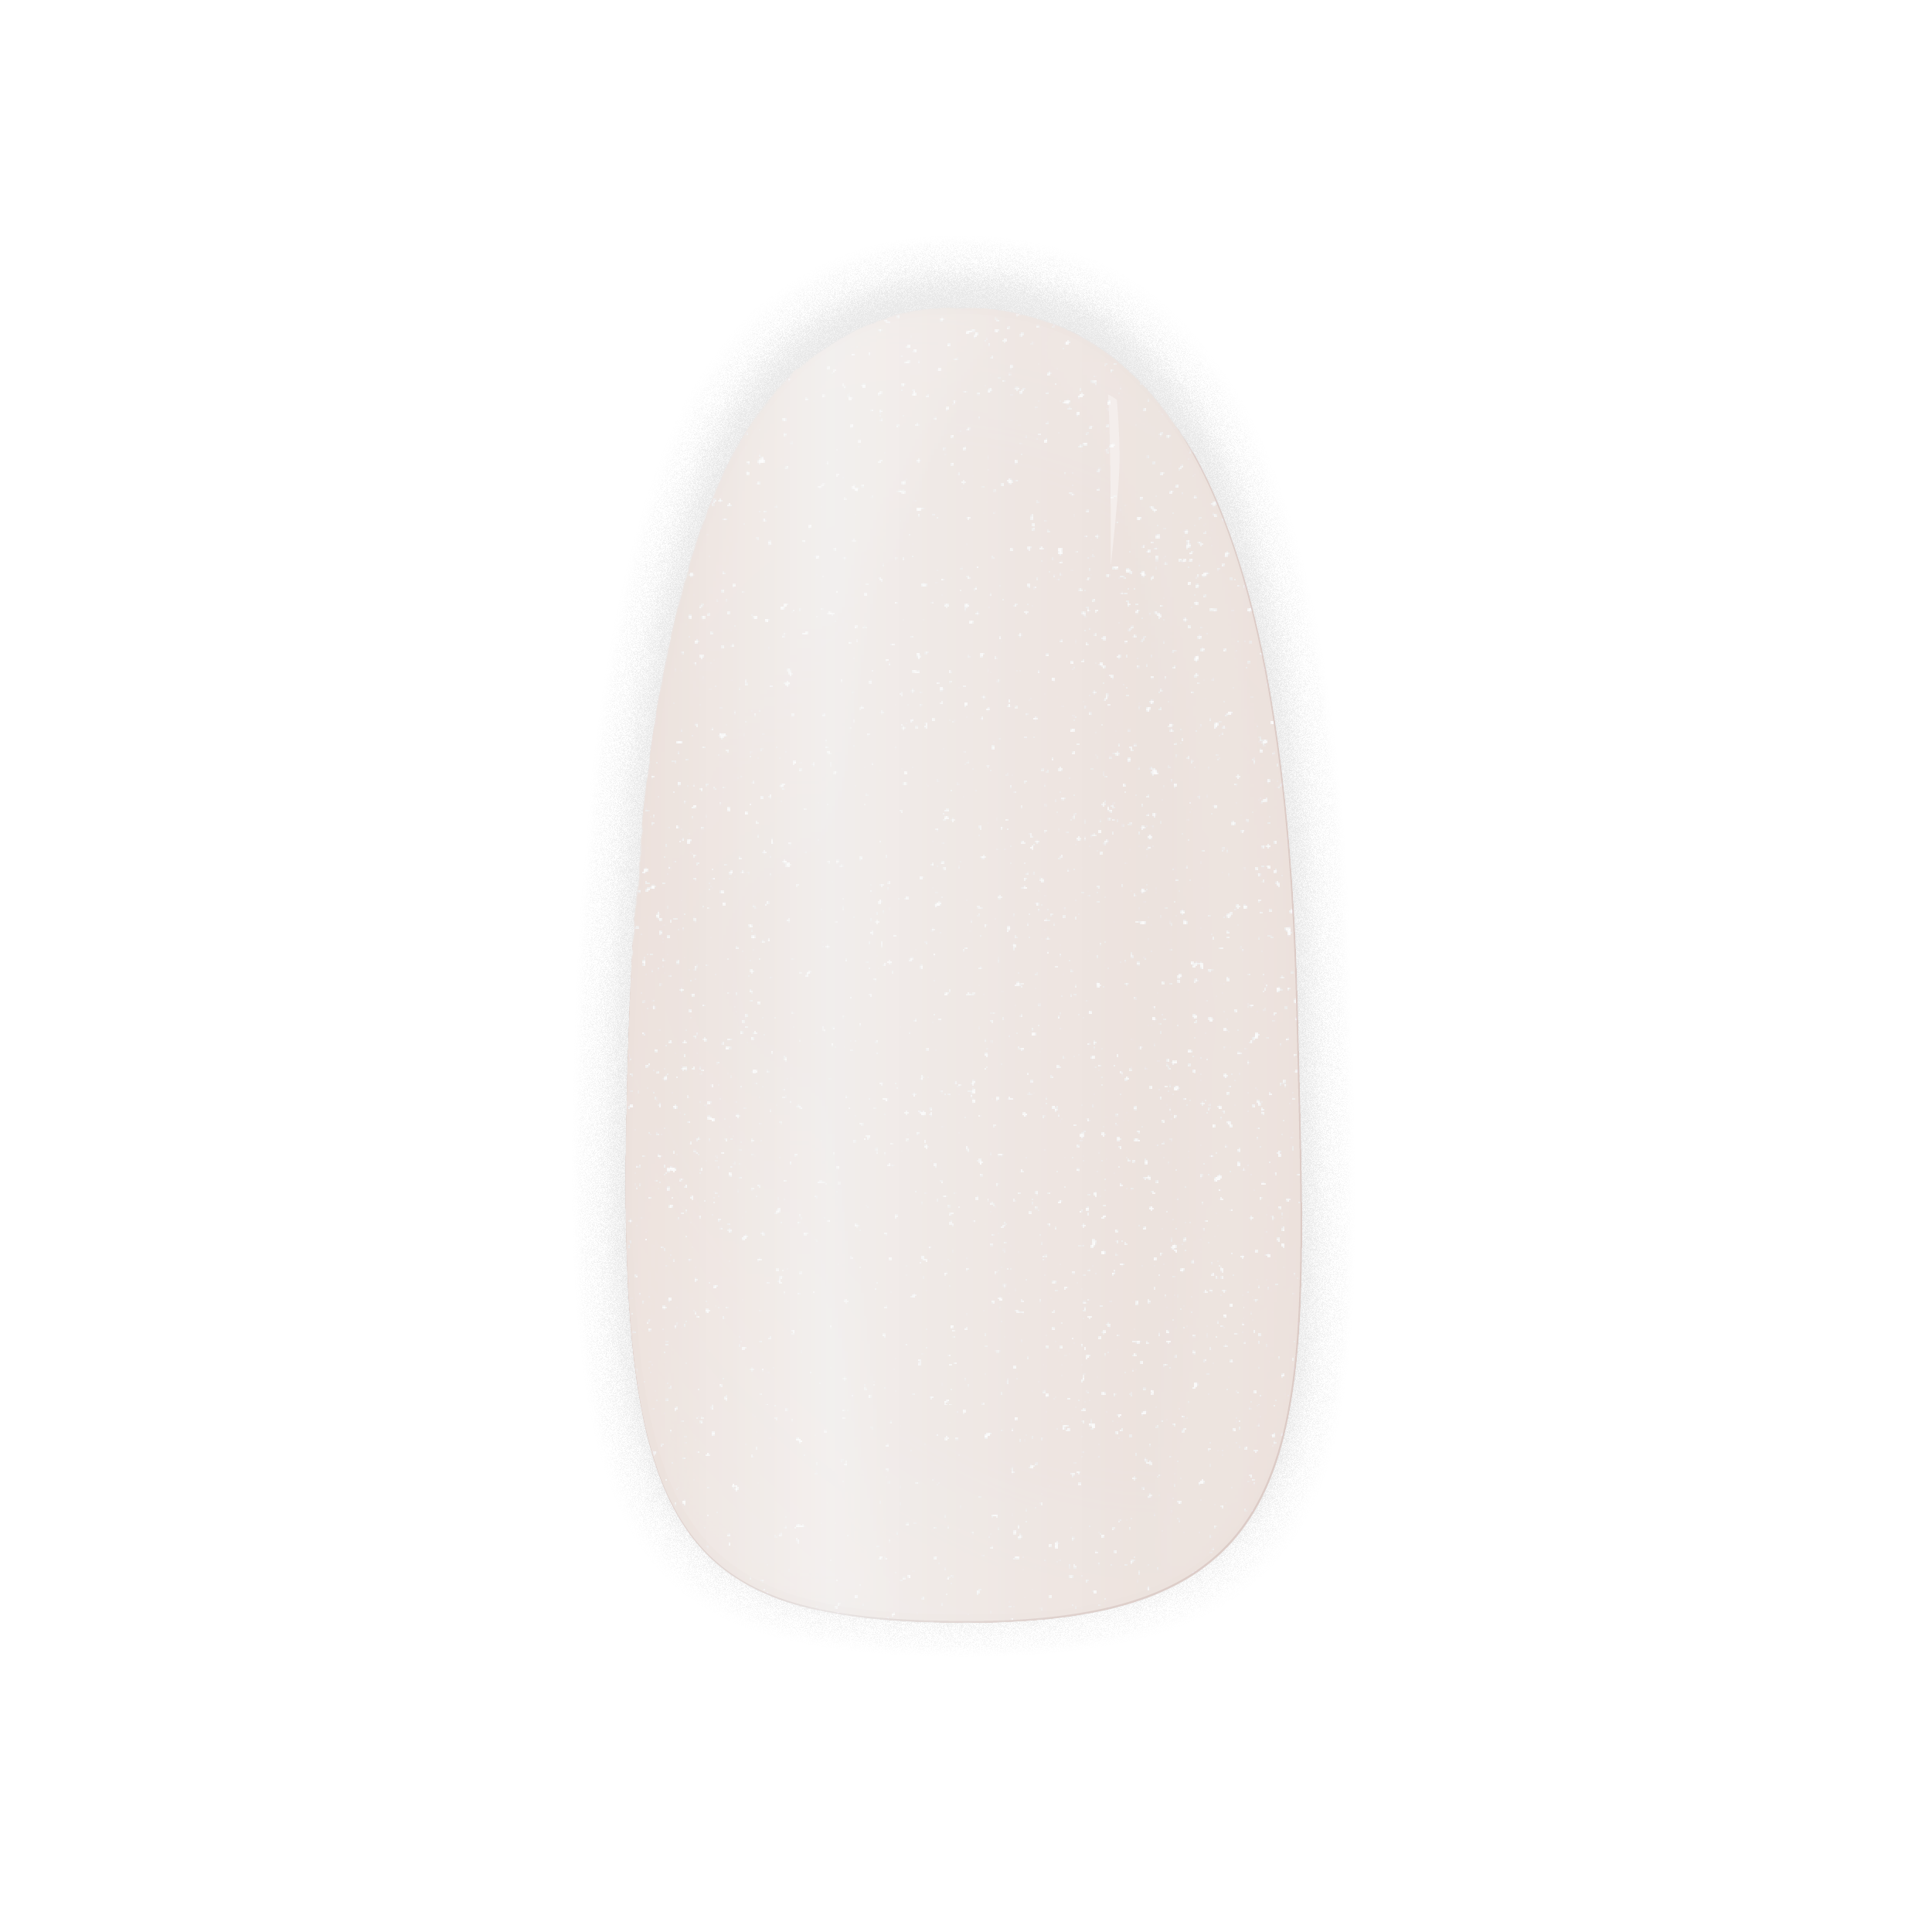
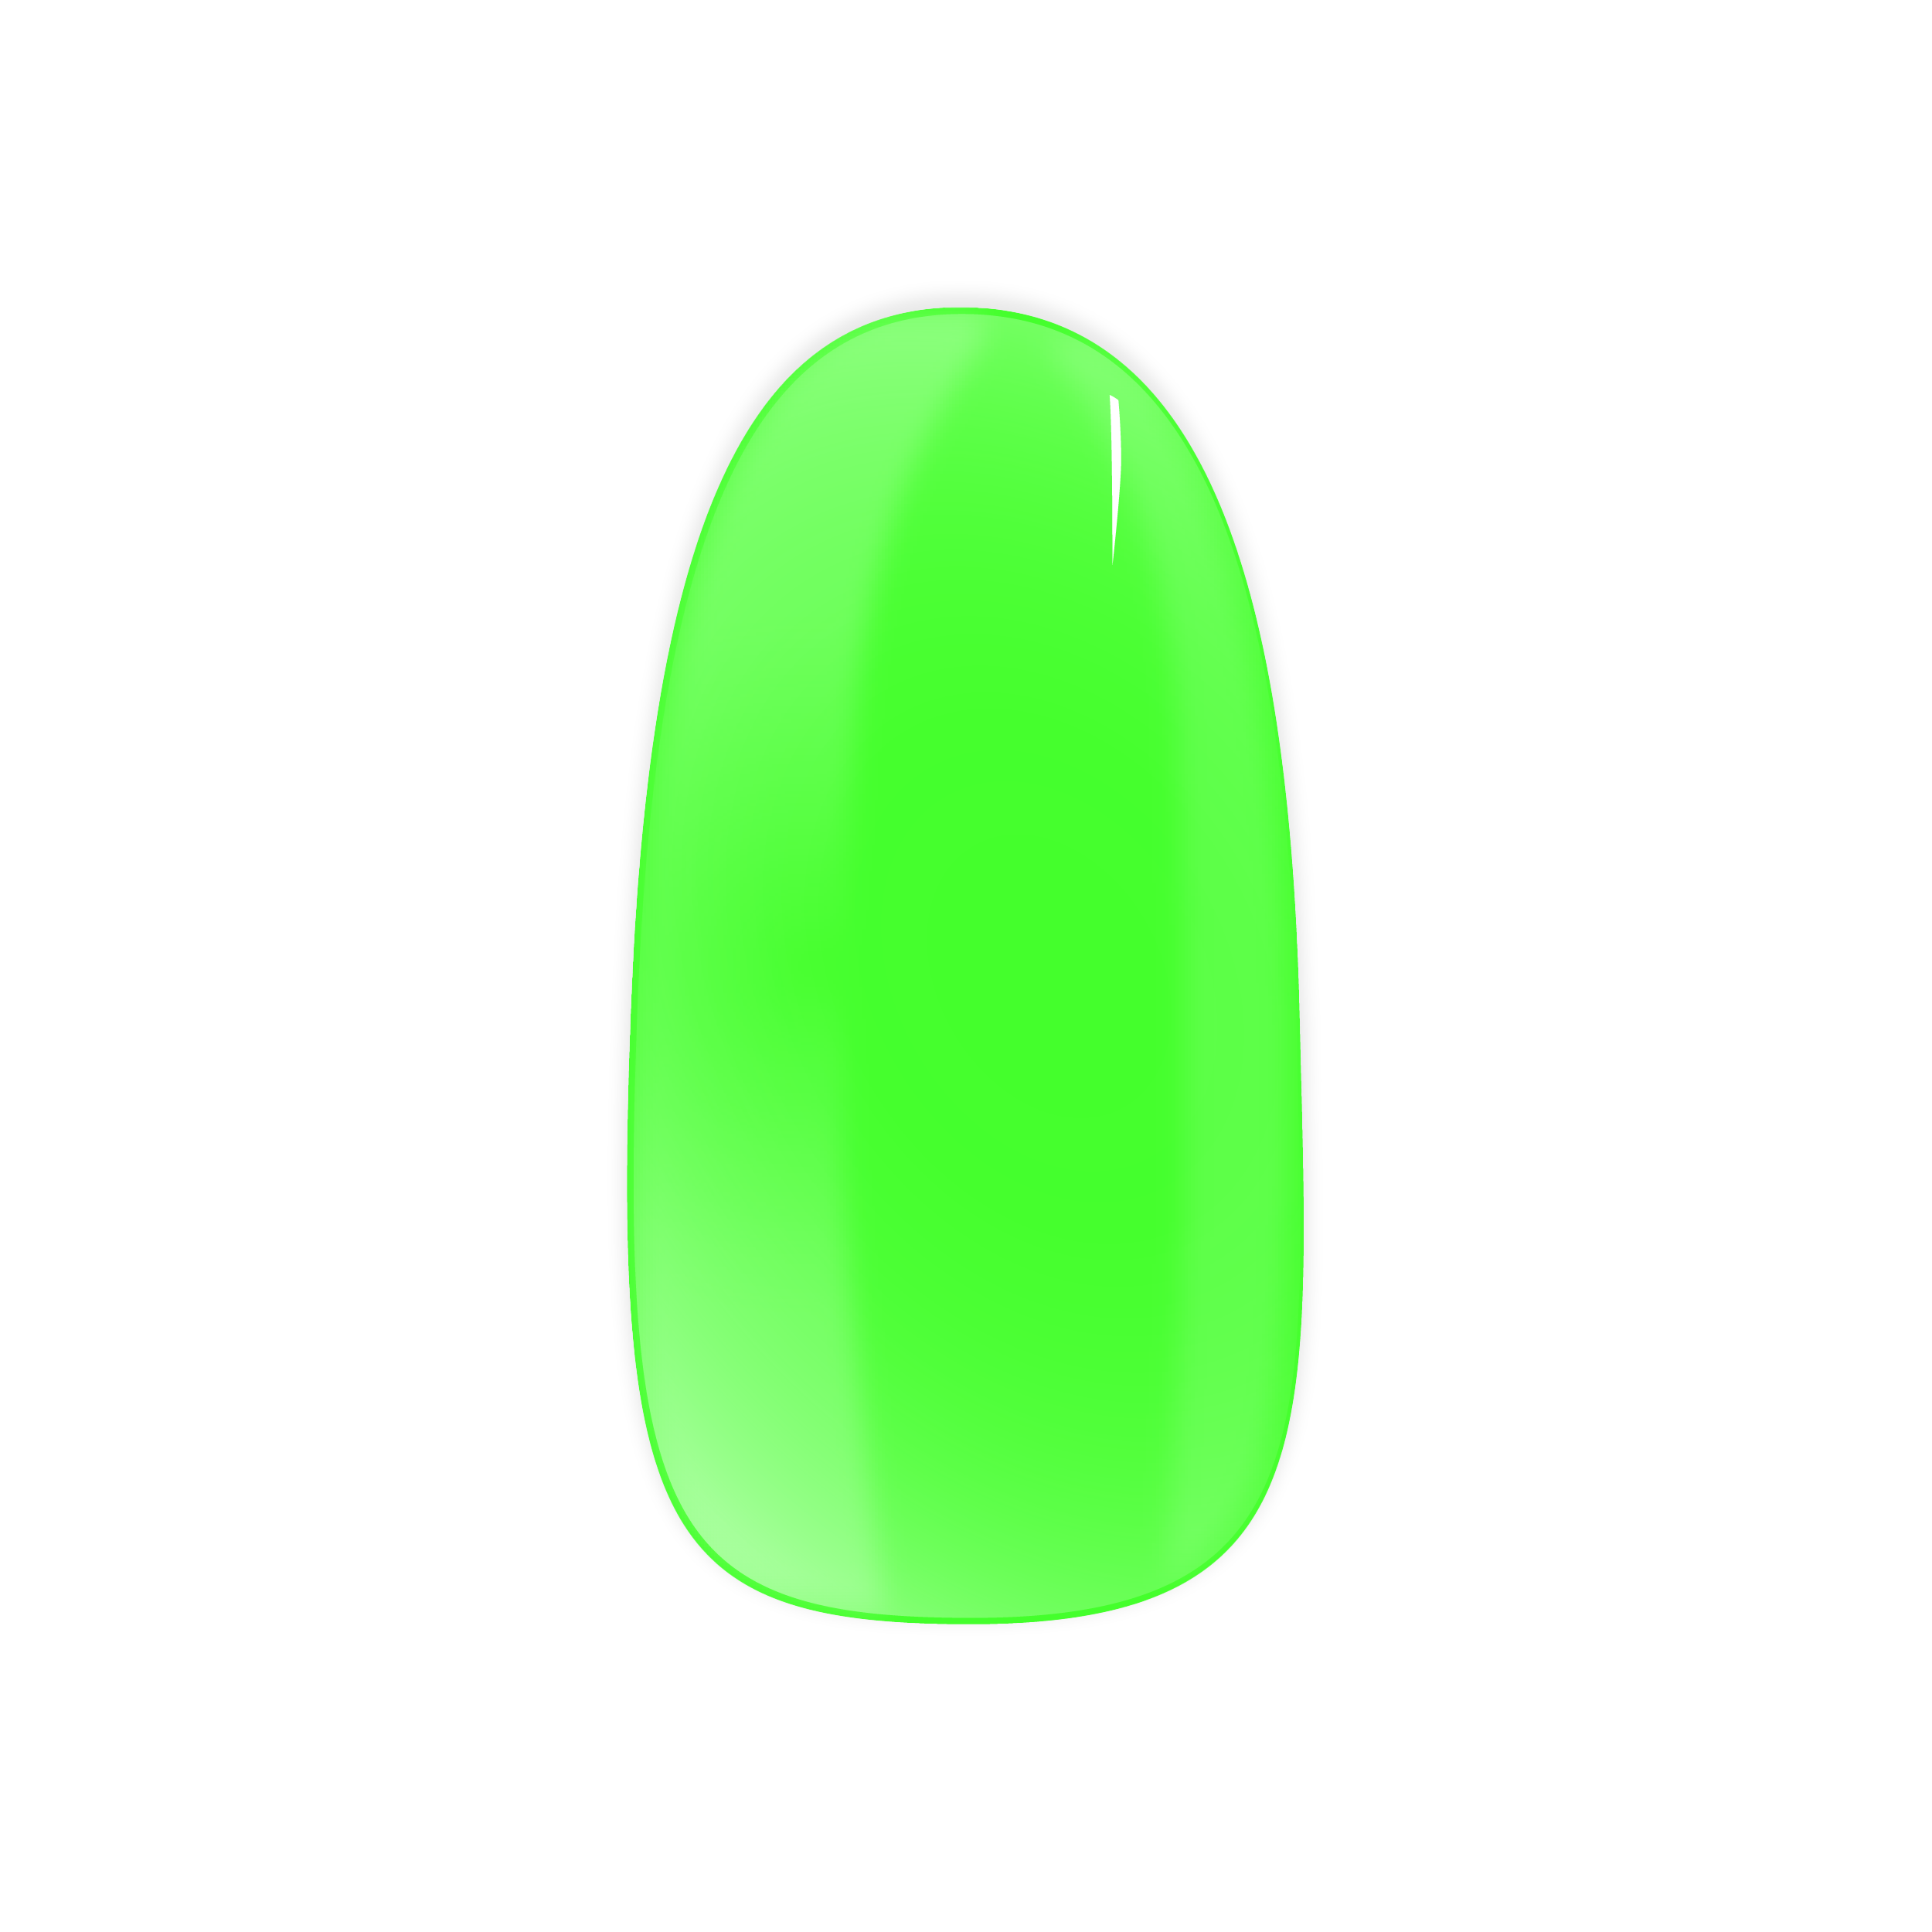
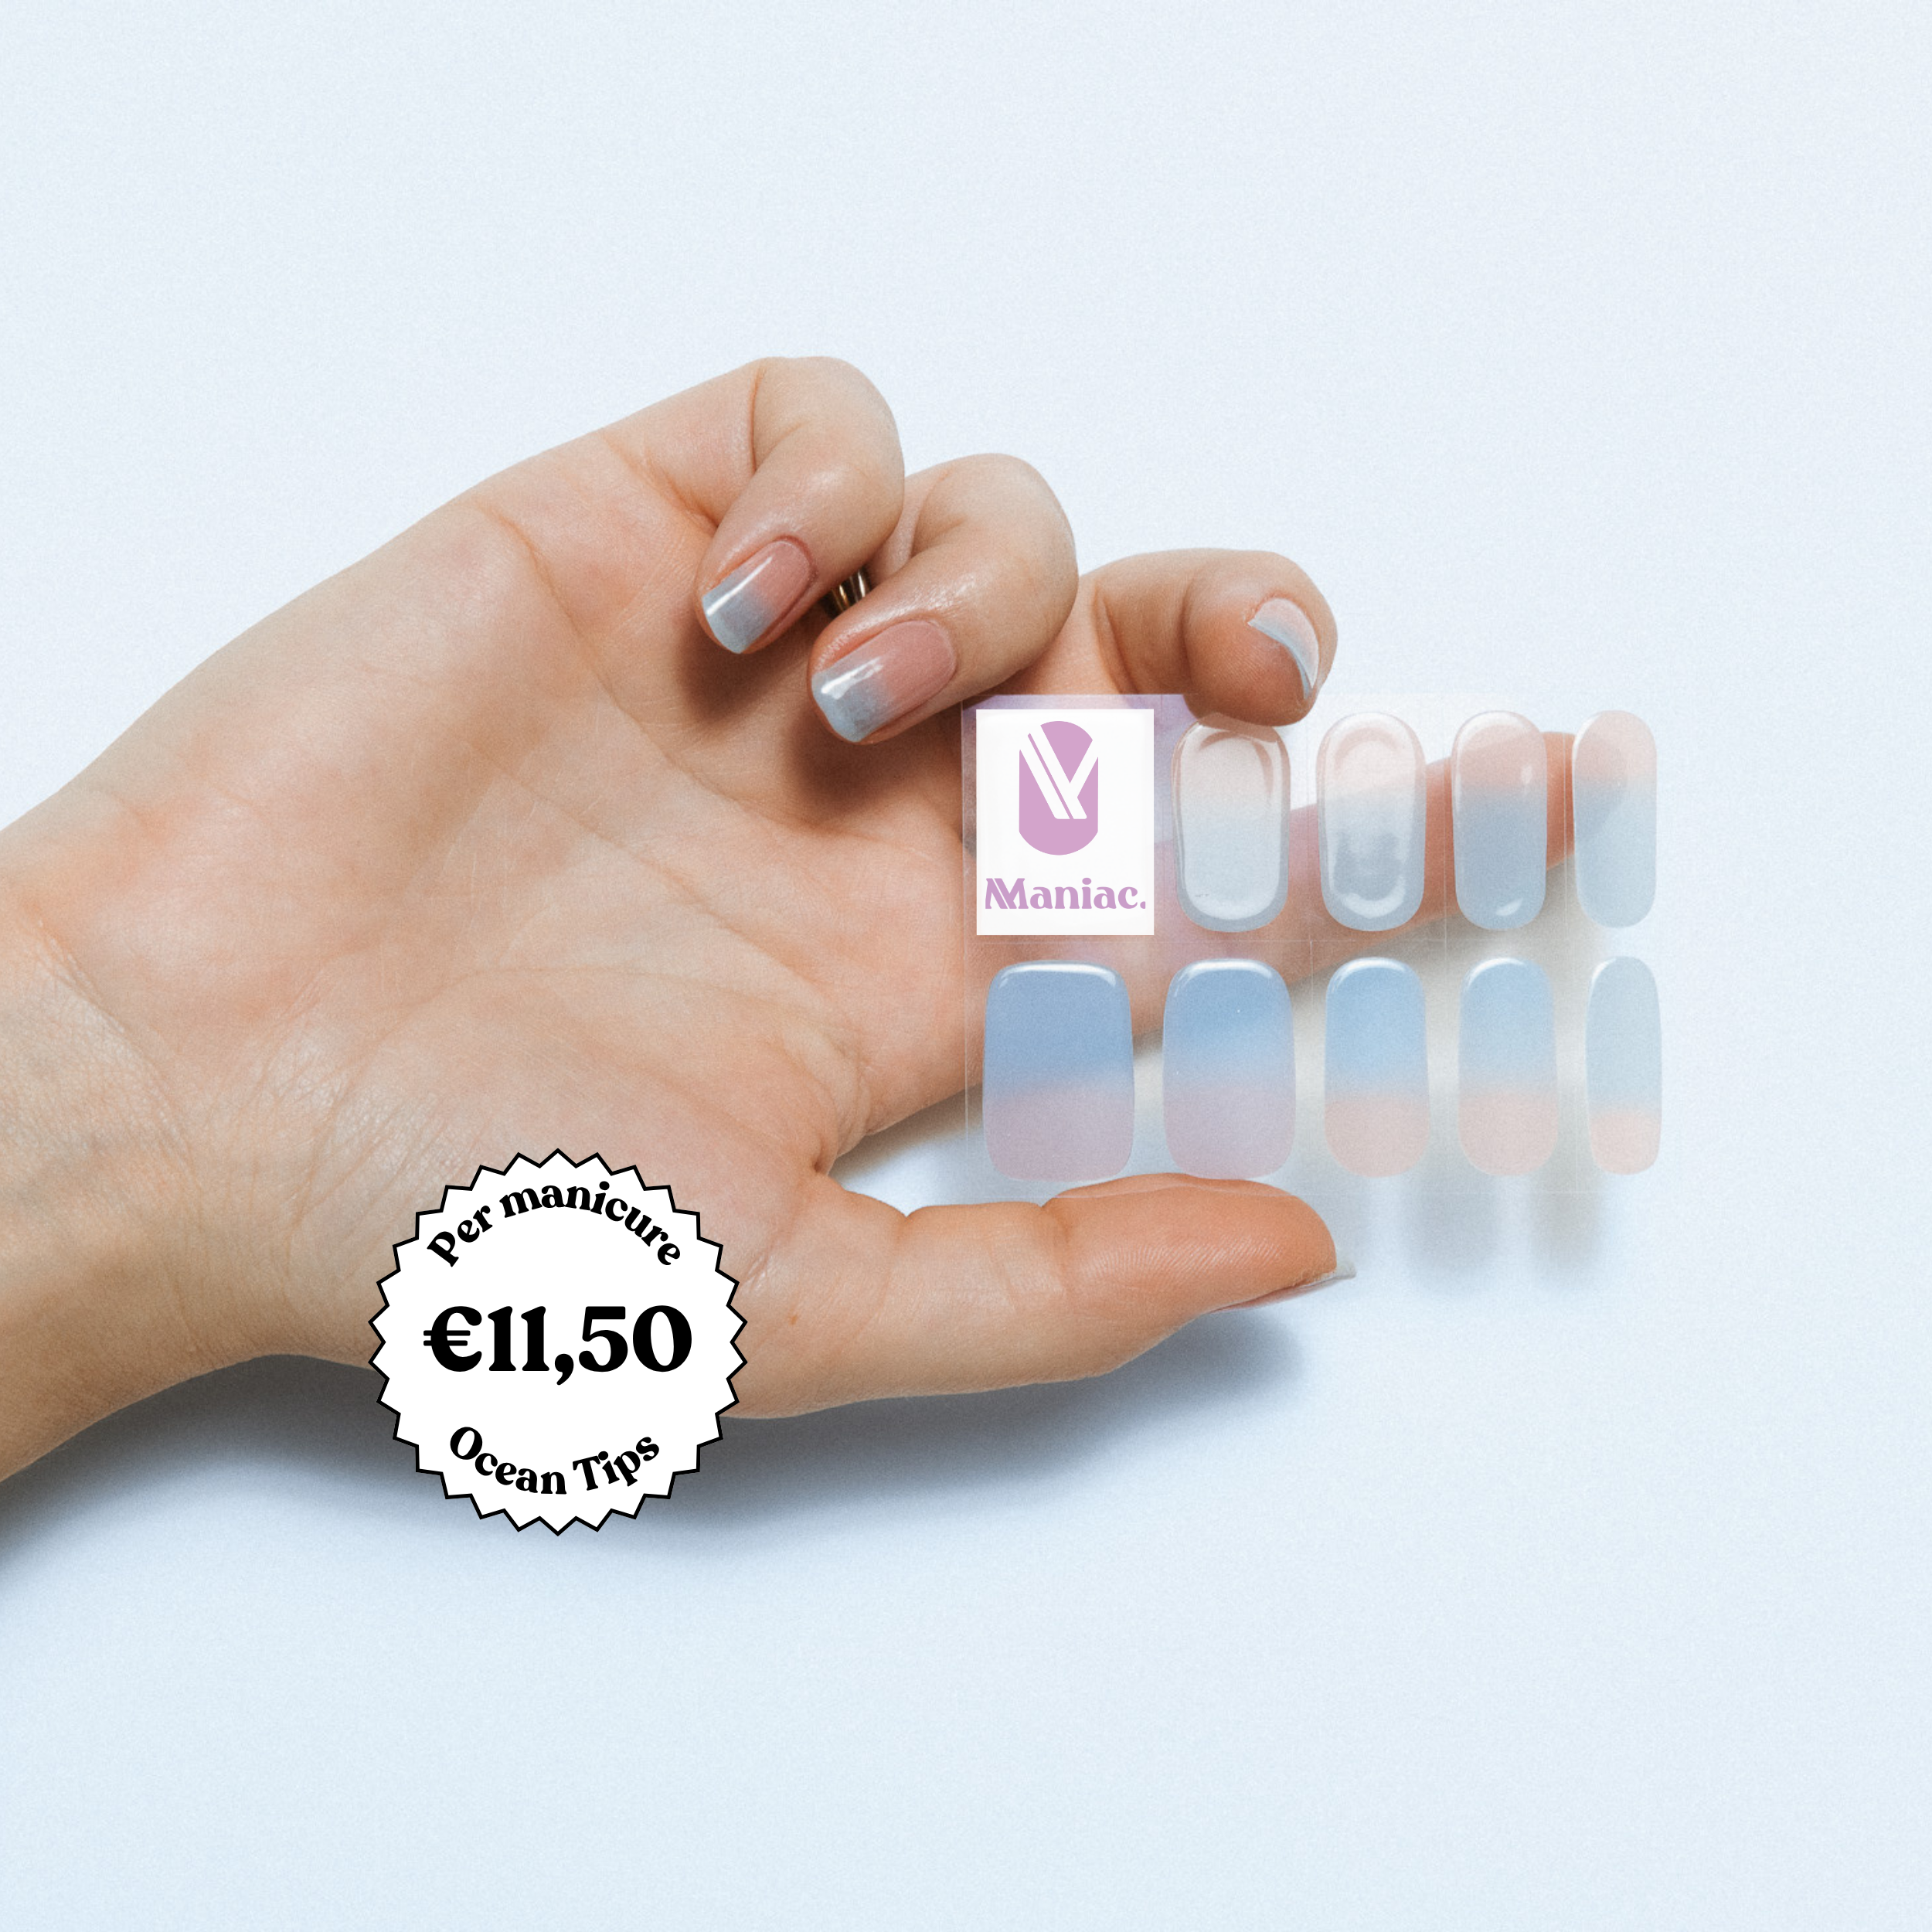
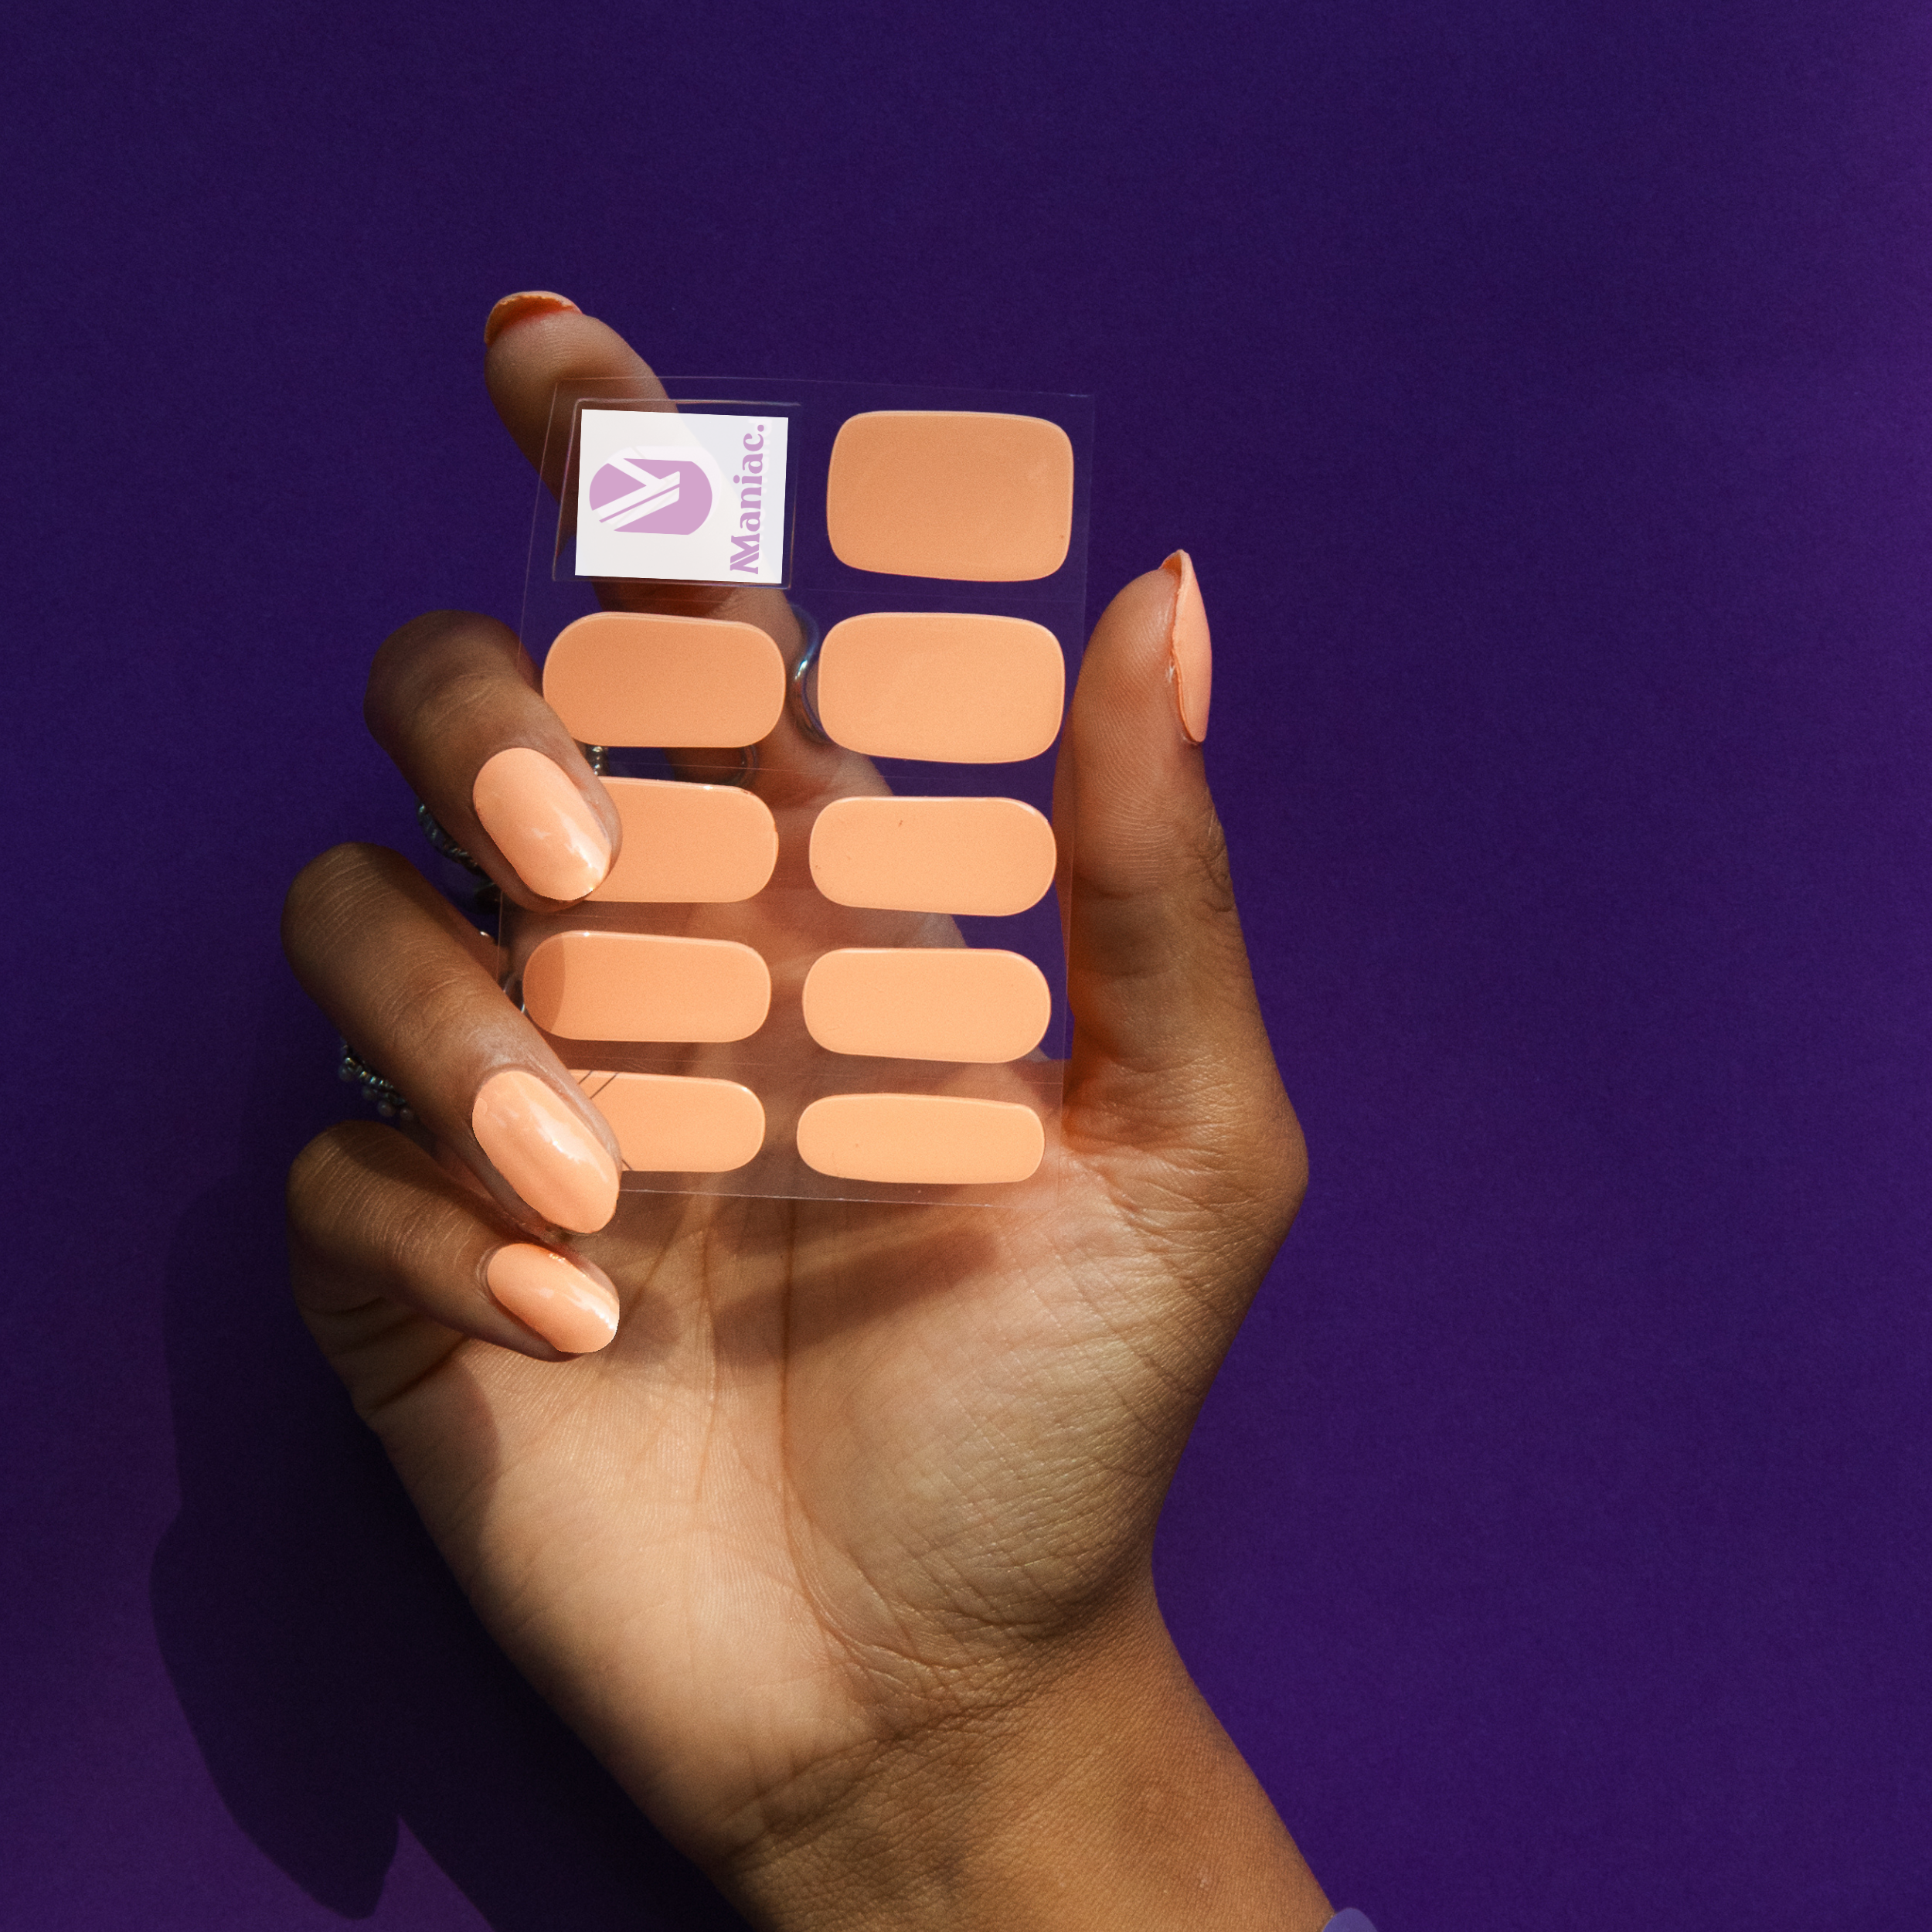
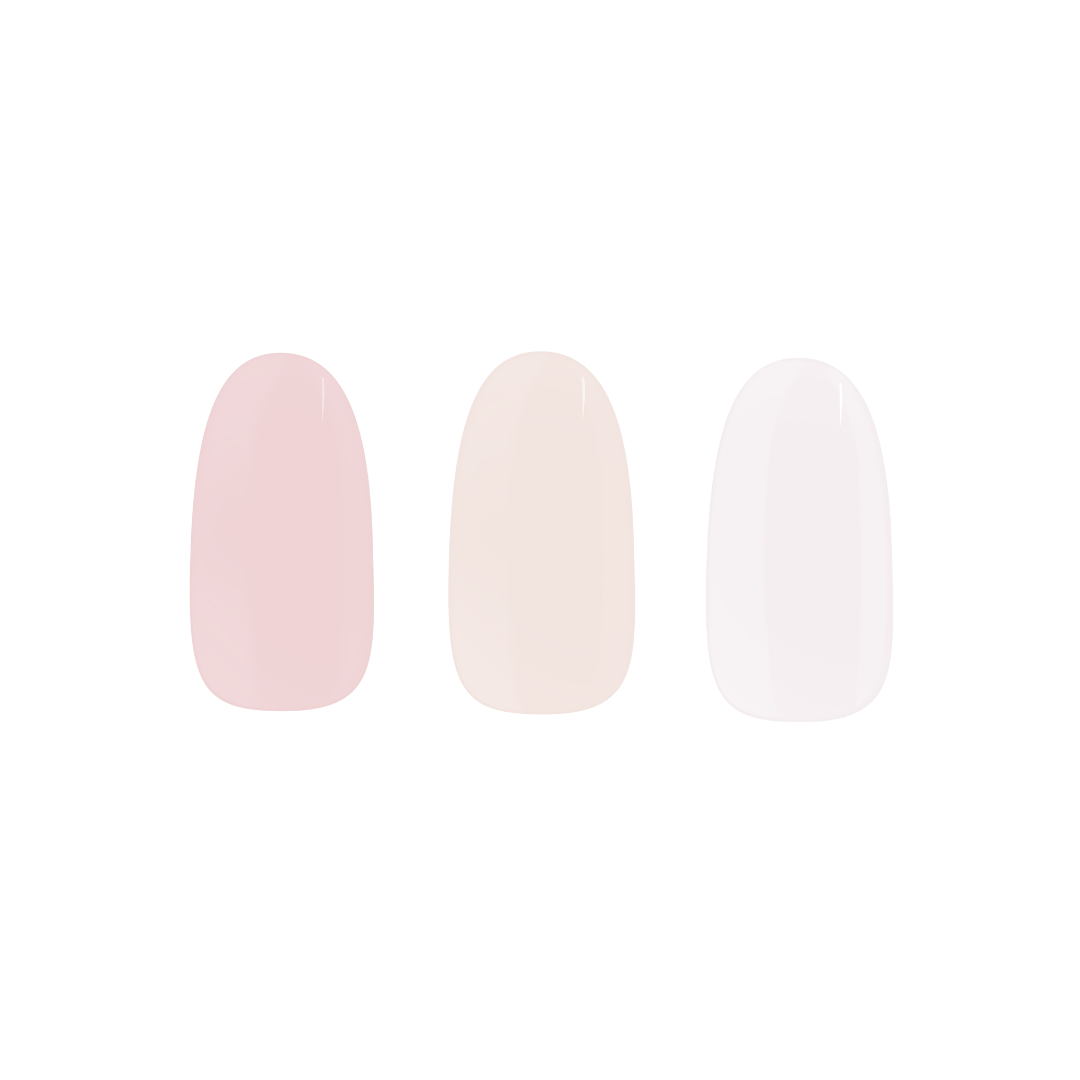
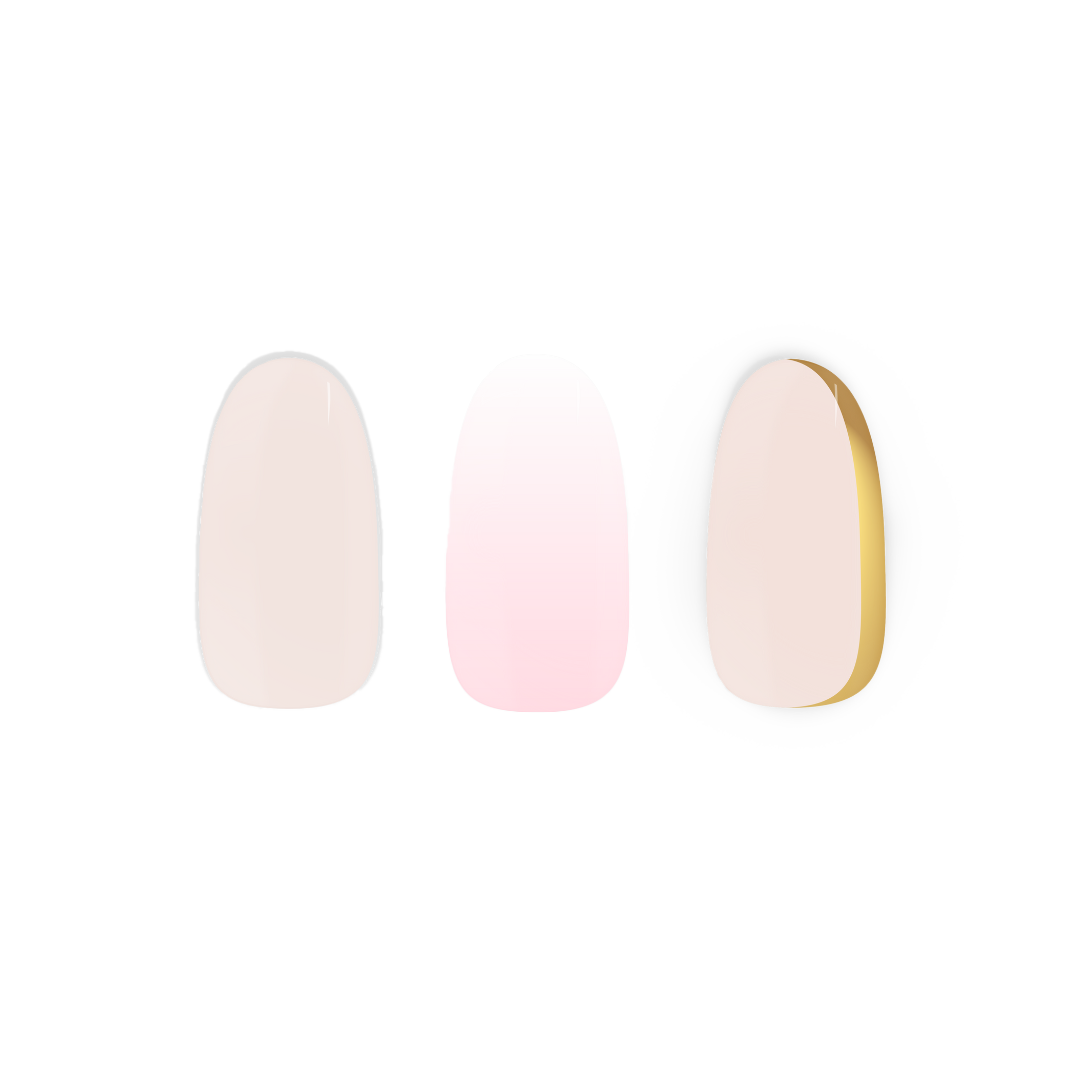
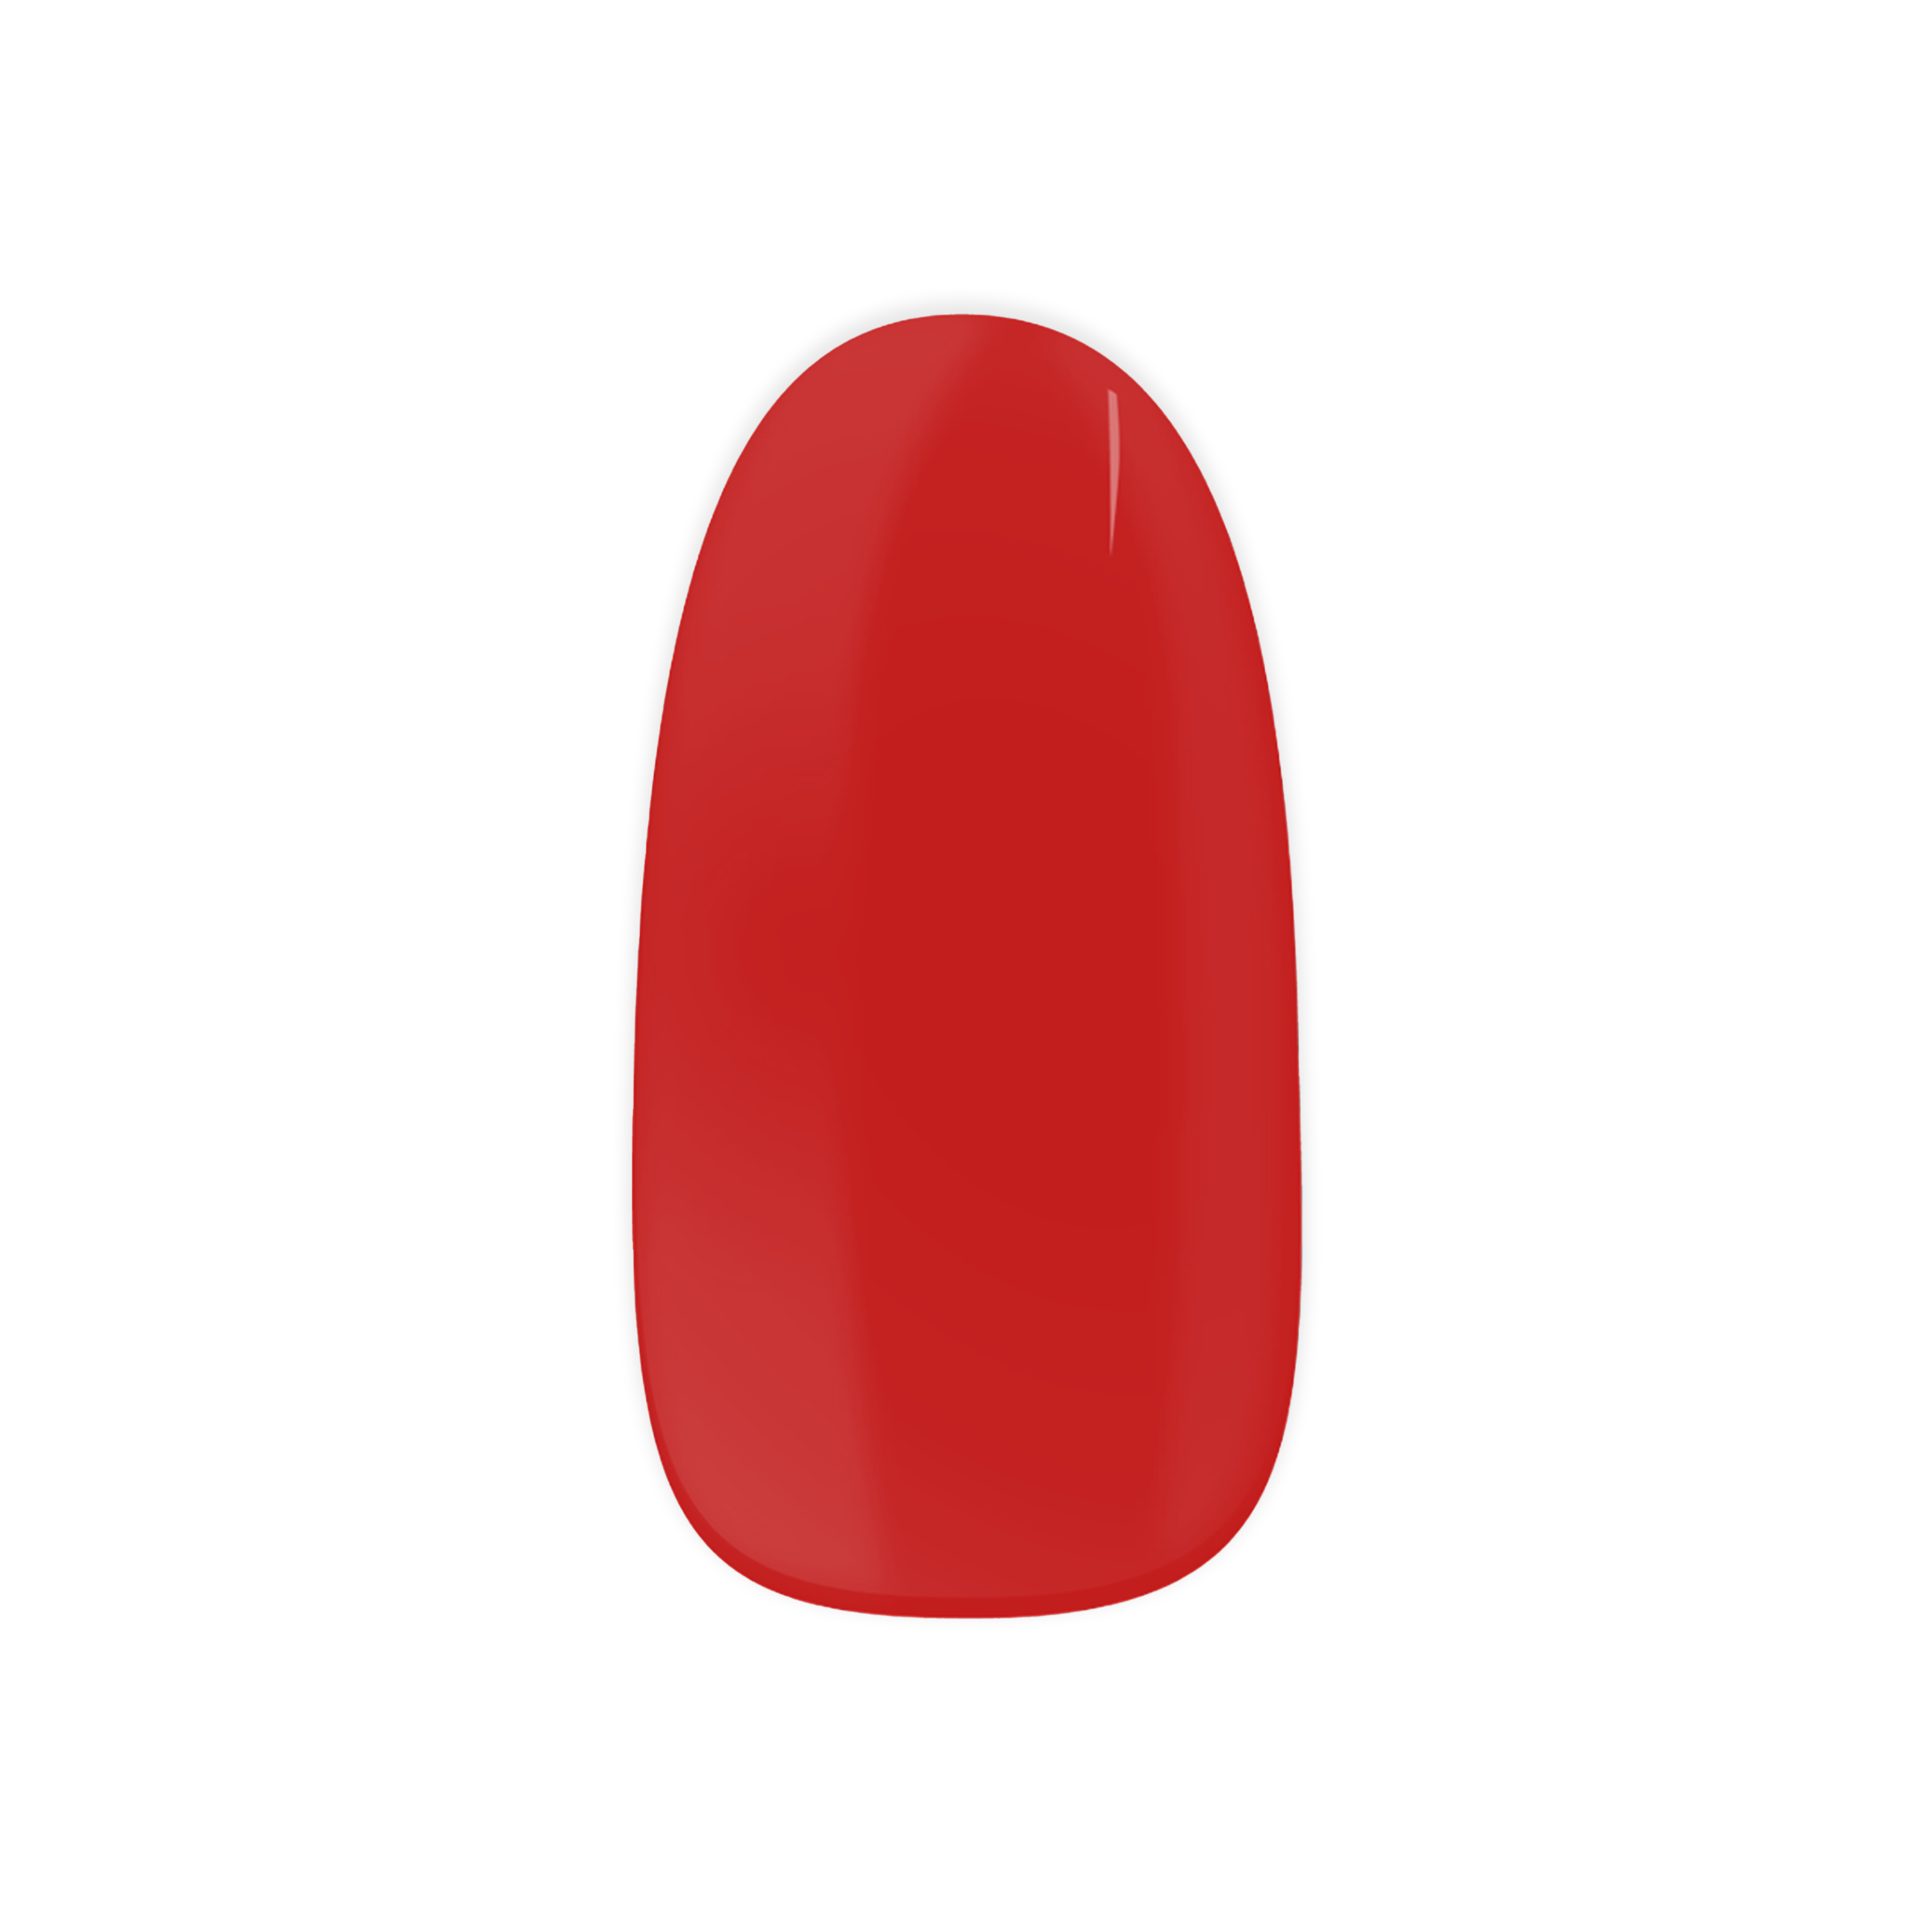
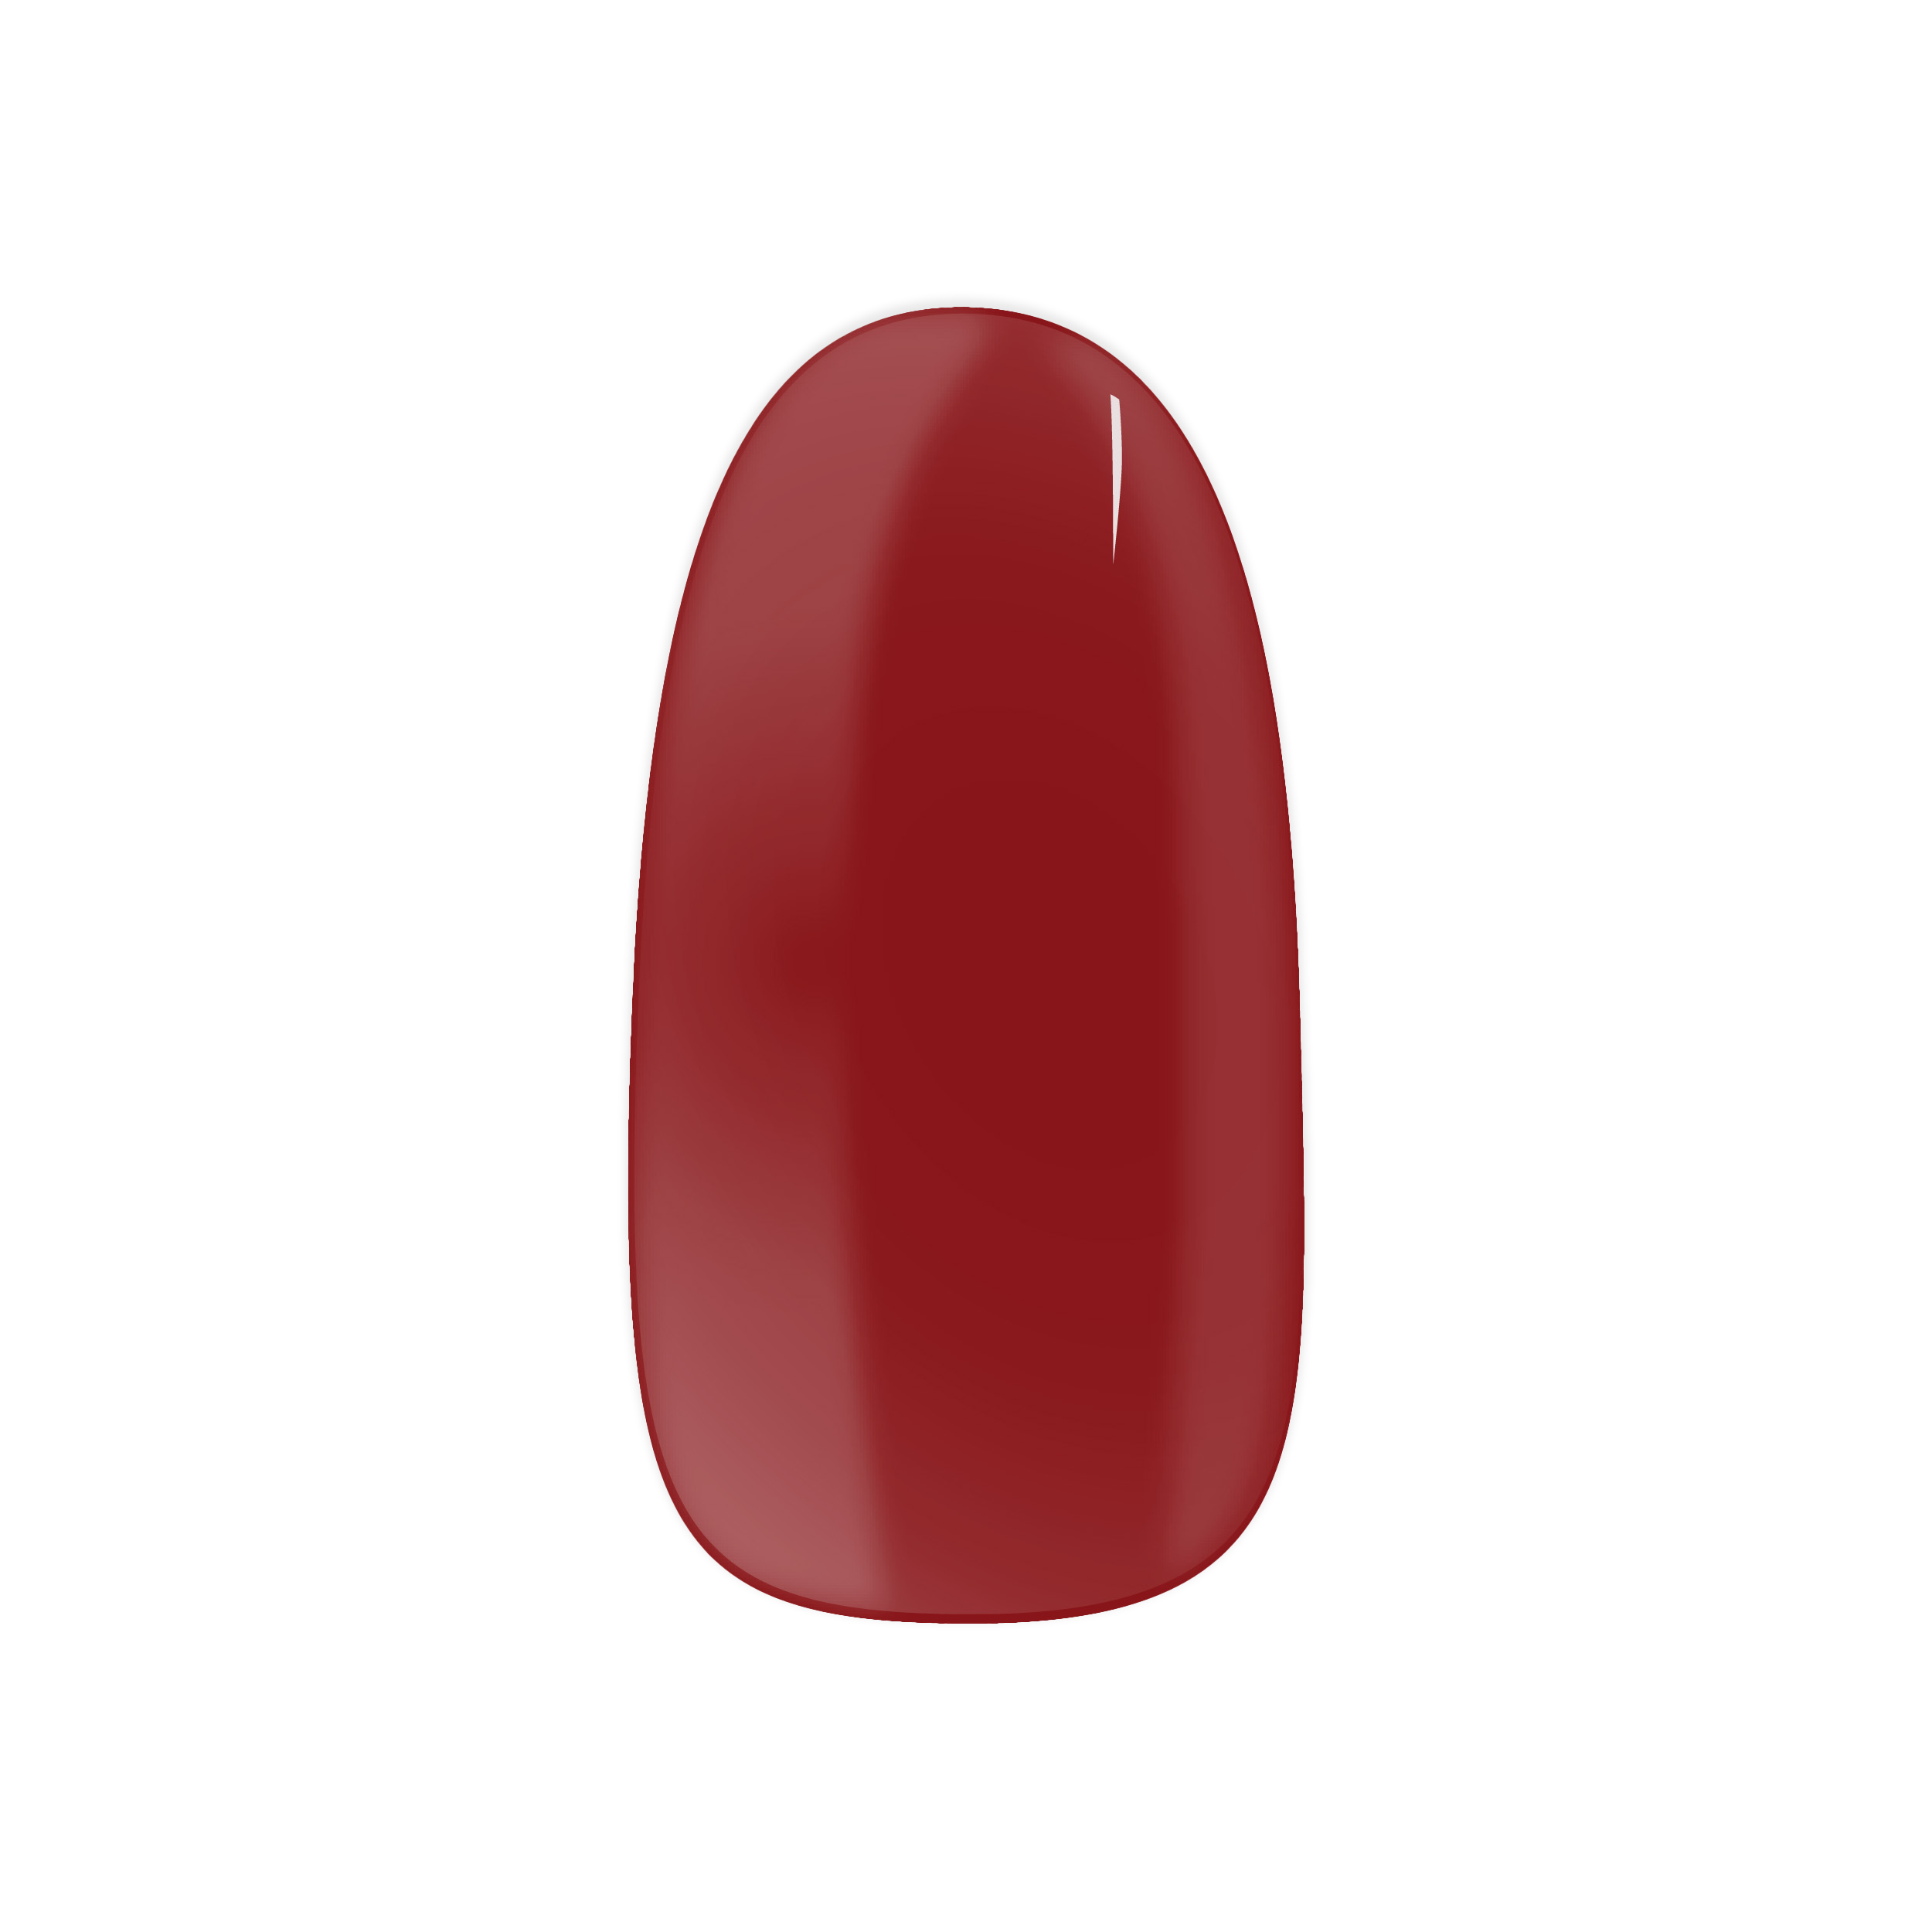
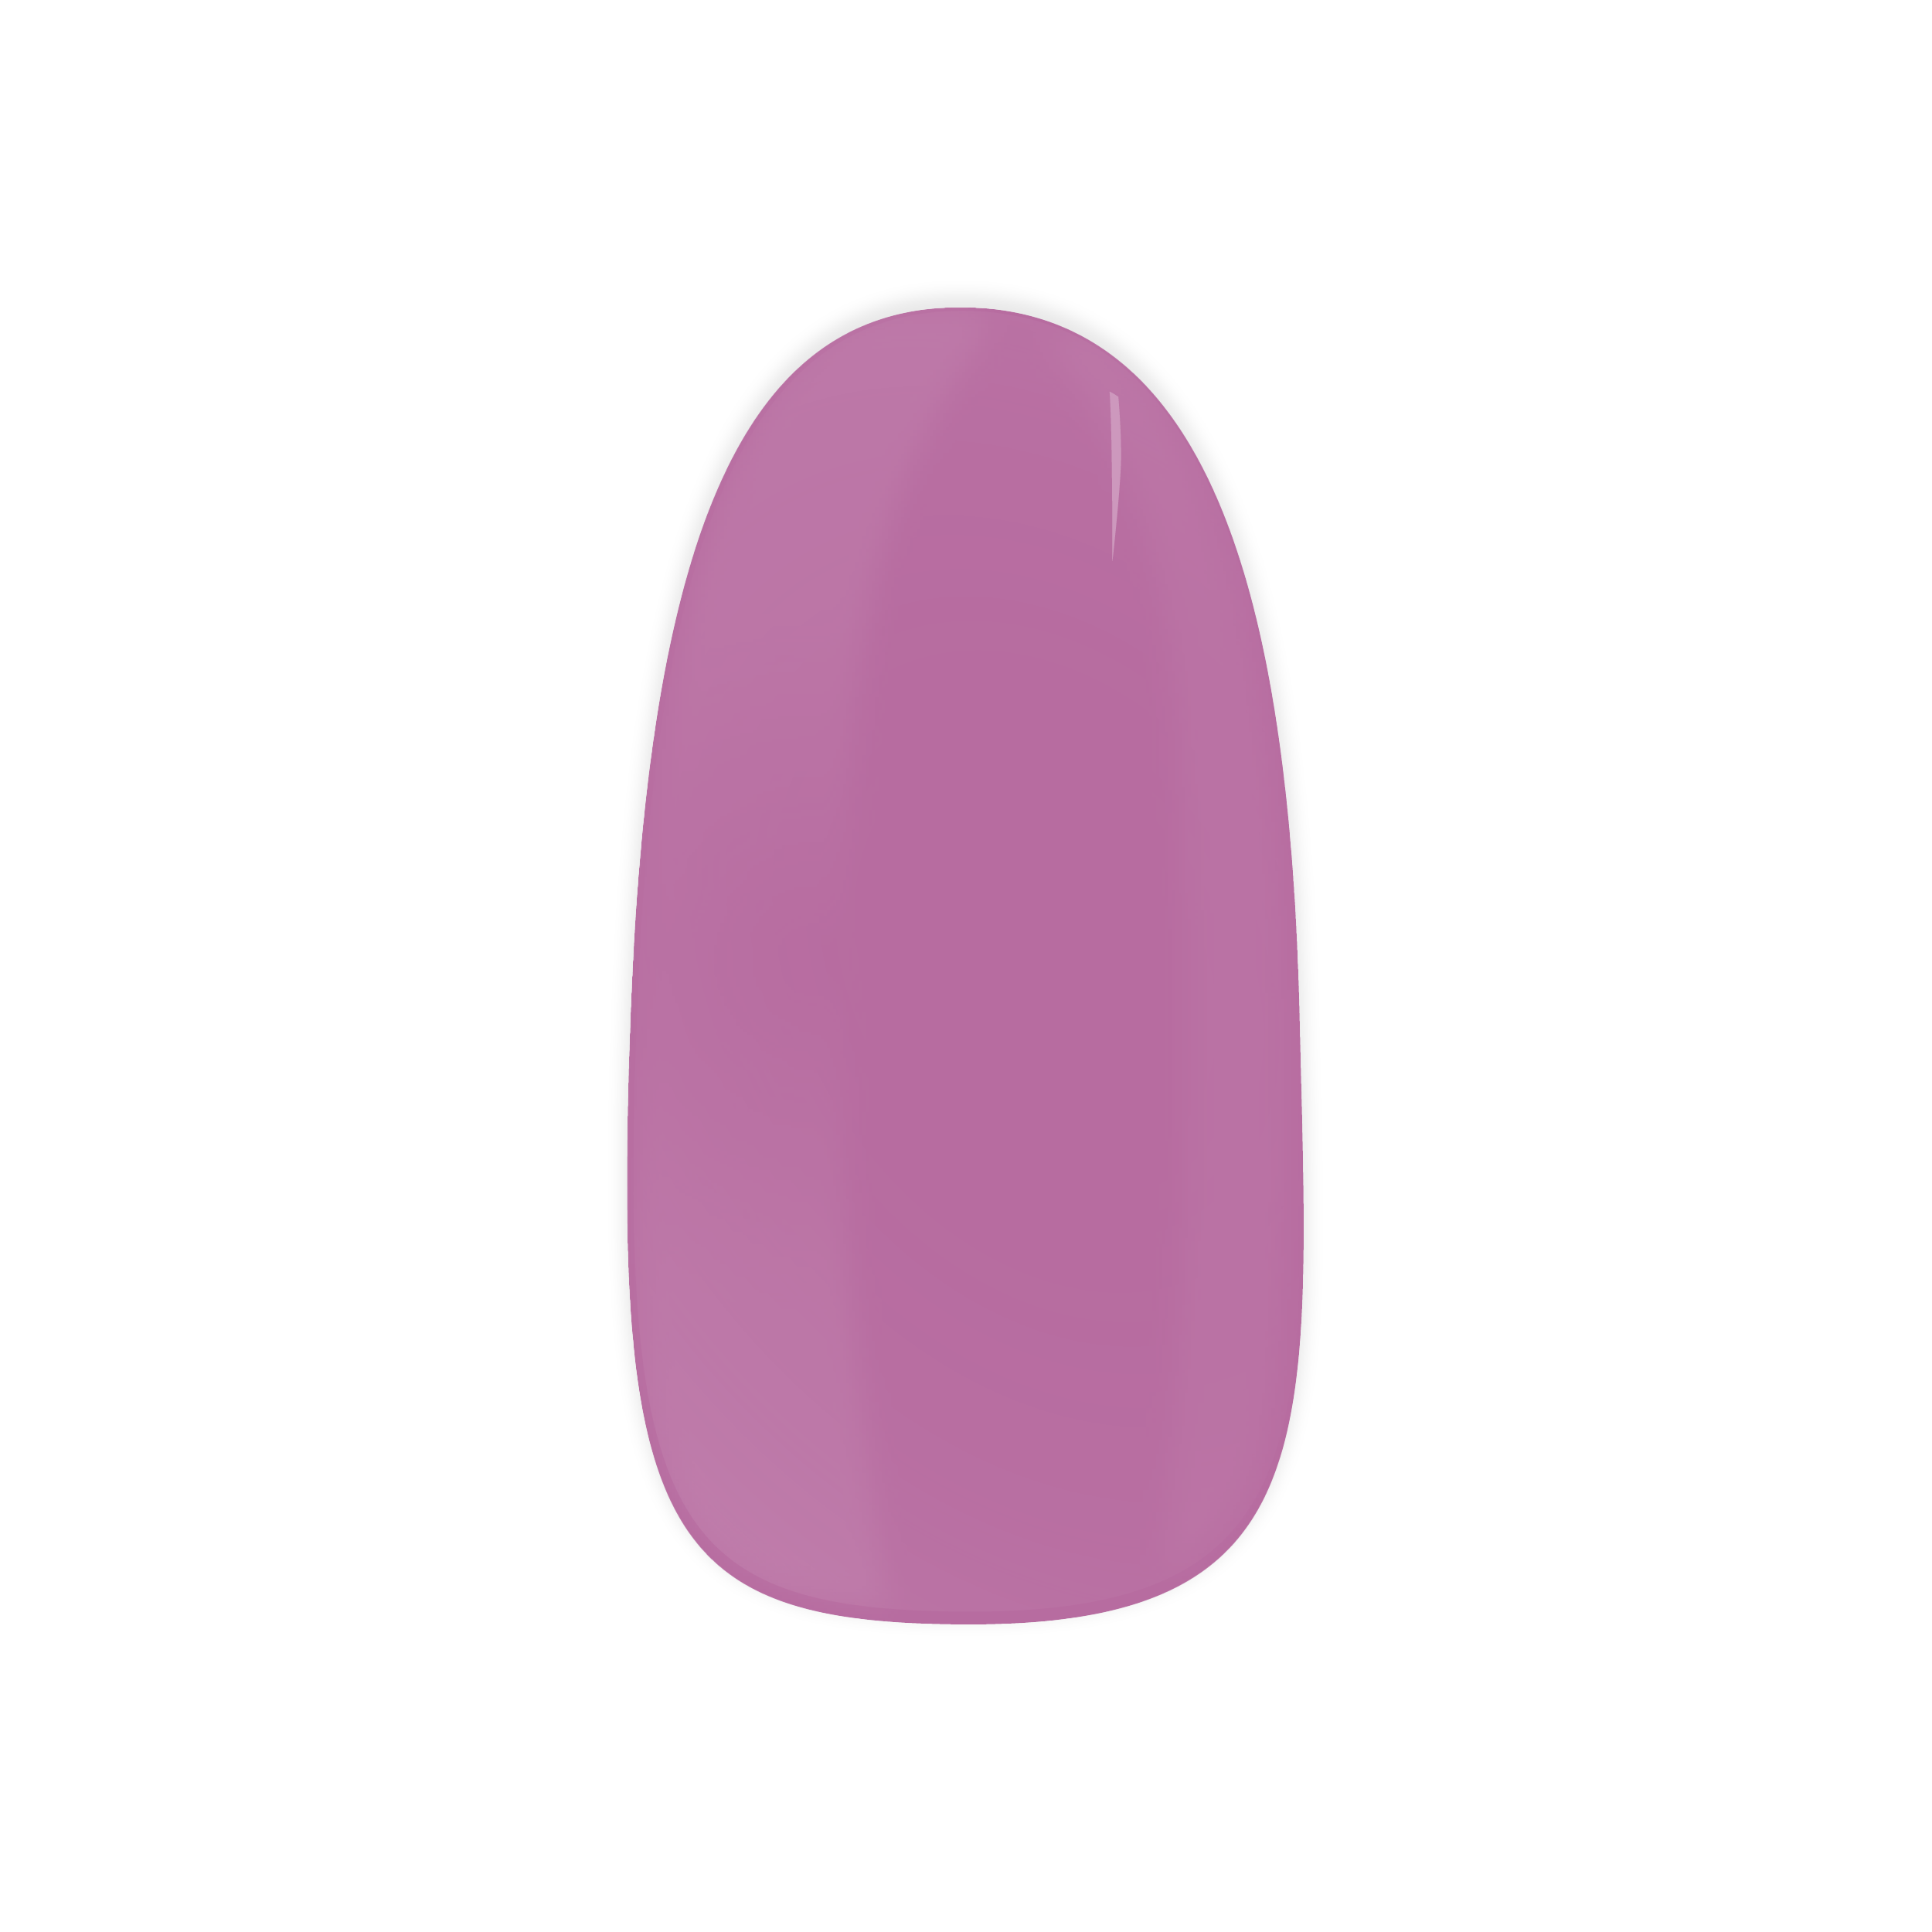
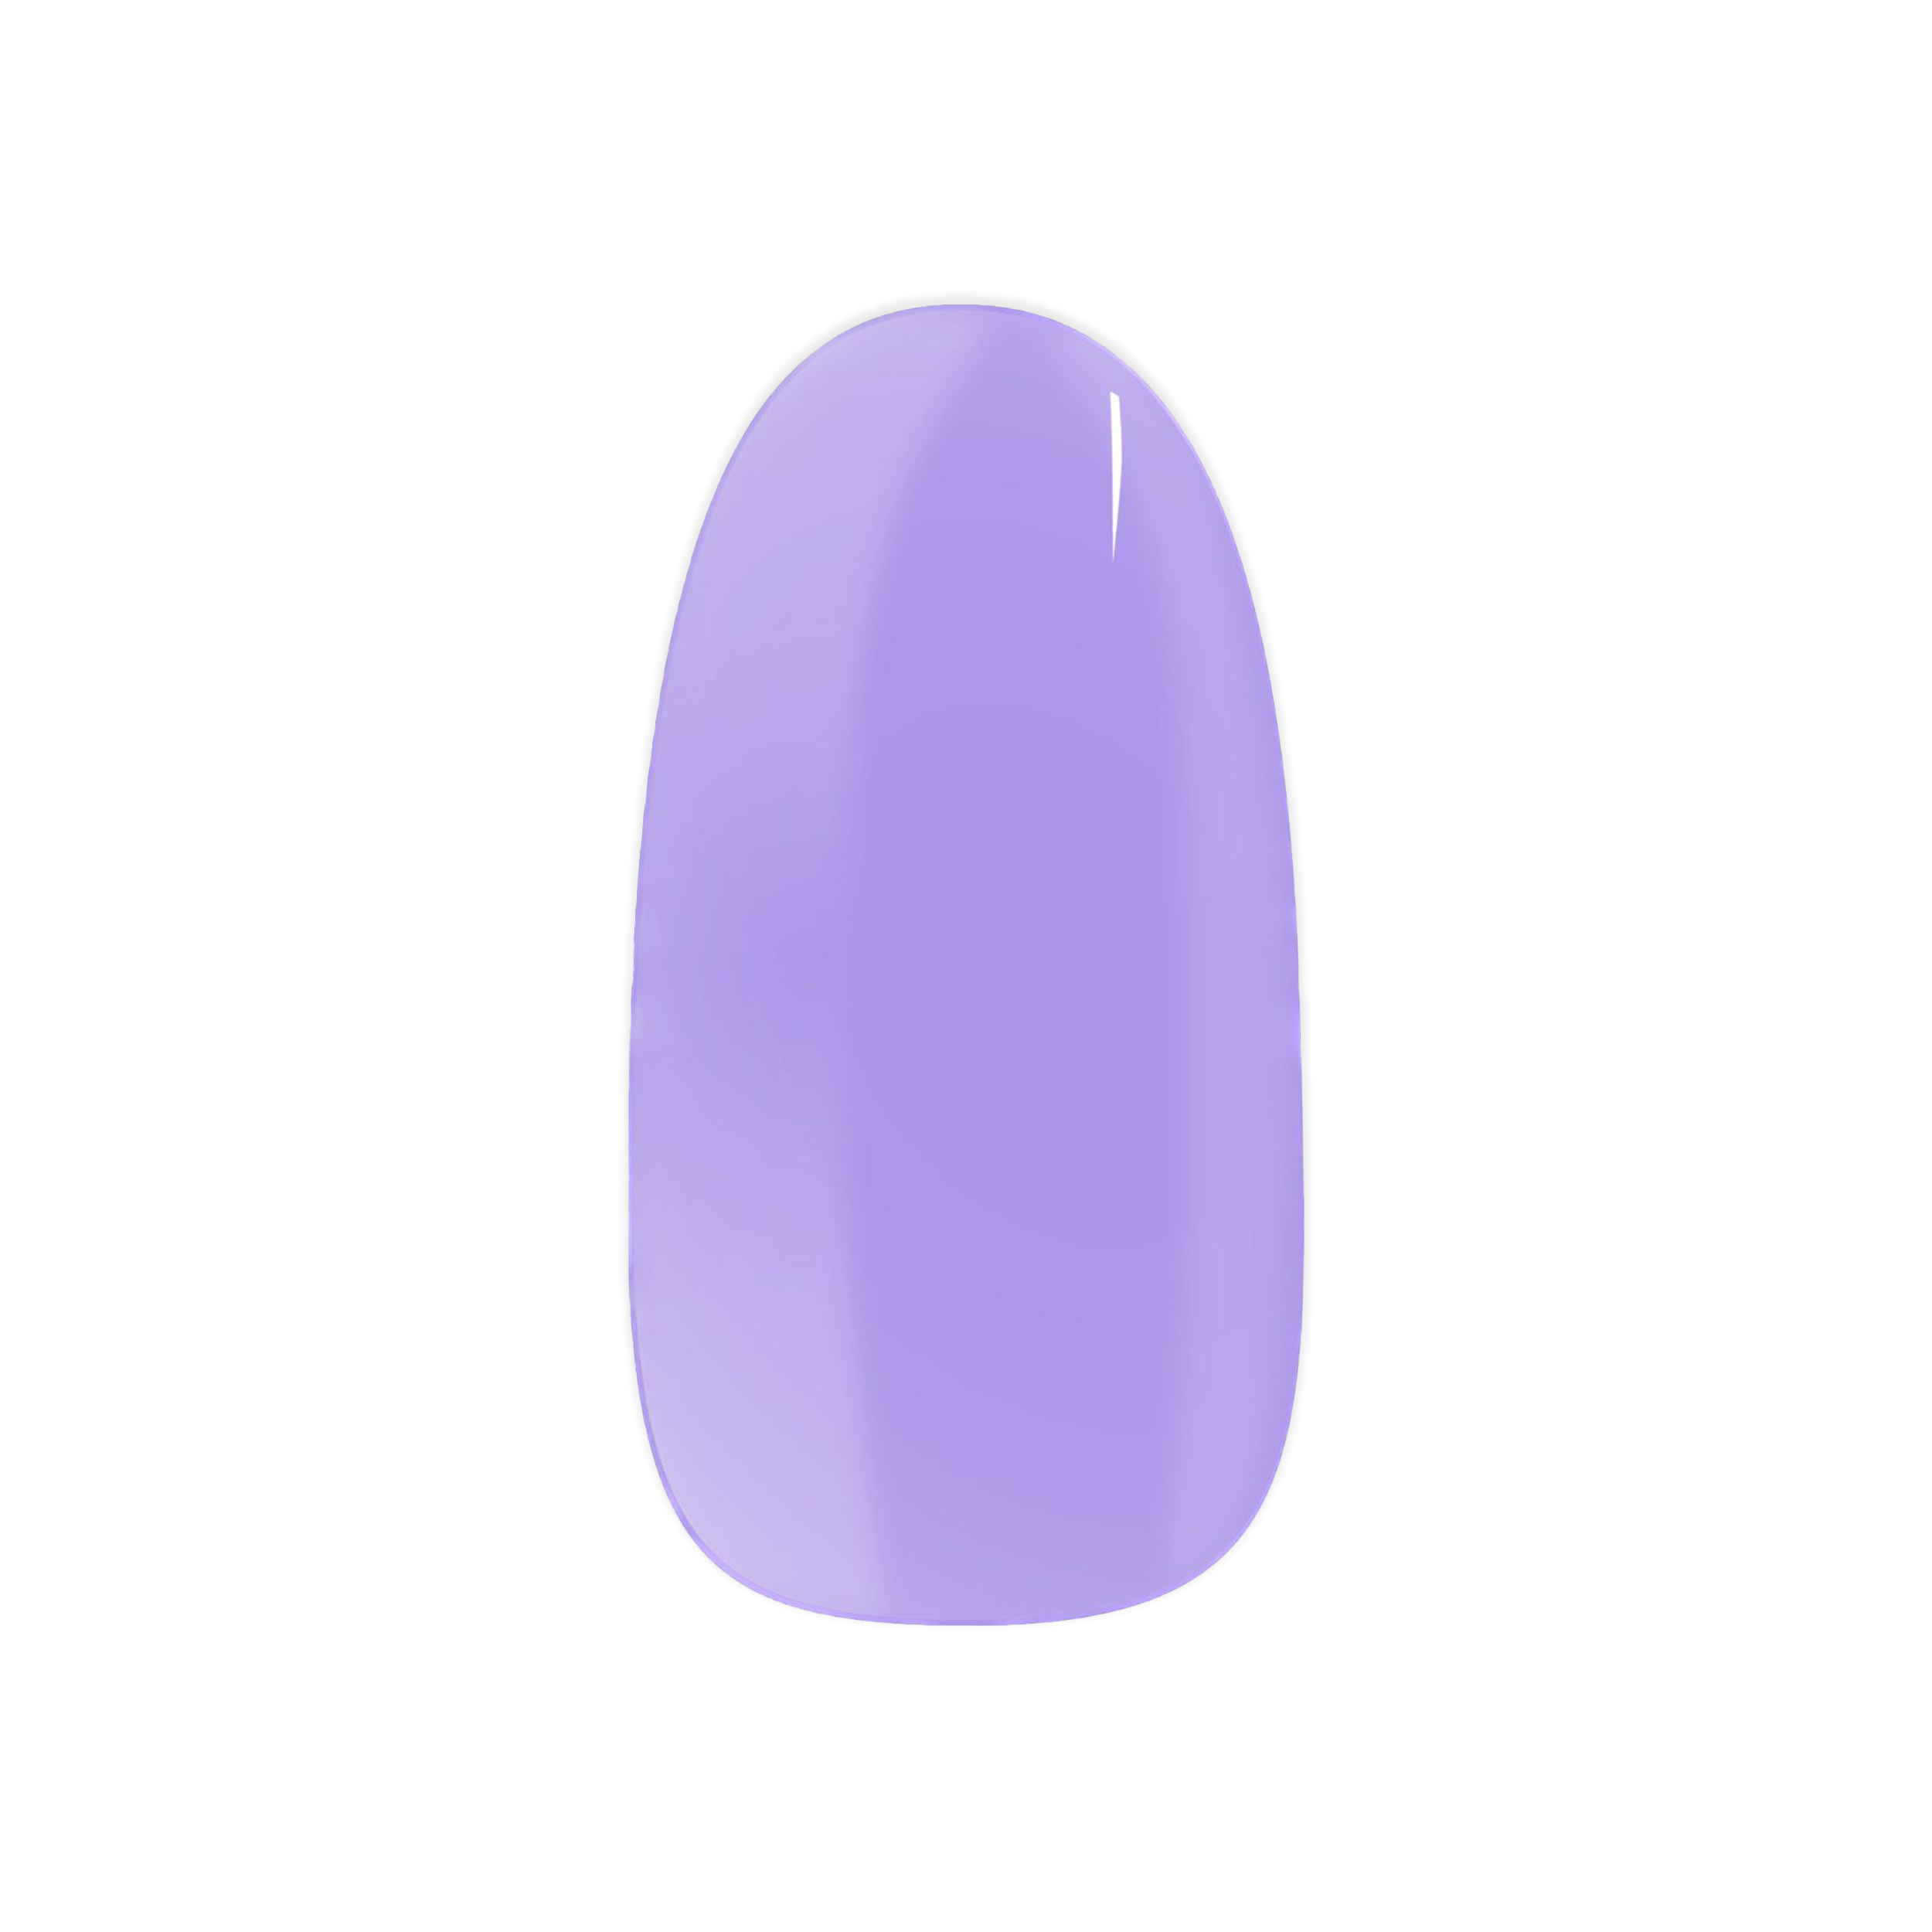
Inside every manicure box, you'll find a selection of 9 different widths and a variety of nail art designs, from solid colors to unique patterns. With 2 options for each width, you'll be able to find the perfect size so you get that perfect final look every single time.
Unique Nail Art At Home
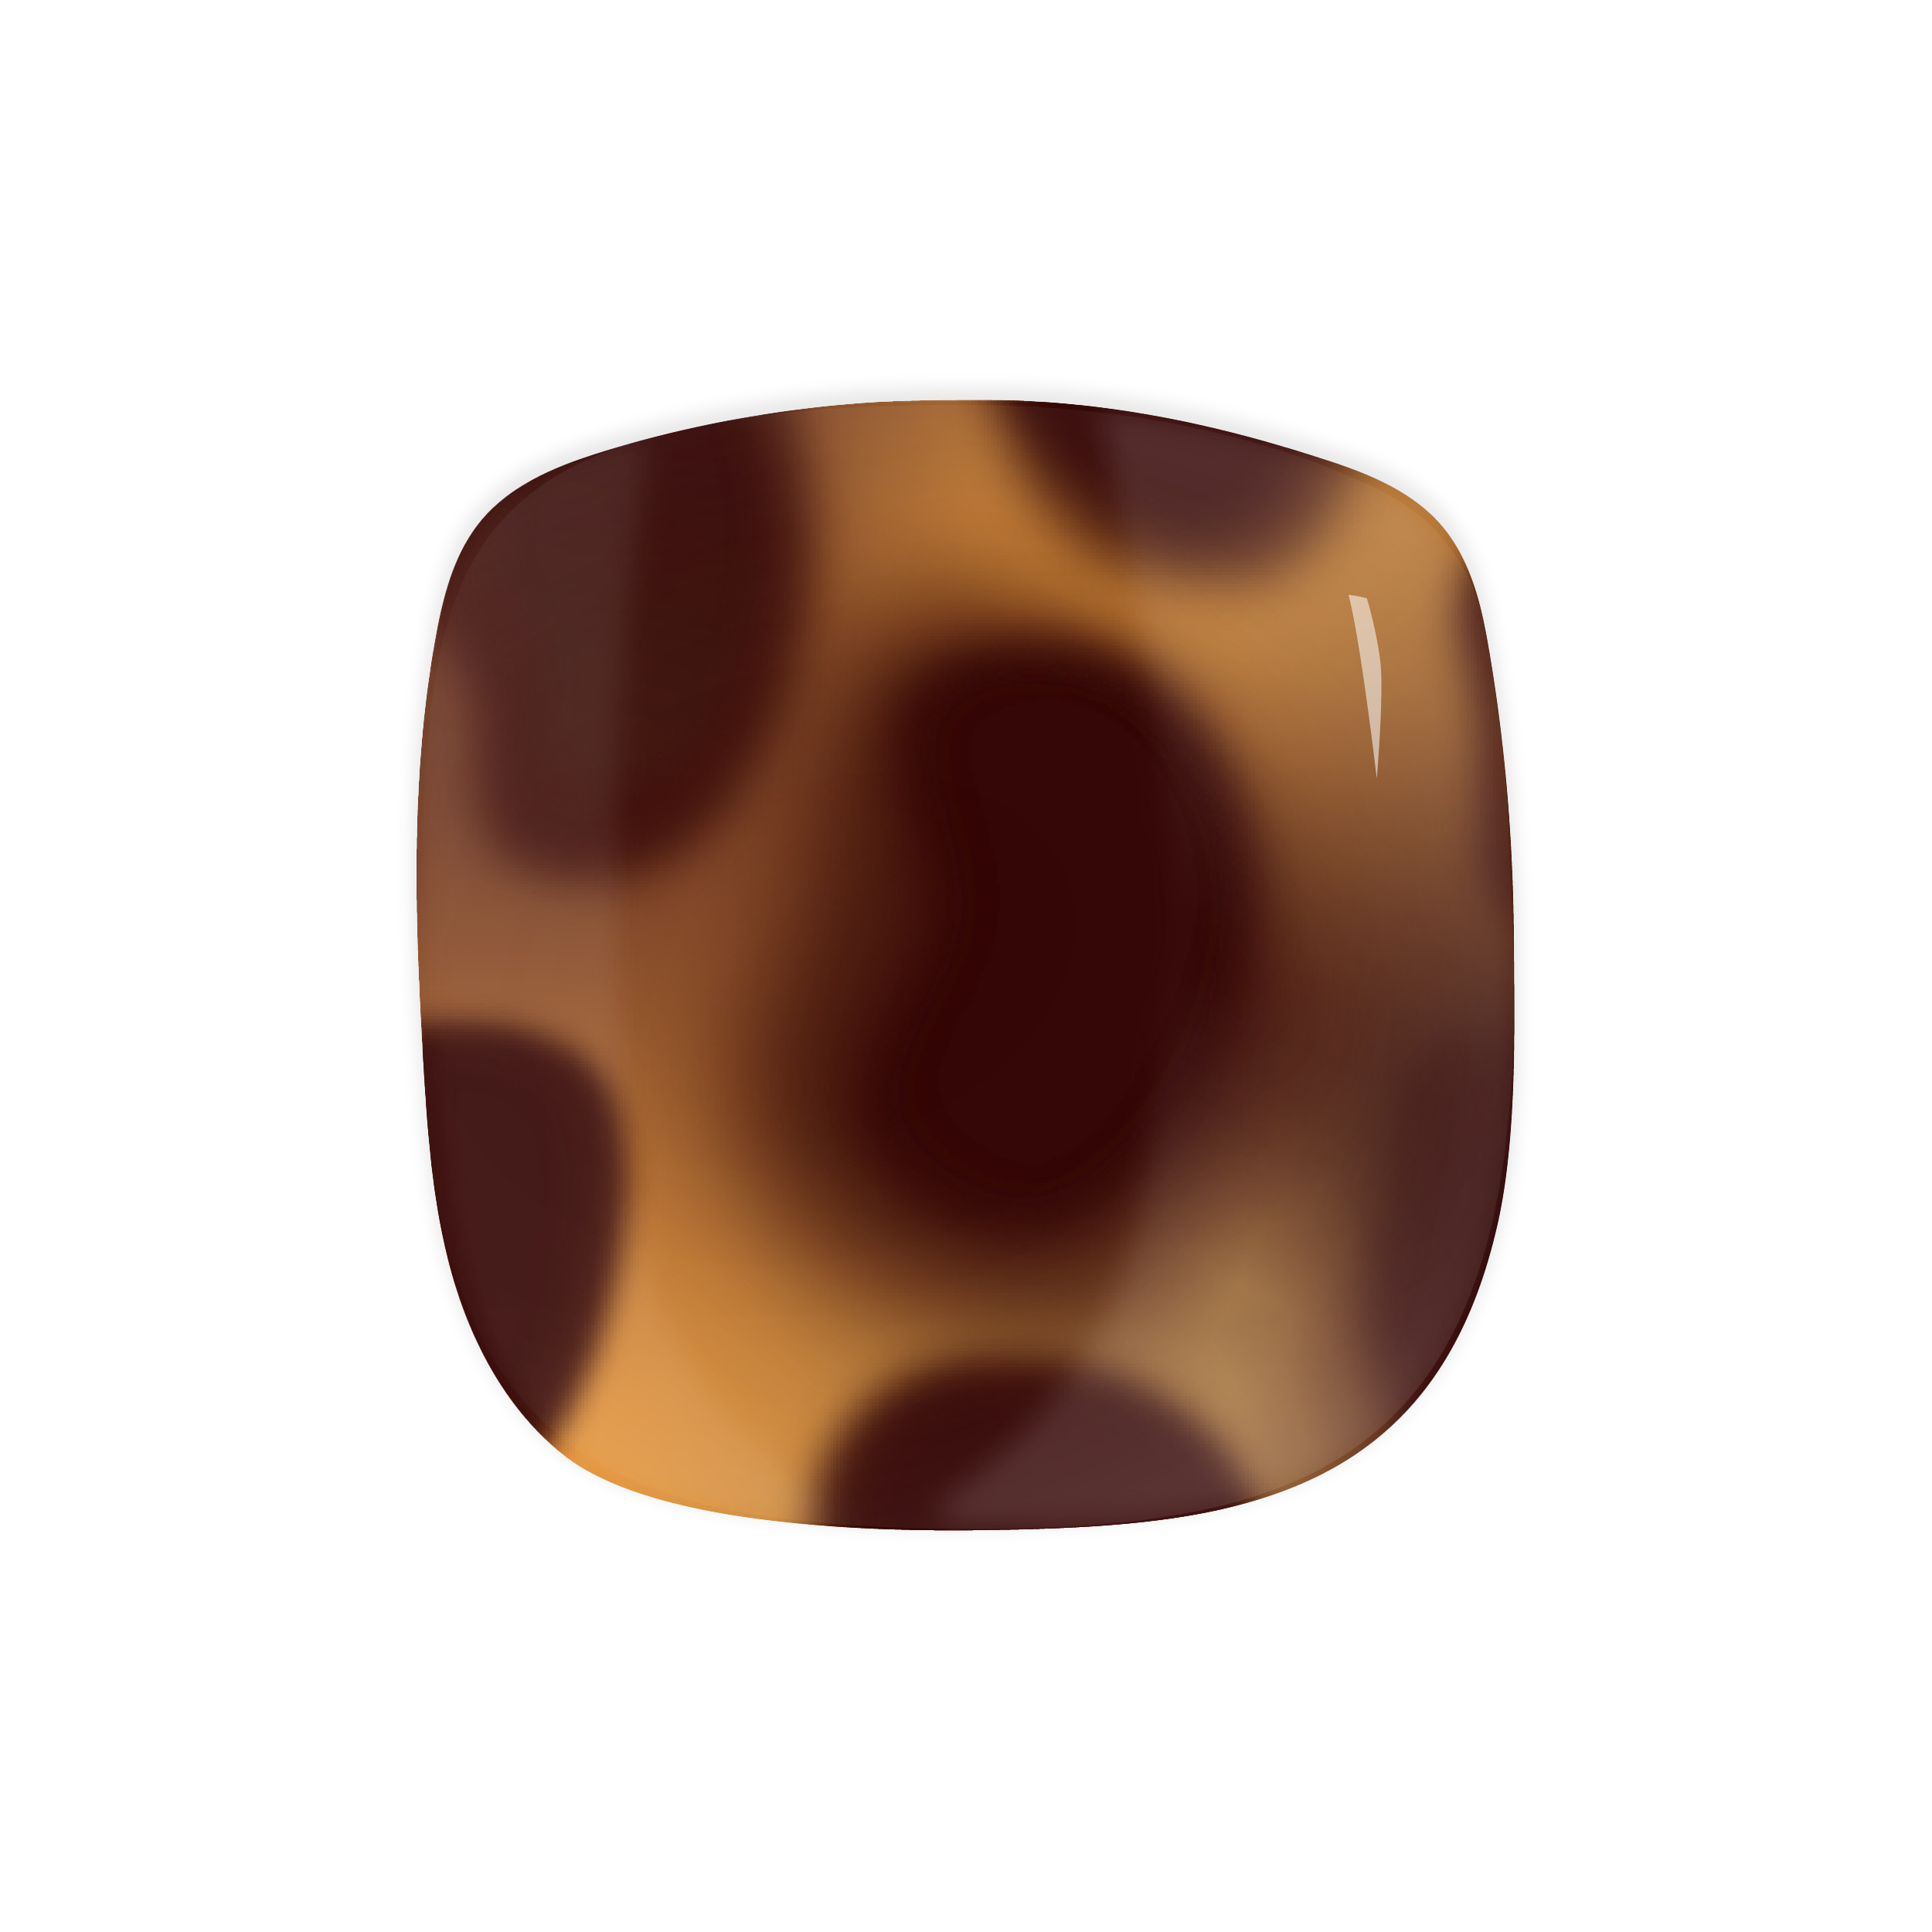
With Nail art gel polish, the possibilities are endless - from Turtle prints to glittery finishes, there's no limit to the creativity you can achieve. While many people enjoy the look of well-manicured nails, Nail art allows you to truly stand out. It's possible to apply this vibrant and eye-catching nail art to both natural and artificial nails. However, it's important to have the proper professional tools for Nail Art - a standard brush from a gel polish jar won't suffice. Additionally, some level of skill is necessary if you plan to attempt Nail art at home or with the help of a friend.
Looking for a hassle-free way to achieve perfect nail art? Maniac's nail art is the answer - it's incredibly easy to apply and produces stunning results.
How To Do Gel Nail Art At Home?
Getting a perfect Maniac Manicure is easy and fun!
There are tons of ways to do it, but let me share my personal fave.
First things first, pick the design that you want to rock.
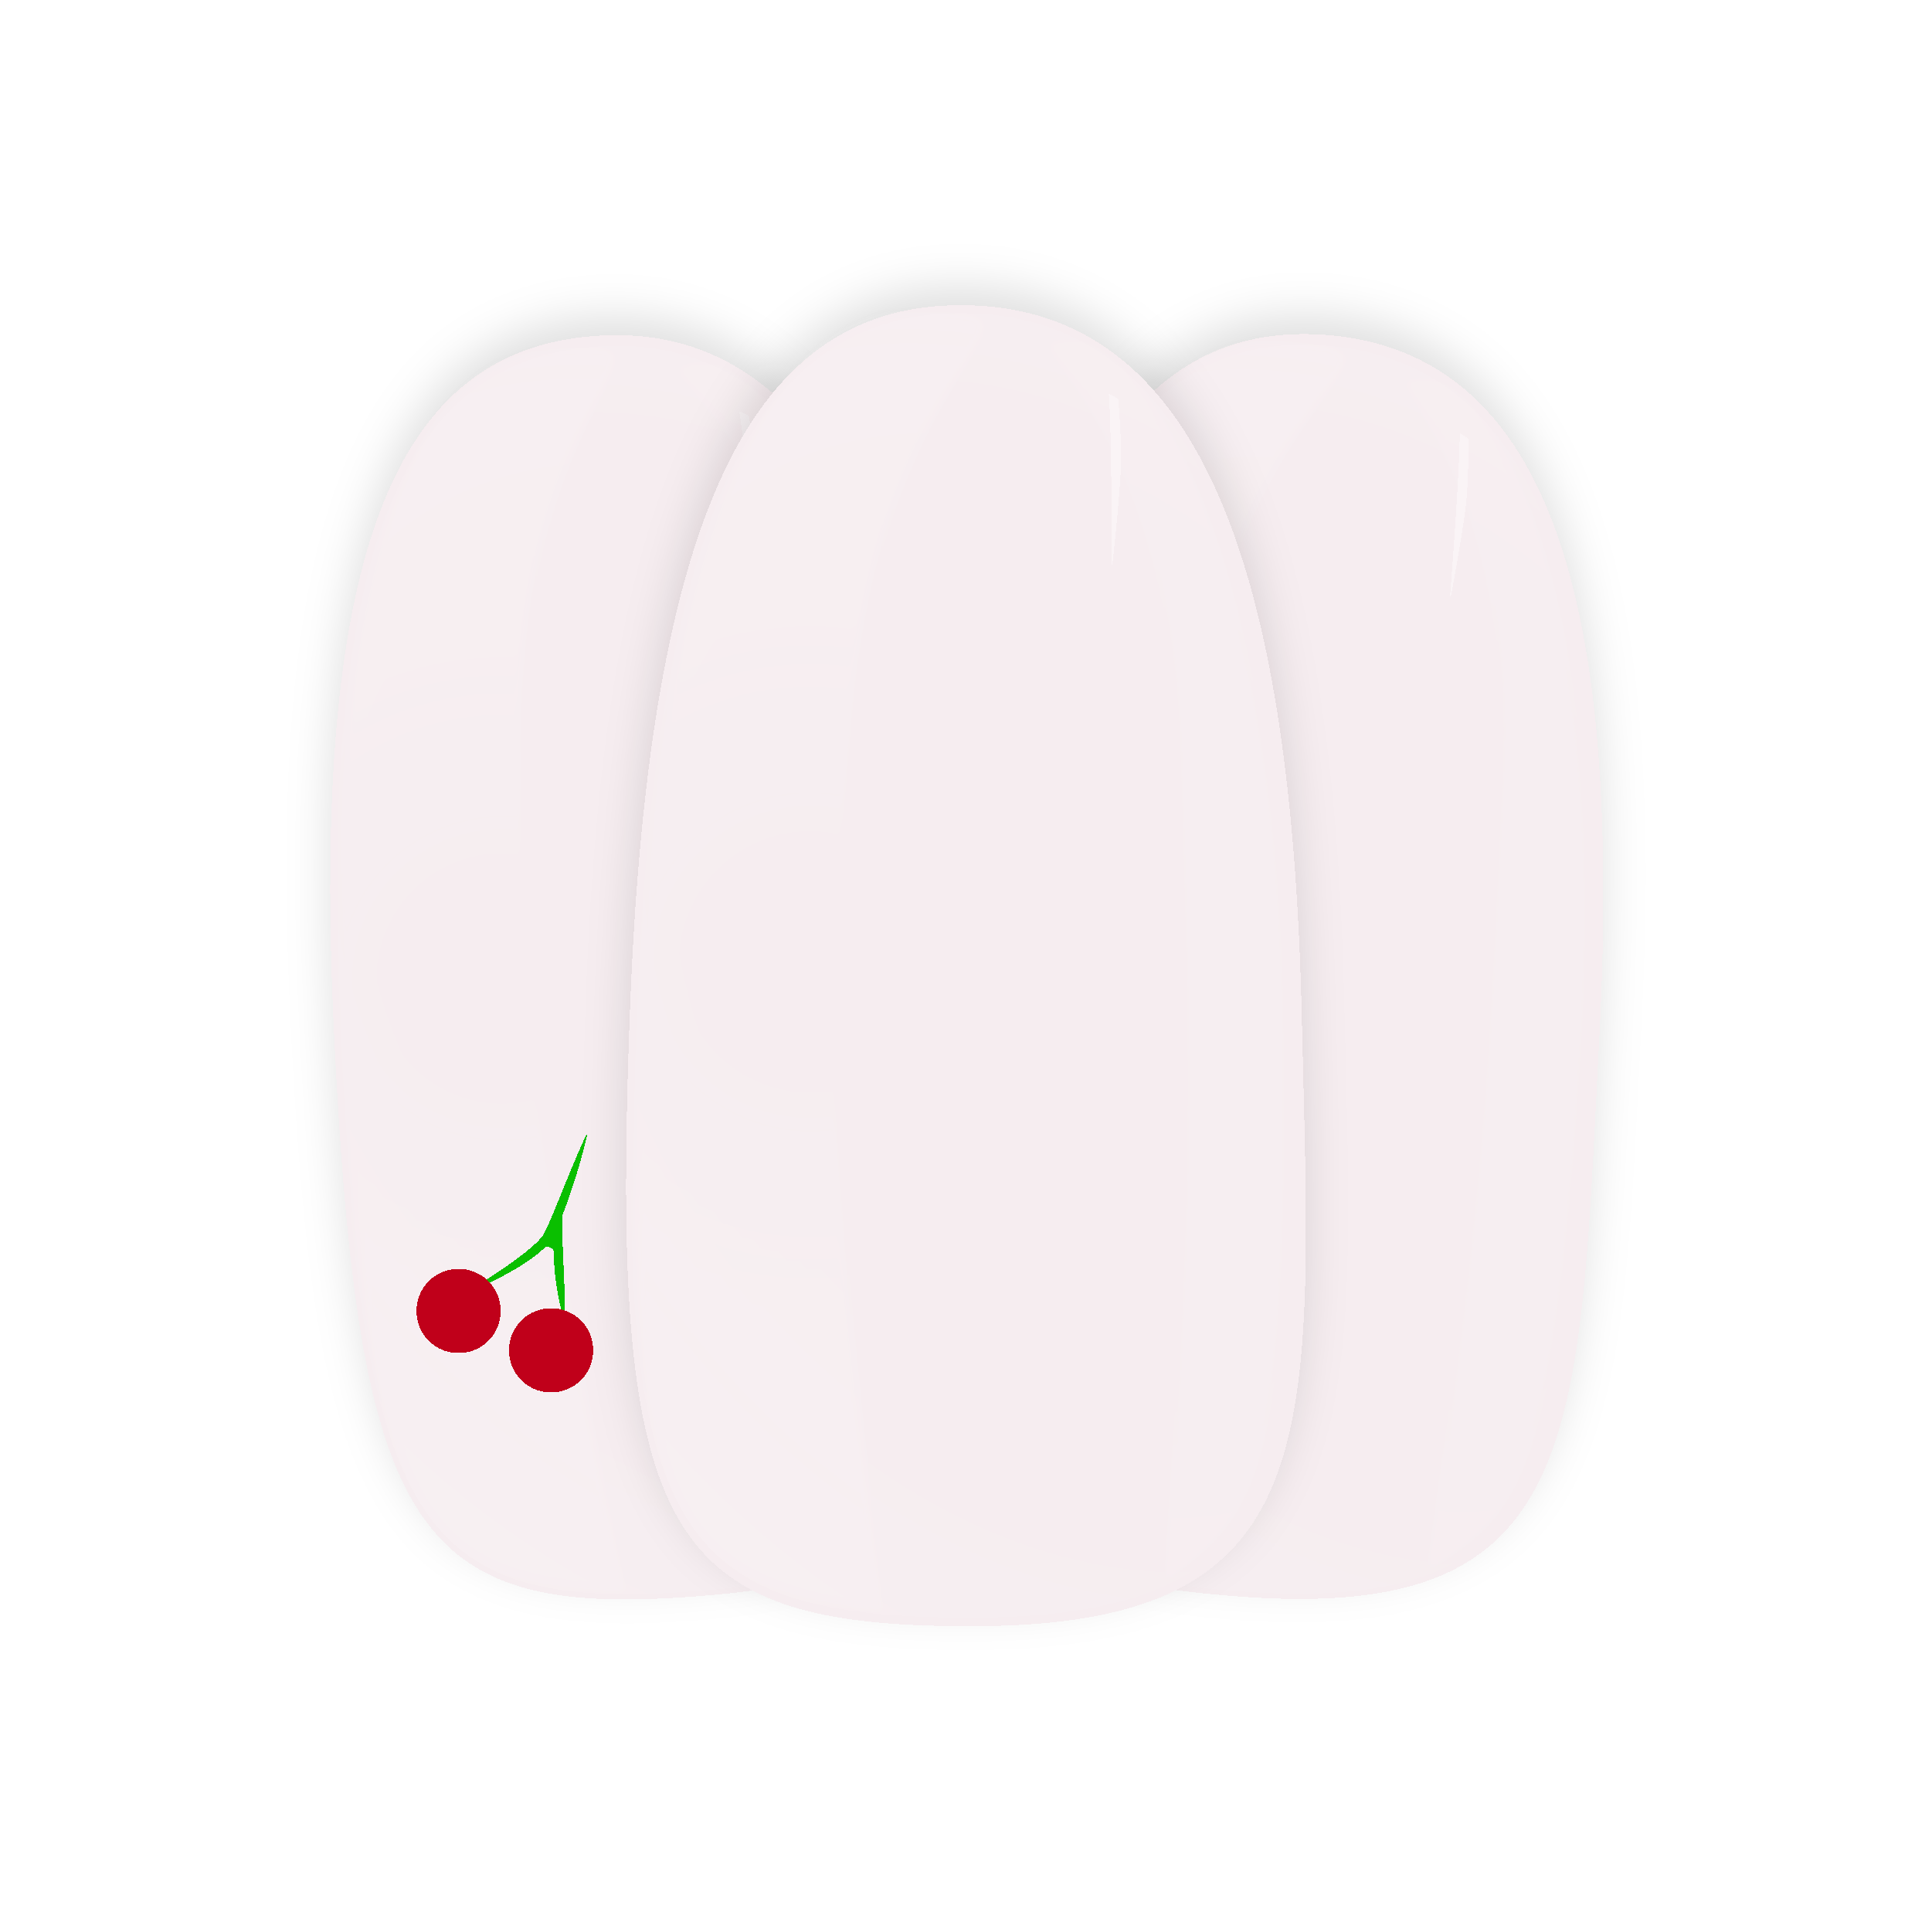
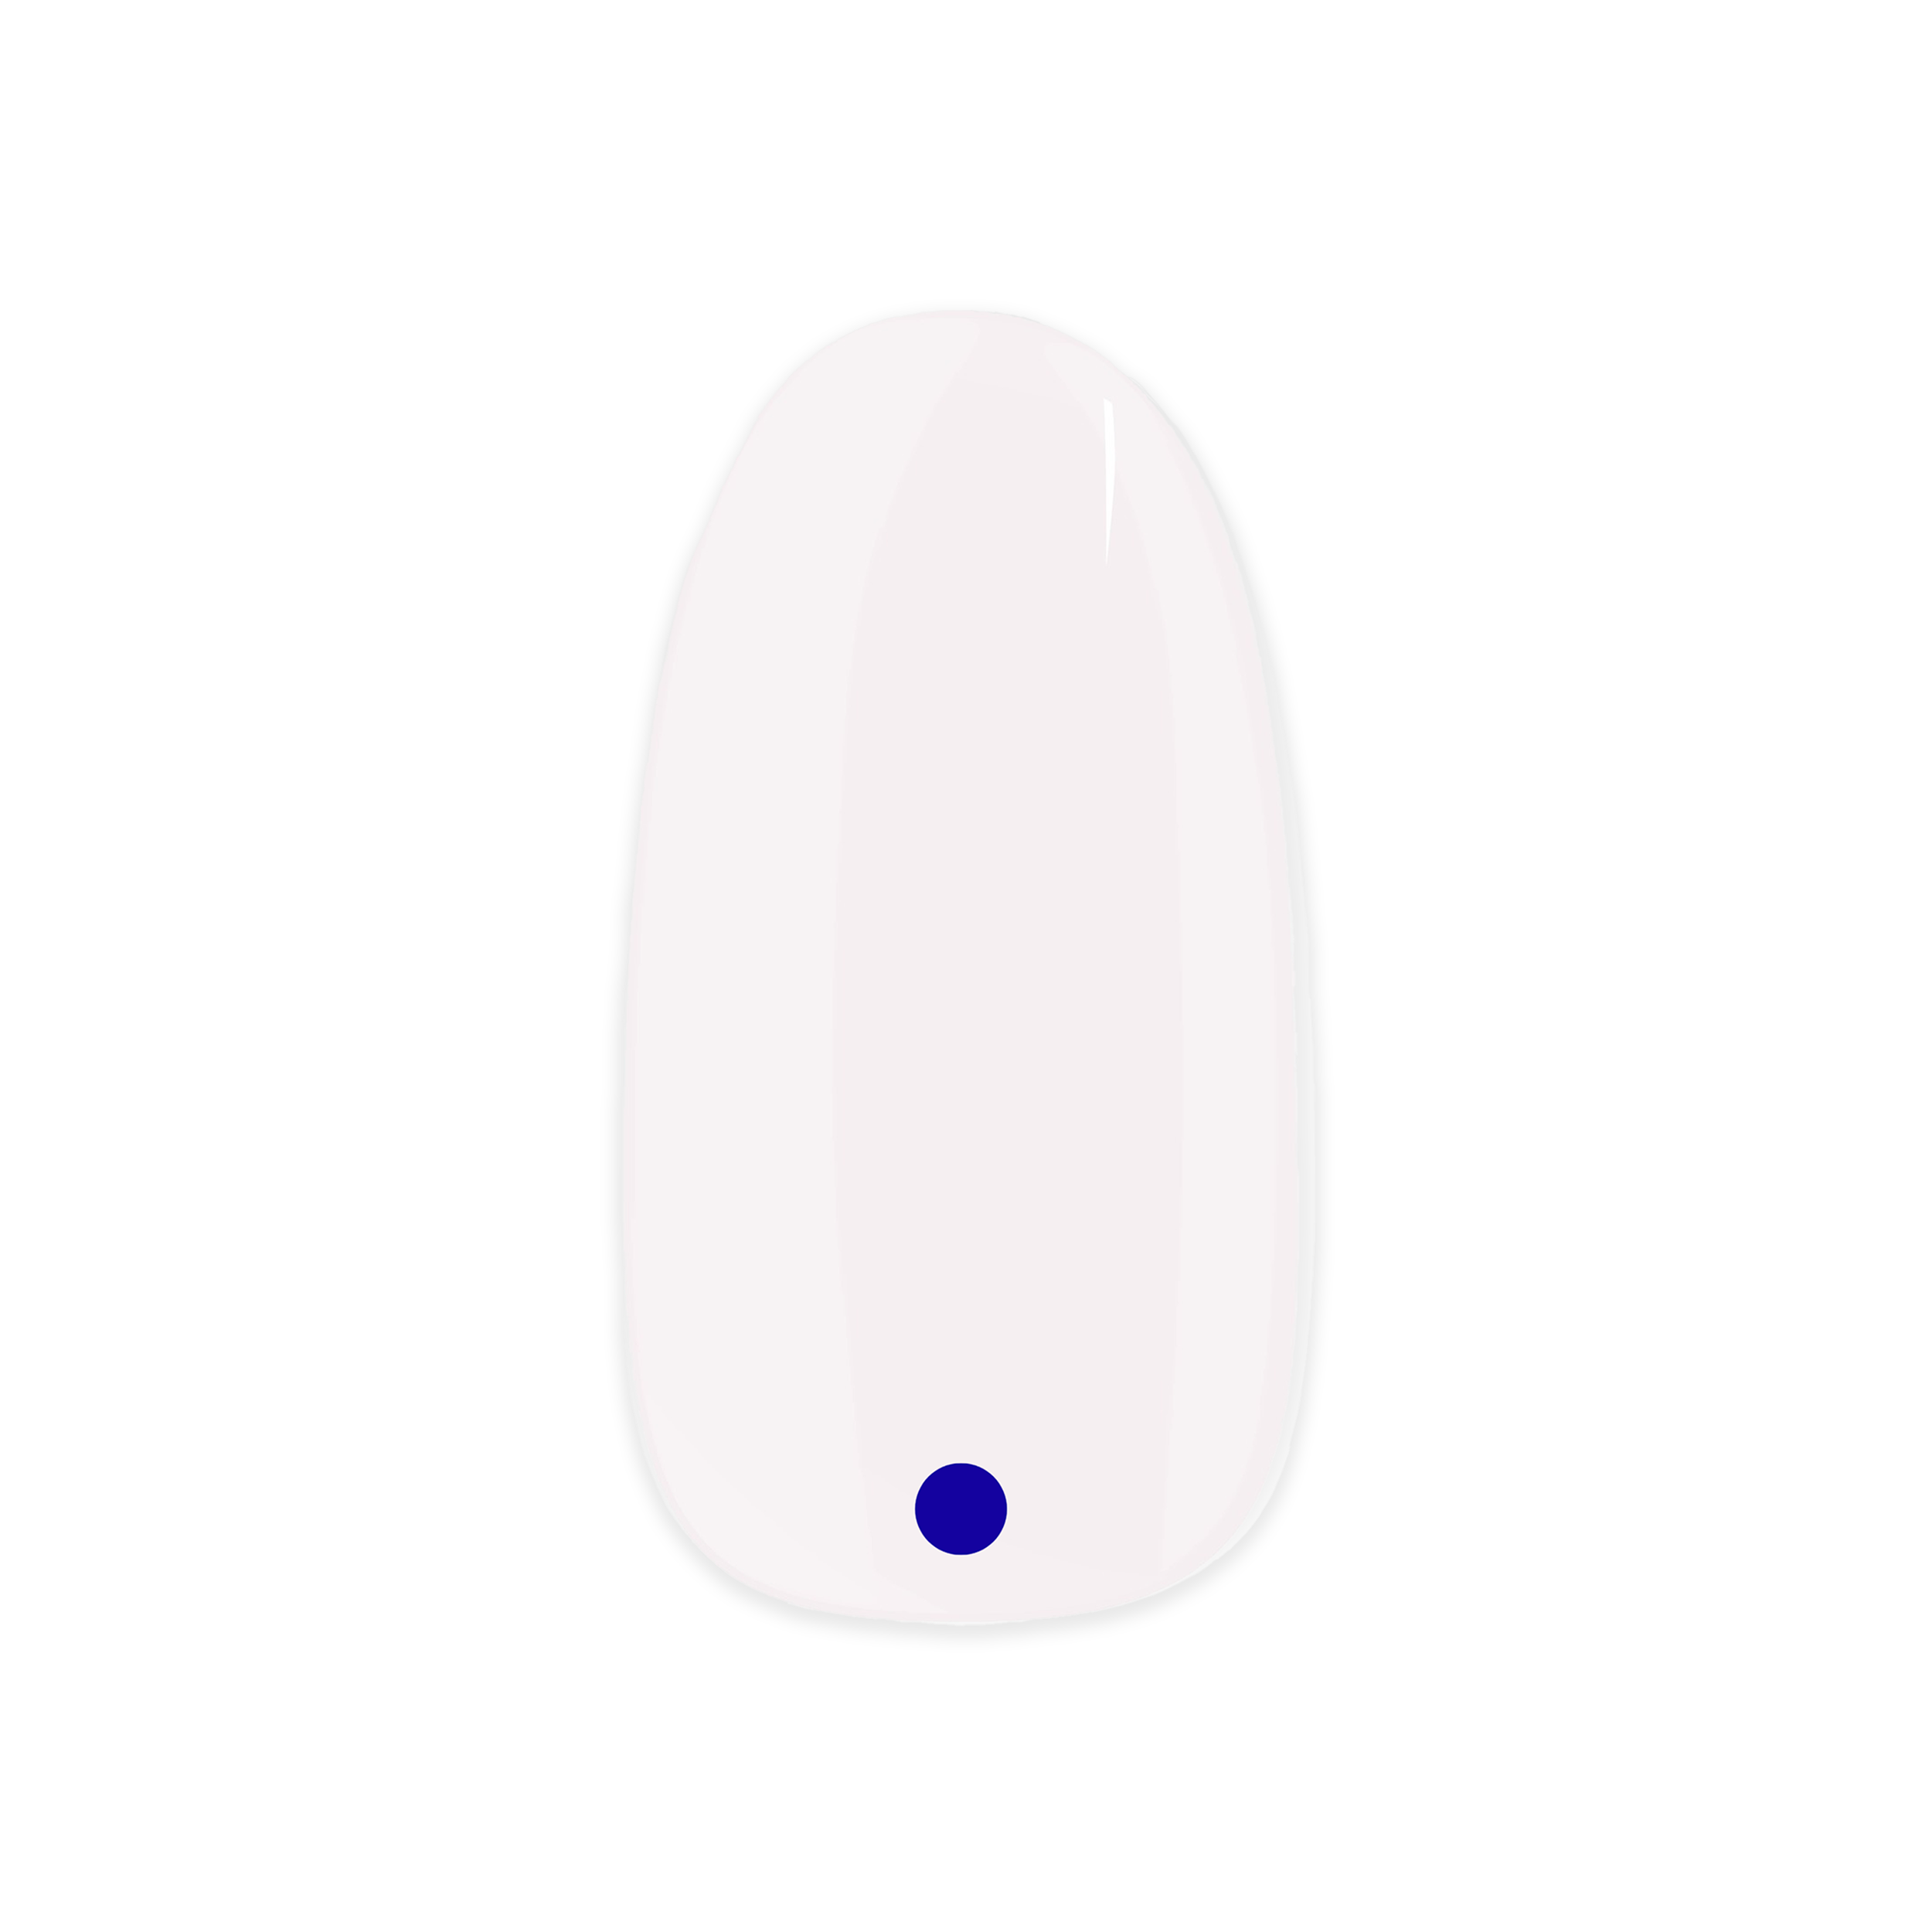
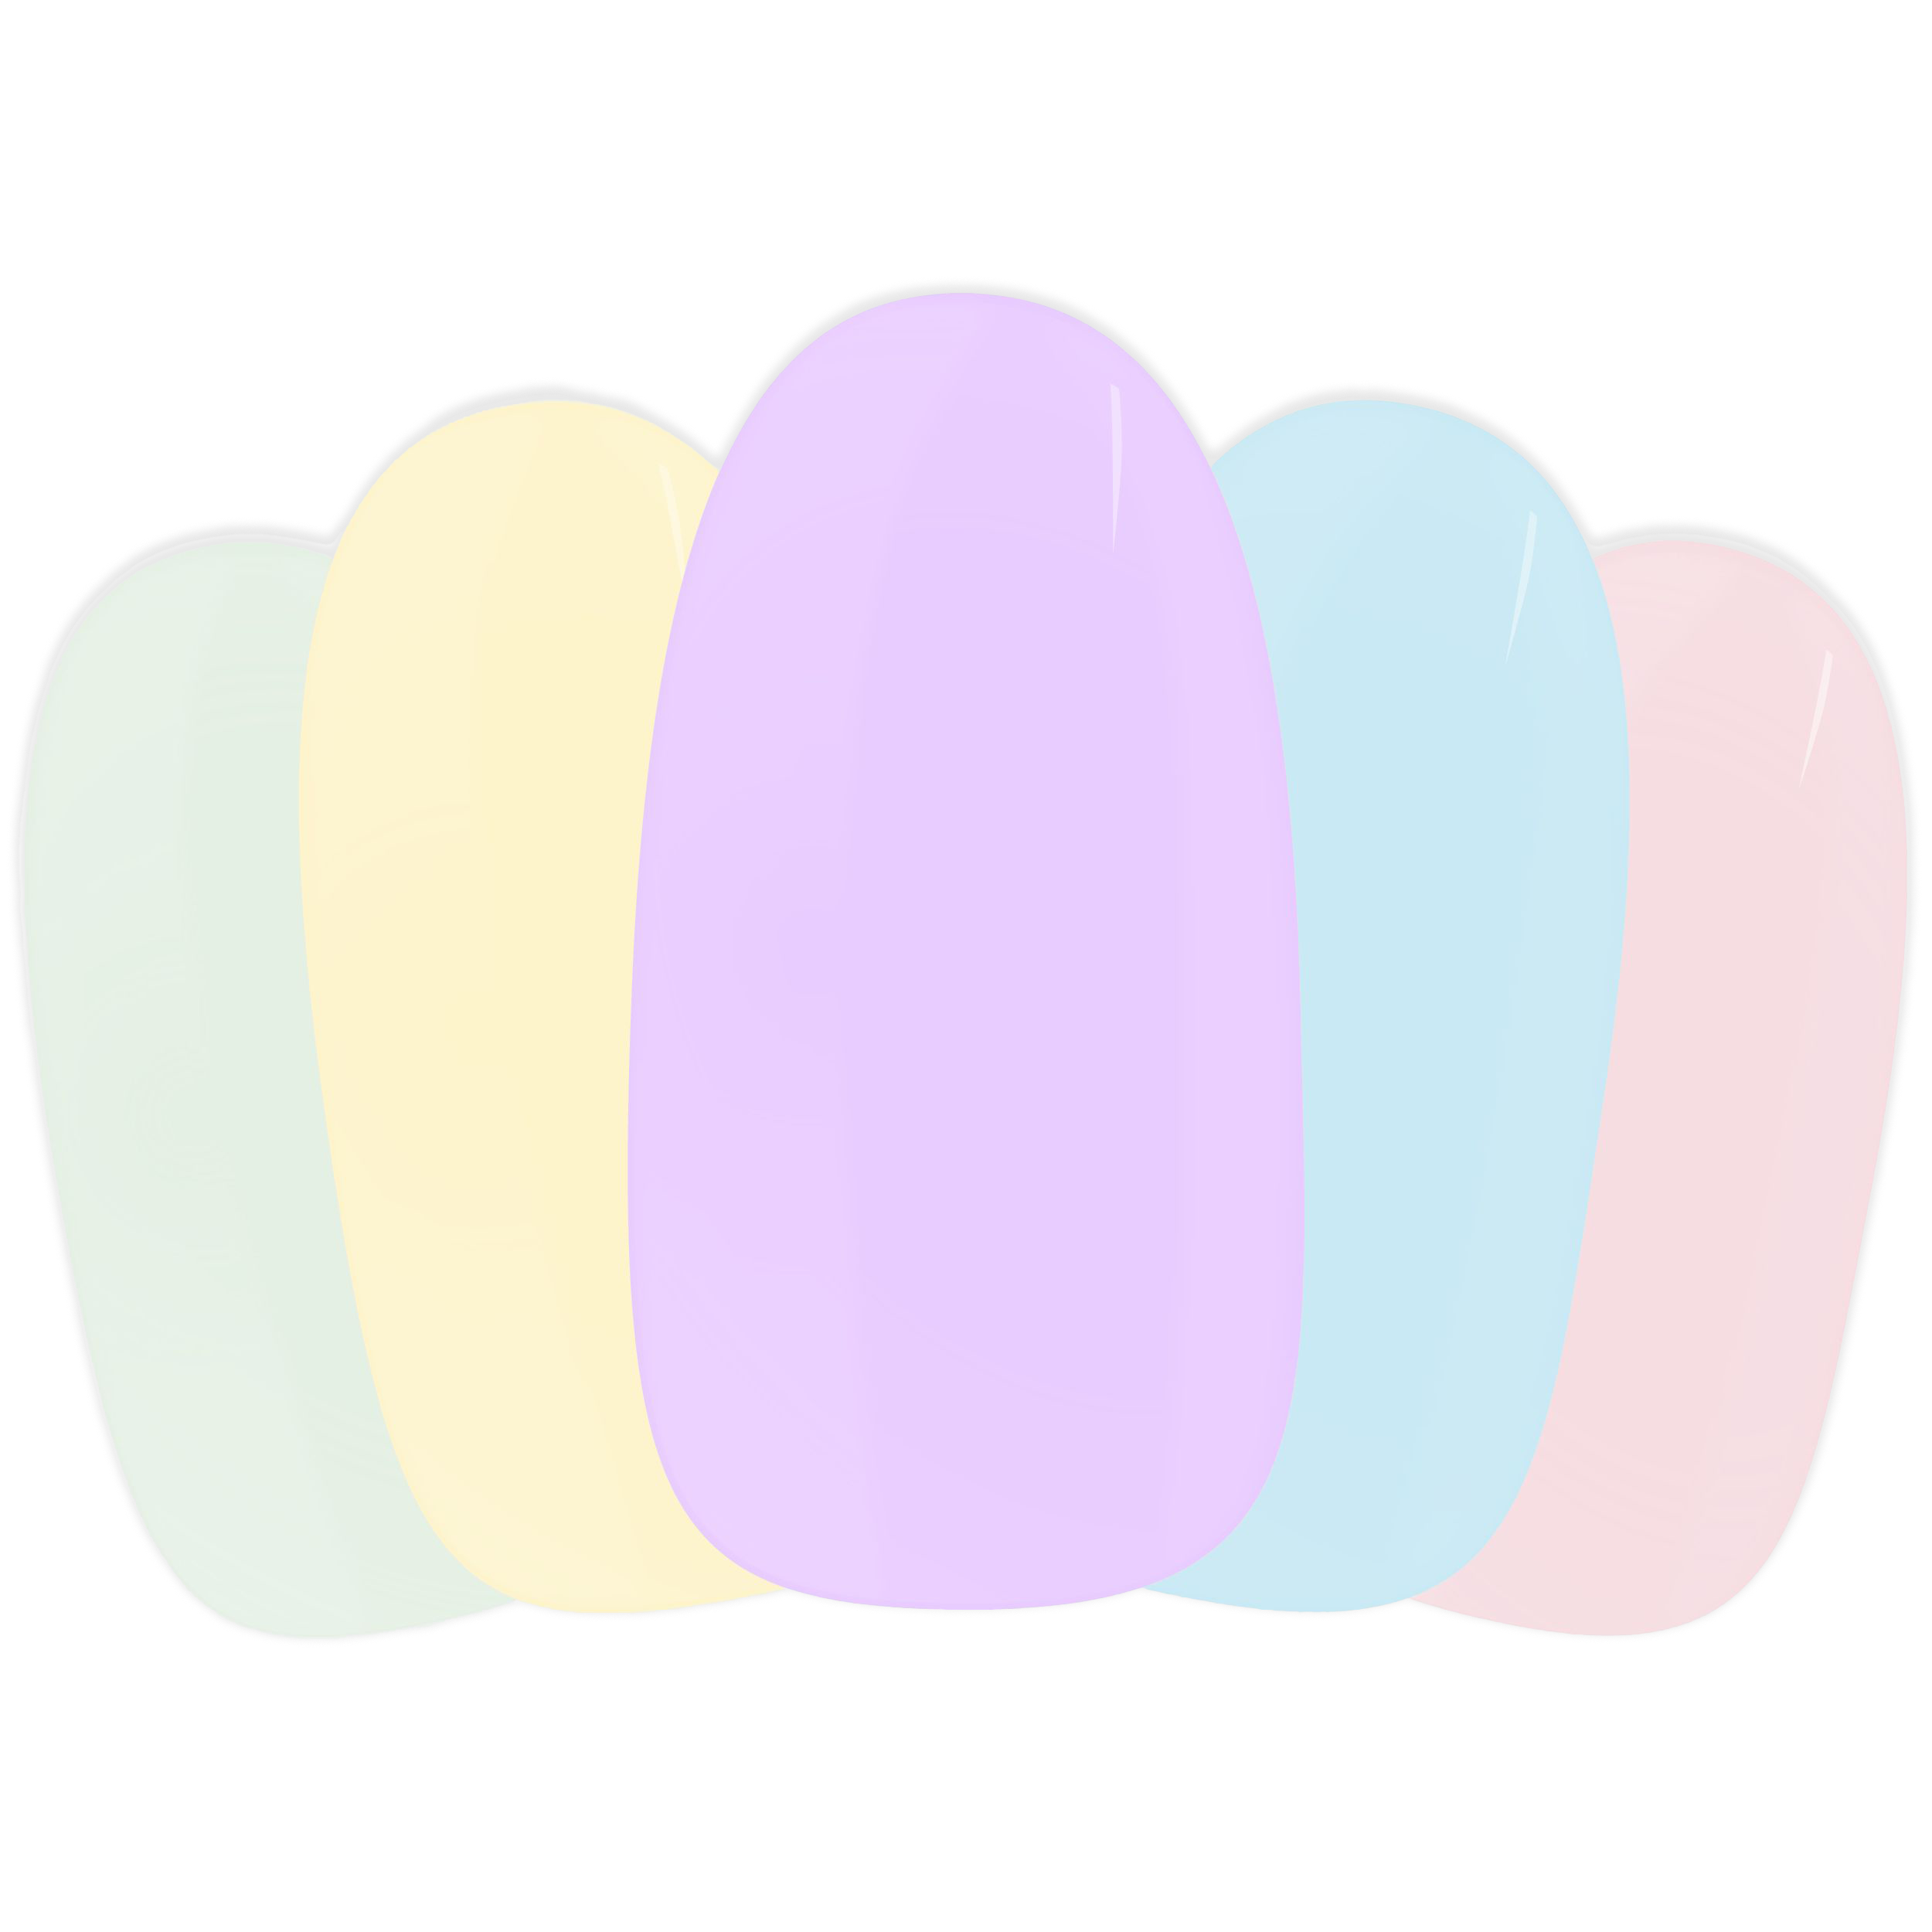
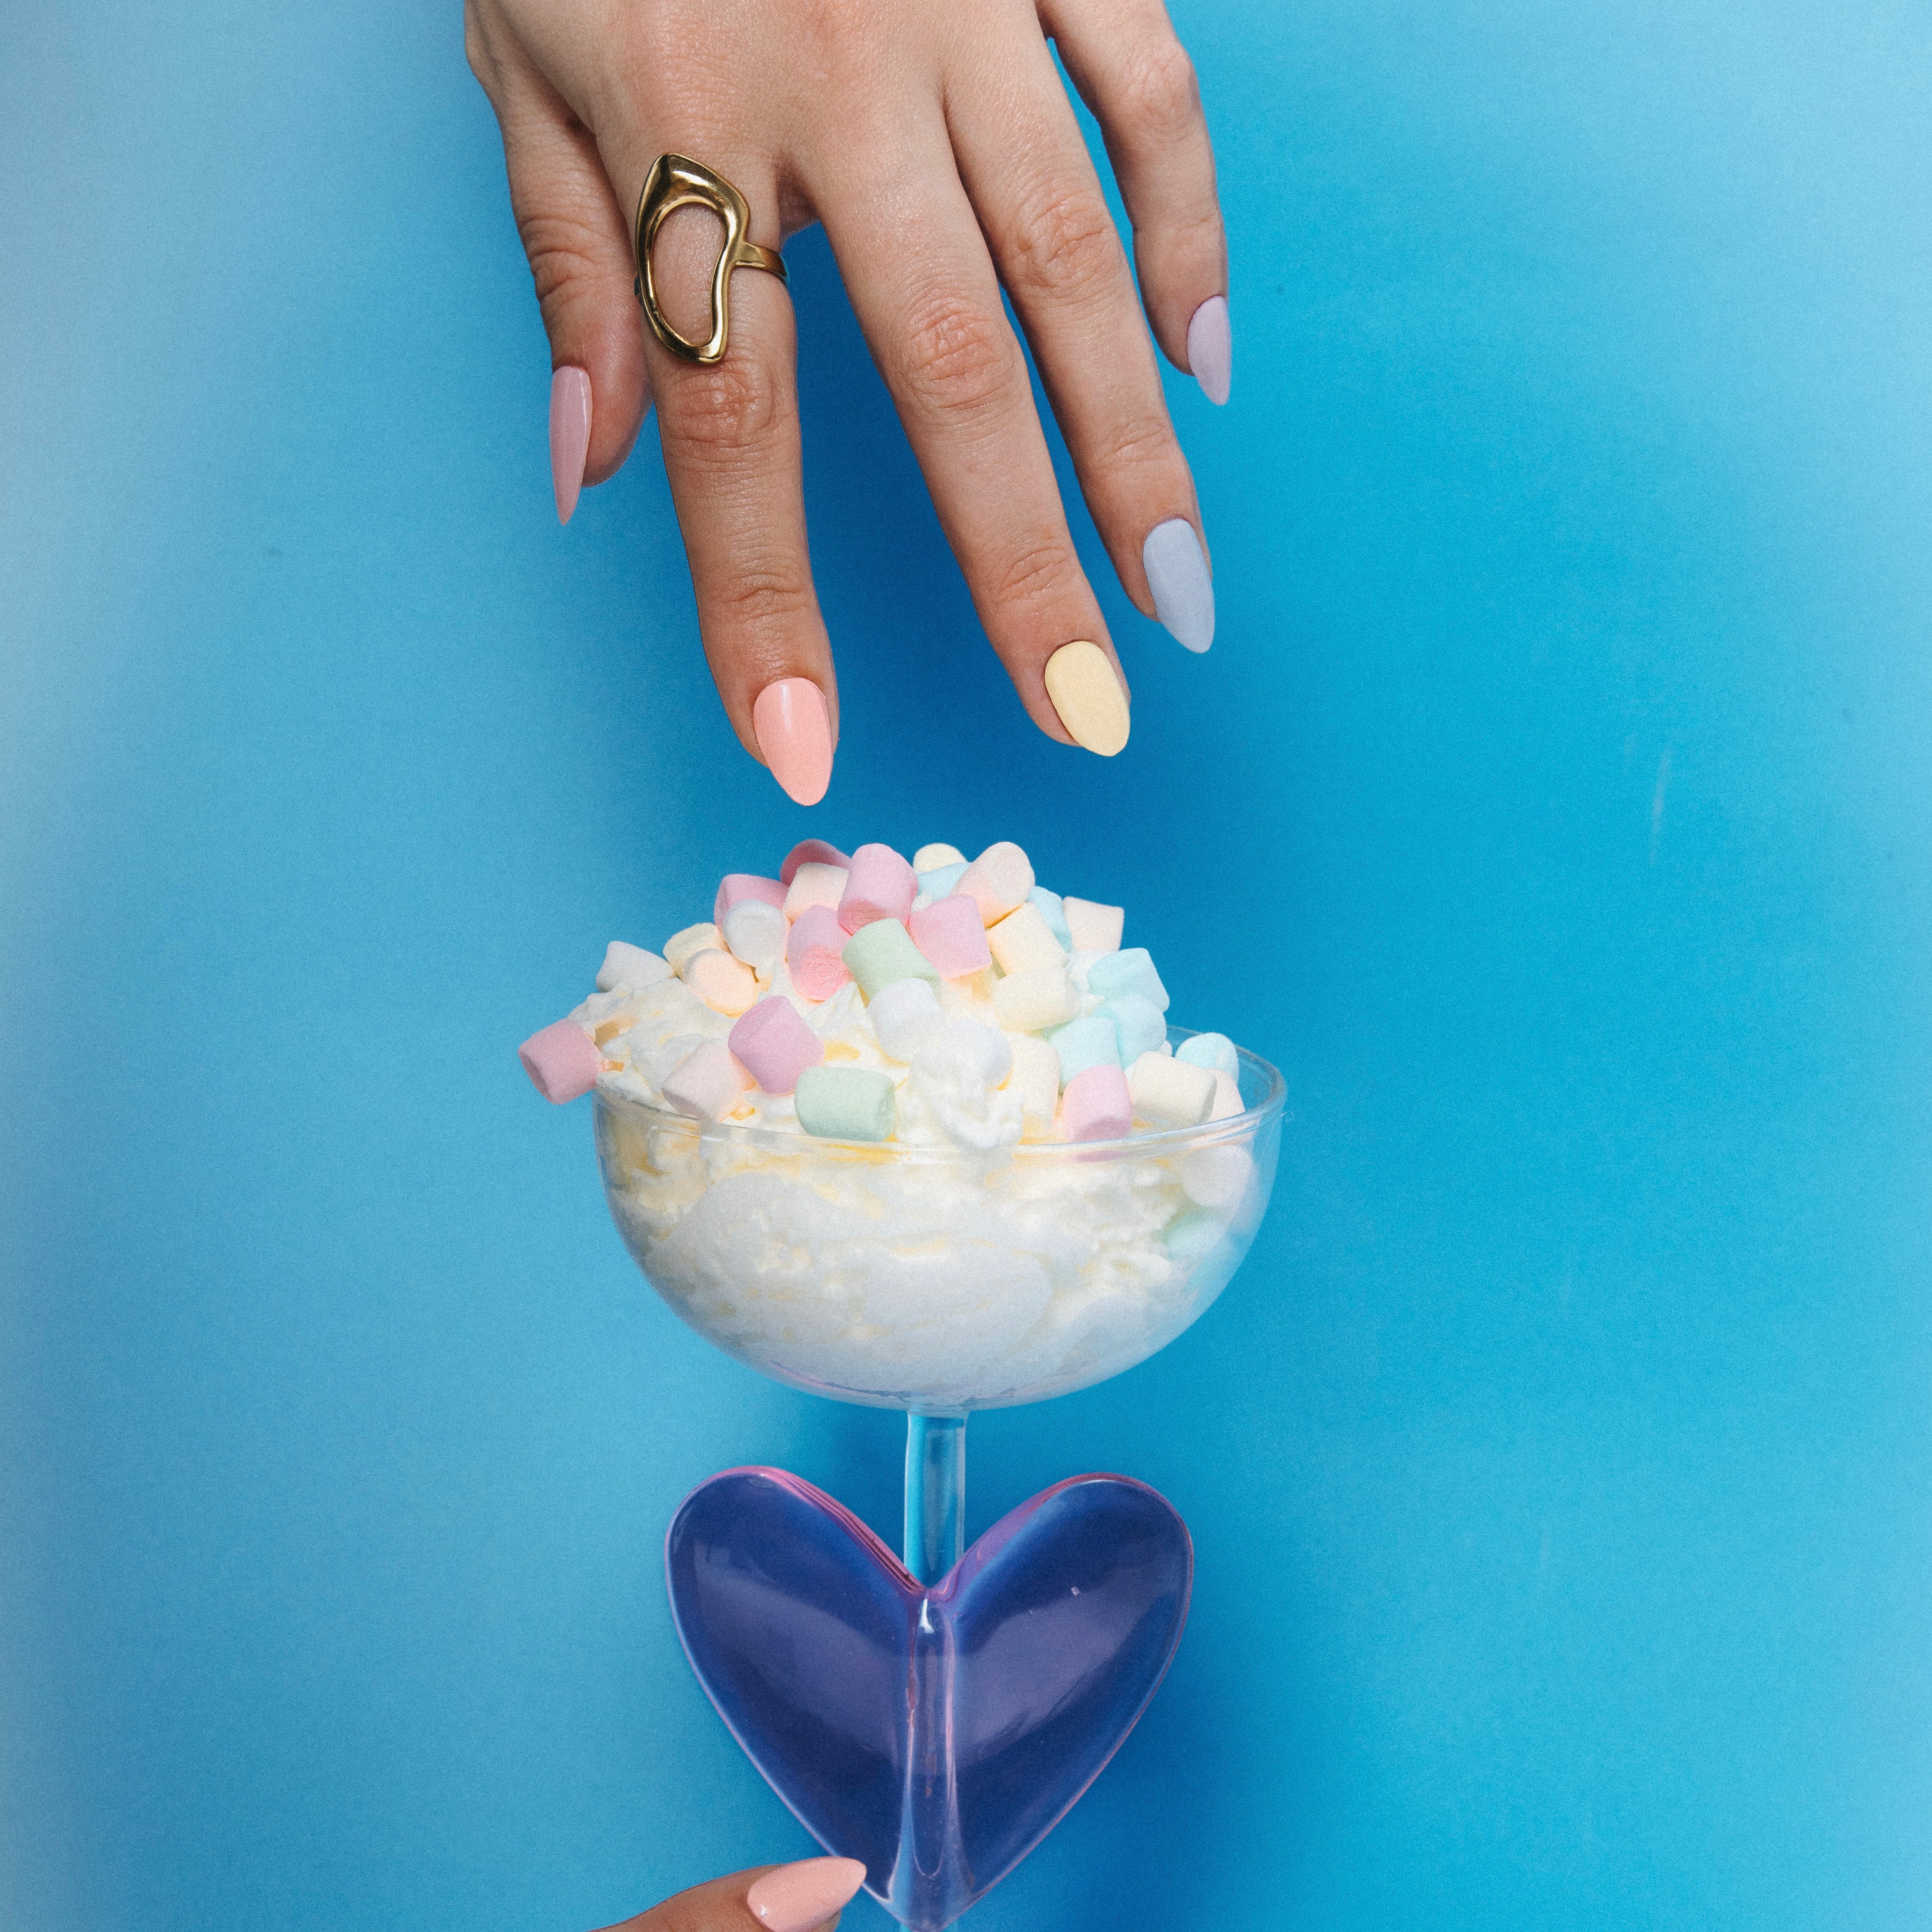
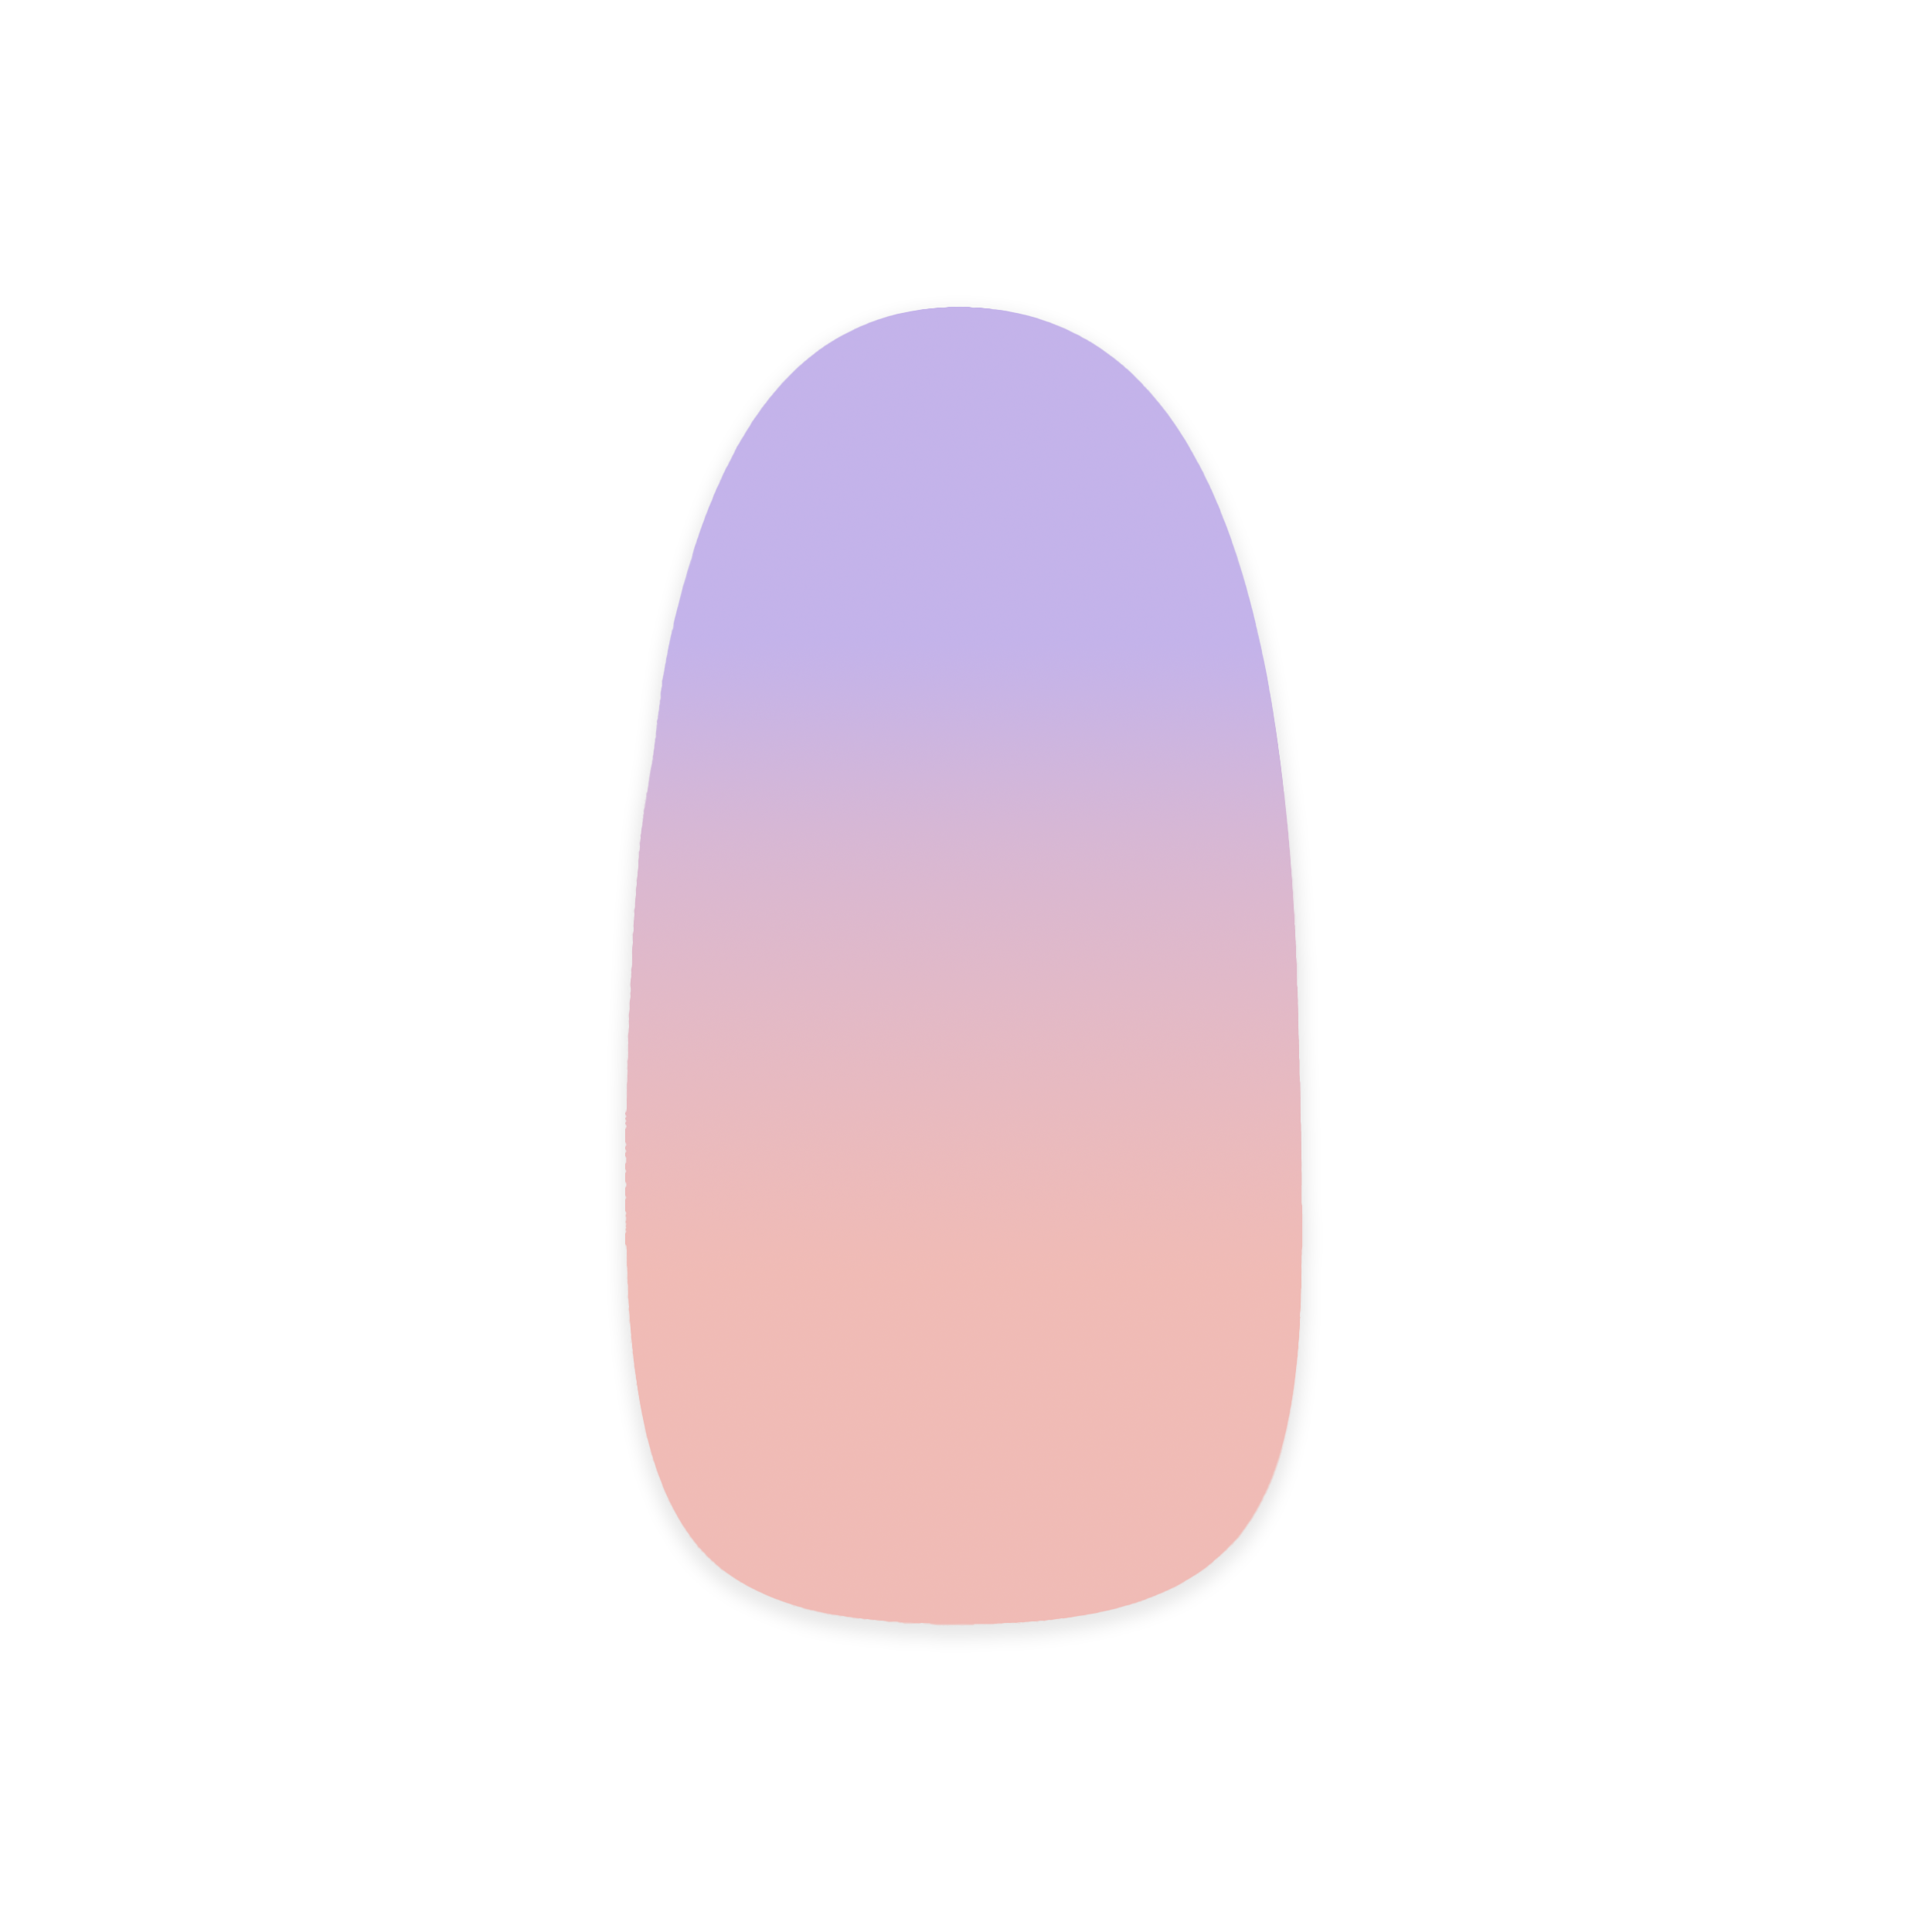
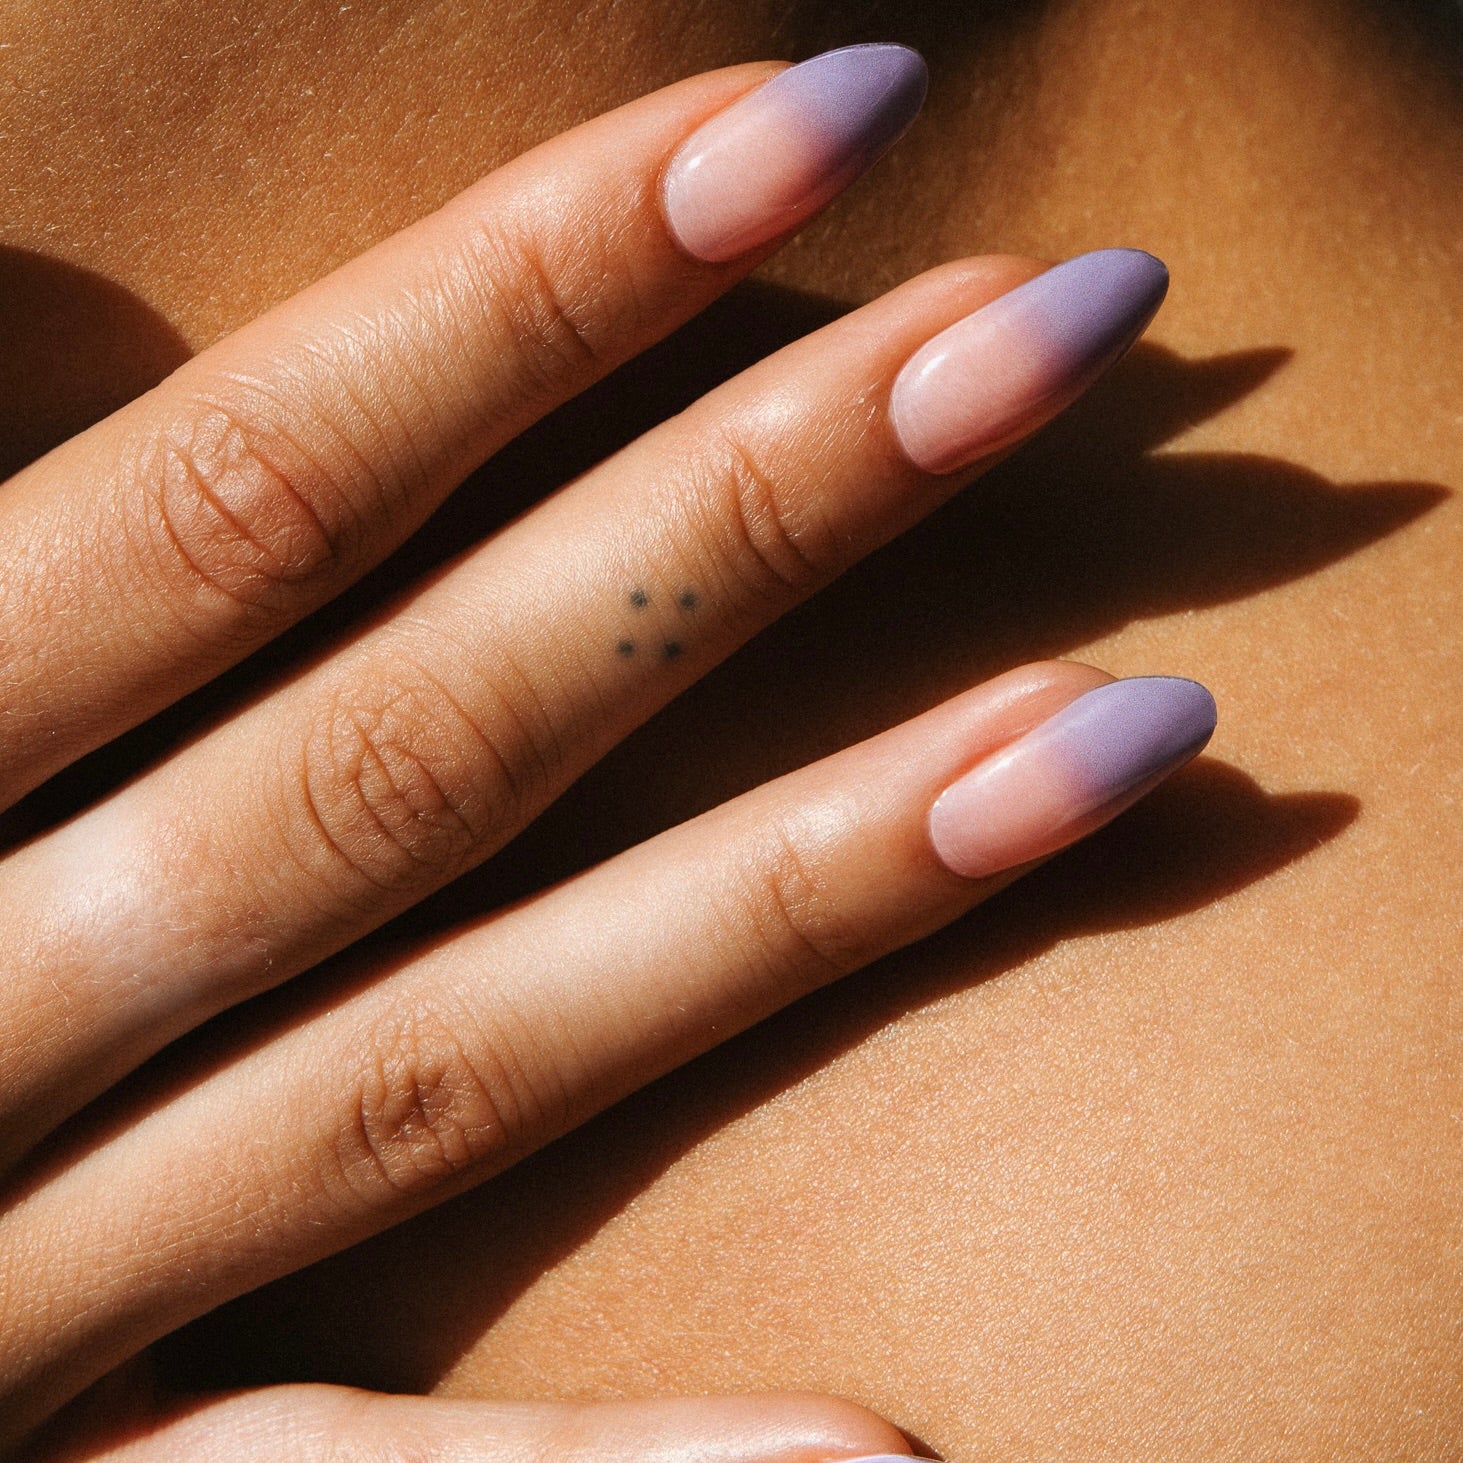
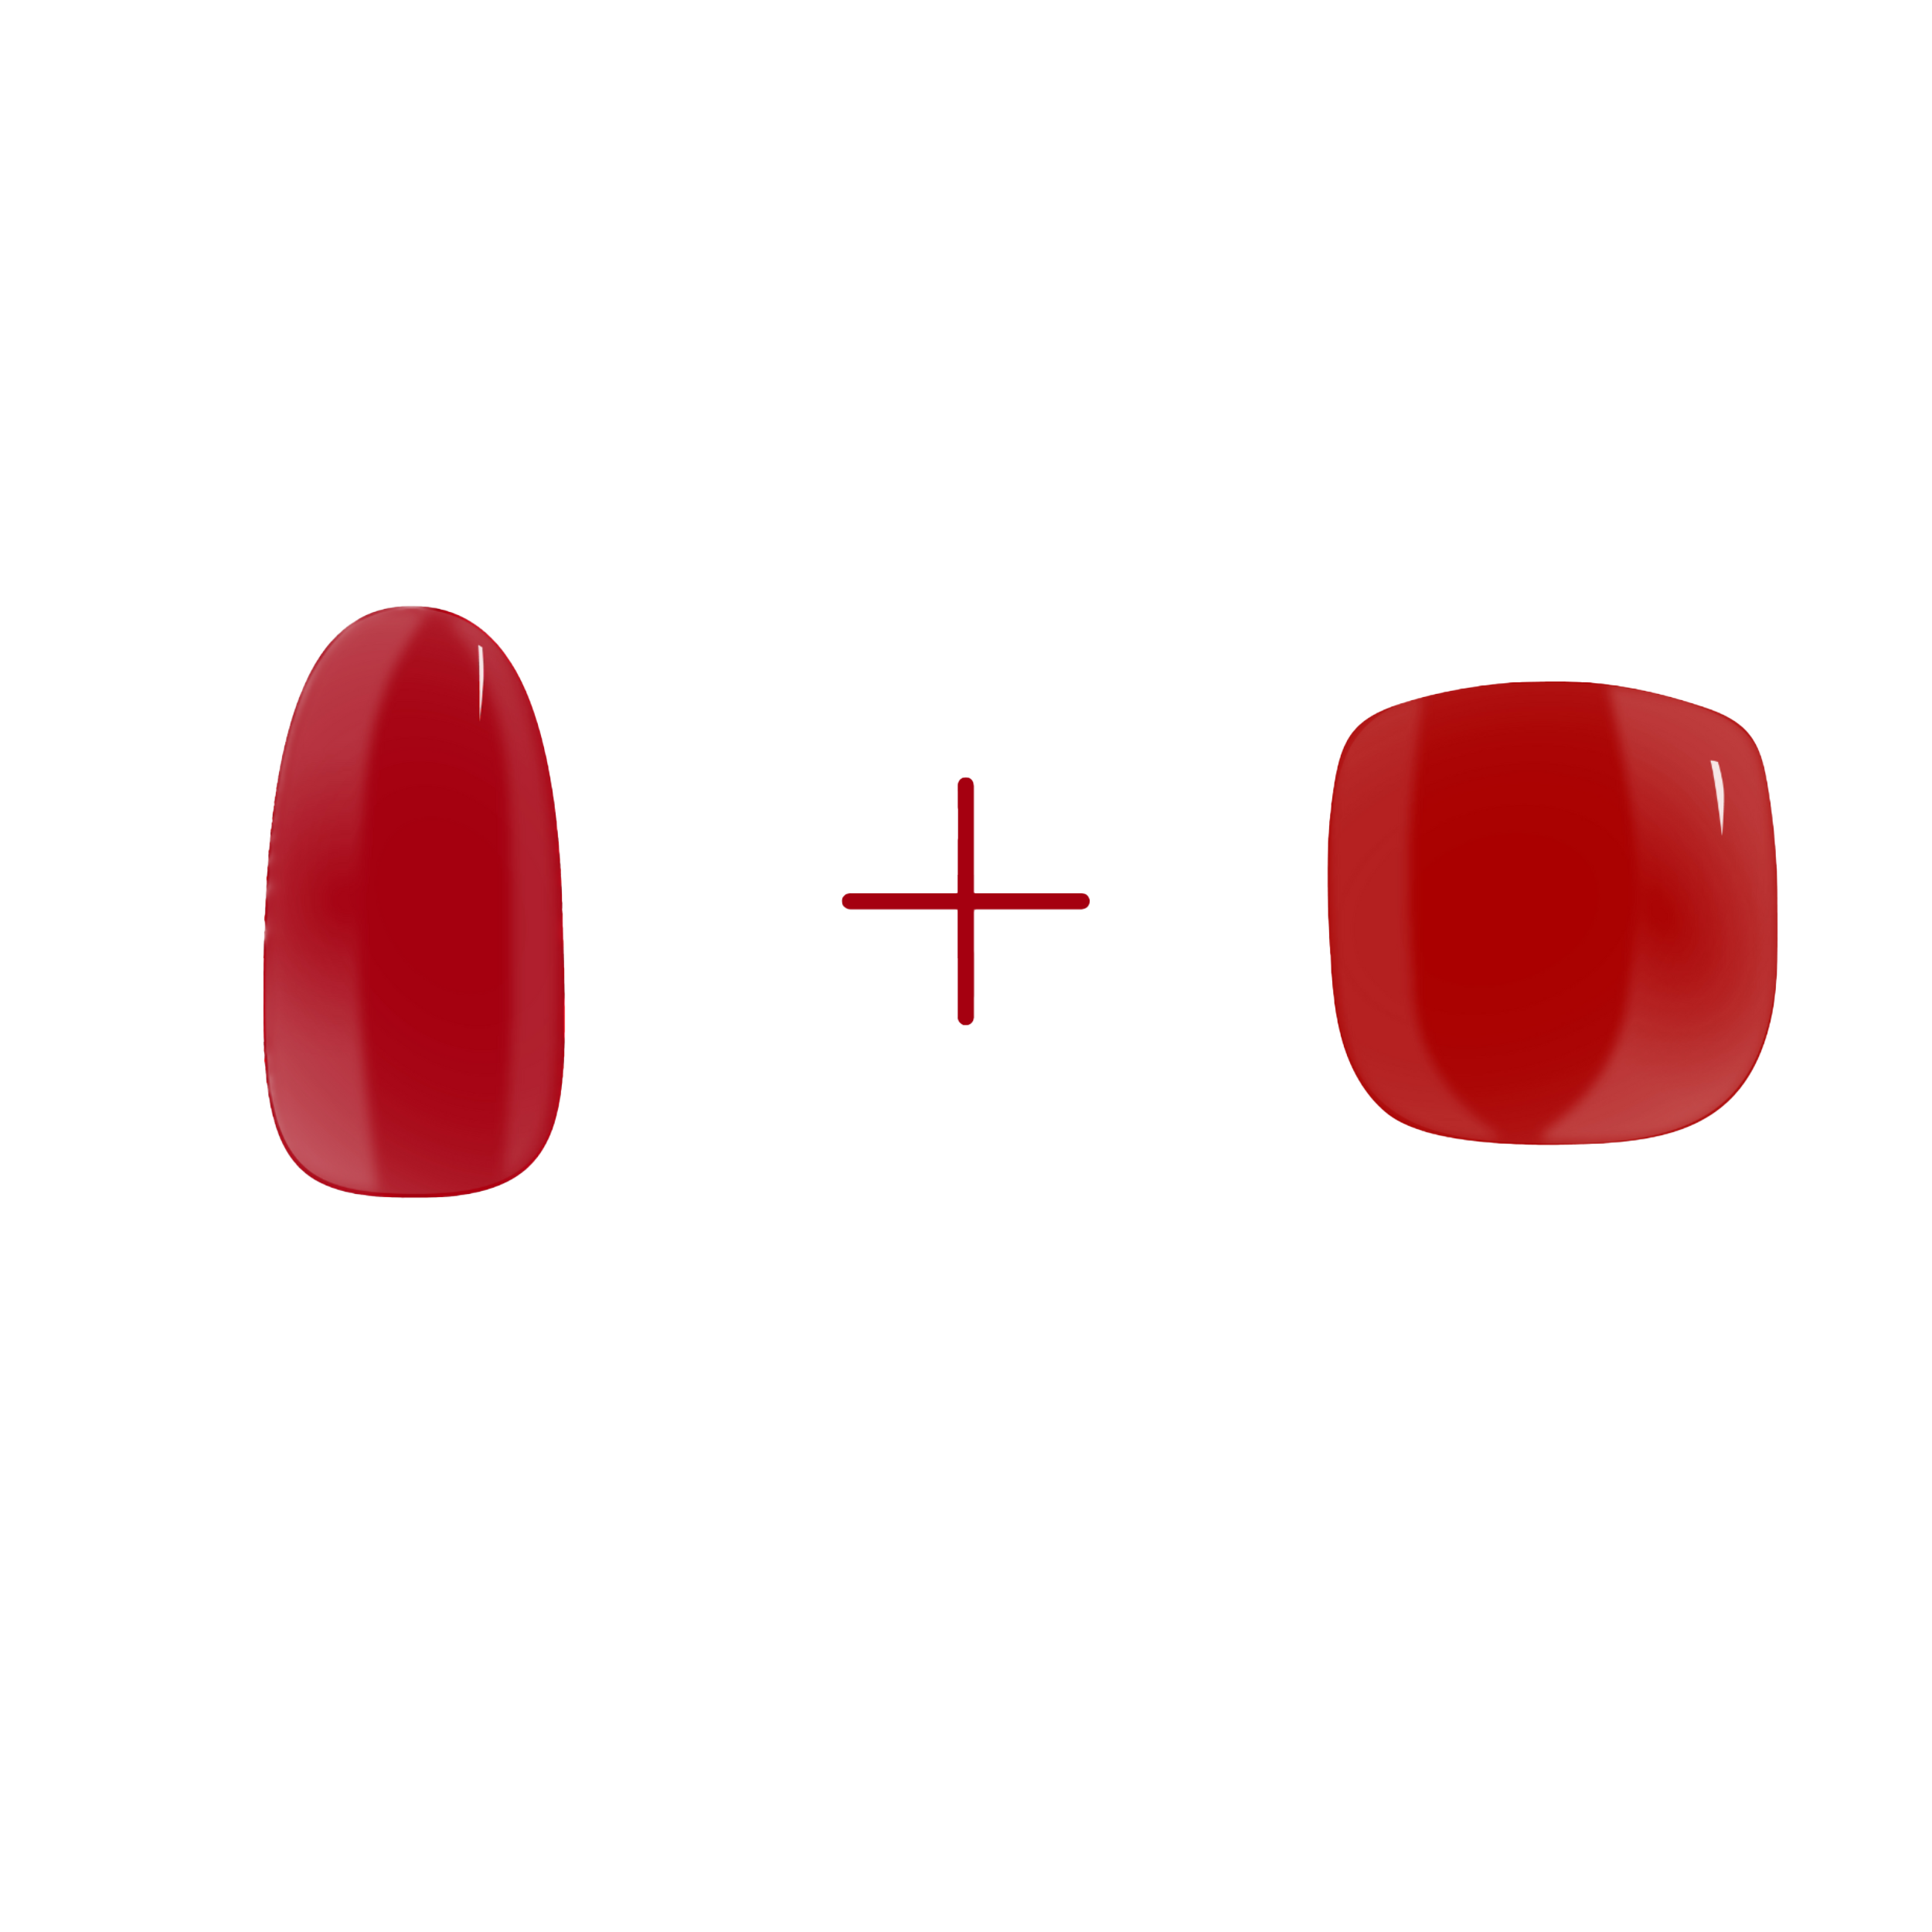
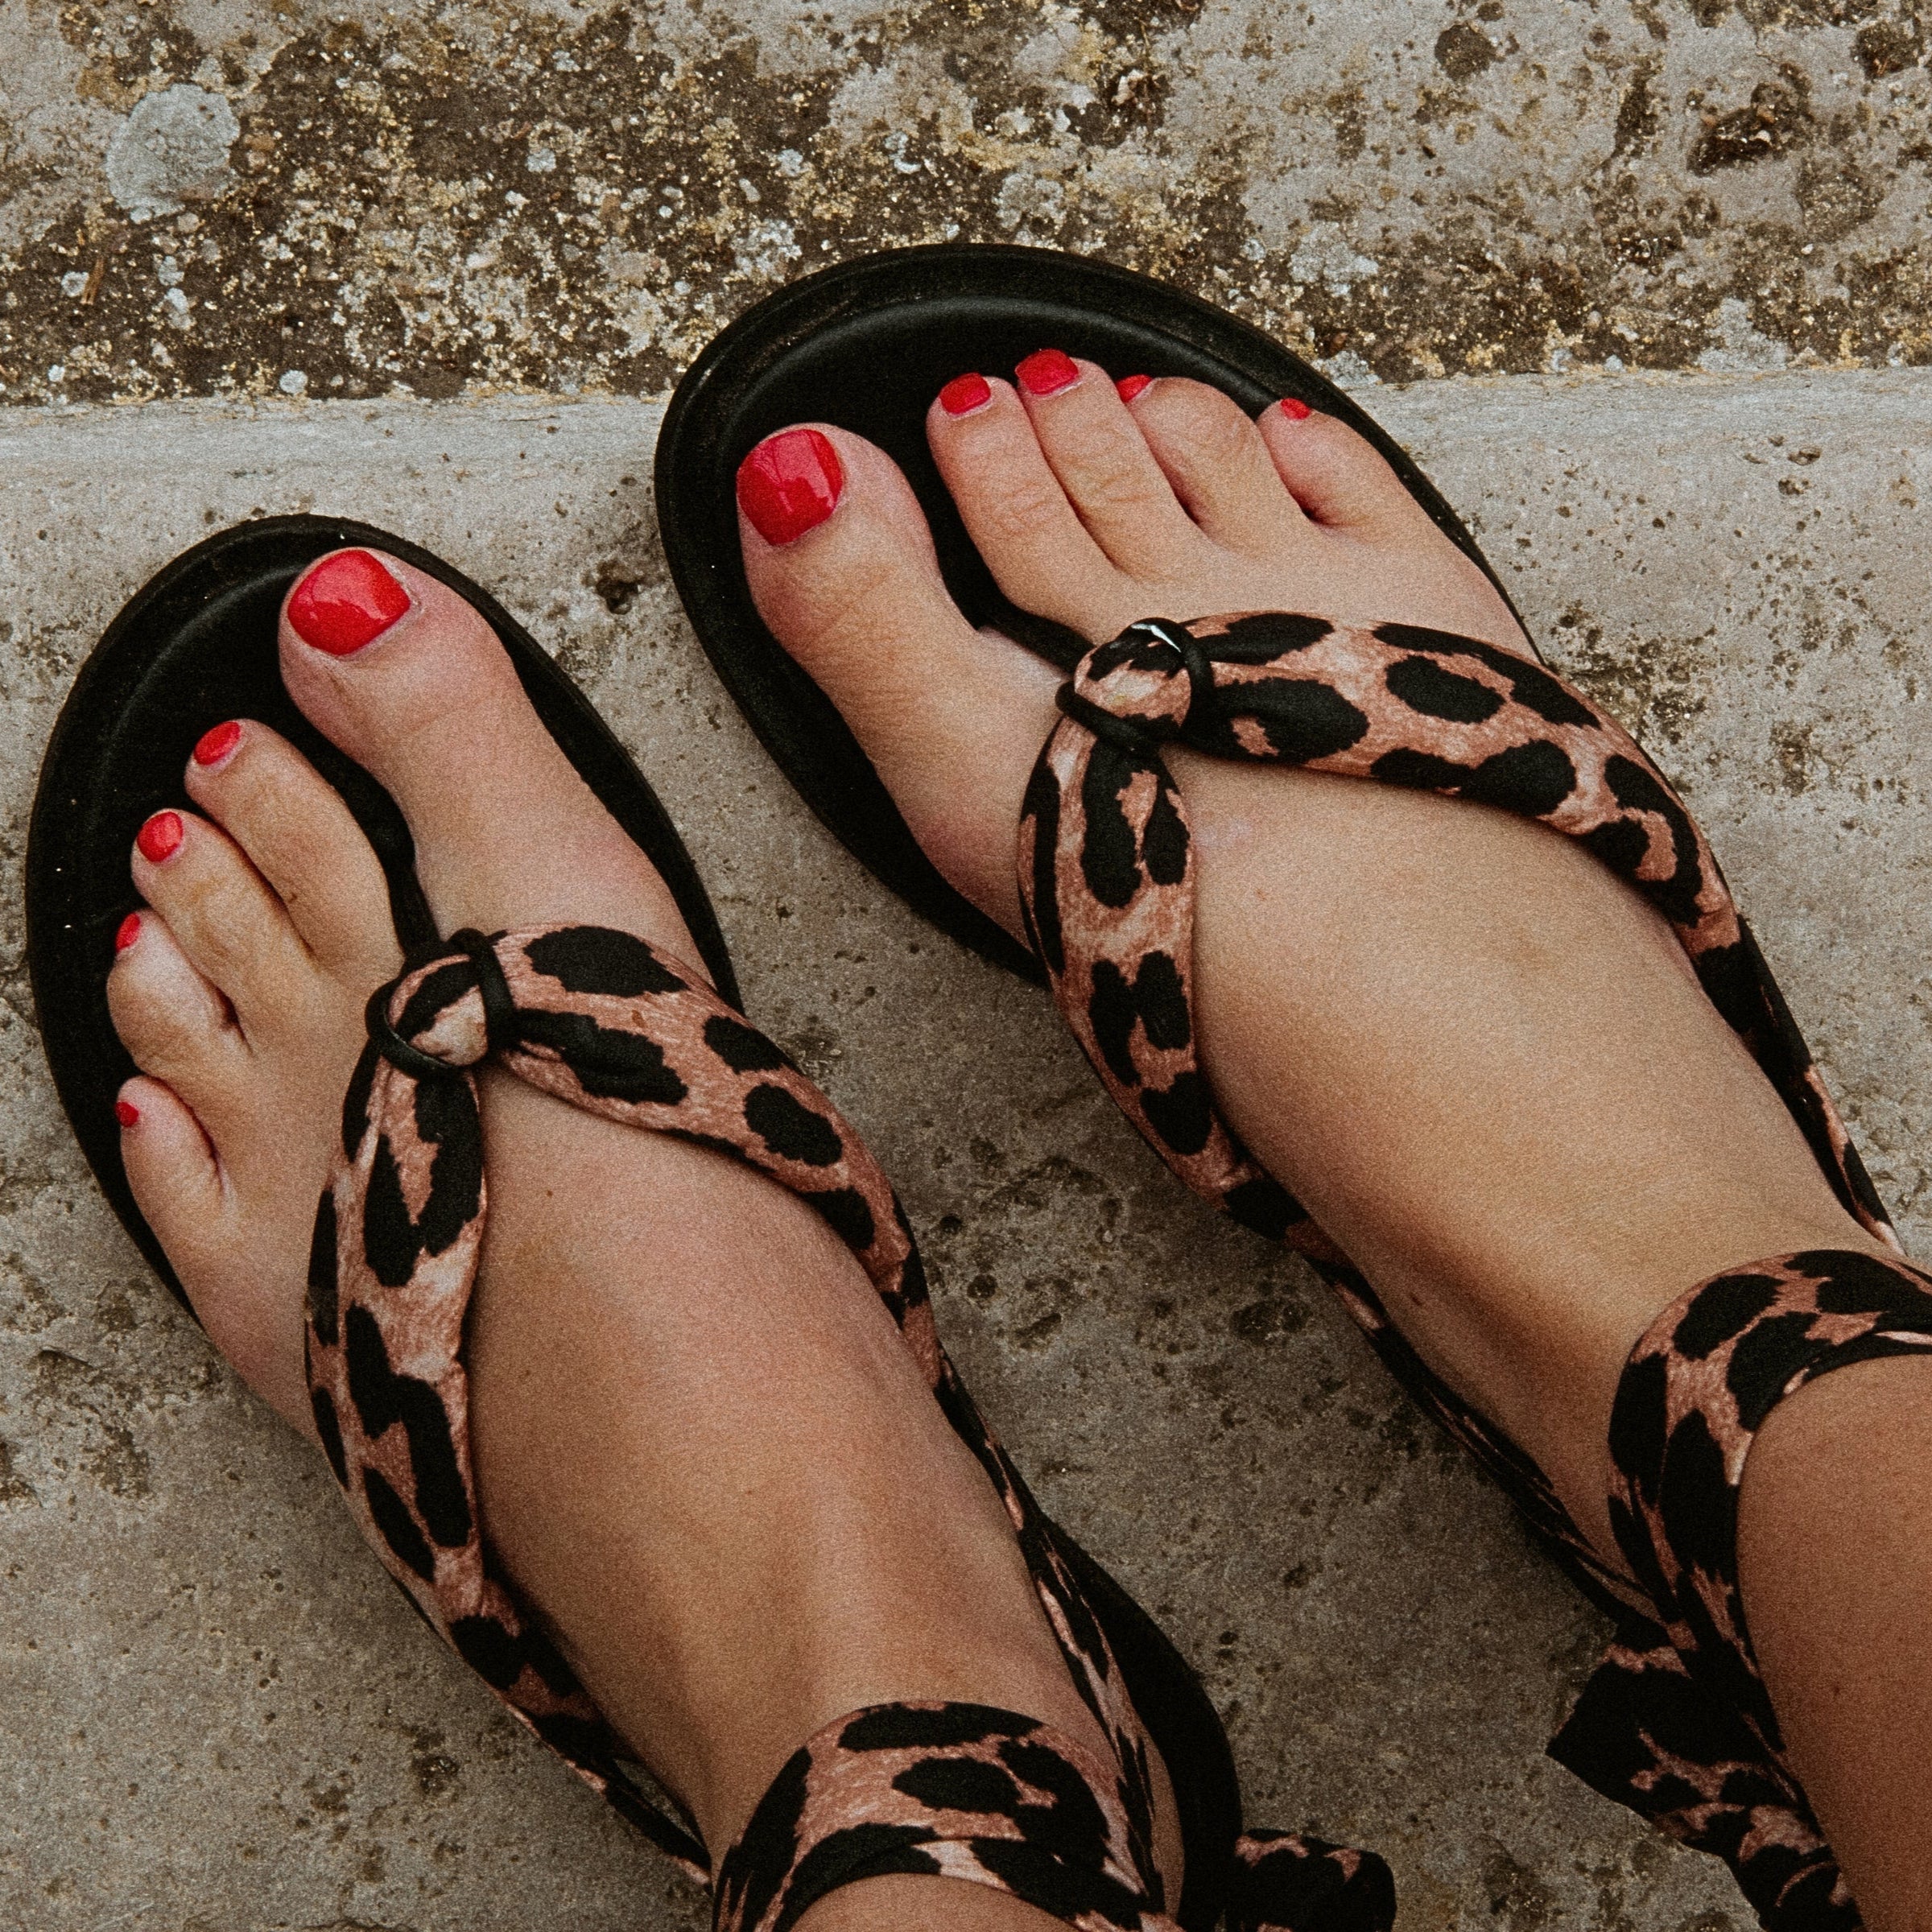
There are so many options to choose from, like cute Nail Arts and vibrant solid colors. It can be tough to choose just one, so go ahead and treat yourself to a few!

Step 1 - Getting Started
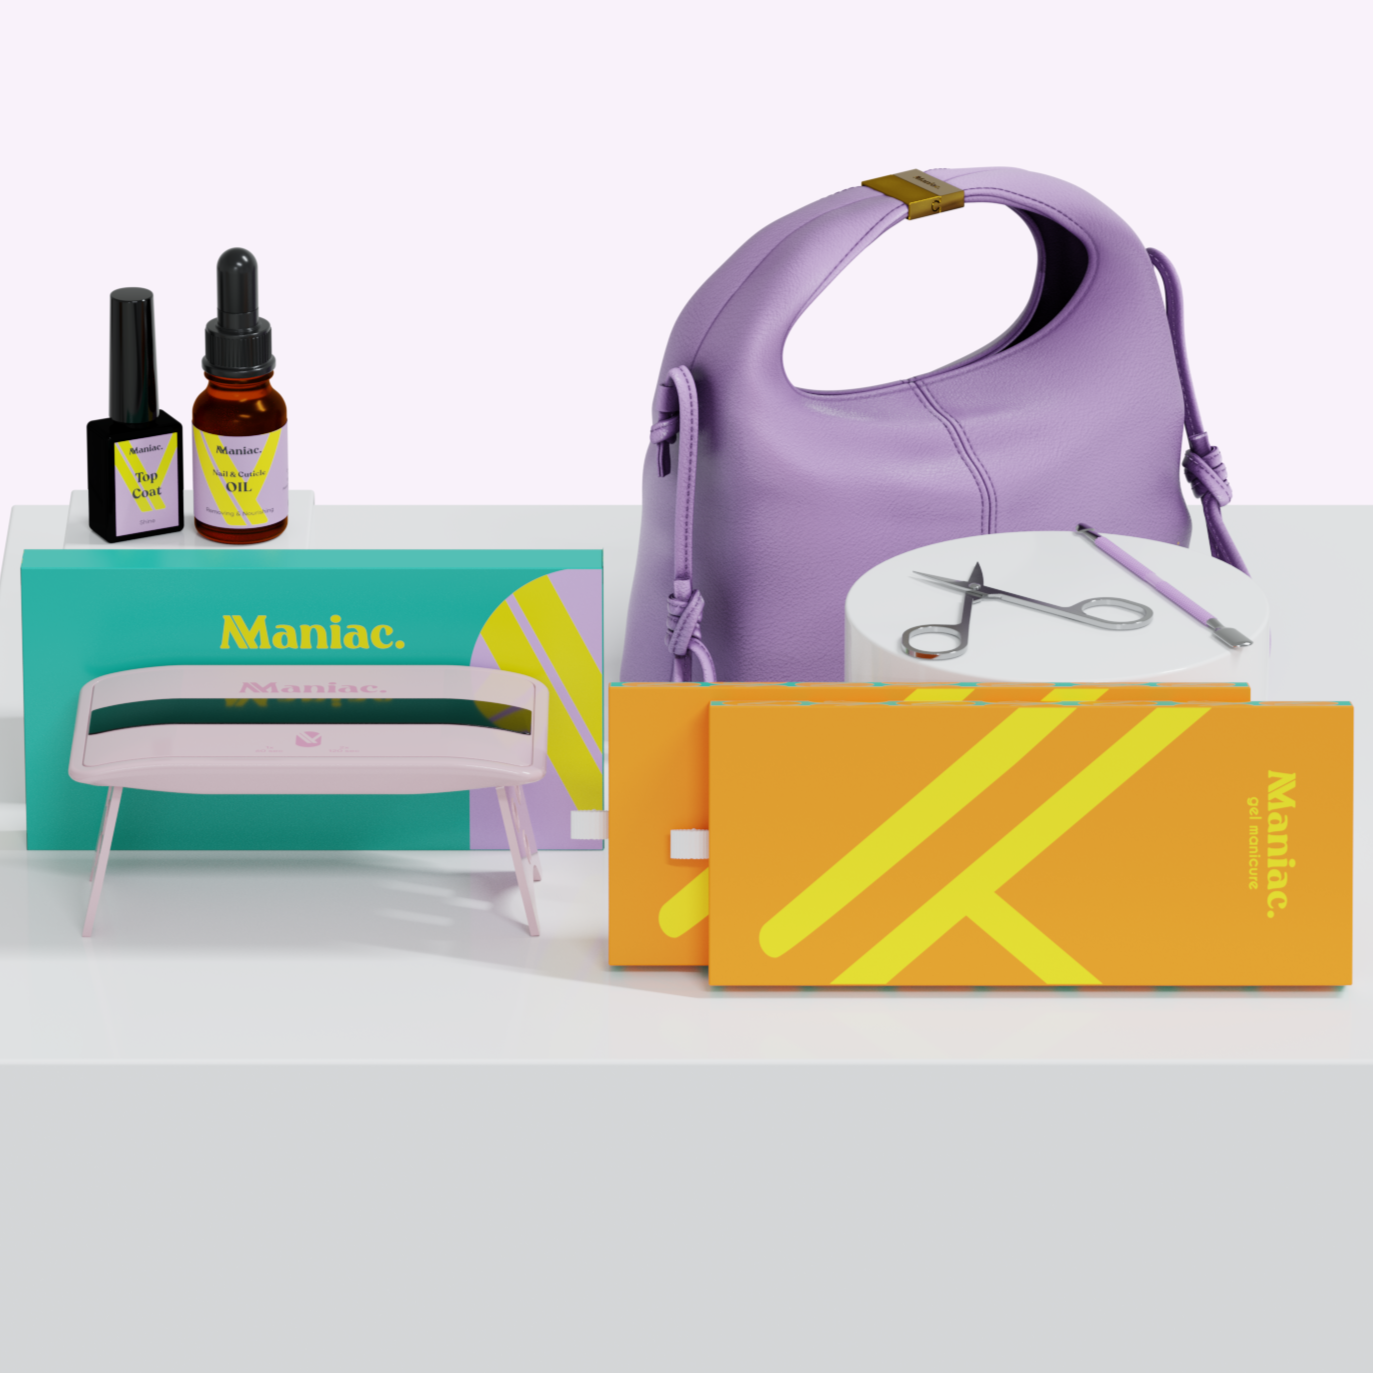
To make your Maniac Manicure last longer, use a cuticle pusher to gently push back your cuticles, this will help your Gel Stickers grow out and stay in place for a longer period of time! If your nails are misshapen or you have brackets, it's okay to file them into your desired shape at this point. However, if your nails are in relatively good shape, it's best to wait until step 7 to file them.
Step 2 - Preparing Everything
Before applying the stickers, use the prep pad included in the Maniac Manicure box to clean your nails and get rid of any dirt, dust, or greasy residue. This will make sure your nails are super clean and neat. And remember, your nails need to be completely dry before you put on the stickers!
Step 3: Finding the Perfect Fit
Pick the Maniac Nails that best matches the size and shape of your nail. Gently peel the strip off the sheet, starting from the edge, but try not to touch the adhesive layer too much. The more you touch it, the less sticky it becomes. Personally, I prefer to remove the sticker from the side that I'll be filing later, so it doesn't matter if I touch the adhesive layer a bit.
Oh, and don't forget to remove the clear layer on top of the gel nail sticker!
Step 4: Stick 'Em On!
This is the most important step, so let's do it right! Place the sticker across the center of your nail and firmly press it from the cuticle line towards the center, and then outwards. Really press it down until you feel it's been applied perfectly and without any air bubbles! If there's air trapped under the sticker, it'll come off more easily. Make sure the sticker is about 1 or 2 mm away from your cuticles and skin, it can not touch your skin!!. If it does, it'll come off faster. Don't worry though, your cuticles will move back into place within a couple of days, and that little bit of visible nail won't be noticeable anymore.
Step 5: Trim to Perfection
Now it's time to trim those stickers to fit your nails perfectly! There are two ways to do this. No matter which way you choose, make sure to trim off any excess parts of the sticker as it is not an extension of your nail. But don't worry about shaping your nails just yet - we'll get to that in step 7.
If you have short and brittle nails, go for Way 1: simply cut off the excess part of the sticker.
If you have long and strong nails, go for Way 2: fold the sticker over your nail and file off the extra bits. Remember to file horizontally under the nail or vertically from top to bottom, but never on the sticker itself or you might damage it.
Step 6: Cure Under the Lamp
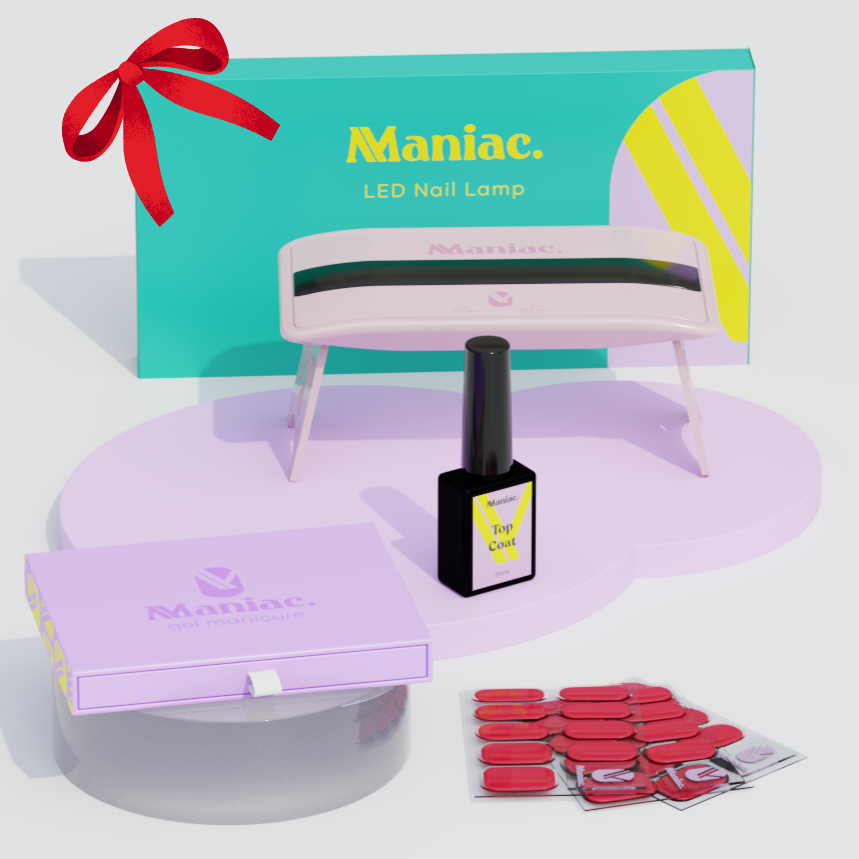
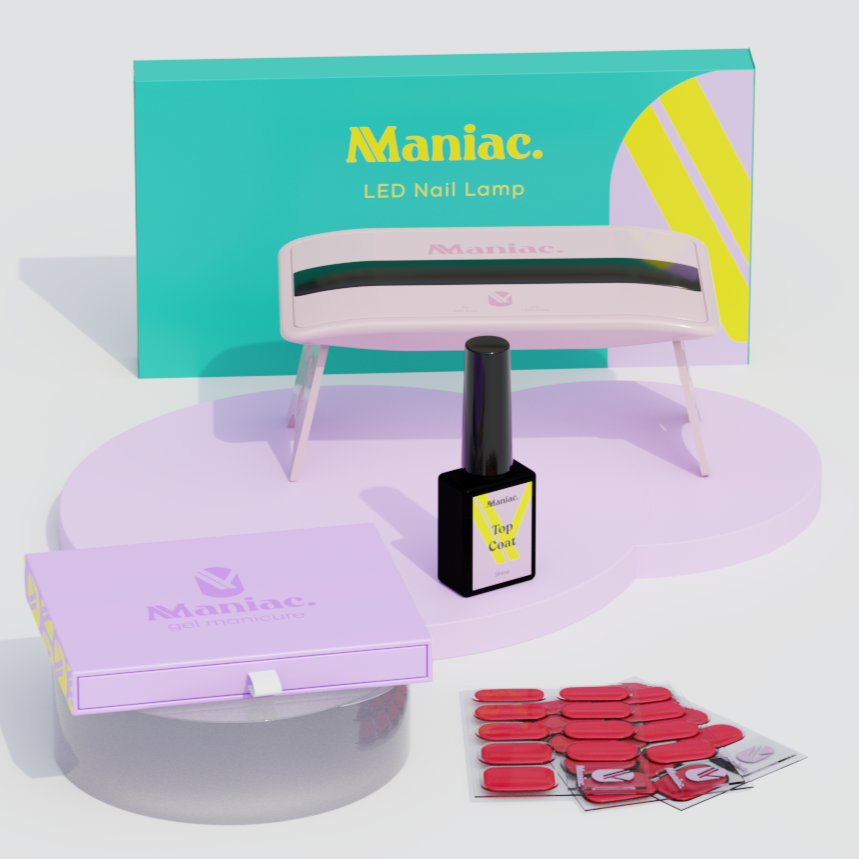
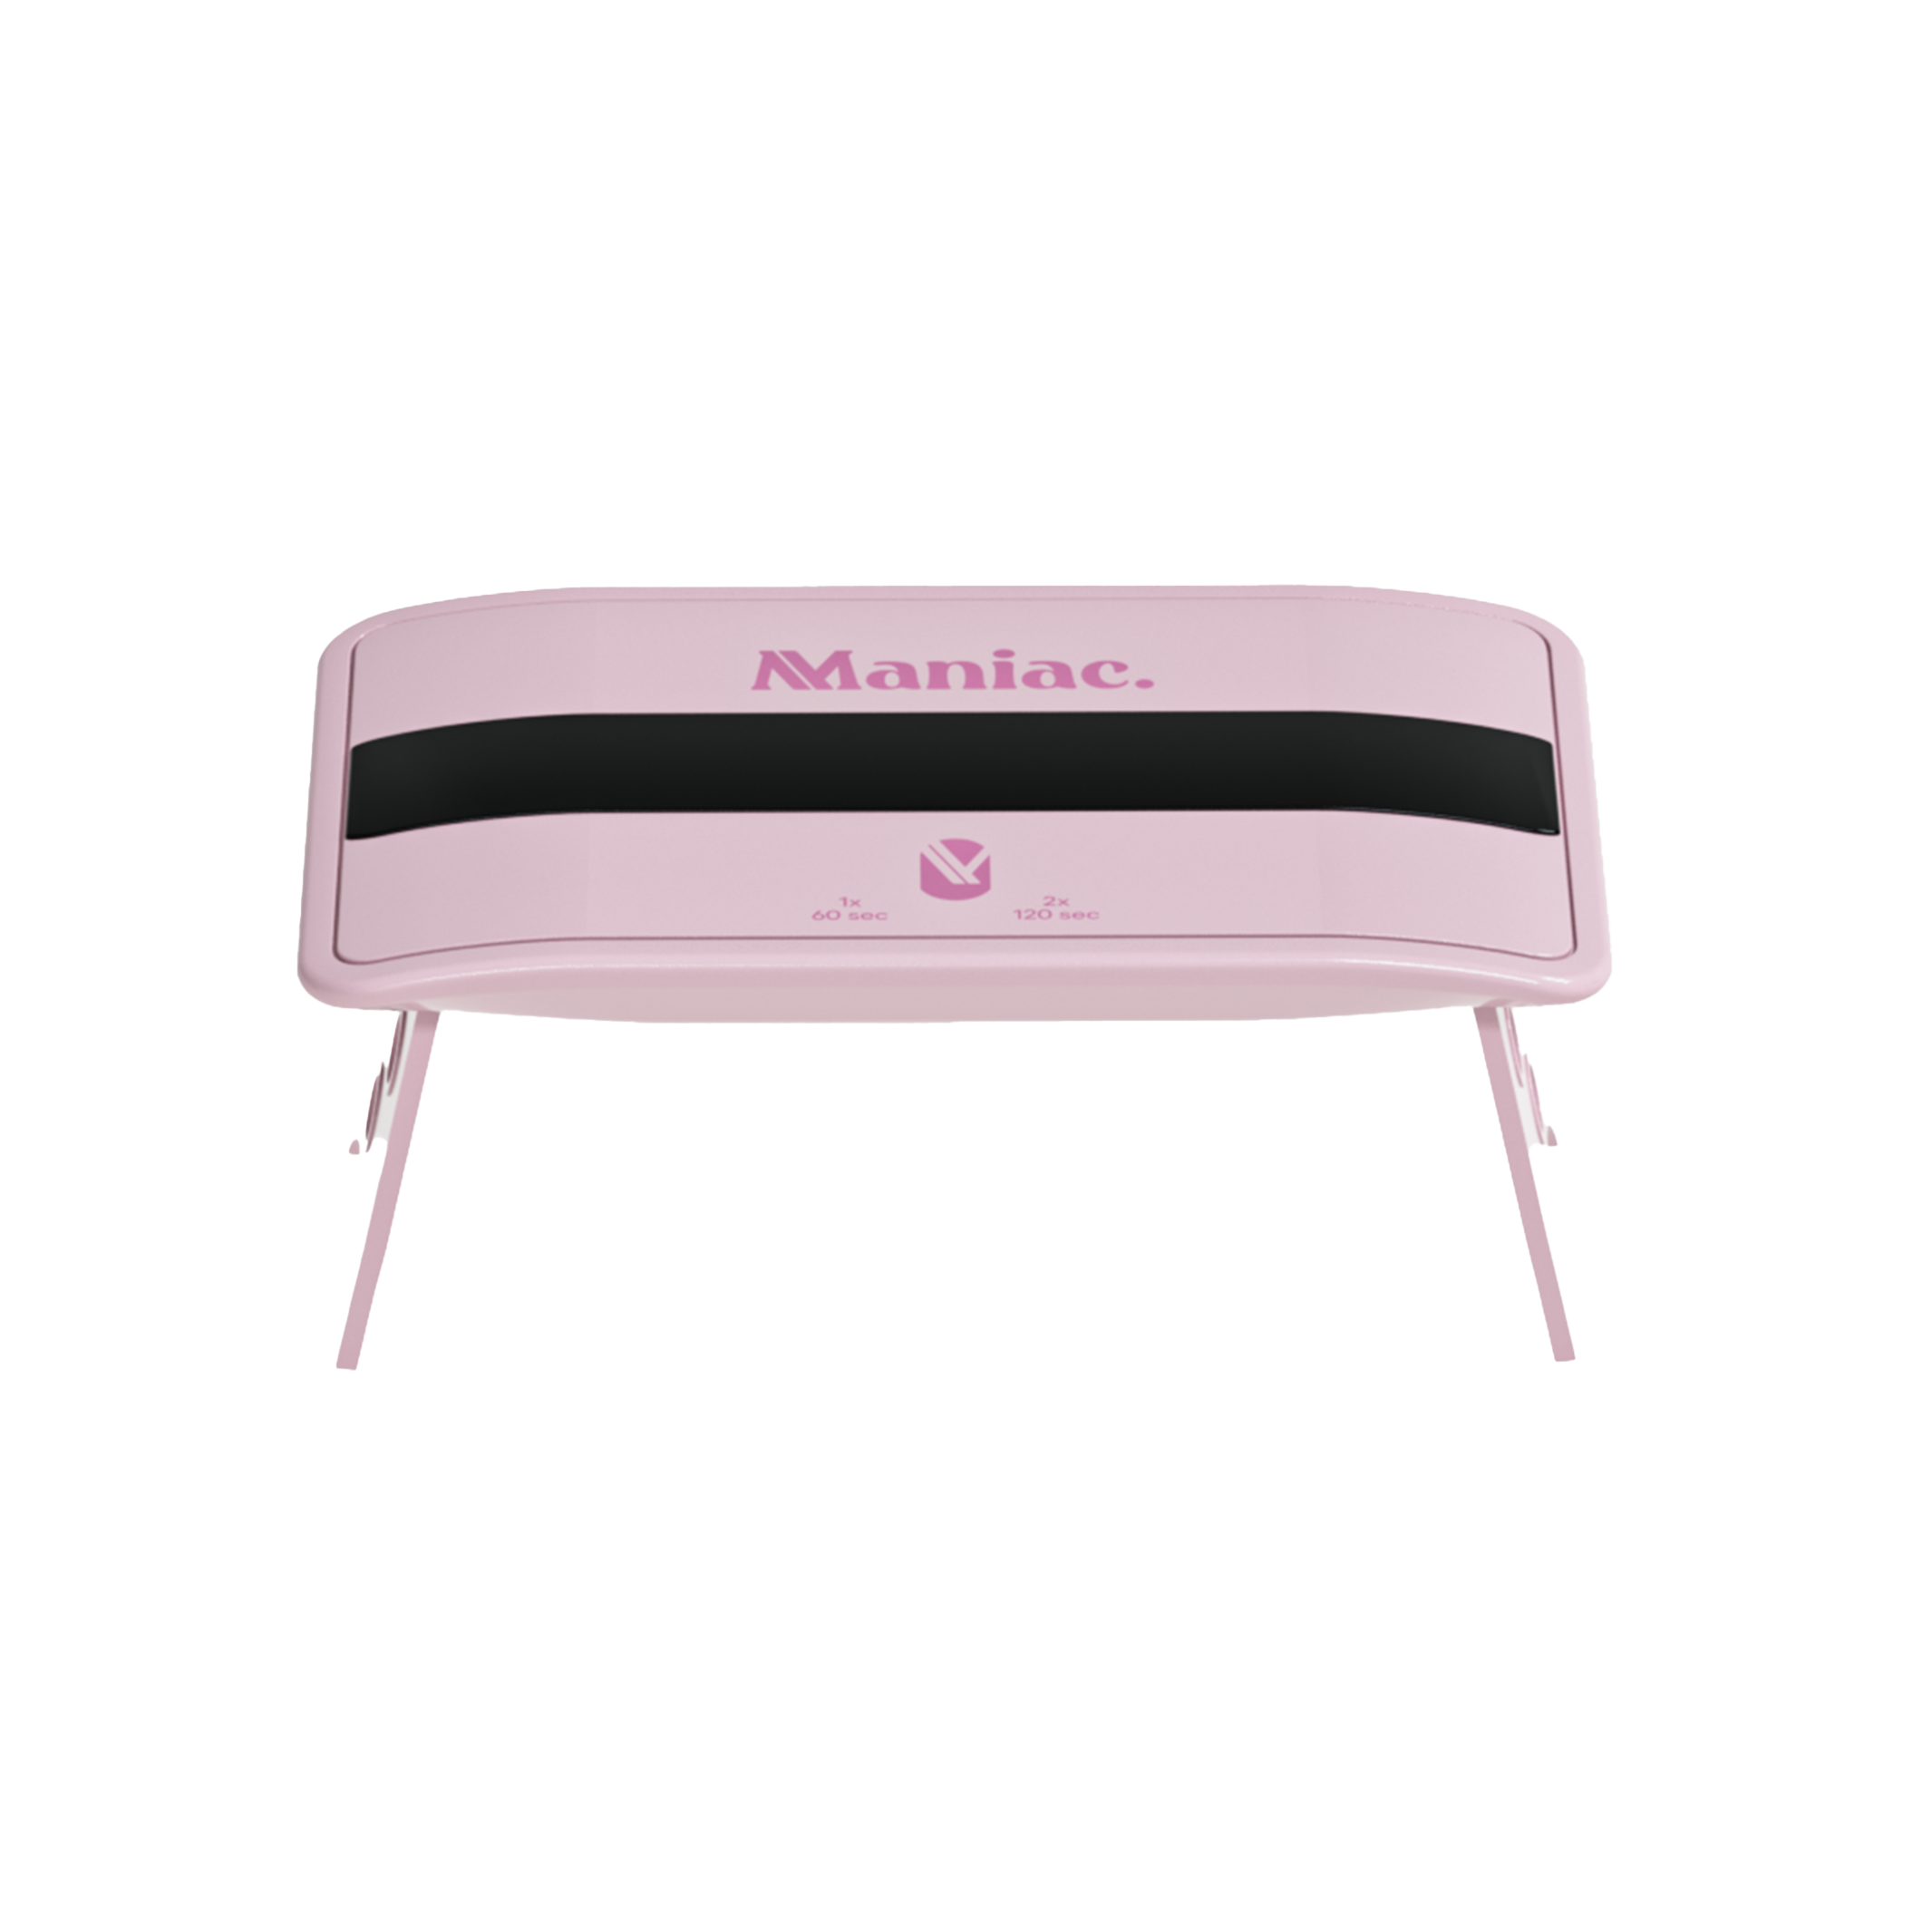
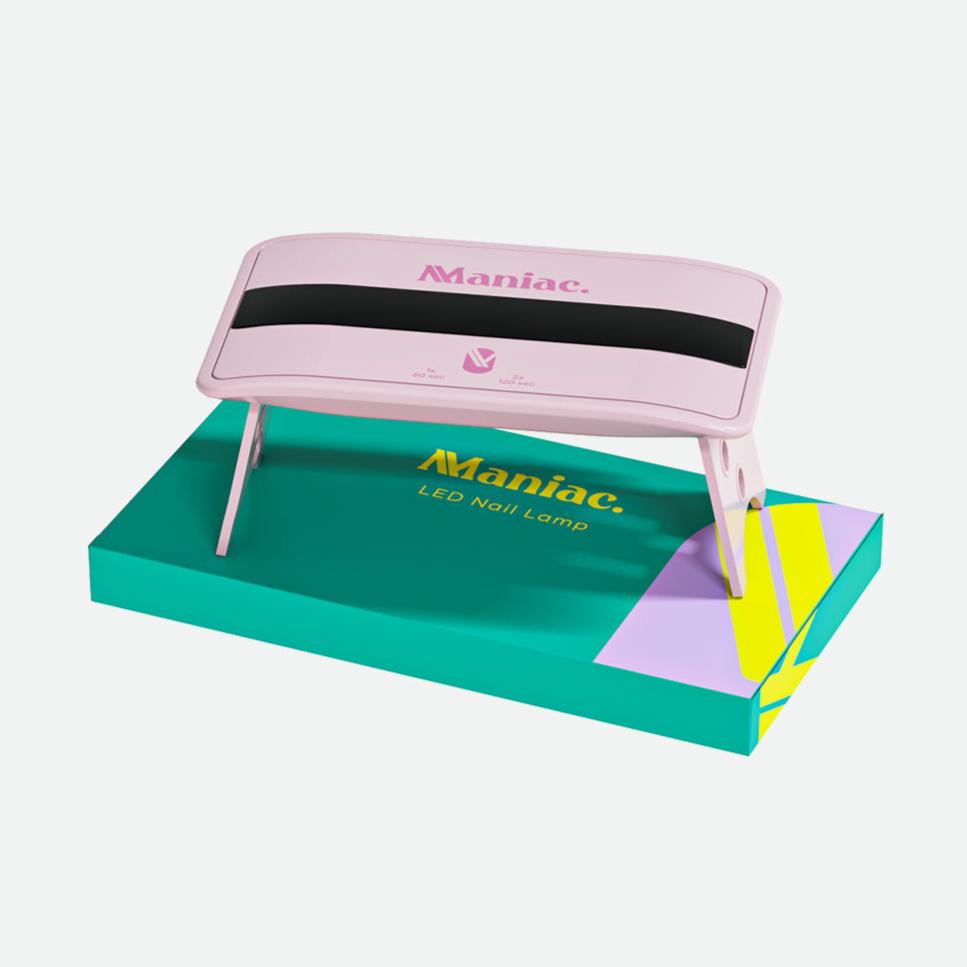
It's time to cure those nails! Pop them under the LED lamp and let the gel work its magic for 60 seconds. The UV light activates the gel and causes all six layers to melt together and harden, giving you that perfect manicure look!
Step 7: Shape it Up!
Now that the gel is rock-solid, it's time to file those nails to perfection! You can file quite hard, as the gel has become less vulnerable. Make sure to file the edges smoothly, so you don't get caught on anything. Also, try to file in one direction to avoid any pesky snags or breaks.
Just a heads up - this step is a big no-no with regular gel polish from a jar! But with Maniac Manicure stickers, it's totally doable.
Step 8 (optional): Add some extra shine with a Top Coat!
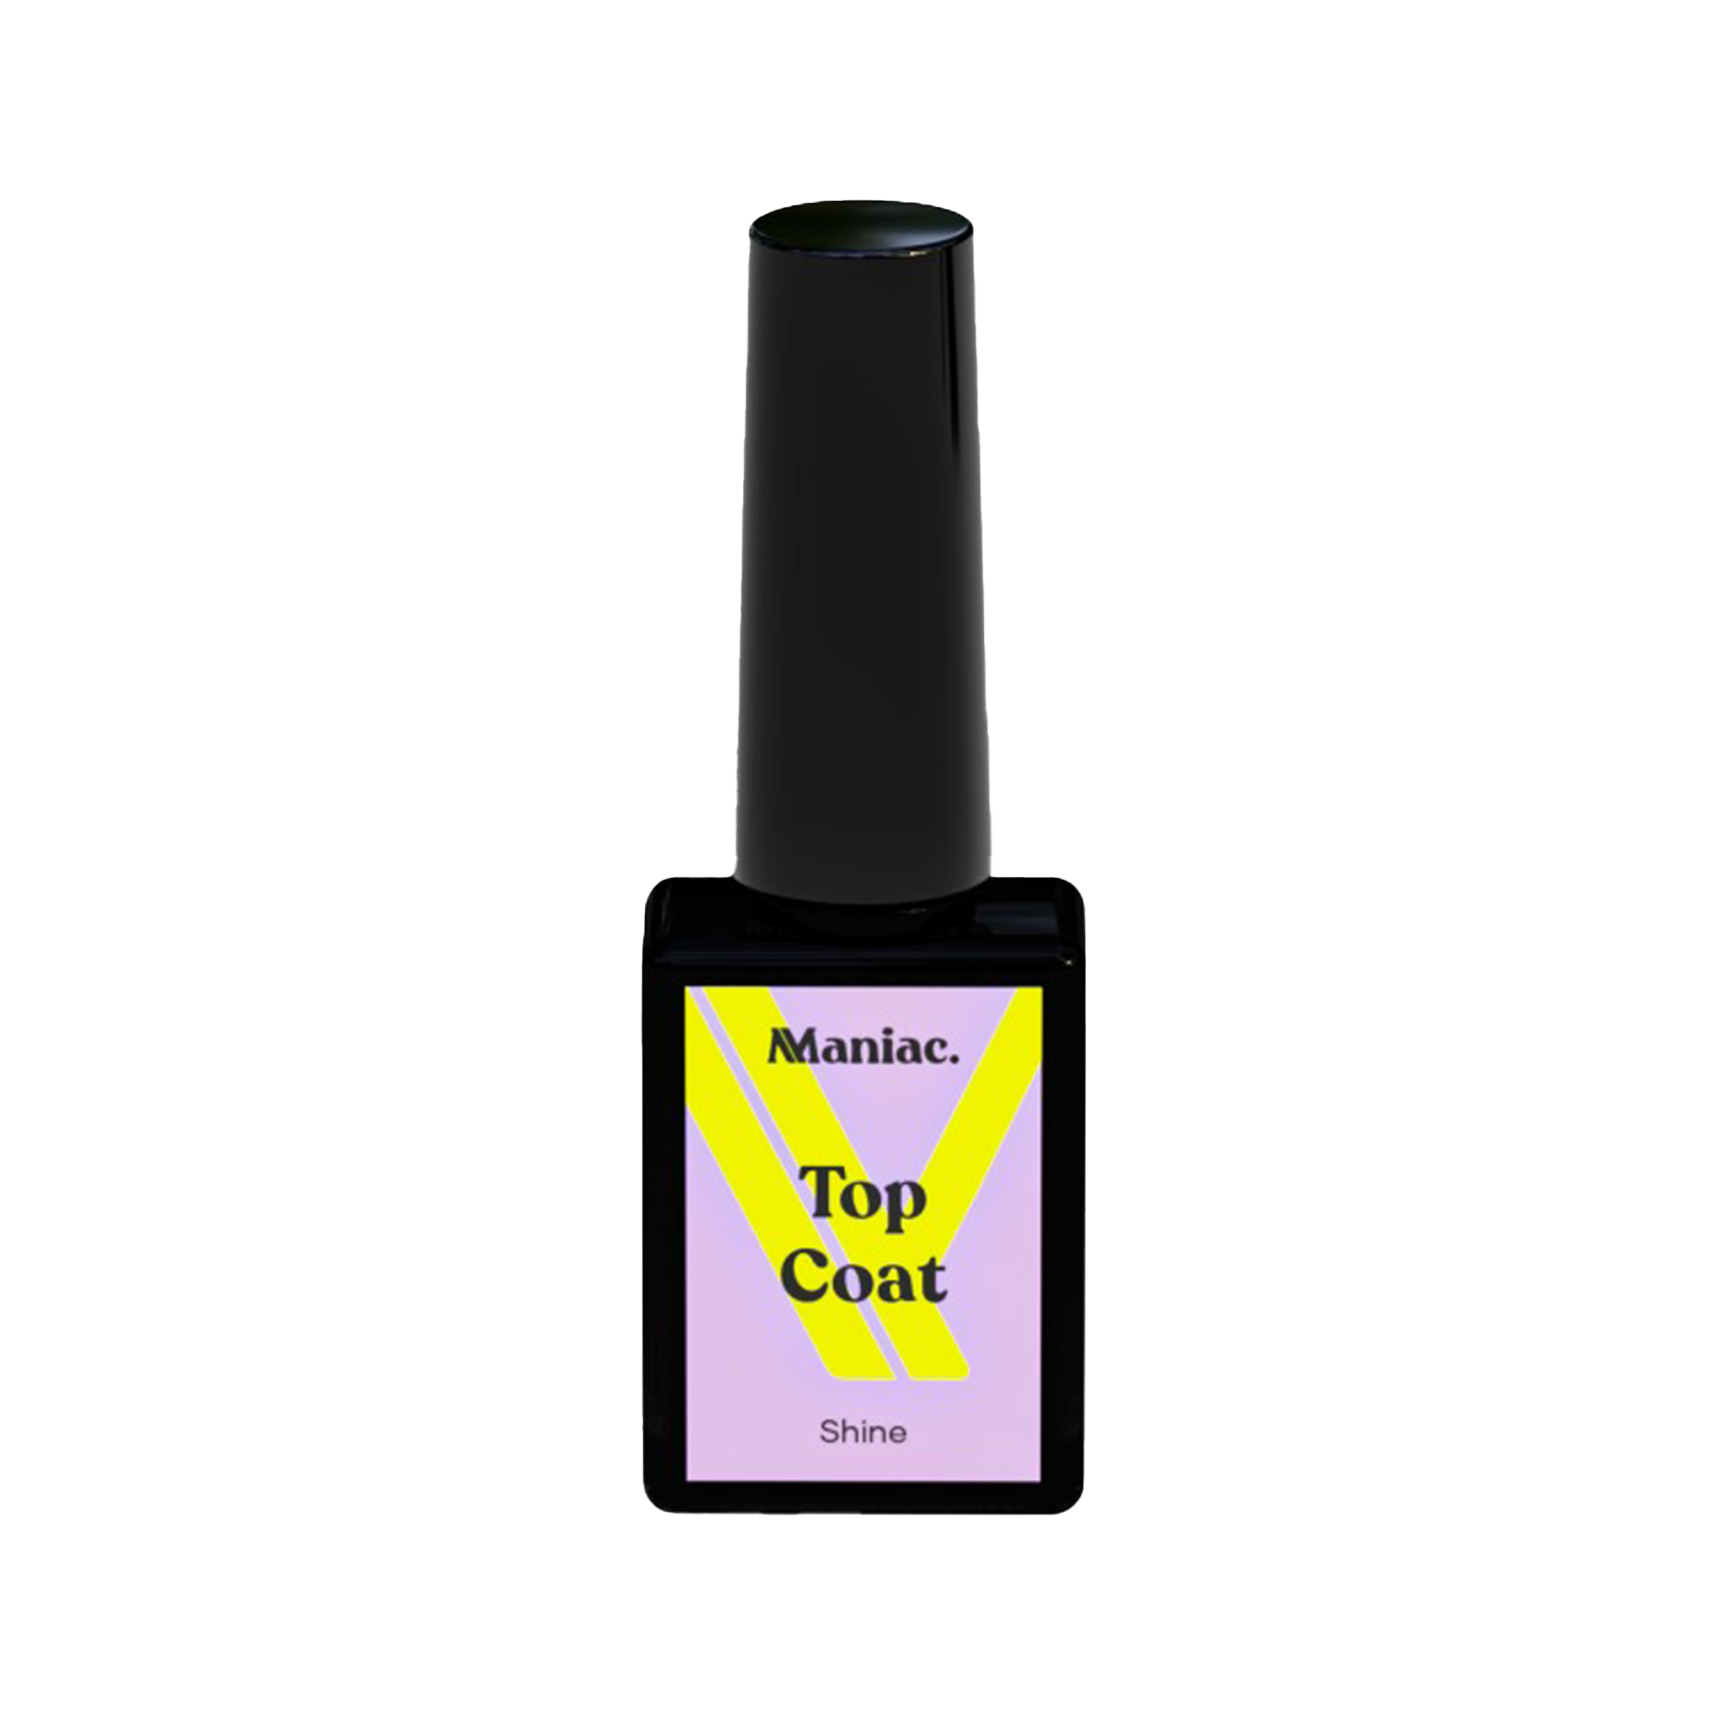
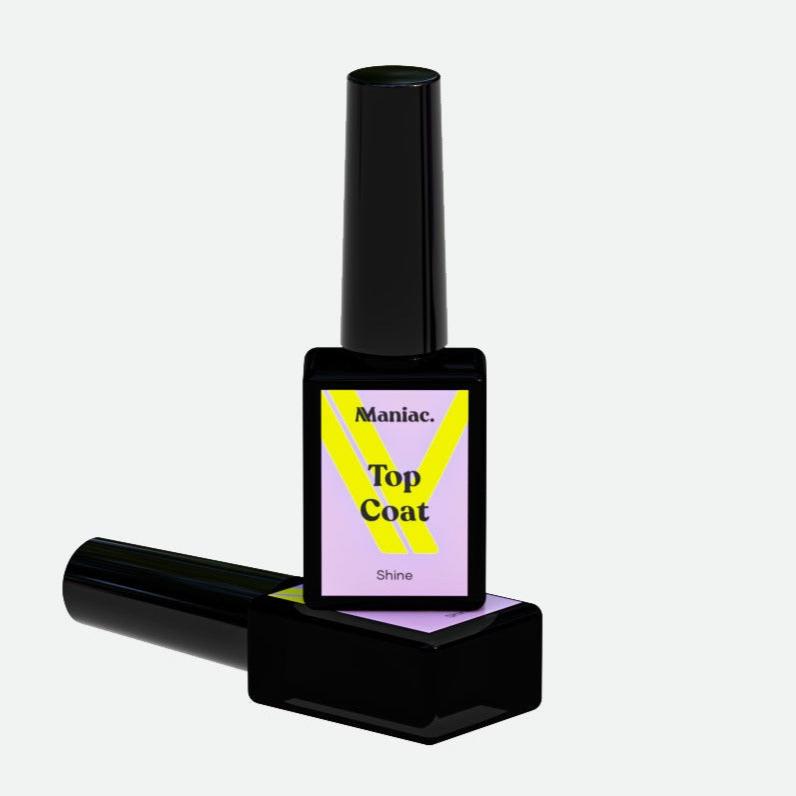
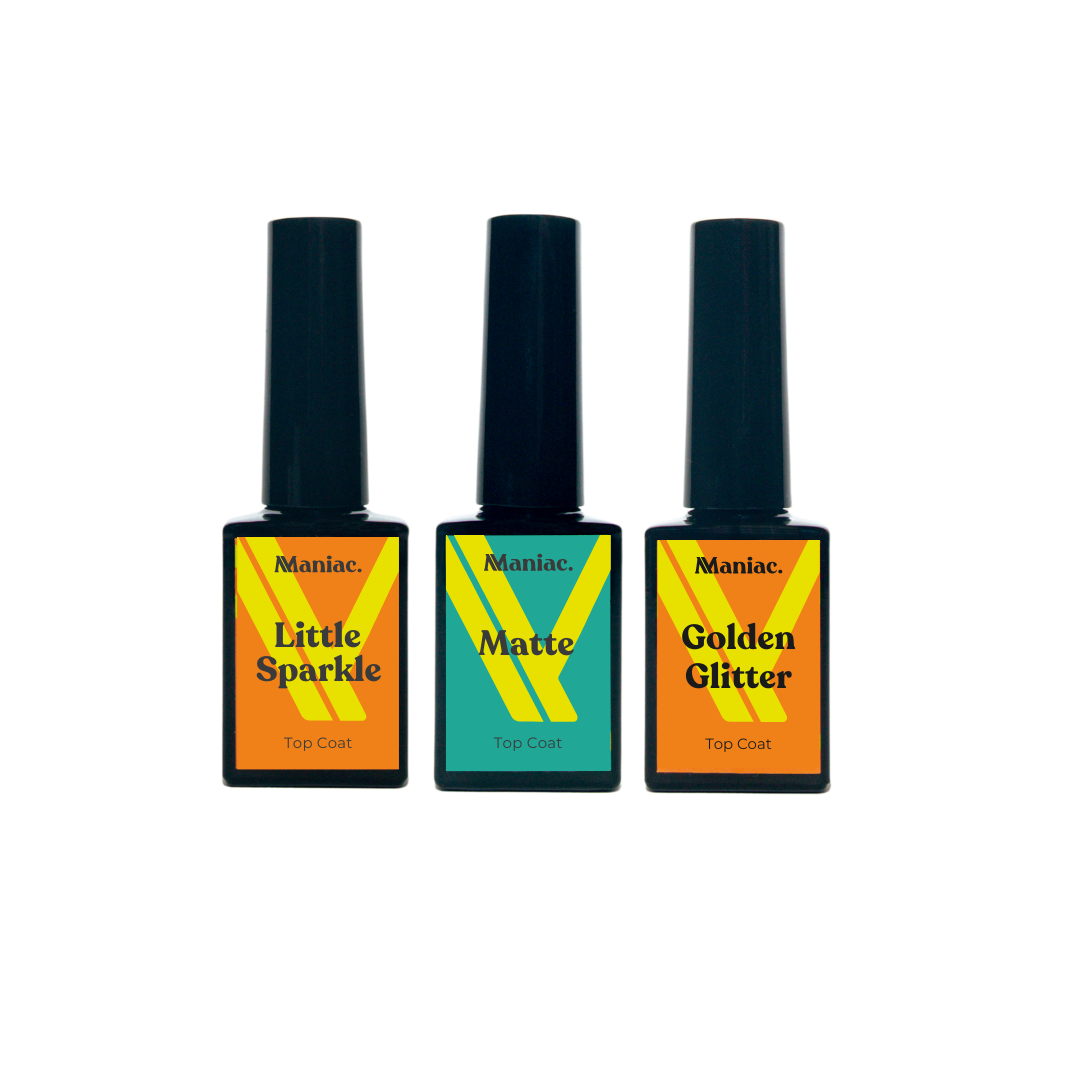
For an even shinier finish, use the Maniac Top Coat. Just keep in mind that it's purely for extra shine and not necessary for the overall look. If you decide to use it, make sure to apply it thinly but completely opaque.
Important! - if you're pregnant or have sensitive skin that reacts easily to Gel Stickers, you might want to skip this step and stick with just the Maniac Manicure.
One important thing to remember - don't file your nails after applying the Top Coat, as it can cause dirt to get between the sticker and the Top Coat, ruining your perfect Maniac Manicure.

Extra tips
- To ensure the stickers stay in place, avoid contact with water for at least 2 hours after application.
- Warm up your hands before applying the nail stickers to help them adhere better.
- When working with cleaning agents, wear gloves to protect your nails.
- Moisturize your nails daily to keep them supple and help the stickers stick better. Dry nails may curl up and cause the stickers to come off.
- If you have flakes on your nails, try lightly buffing them with a gentle buffer.
- Be sure to seal the free edge of the sticker with a topcoat to create a clean finish.
See the Maniac Collection


