Step-by-step guide for your Maniac manicure

Follow our step-by-step guide and read the expert tips to achieve a longer-lasting manicure. Learning to use Maniac may require a bit of practice, but after just three tries, you'll enjoy nails that stay beautiful for at least two weeks.

How to Apply Maniac Gel Nail Stickers

Step 1 - Prep

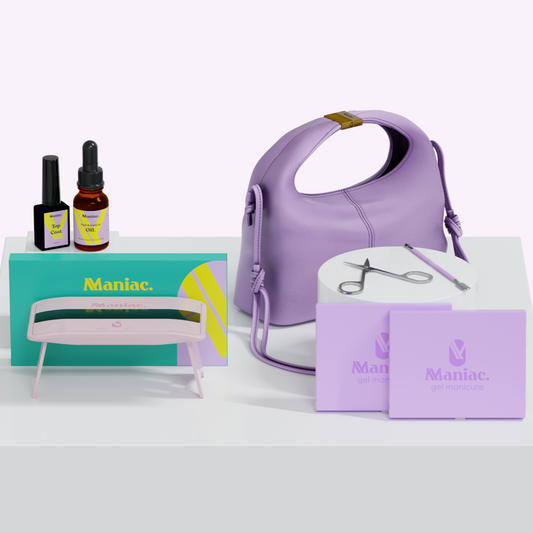
Shape your nails with the nail file. Push back your cuticles. Clean your nails with the Maniac prep pad to remove any oils.

Expert tip: Avoid lotions and oils 1 hour before application.

Step 2 - Select

Hold the sticker sheet above each nail to see which gel polish sticker fits. Choose the right size and peel off the protective plastic of the sticker.

Expert tip: Select a sticker slightly smaller than the width of your nail, when in doubt.

Step 3 - Peel and press

Peel the sticker off the sheet gently and press it onto your nail. Press around the edges.

Expert tip: Avoid touching the sticky side and leave a small gap between your cuticle and the sticker.

NOTE: Ensure that the sticker does not touch the skin or cuticle.

Step 4 - Cut or File

For long and strong nails (left): Fold the excess sticker around the nail edge and gently file it off.

For short and soft nails (right): Cut the sticker, leaving a small excess for the next step.

Expert tip: File horizontally to the nail edge to avoid hookies.

Step 5 - Cure and Shape

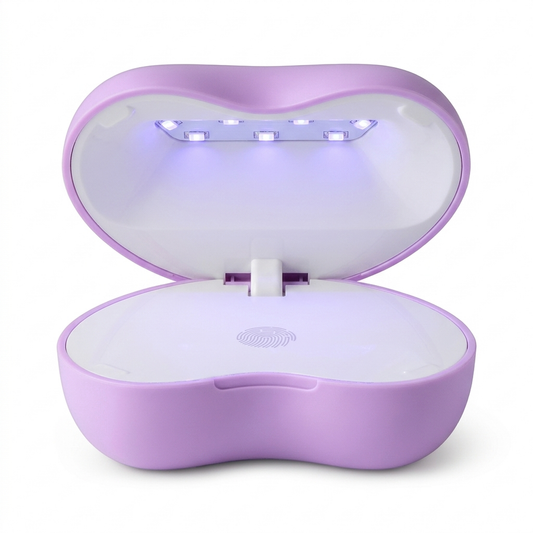
Cure your nails under the LED light for 60 seconds. Smooth the edges with the file.

After curing:

For long and strong nails (left): File off the excess and shape the nail.

For short and soft nails (right): Cut the sticker with a nail cutter until it matches your natural nail, then shape it.

Step 6 - Top Coat it off

Apply the Maniac top coat and cure under the LED light for 120 seconds.

NOTE: Ensure that the top coat does not touch the skin or cuticle.

Explore 150+ designs

Takes a little practice, but with these tips you'll nail it in no time.

Tips & tricks: frequently asked questions

Can the strips touch my skin or cuticles?

Better not! The gel nail strips only stick properly to your nail. If a strip touches your skin, it will lift quickly, and that would be a shame. Always leave a tiny gap between your cuticle and the strip.

Why do my strips come off so quickly?

Most likely there was still a bit of oil on your nails. Oil dissolves the adhesive of the strips, which is exactly why removing them with the nail & cuticle oil is so easy. So degrease your nails well with the prep pad before you start, and skip lotions and oils for an hour beforehand.

How do I prevent a little edge where hair gets caught?

Press the strips down firmly one more time before they go under the lamp for the first time. Otherwise a tiny edge can form, and hair loves to get caught on it. Annoying! Watch how in our tutorial.

Do I need to apply the strips right after opening the package?

Yes, preferably. Once the package is open, the strips can start to harden slightly, which makes applying them more difficult.

Can I apply the strips outside or near an open window?

Please don't! The UV in daylight cures the strips, just like your LED lamp does. That makes applying them tricky or even impossible. So always apply them indoors, and not next to an open window or door either. See what happens in this tutorial.

I have short nails and filing is tricky. What now?

Use a nail clipper to cut the strips to the length of your nails. With shorter nails, that is often a lot easier than filing. More about this in this tutorial.

My strips feel stiff because of the cold. Can I still use them?

No worries, you can make them flexible again. Watch how in this tutorial.

What should I avoid when applying?

Besides everything you should do, there are a few things you are better off skipping. You'll find them all in our tutorial on what not to do.

As Seen In

Logo van ICI Paris XL
Logo van Numéro magazine
Logo van ELLE magazine
Logo van JAN magazine
Logo van Vogue magazine